I have covered a lot of tutorials on the GDevelop on managing your way around the IDE. In previous tutorial I have covered how to switch between the levels or the scenes. That was handy tutorial for those who wanted to switch between the levels using the game mechanics buttons or say settings like options at the top or bottom games.
This is 9th post in my series of creating a game using GDevelop for Kids.
If you want to check out some of my previous posts and tutorials in the Gdevelop game development series then check the below table of content for the links.
- GDevelop - How to Create Project
- GDevelop - How to Create Scene
- GDevelop - How to add background Image
- GDevelop - How to add Image Sprite
- GDevelop - How to Horizontal Scroll
- GDeveop - How to Vertical Scroll
- GDevelop - How to Switch Level or Scene in Game
Before you can do these tutorials, you need to download the GDevelop IDE for game development. You have to install that and let it set on the auto update in case if you wish to update the IDE in near future. Another thing is that make sure you have some sort of the graphical assets that you can use while following these set of the tutorial.
Currently we have seen how to create scenes and add the game mechanics in the game. So you should consider downloading the art and the graphical assets from the various sources out there. You can then use the asset as it suits your tutorial or the requirement of the game. So let's get started with the below tutorial for the movement of the switch or the level between the game.
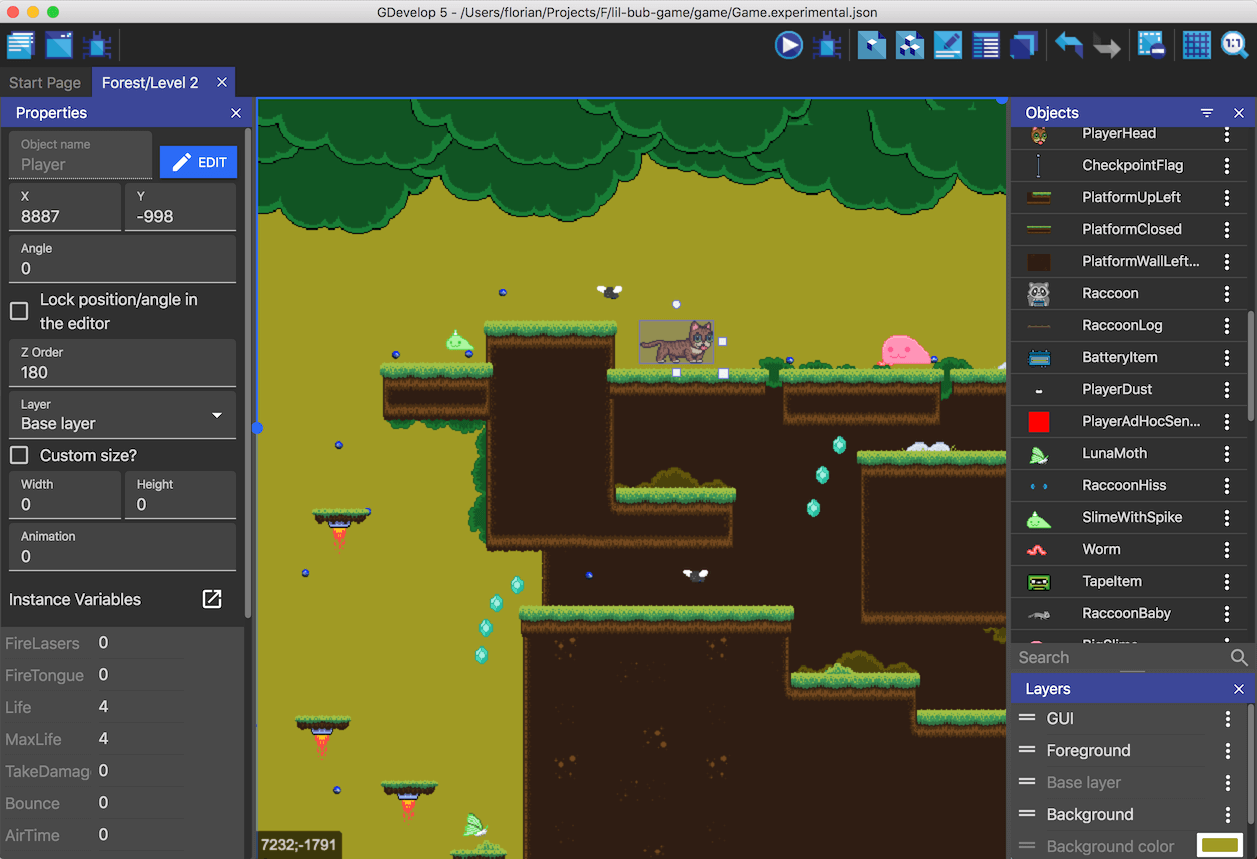
Image Credit: GDevelop
Follow the instructions below to switch between scene or levels.
- Install GDevelop from official site.
- Open up Gdevelop.
- Create new project.
- Click on project explorer on left top panel.
- Choose scene.
- By default there is one scene already, so add one more scene too.
- Once you add the scenes, we will add the buttons into.
- Use the add object as sprite.
- Now add the button sprite into the scene.
- In both scene, you can add the buttons if you want.
- You can then open the scene events.
- You can push the scene from one to another on the basis of press of button using the code in events.
- You can do the scene event for the another button to go back to the first scene.
- Save project
- Run the project
- Preview the project.
That is it. You can now add the code appropriately for say like Main menu. This tutorial gives you an idea on how to move from level one to two and onwards. I think the tutorial can be used in many different ways as well. You can use it to in and out of the levels and main menu using this type of the tutorial. I also suggest you to check out the tutorial in below youtube video if you want to follow the video content.
You can follow the instructions through the video tutorial as well.
Such type of the level or the scene switch are pretty important in games. Every game has an option or should include an option which helps you navigate from the front page to the other levels. Alternatively each level should have a way to move from level to the settings page. This always helps to move from the levels or the scene. This needs a lot of practice when the game is bigger and you have levels to move from one to another.
I recommend downloading the assets for such tutorials from opengameart. You can make the assets in the Photoshop or the PaintNet as well. You can add options like settings, audio, video, main menu and the exit button. Those type of the buttons in the front page can be a good way for you to navigate between the game. So I hope this tutorial gives you a good guidance on how to achieve that.
We will continue the further game development topic in next post.
@tipu curate
Upvoted 👌 (Mana: 70/112) Liquid rewards.