.jpeg)

Español
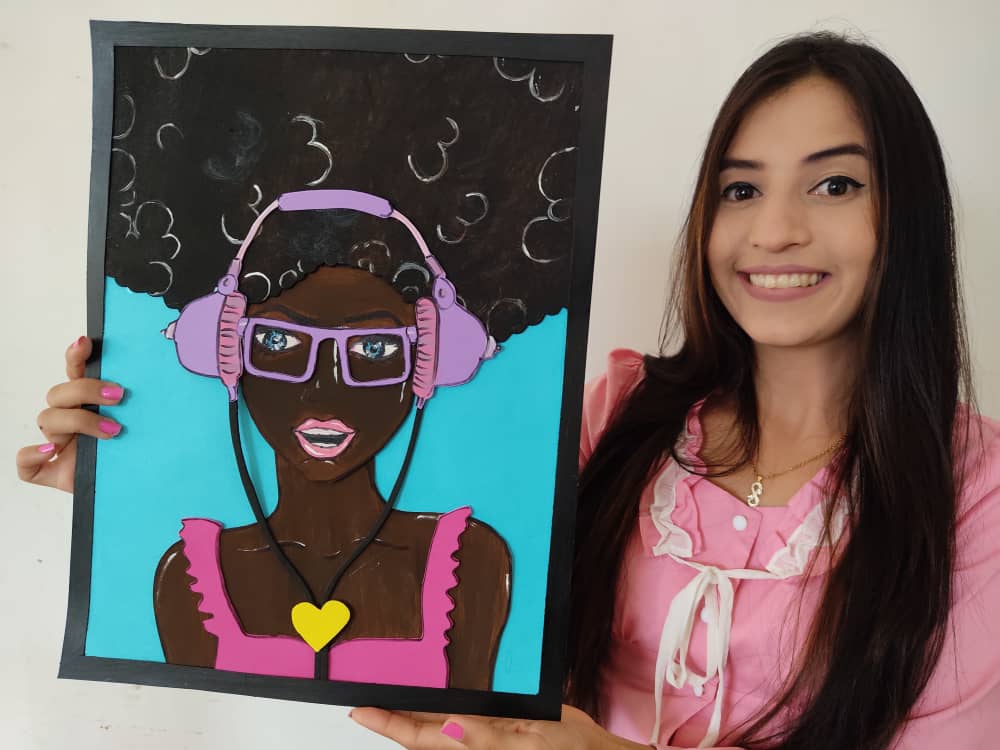
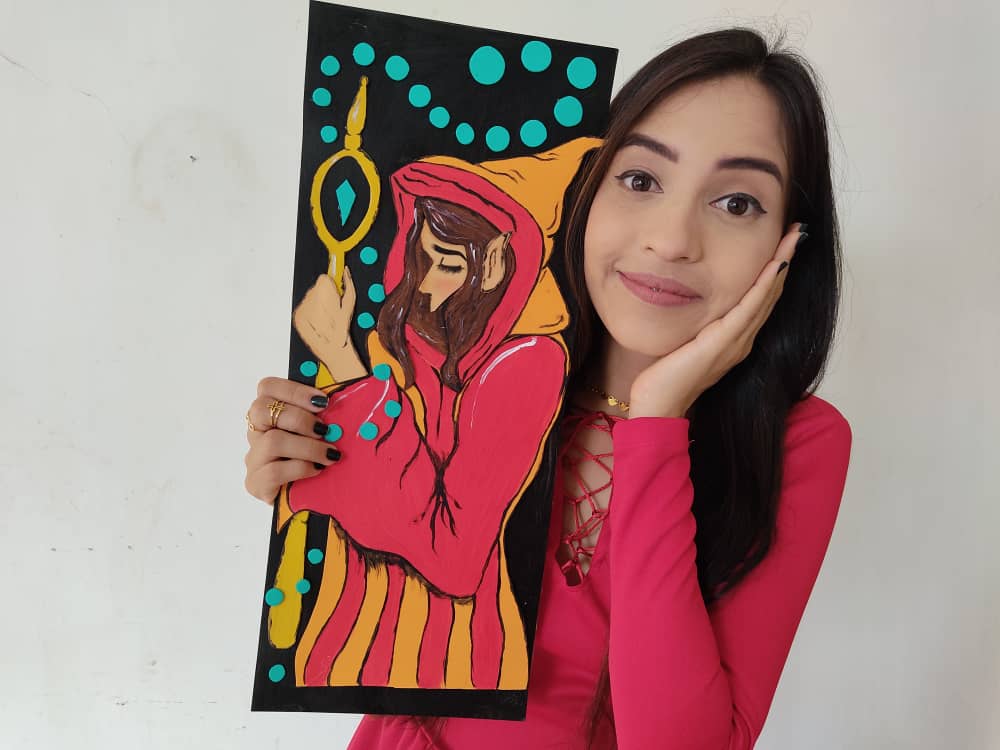
Hola hermosa familia de Hive ❣️ Este lindo día traigo para ustedes un divertido paso a paso, dónde les mostrare como elaborar un cuadro muy cool, de una chica con un hermoso cabello escuchando música, espero que les guste mucho, y se animen a crear uno, ya que sus materiales son increíblemente fáciles de conseguir. No dejemos de mantener nuestra mente ocupada haciendo estas obras, que además, de ser muy lindas son bastante productivas, y así, sacar provecho a cada tiempo que tengamos libre.
English
Hello beautiful Hive family 💓 This beautiful day I bring you a fun step by step, where I will show you how to make a very cool picture of a girl with beautiful hair listening to music, I hope you like it a lot and are encouraged to create one since its materials are incredibly easy to get. Let's not stop keeping our minds busy doing these works, which in addition to being very beautiful are quite productive, and thus, take advantage of every free time we have.
¿Qué están esperando?
Utilizar estos hermosos materiales para transformarlos en un hermoso cuadro, es una idea muy original y económica para decorar nuestro entorno y darle un toque de creatividad a nuestras paredes. Antes de comenzar no olvidemos lavarnos nuestras manos.
What are they waiting for?
Using these beautiful materials to transform them into a beautiful painting is a very original and inexpensive idea to decorate our surroundings and give a touch of creativity to our walls. Before we start, let's not forget to wash our hands.
[Materiales | Materials]
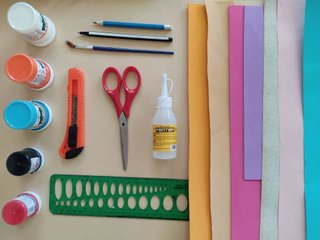
Para hacer este hermoso cuadro necesitaremos:
- Moldes
- Foami o goma eva.
- Cartón.
- Pincel.
- Pinturas.
- Tijeras.
- Pegamento o silicona caliente.
To make this precious painting will need:
- Molds
- Foamy or EVA foam.
- Cardboard.
- Brush.
- Paintings.
- Scissors.
- Hot glue or silicone.
Procedimiento (paso a paso)
Process (step by step)
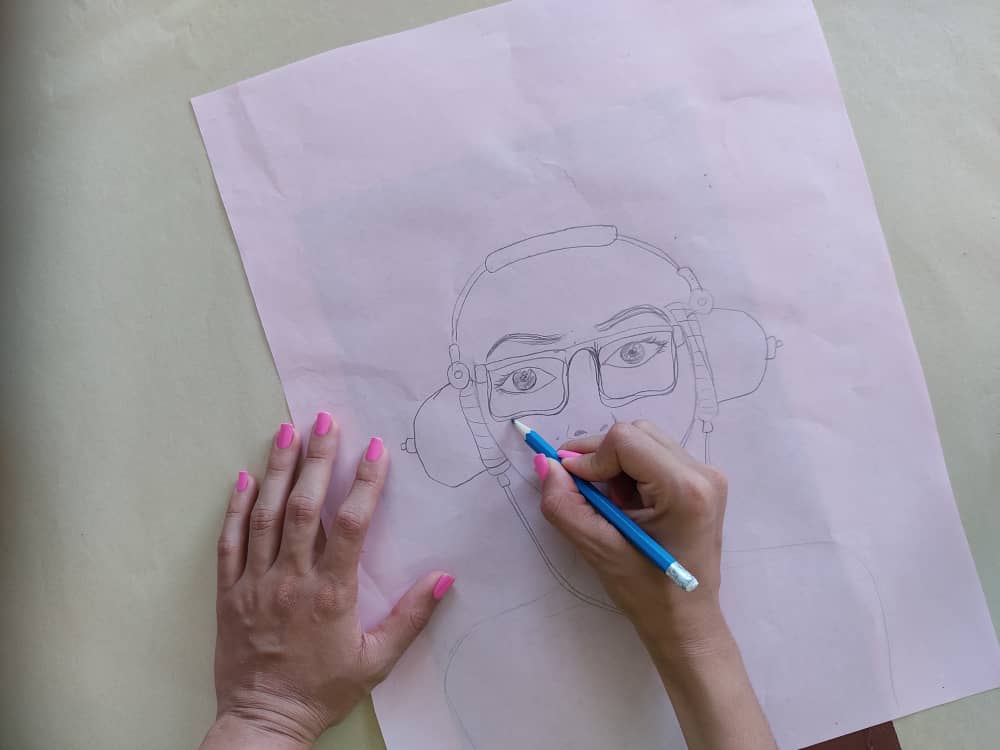
Primero, dibujamos una preciosa chica escuchando música, está vez opte por hacer un precioso cabello muy abundante y divertido, recuerden agregar los detalles que deseen y verán que auténtico les resultara.
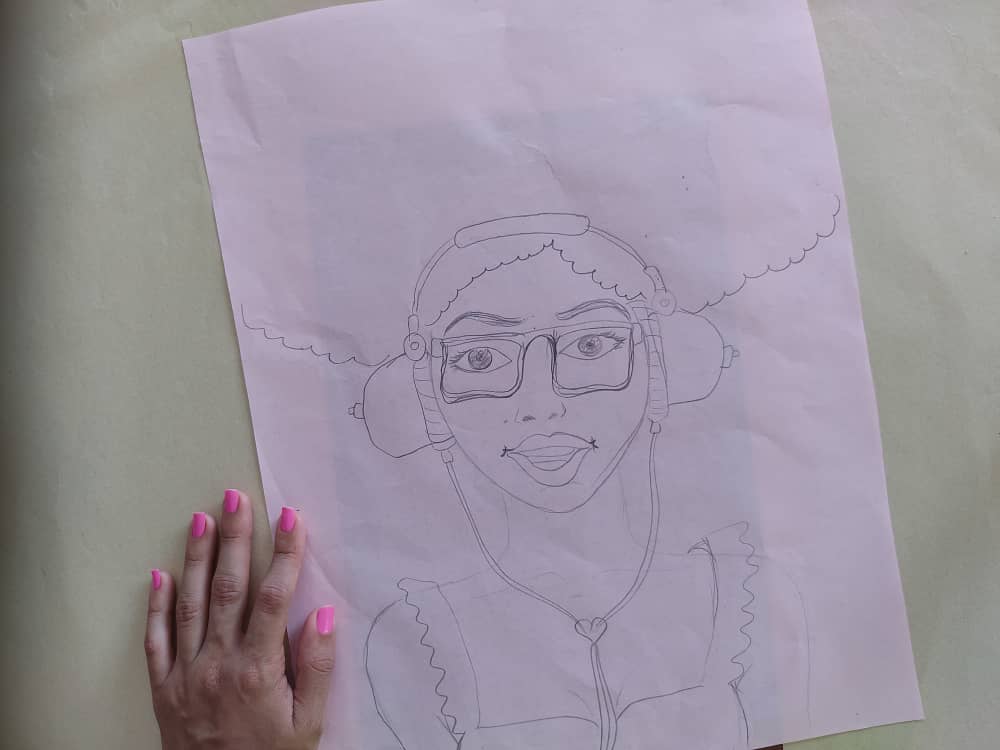
First, we draw a beautiful girl listening to music, this time I chose to make beautiful hair very abundant and fun, remember to add the details you want and you will see how authentic it will be.
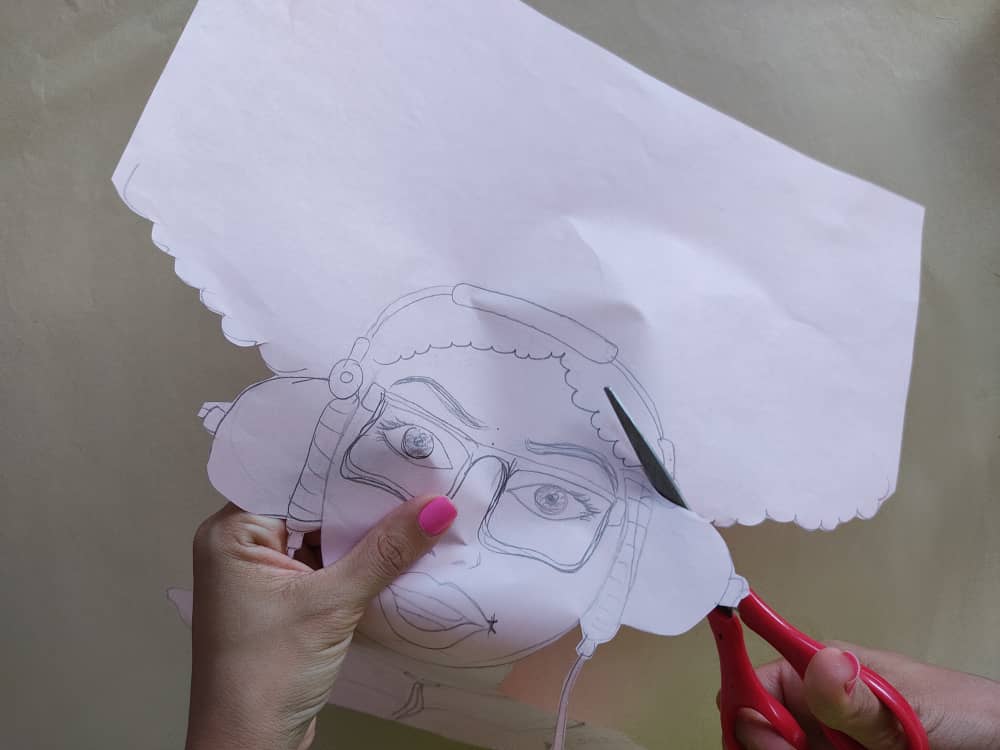
Ahora, recortamos cada pieza de nuestro dibujo separando el cabello, el cuerpo y audífono. Con mucho cuidado para mantener intacto cada figura.

Now, we cut out each piece of our drawing separating the hair, body, and hearing aid. With great care to keep each figure intact.
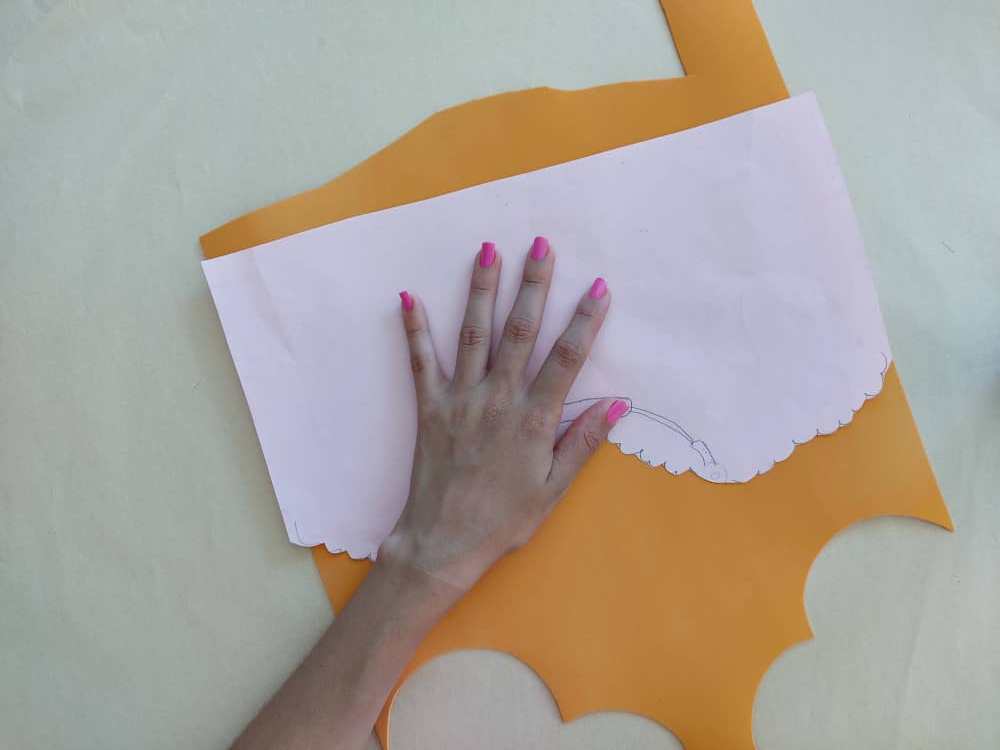
Una vez obtenidos nuestros moldes, transferimos el cabello, cara y cuerpo al foami de los colores que más nos gusten, y recortamos cuidadosamente de manera que ninguna pieza pierda su forma, y así, obtener una hermosa y original chica cool.
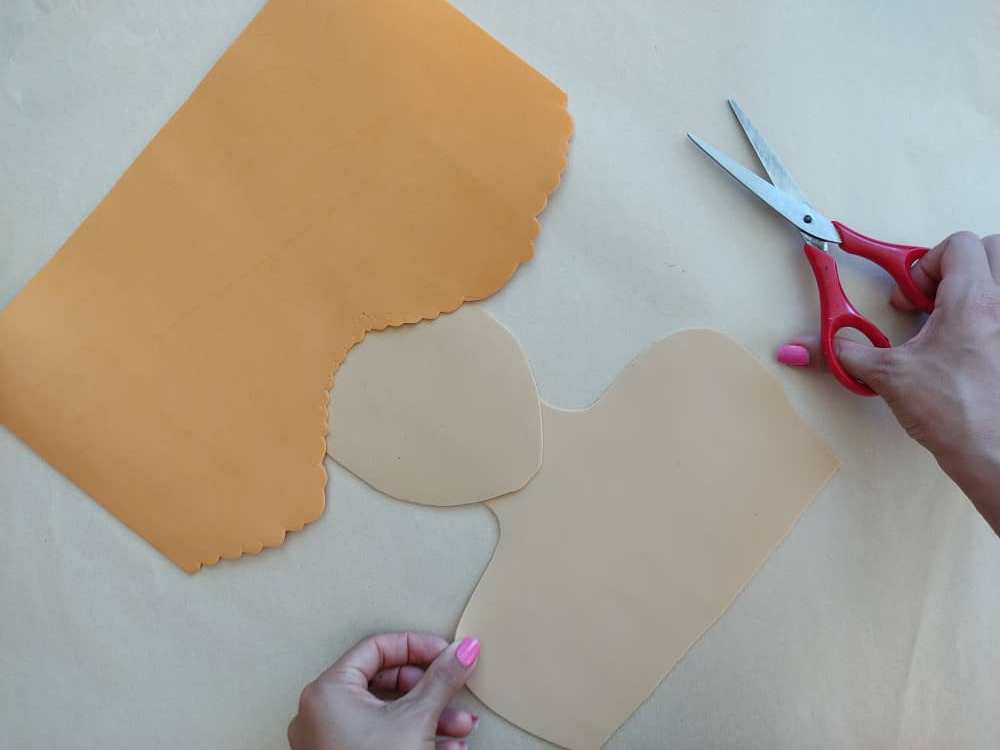
Once our molds are obtained, we transfer the hair, face, and body to the foamy of the colors that we like the most, and we carefully cut so that no piece loses its shape, and thus, obtain a beautiful and original cool girl.
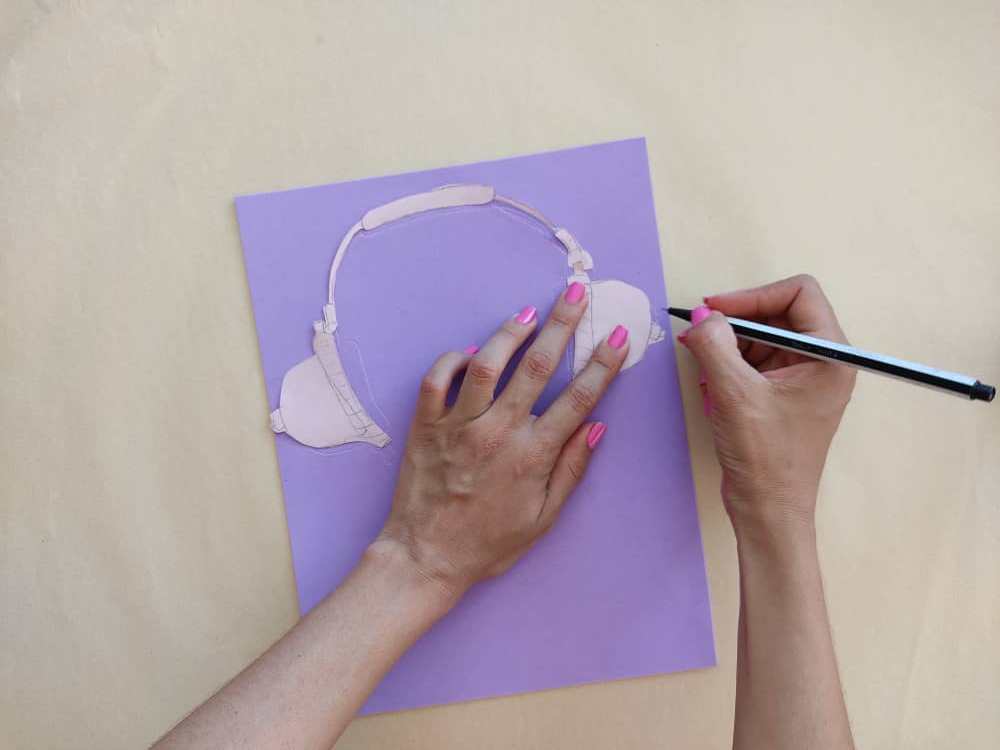
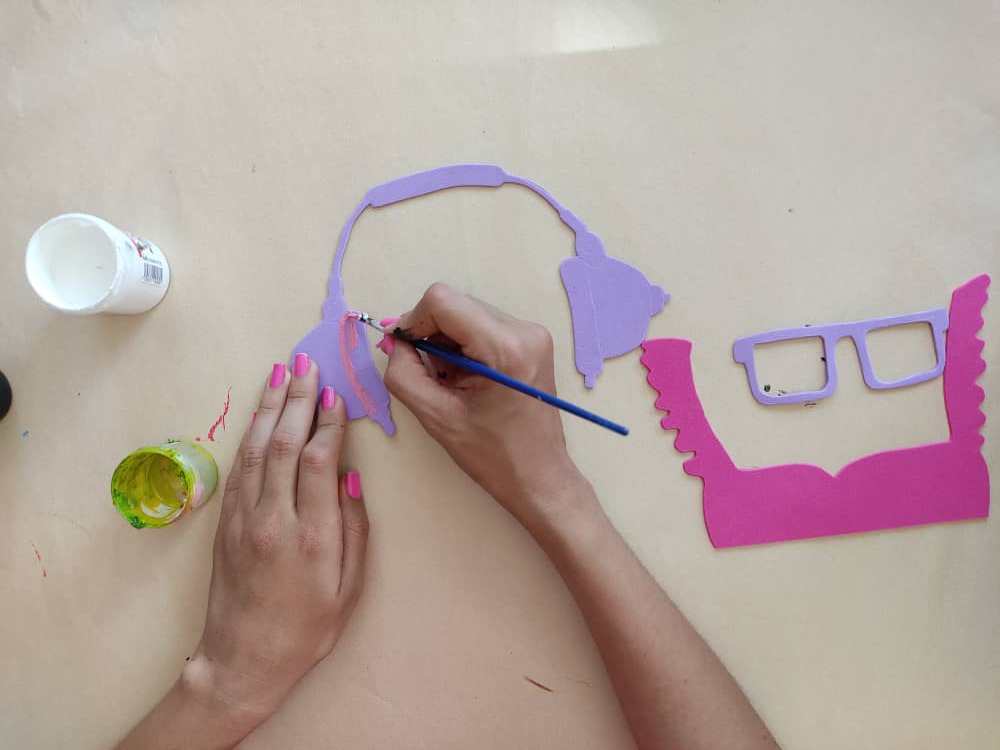
Seguidamente, transferimos los accesorios (audífonos, lentes, y camisa) con mucho cuidado para mantener las figuras intactas e idénticas al dibujo.
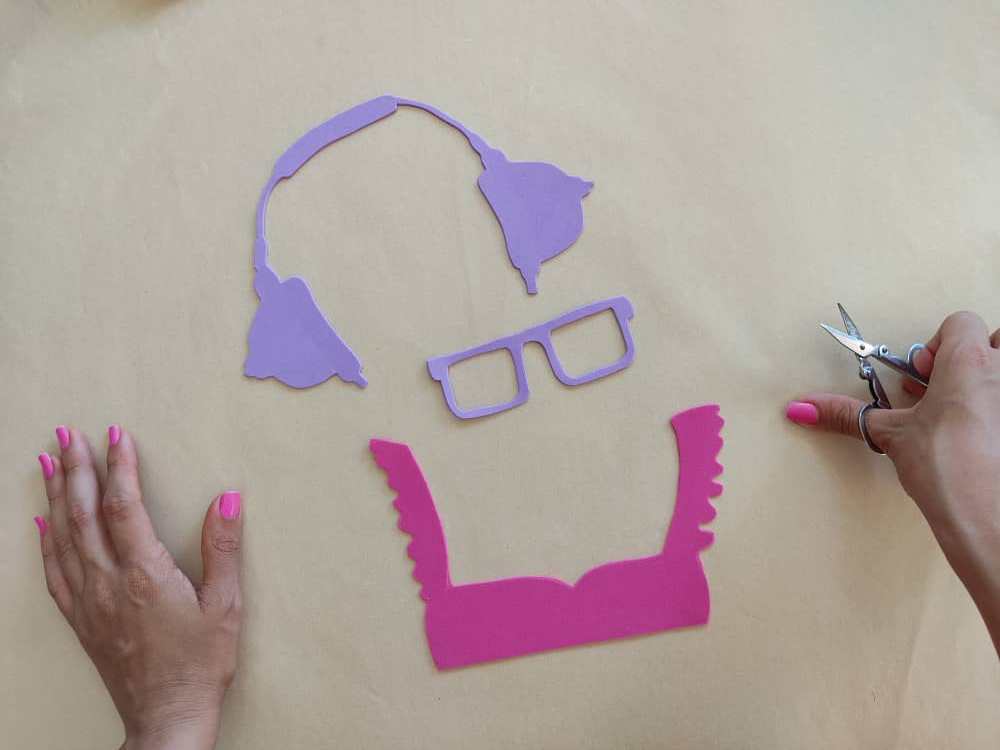
Next, we transfer the accessories (headphones, glasses, and shirt) with great care to keep the figures intact and identical to the drawing.
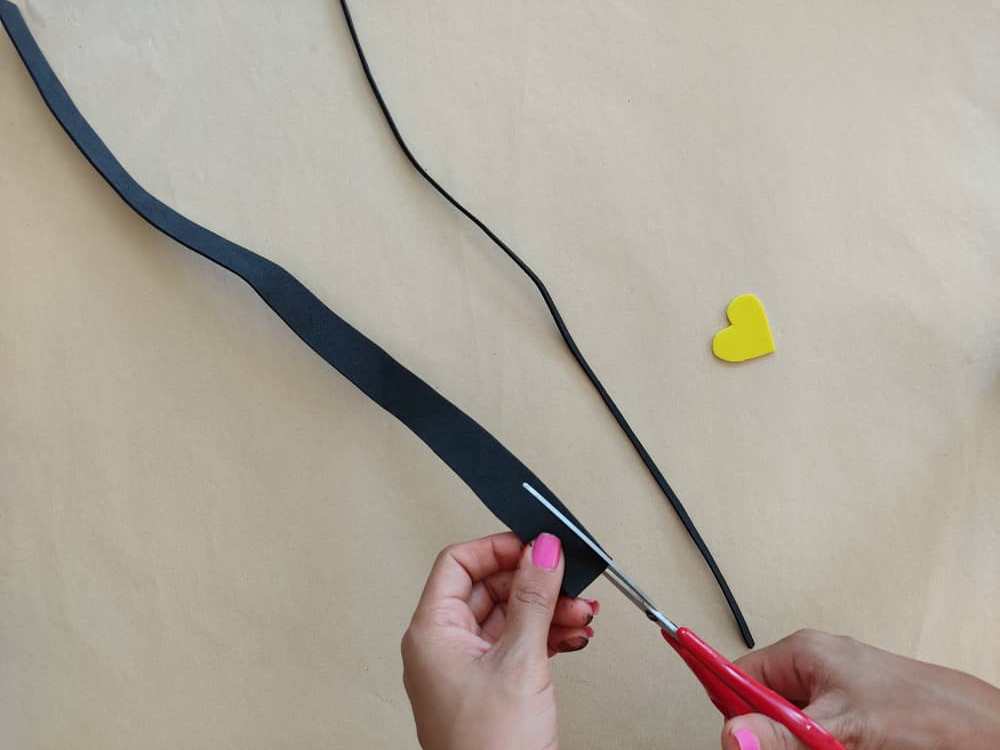
Luego, elaboramos dos tiras largas muy delgadas de color negro, más un pequeño corazón, para que sean los cables de los audífonos.
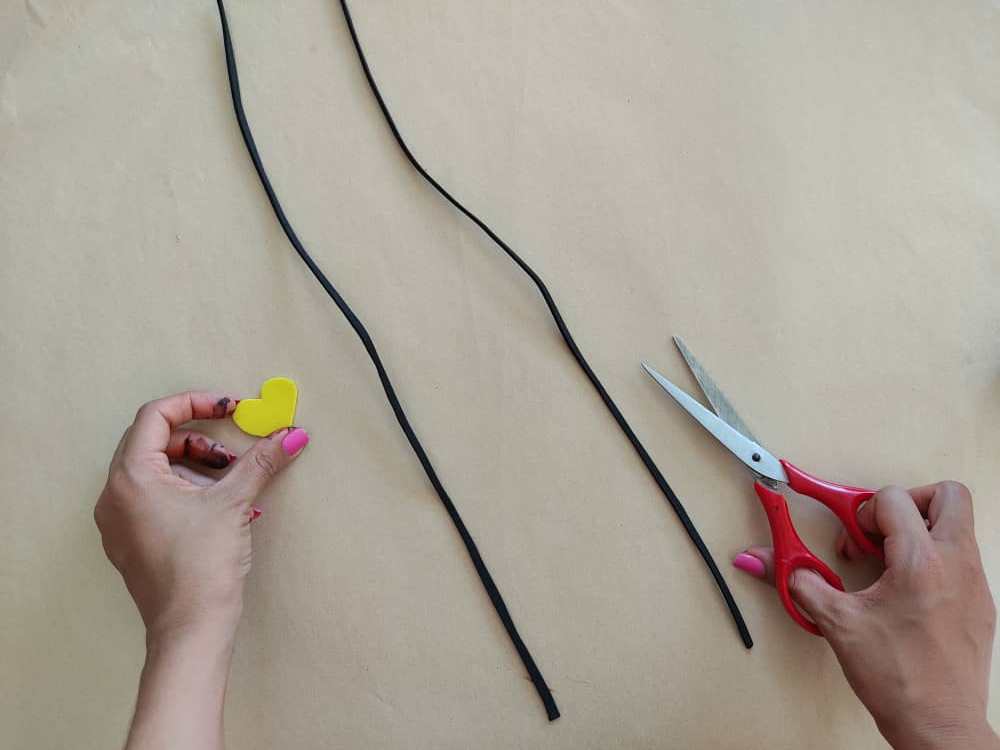
Next, we make two long, very thin black strips, plus a small heart, to be the headphone cables.
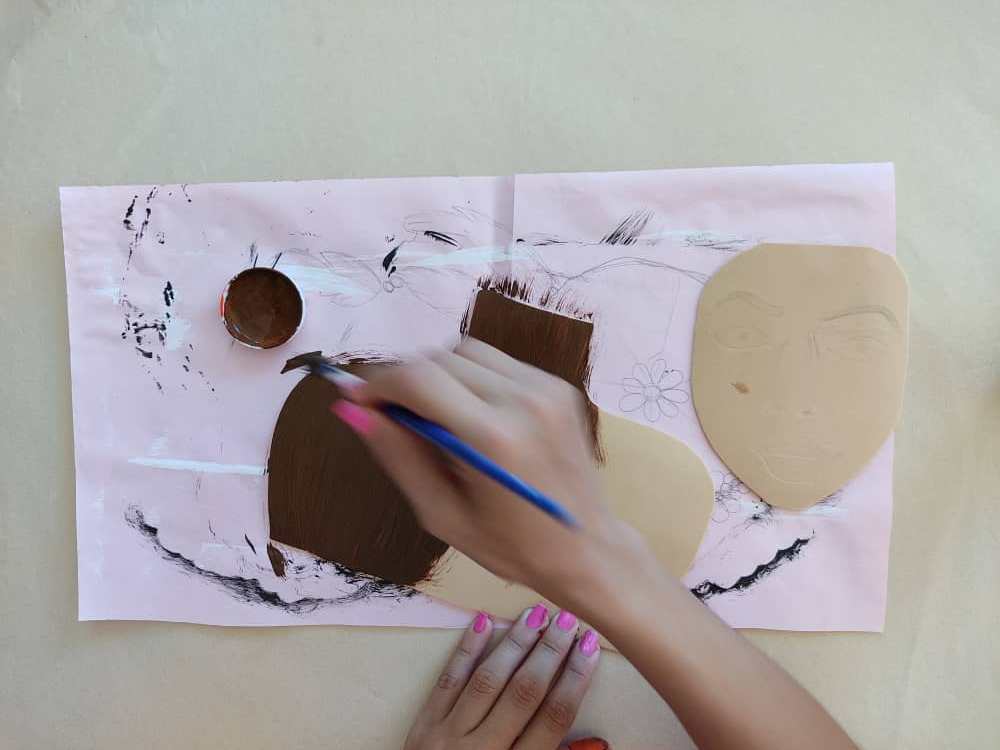
Ahora, comenzamos a pintar la piel de la chica de color marrón “muy lindo”, ya que nuestra hermosa chica tendrá un hermosos tono de piel canela, hermoso no? Y dejamos secar por unos minutos.
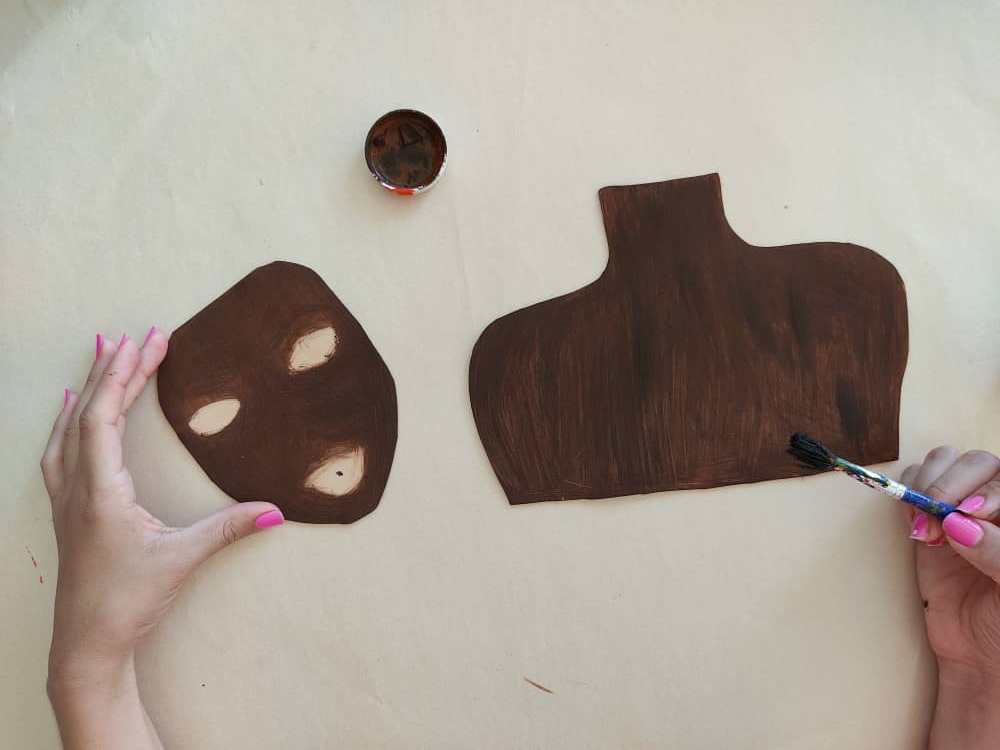
Now, we begin to paint the skin of the girl brown "very cute", since our beautiful girl will have a beautiful tan skin tone, beautiful right? And we let it dry for a few minutes.
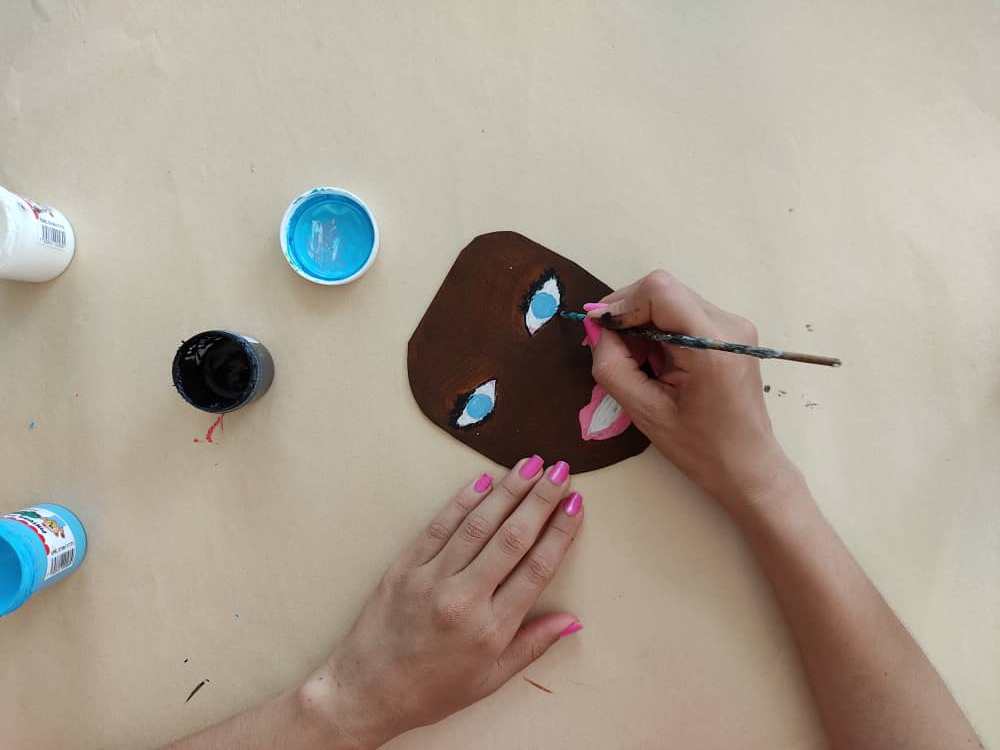
Seguidamente, definimos el rostro de nuestra modelo comenzando por los ojos, labios etc. Con la ayuda de un pincel fino.
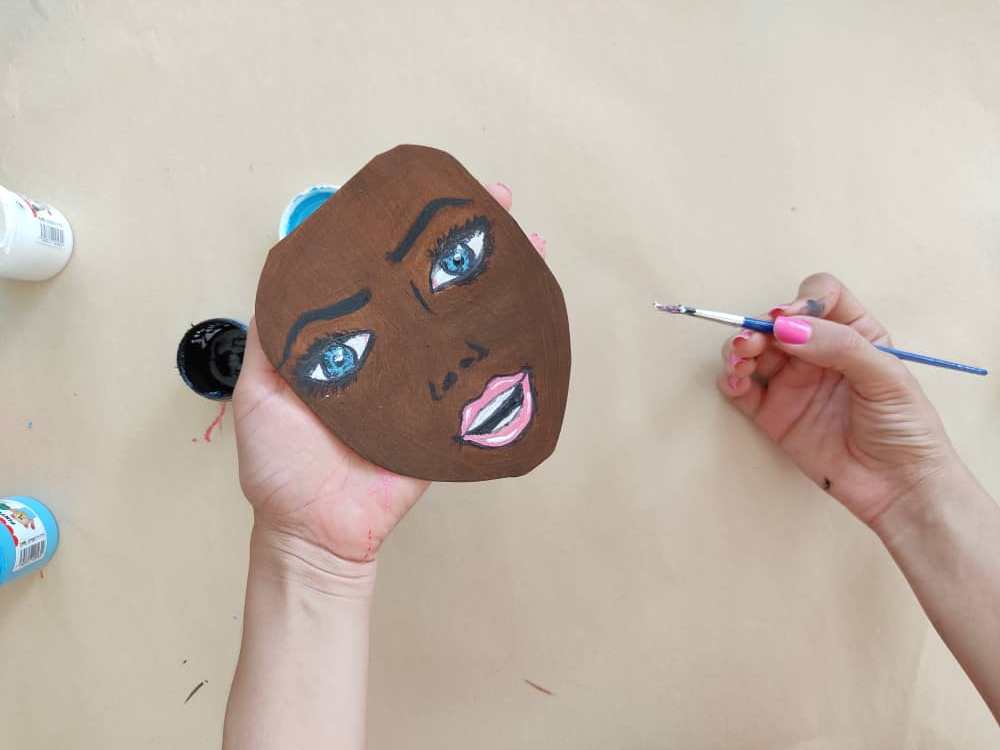
Next, we define the face of our model starting with the eyes, lips, etc. With the help of a fine brush.
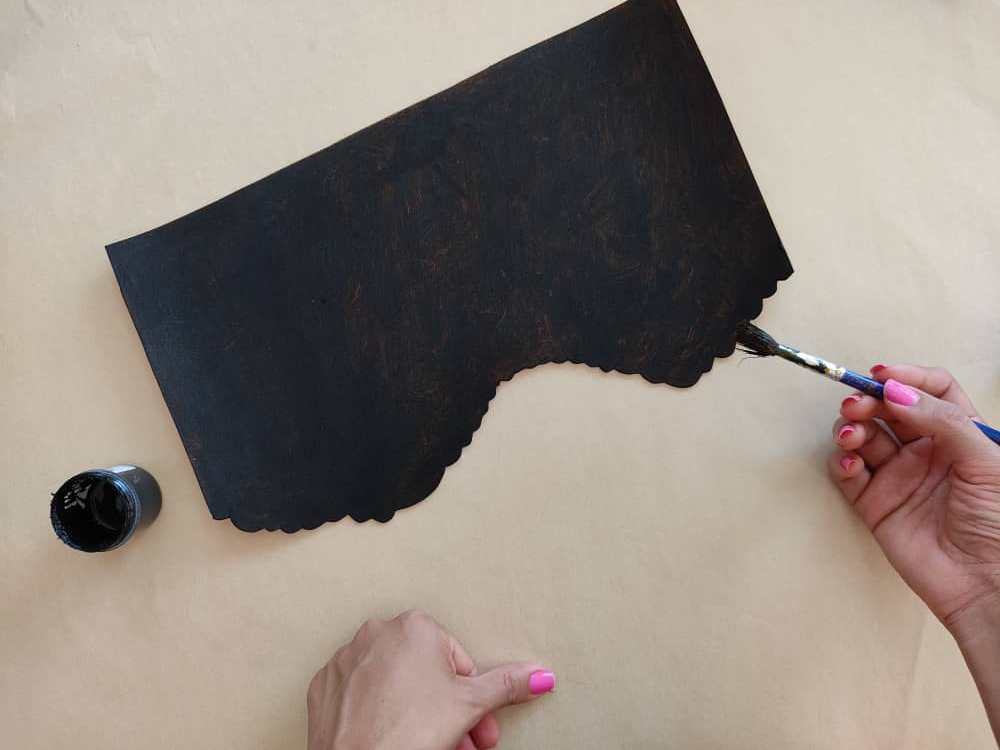
Ahora, pintamos el frondoso cabello de esta linda chica, está vez decidí pintarlo de negro, recuerden dar unos toques de blanco y así su cabello lucirá brillante.
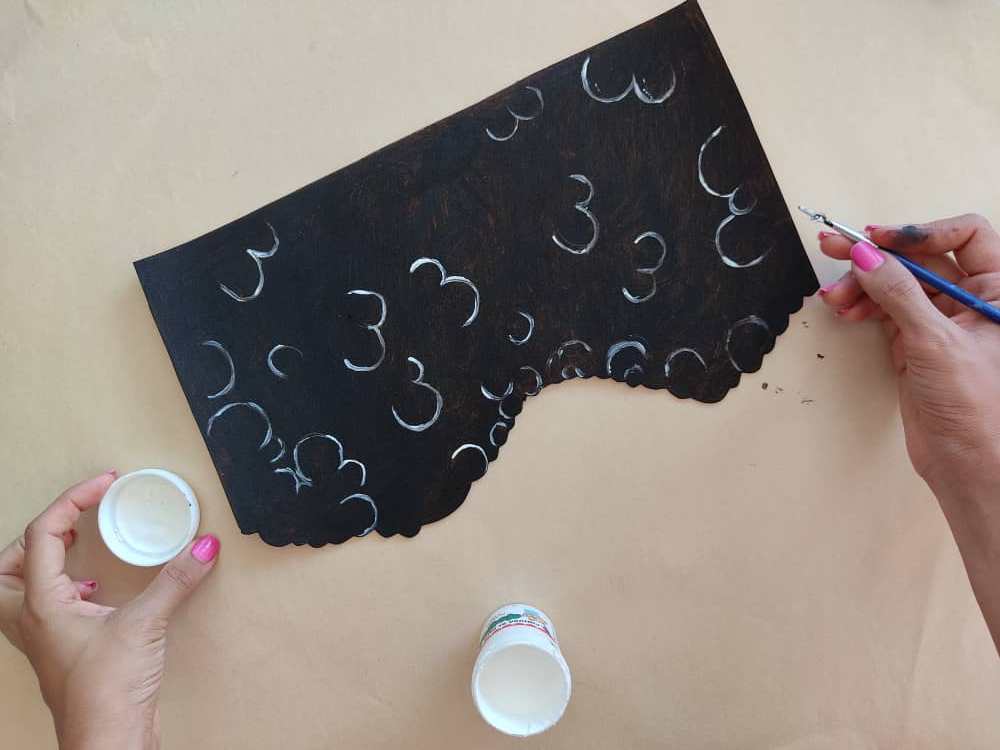
Now, we paint the lush hair of this pretty girl, this time I decided to paint it black, remember to give a few touches of white and her hair will look shiny.
Luego, pintamos los audífonos y lentes, para darle un toque súper cool, pues, esta chica está haciendo lo que ama, y no es más que escuchar música.
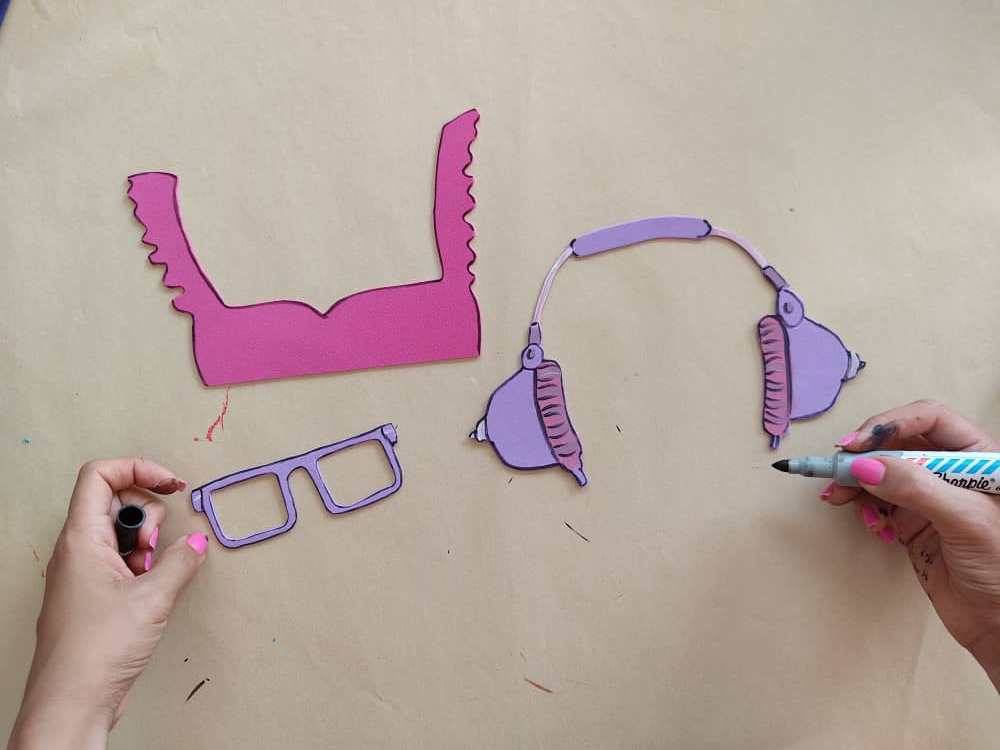
Then we painted the headphones and glasses, to give it a super cool touch, well, this girl is doing what she loves, and it is nothing more than listening to music.
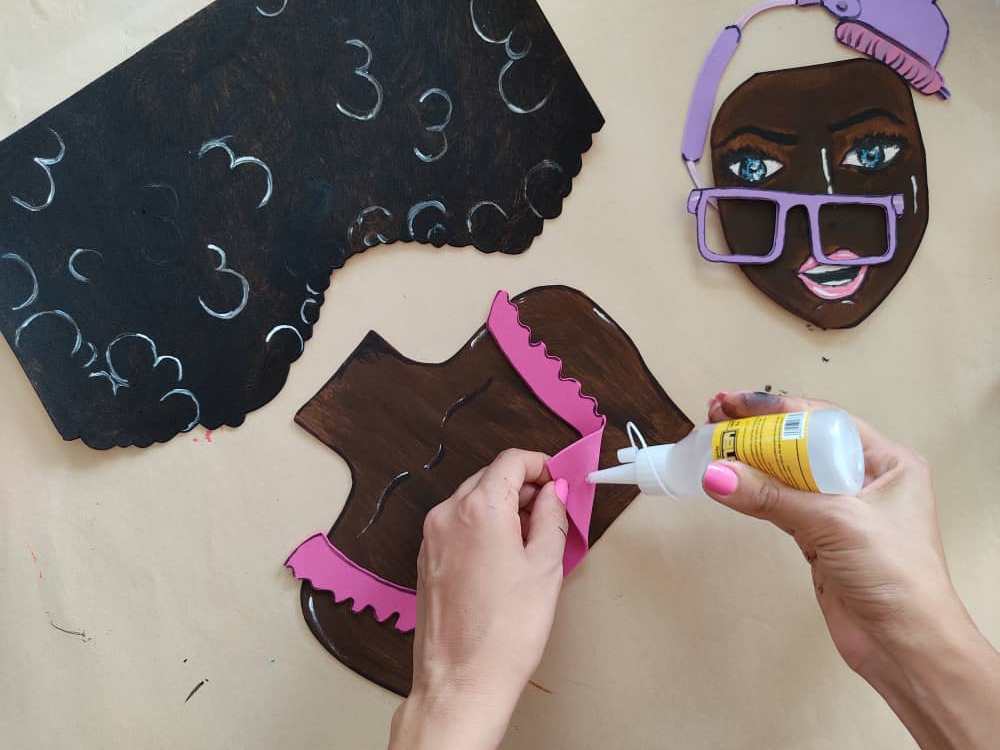
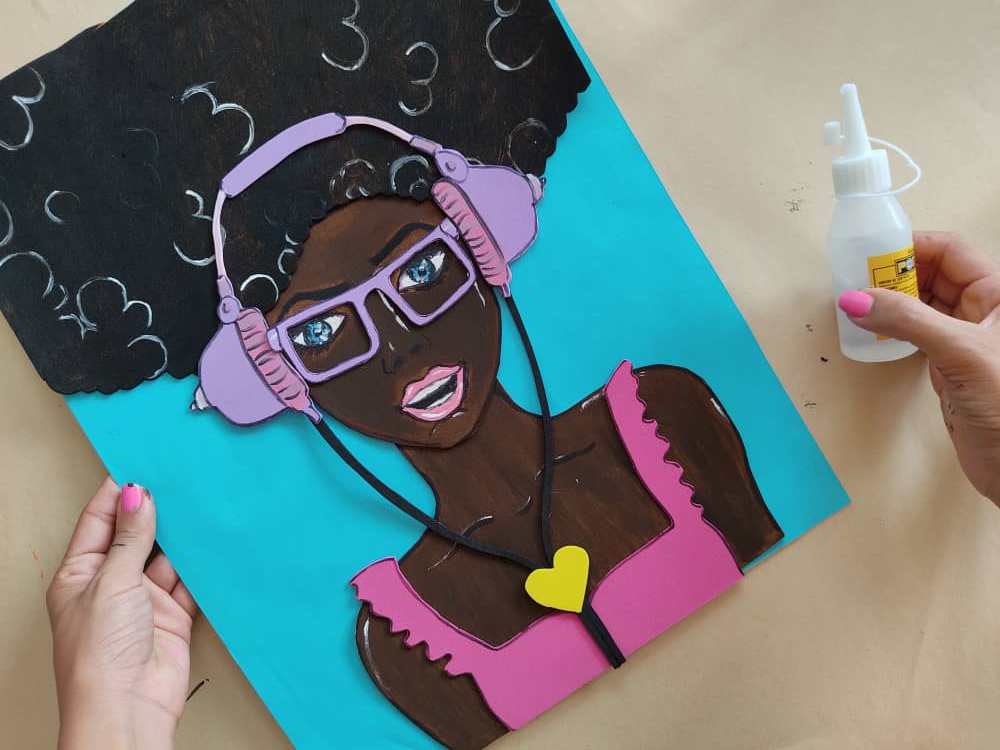
Seguidamente, armamos nuestra hermosa modelo con la ayuda de pegamento o silicón líquido, ubicando todo en su lugar. Debemos hacer presión durante unos segundos para que todo quede bien pegado.
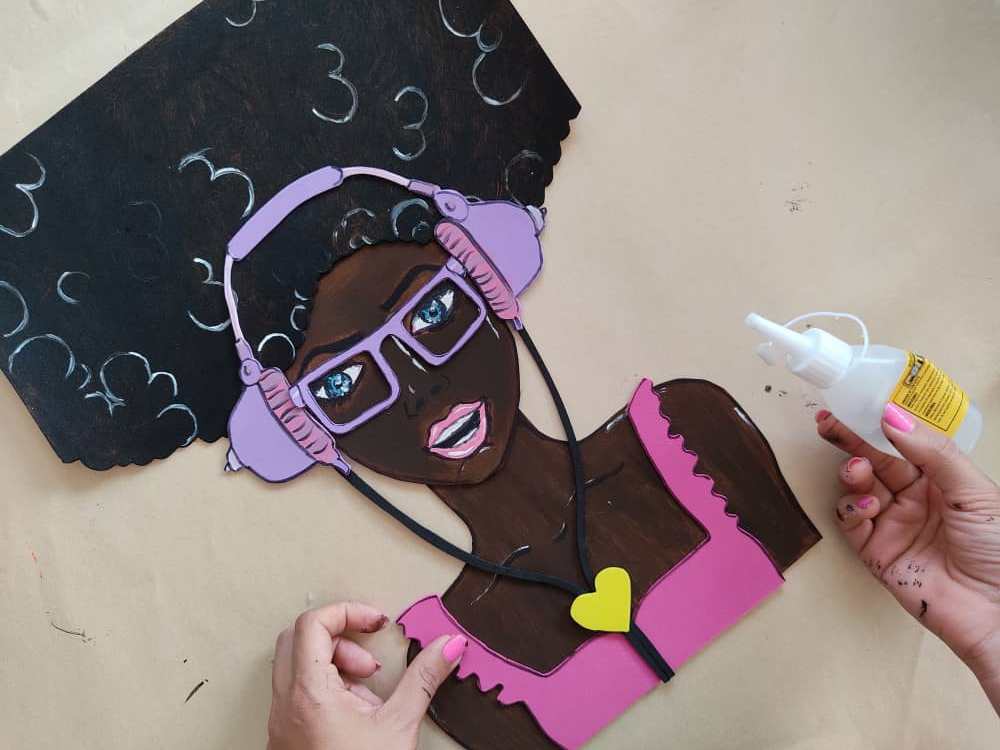
Next, we assemble our beautiful model with the help of glue or liquid silicone, placing everything in its place. We must press for a few seconds so that everything sticks well.
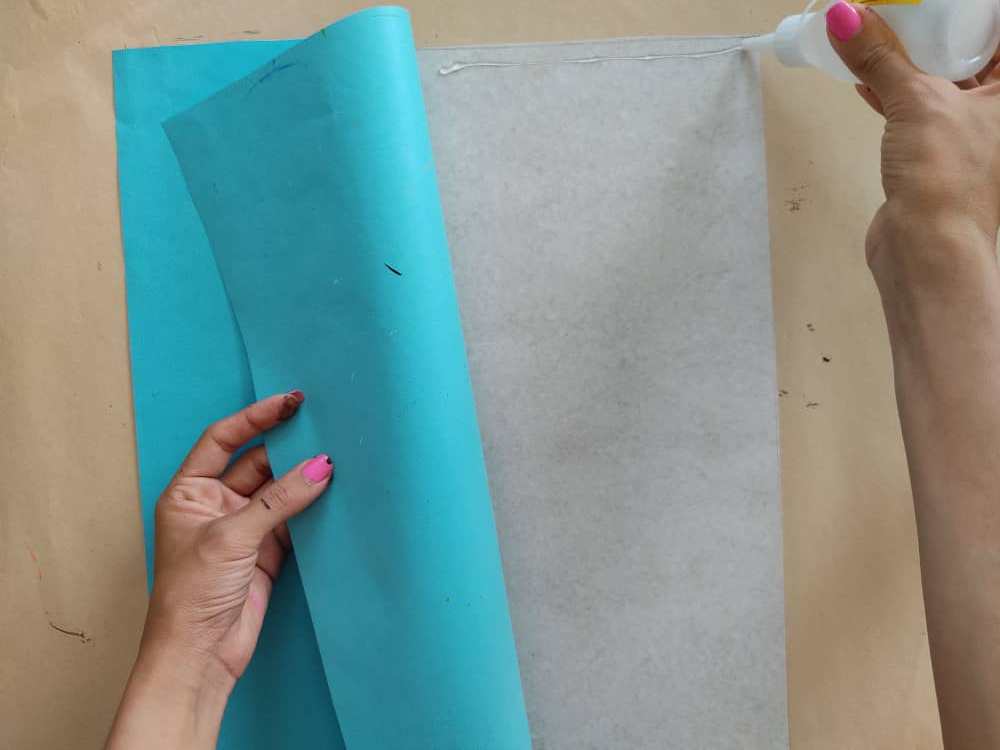
Ahora, fabricamos la base de cartón para nuestro cuadro, y lo cubrimos con una linda lámina de papel color azul cielo.
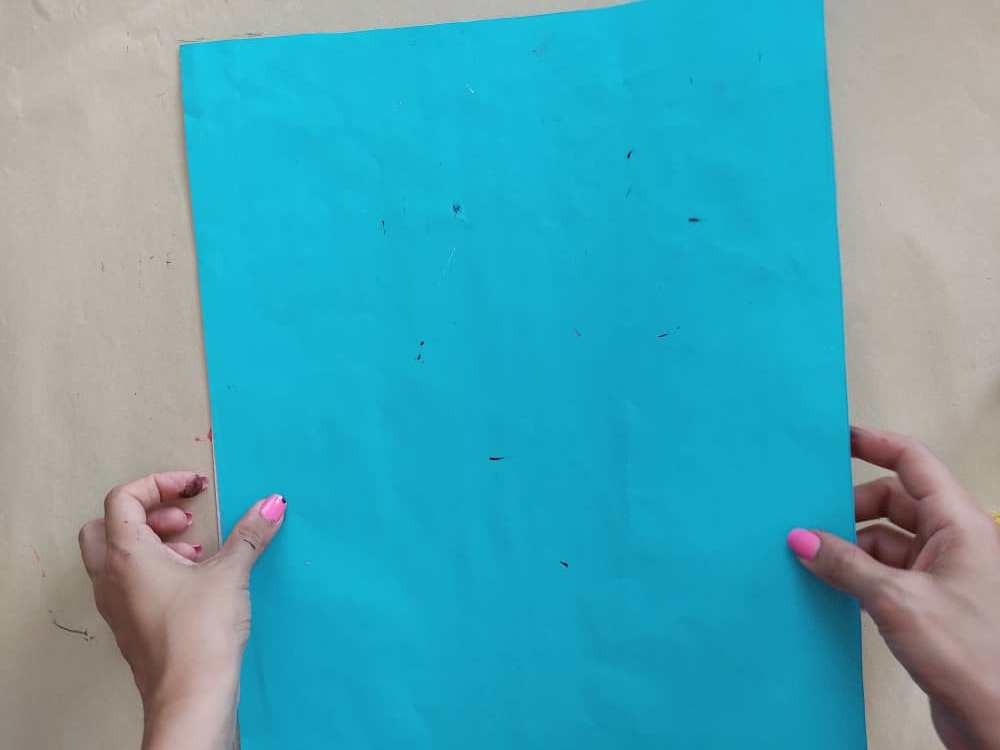
Now, we make the cardboard base for our painting, and we cover it with a nice sheet of sky blue paper.
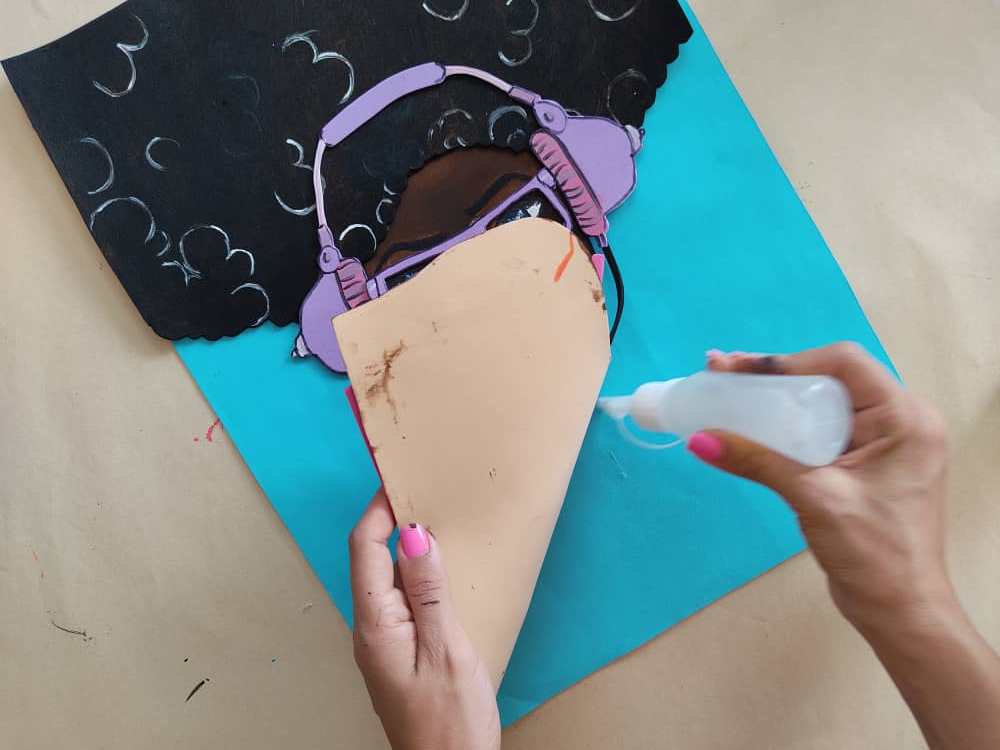
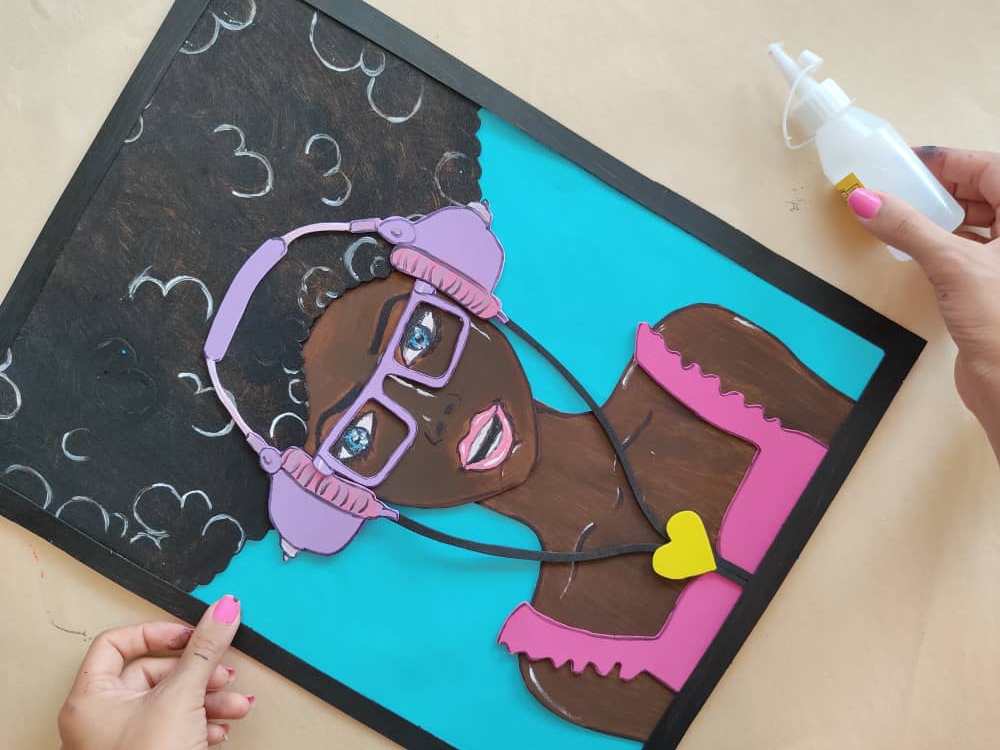
Luego, pegamos nuestra chica cool a la base de cartón con la ayuda del pegamento. Sin olvidar asegurarnos que quede bien pegada a la base.
Then, we glue our cool girl to the cardboard base with the help of glue. Without forgetting to make sure that it is well glued to the base.

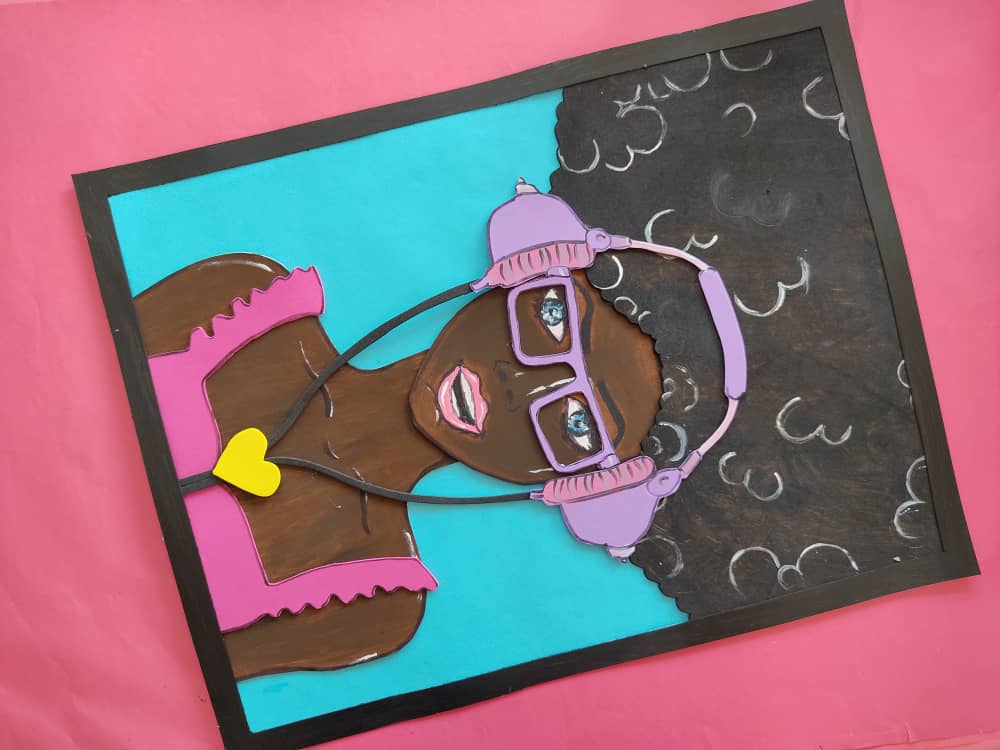
Finalmente, fabricamos un hermoso marco, lo pintamos de color negro y lo pegamos en el borde la base de nuestro cuadro.
Finally, we make a beautiful frame, paint it black, and glue it on the edge of the base of our painting.
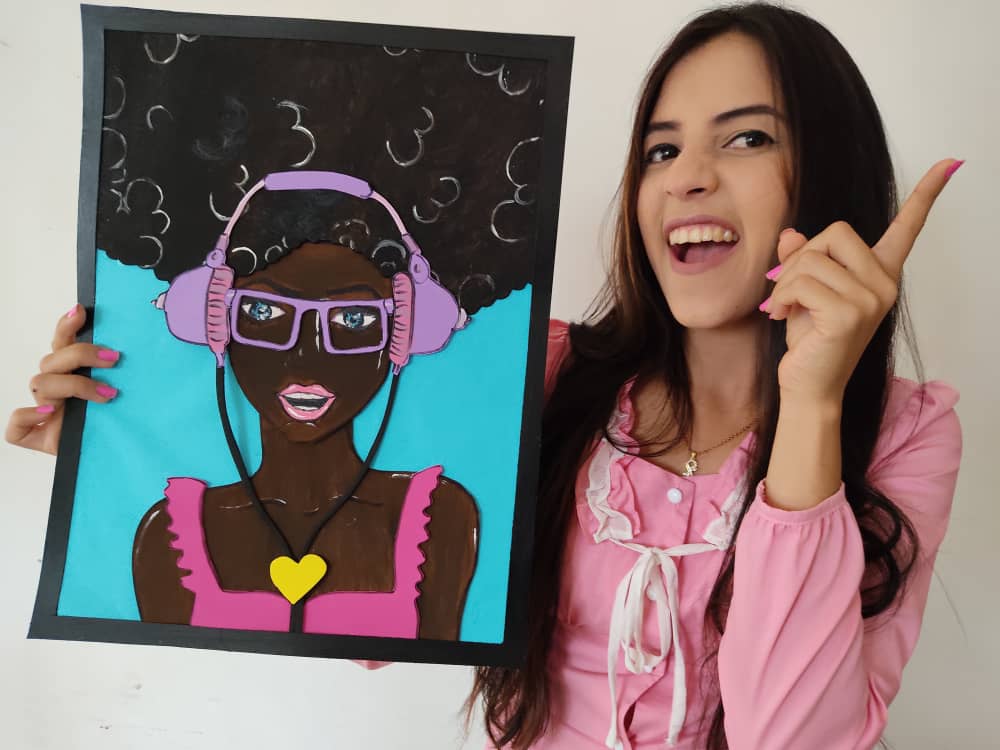
Gracias por acompañarme y espero que lo hayan disfrutado. ❤️
Thanks for joining and I hope you enjoyed it.❤️
.jpeg)
.jpeg)
.jpeg)
.jpeg)
.jpeg)
.jpeg)
.jpeg)
.jpeg)
.jpeg)
.jpeg)
.jpeg)
.jpeg)
.jpeg)
.jpeg)
.jpeg)
.jpeg)
.jpeg)
Clic para ver trabajos anteriores | Click to see previous works


Increíble!👏🏻
gracias por tu comentario querida
Hi @saracampero, It's not very easy to make this creative work. I have question. How much time you dedicate for create art works each day. Honestly I haven't free time to think creative work like you. So usually I spend same schedule every single day. This is enjoyable looking one and have a wonderful day.
Some paintings I manage to do the same day between 4 and 6 hours, but most take 8 hours or more, when they have many details, and given my routine and makeup time and taking all the photos, etc etc it takes me much longer to Sometimes it takes two days to get everything done, since I start working after 2pm when my little girl sleeps. Sometimes I find it difficult to share my daily work, so I thank you and everyone for supporting each of my work. The truth is I would like to share every day and be more participatory, but I don't have much time or a good internet. Since I live in Venezuela.
However I appreciate about your time management for every tasks. Also without good internet connection.
Hola linda @saracampero siempre hermosos tus trabajos , gracias por compartir tu arte.