.jpeg)

Español
Hola mi hermosa familia Hive 🙋 En esta oportunidad les traigo un nuevo y encantador paso a paso donde les mostrare como realizar un cuadro de la flor favorita de mi mamá “heliconia”, pues, le gusta tanto que me ha pedido este cuadro para decorar su oficina, está flor tan hermosa y exótica, y pues tengo la suerte de tenerlas en mi casa, y si que, decoran cualquier lugar y jardín dándole un hermoso toque mágico, ya que son flores tropicales adaptadas a climas calurosos y soleados, y realmente tiene una belleza de gracias a sus colores brillantes y su forma tan diferente, que nos cautiva a todos. Recuerden que cada día hay que aprovecharlo para desarrollar nuestras nuevas ideas, así que, adiós al aburrimiento y manos a la obra, si en alguna oportunidad les gustaría que elabore alguna flor en especial para ustedes no duden en pedirla.
English
Hello my beautiful Hive family 💁 This time I bring you a new and charming step by step where I will show you how to make a painting of my mother's favorite flower "heliconia", well, she likes it so much that she has asked me for this painting to decorate her office, this flower is so beautiful and exotic, and well I am lucky to have them in my house, and yes, they decorate any place and garden giving it a beautiful magic touch, since they are tropical flowers adapted to hot and sunny climates, and it really has a beauty of thanks to its bright colors and its shape so different, that it captivates us all. Remember that every day we have to take advantage of it to develop our new ideas, so, goodbye to boredom and get to work, if at any time you would like me to make a special flower for you, do not hesitate to ask for it.
¿Qué están esperando?
Utilizar estos hermosos materiales para transformarlos en un hermoso cuadro de flor heliconia, es una idea muy original y económica para decorar nuestro entorno y darle un toque de creatividad a nuestras paredes. Antes de comenzar no olvidemos lavarnos nuestras manos.
What are they waiting for?
Using these beautiful materials to transform them into a beautiful heliconia flower painting is a very original and inexpensive idea to decorate our surroundings and give our walls a touch of creativity. Before we start, let's not forget to wash our hands.

[Materiales | Materials]
Para hacer esta precioso cuadro necesitaremos:
- Moldes.
- Foami o goma eva.
- Lamina de cartón.
- Lápiz.
- Pincel.
- Pinturas.
- Tijera.
- Cúter.
- Pegamento o silicón liquido.
To make this precious painting will need:
- Molds.
- Foamy or EVA foam.
- Cardboard sheet.
- Pencil.
- Brush.
- Paintings.
- Scissors.
- Cutter.
- Glue or liquid silicone.
Procedimiento (paso a paso)
Process (step by step)
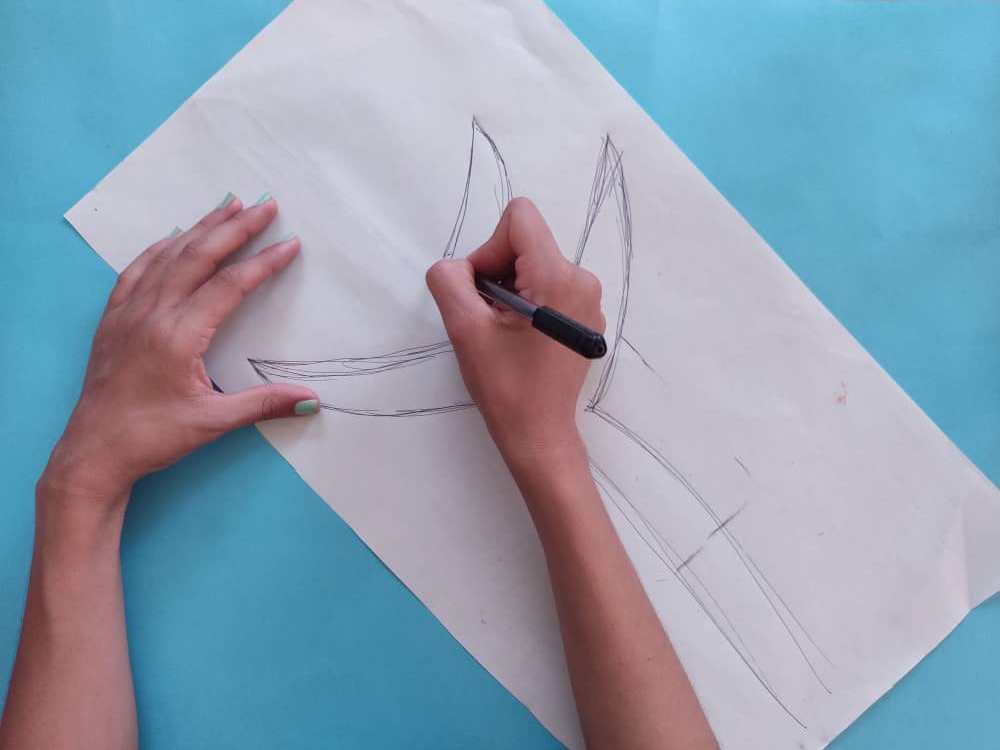
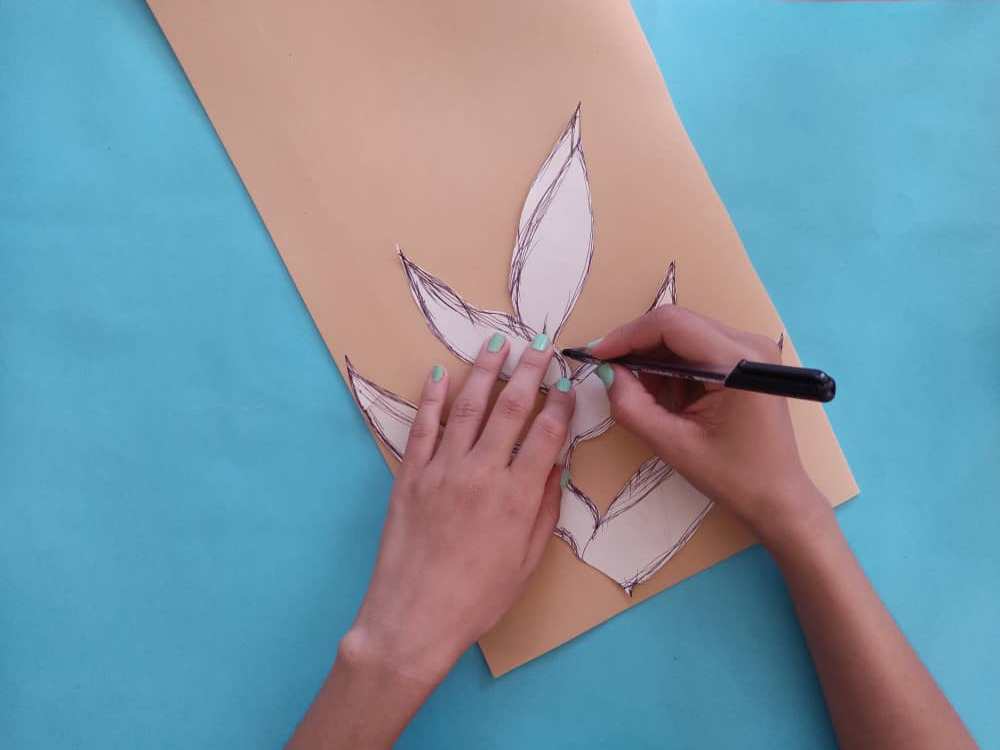
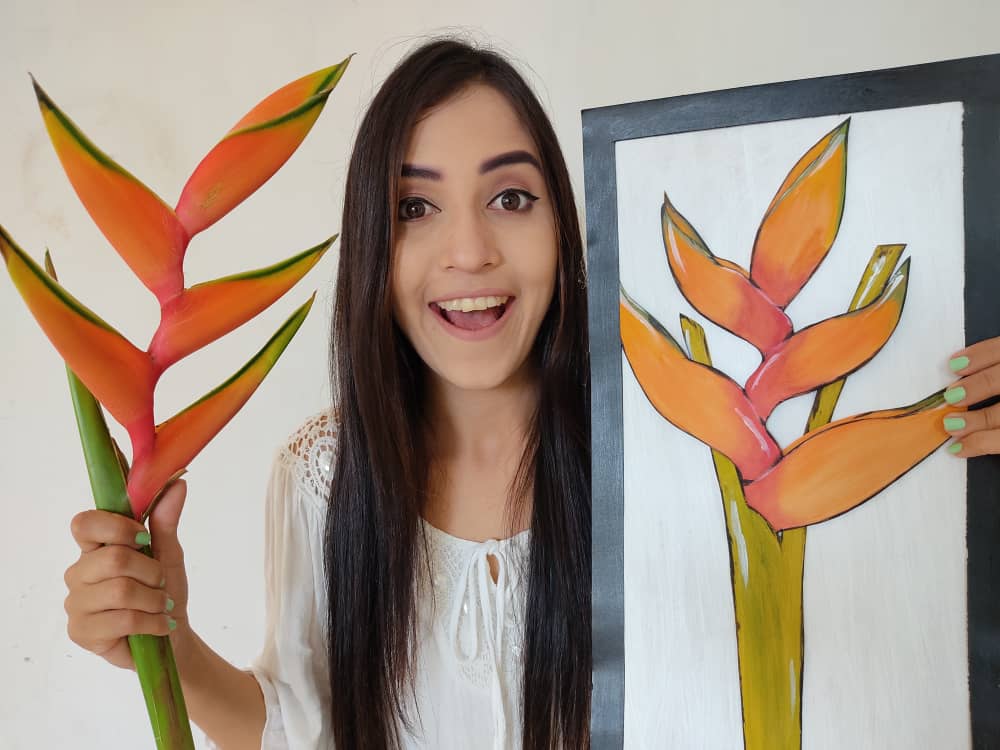
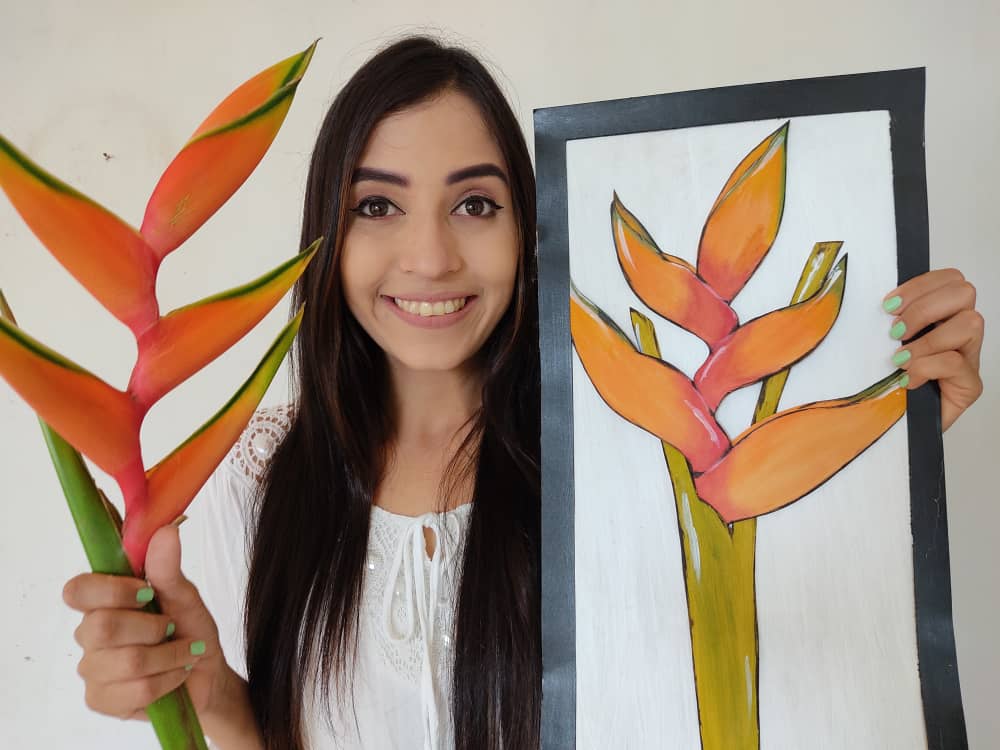
Primero, y como siempre dejamos volar nuestra imaginación para dibujar una hermosa flor heliconia, hasta obtener el resultado deseado, no importa si está no nos sale perfecta, pero como se que existen personas que buscan siempre la perfección, (y les recomiendo que sean así) les comparto mi truco para que los dibujos que vamos a elaborar luzcan más reales, y no es más que la observación que tengamos al momento de dibujar, observemos muy bien tomemos el tiempo necesario para esto, y comencemos a dibujar.
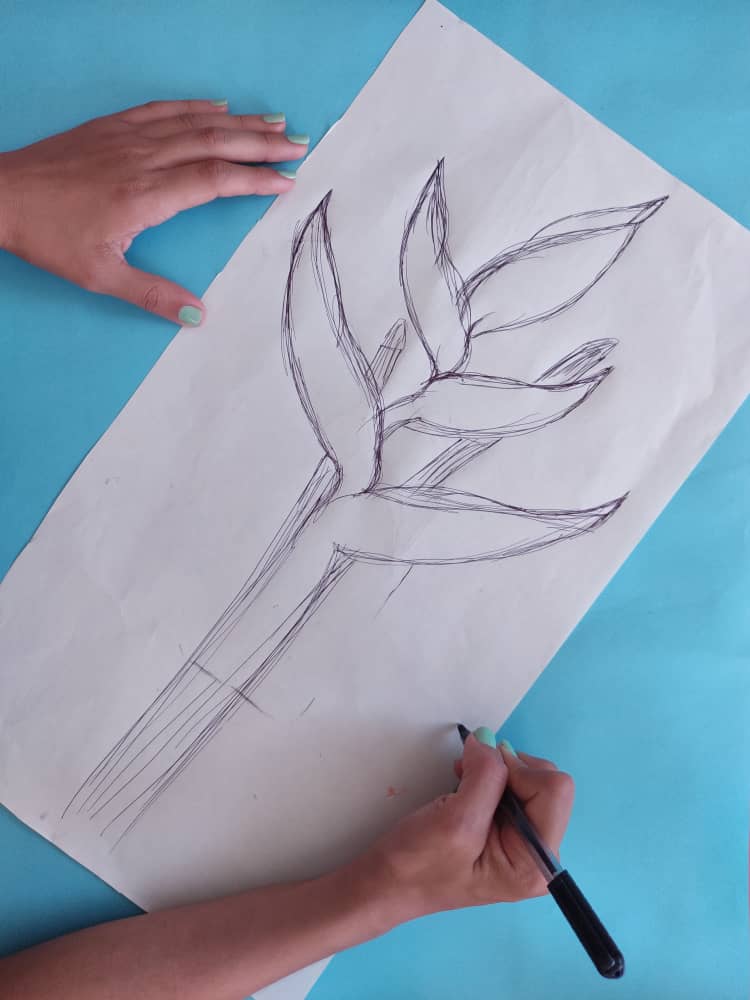
First, and as always we let our imagination fly to draw a beautiful heliconia flower until we obtain the desired result, it does not matter if it is not perfect, but as I know that there are people who always seek perfection, (and I recommend that they be like that ) I share my trick so that the drawings that we are going to make look more real, and it is nothing more than the observation that we have at the time of drawing, let's observe very well, take the necessary time for this, and start drawing.
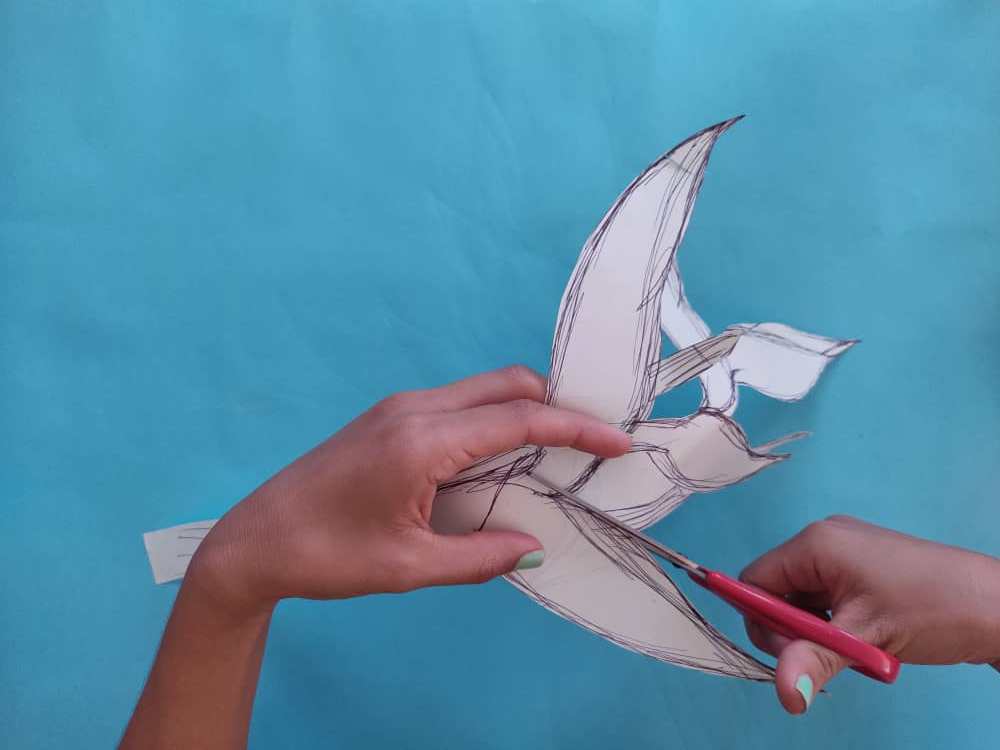
Luego de haber obtenido nuestro diseño, recortamos cuidadosamente separando la flor, el tallo, y las ramas. Recuerden conservar las medidas marcadas para no perder la forma exacta de la hermosa heliconia.
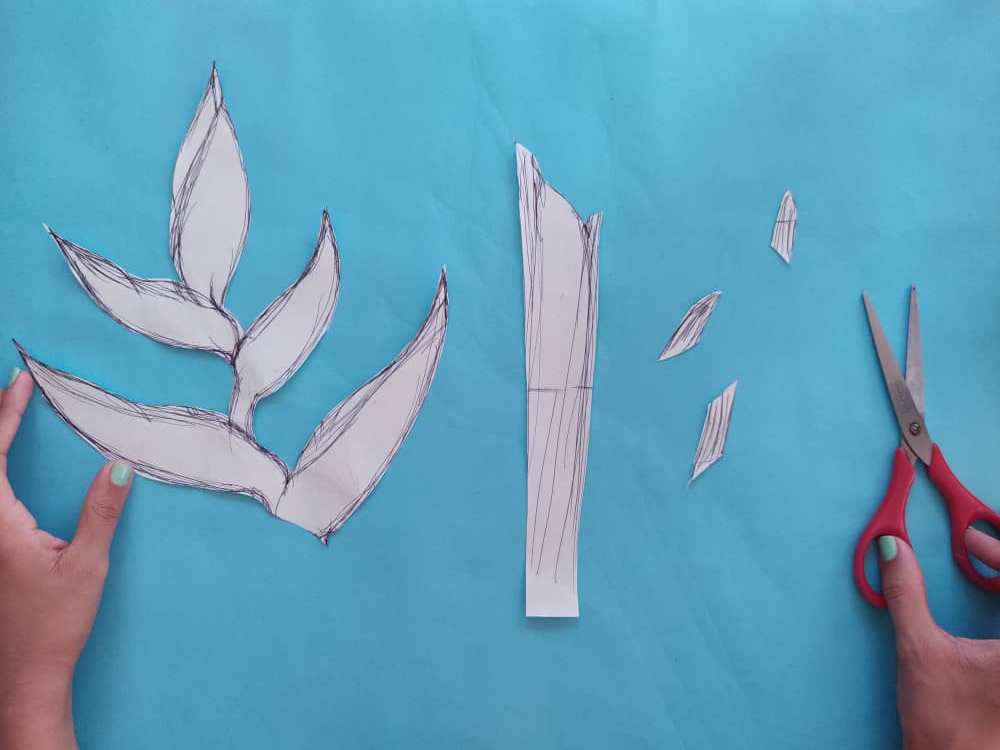
After having obtained our design, we cut carefully separating the flower, the stem, and the branches. Remember to keep the marked measurements so as not to lose the exact shape of the beautiful heliconia.
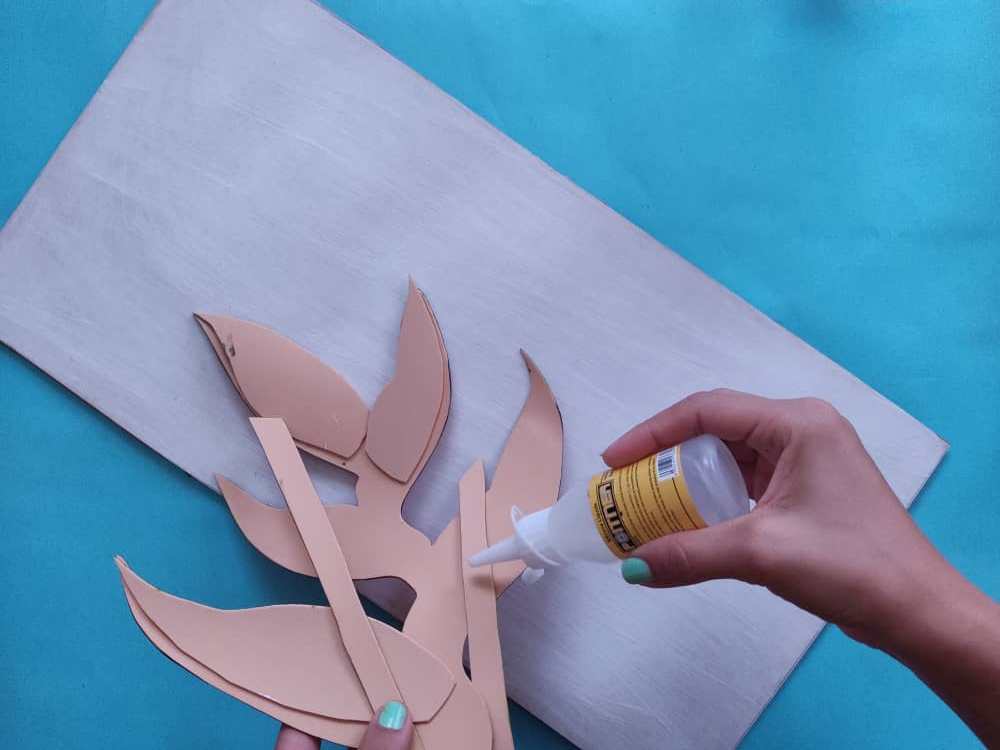
Seguidamente, transferimos las figuras obtenidas al foami de color que más nos guste o tengamos, y elaboramos tres pétalos extras para darle un poco de profundidad a su forma.
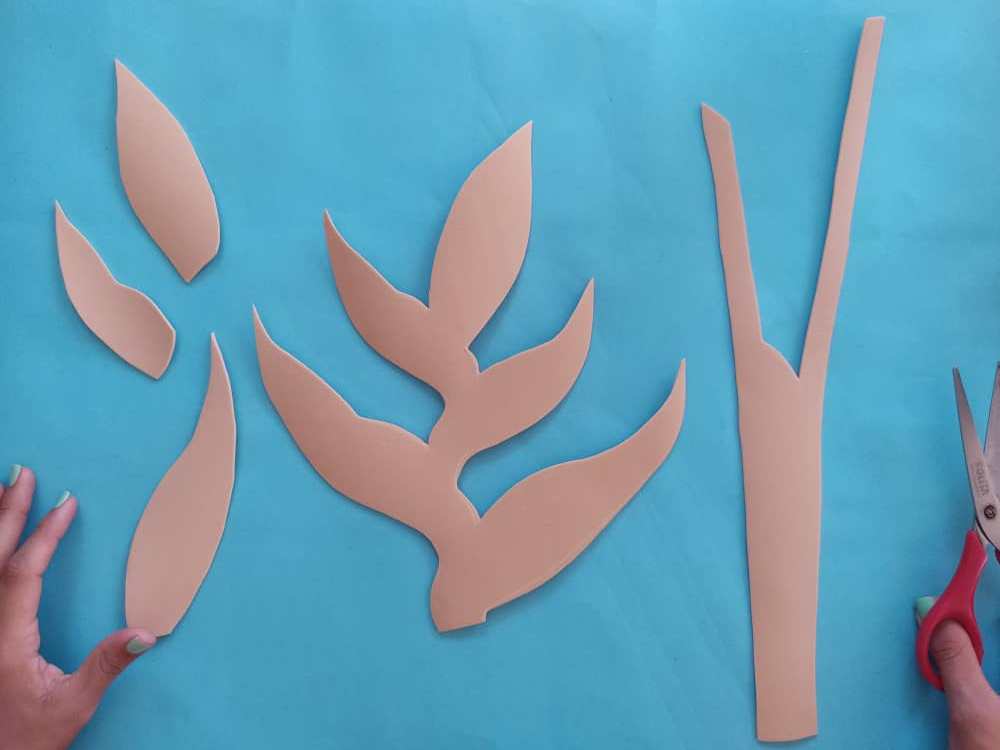
Next, we transfer the figures obtained to the colored foamy that we like or have the most, and we make three extra petals to give their shape a little depth.
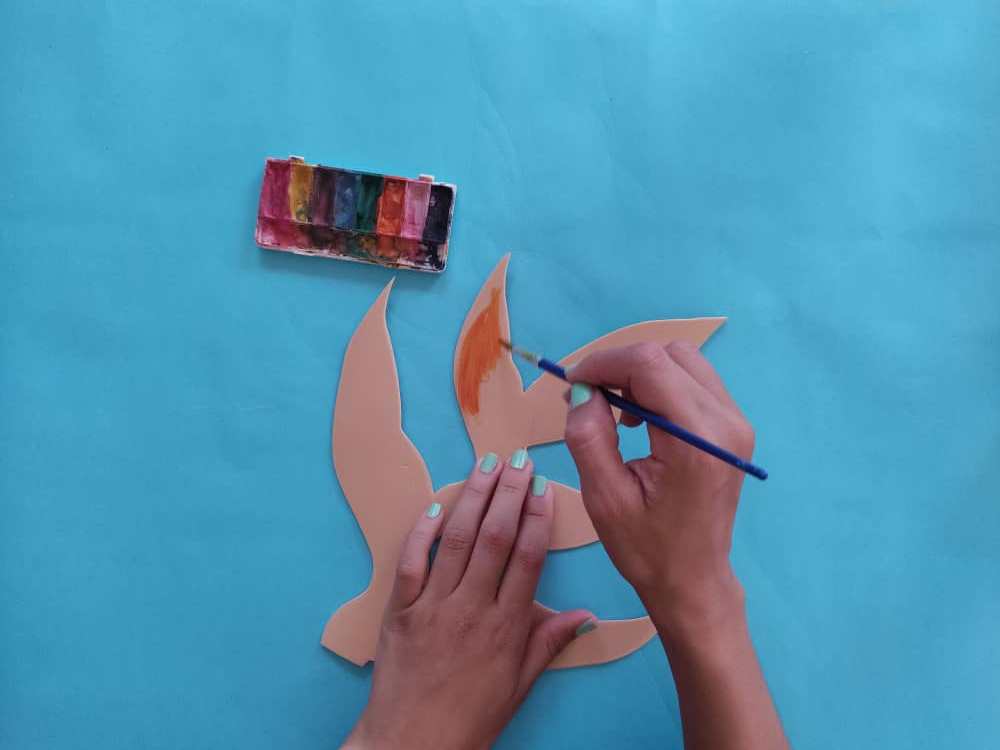
Ahora, llegamos al momento más esperado donde dejaremos volar nuestra imaginación y creatividad para darle vida y magia a cada parte de nuestra heliconia aplicando hermosos colores, con mucho amor y delicadeza. Comenzamos pintando la flor de un color naranja muy alegre, y en la parte central de esta aplicamos un color rojo brillante.
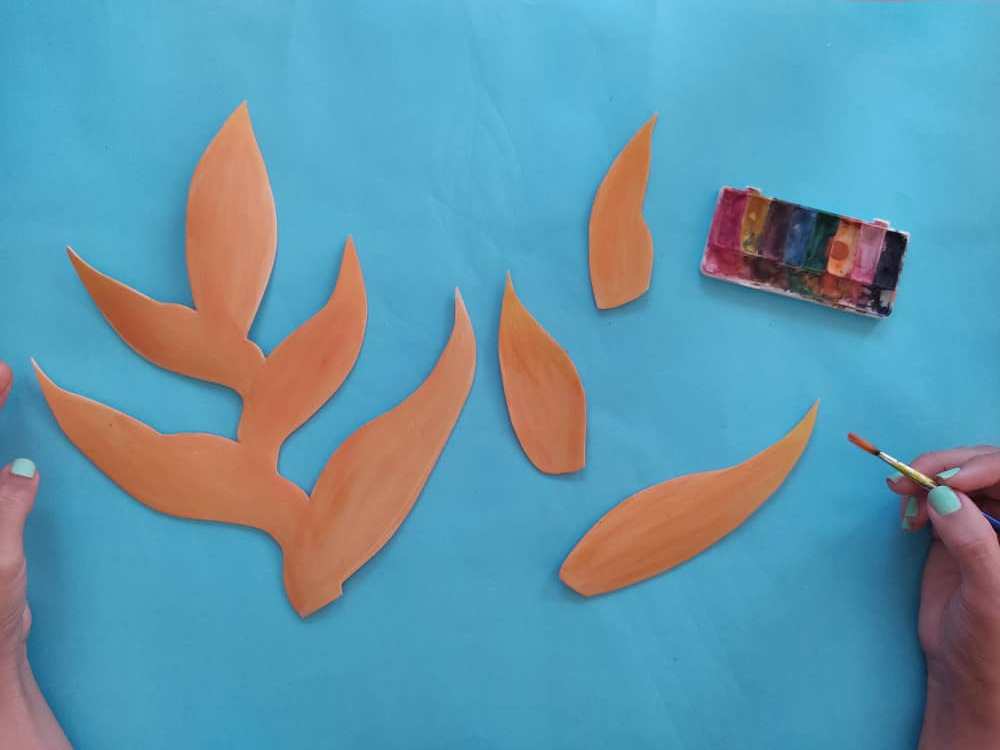
Now, we come to the most awaited moment where we will let our imagination and creativity fly to give life and magic to each part of our heliconia applying beautiful colors, with much love and delicacy. We start by painting the flower a very cheerful orange color, and in the central part of it, we apply a bright red color.
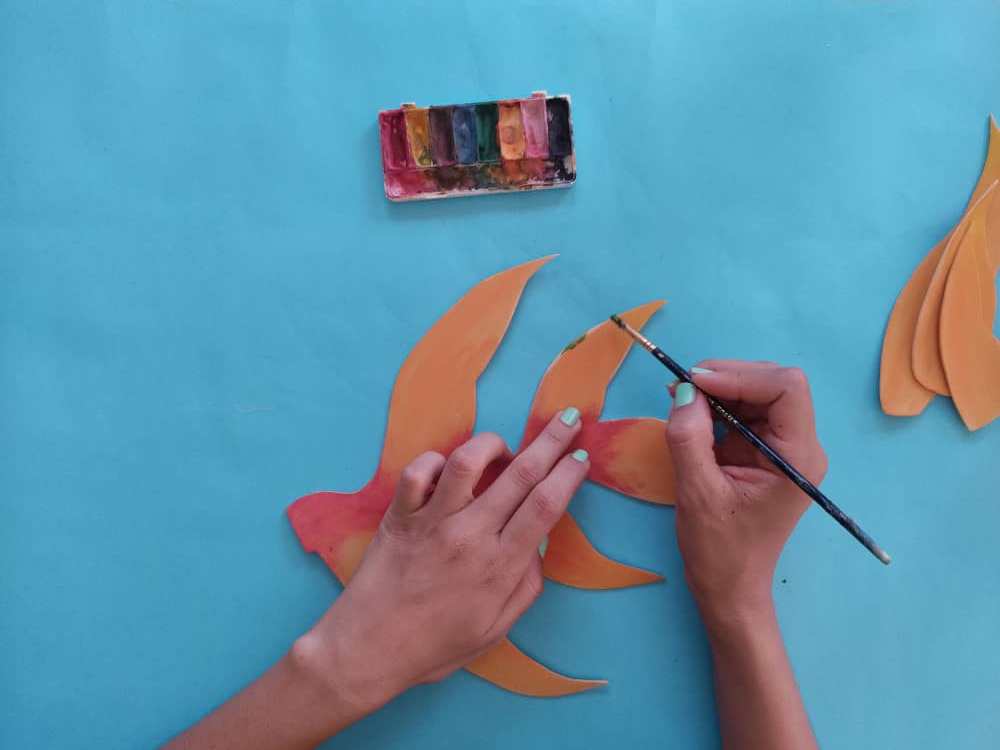
Luego, continuamos agregando pintura y color a nuestra hermosa heliconia, como lo son los detalles de sus extremidades y el tallo en color verde. Y seguidamente, marcamos los bordes de la flor con pintura negra y un pincel fino, y luego unos toque de luz con pintura blanca.
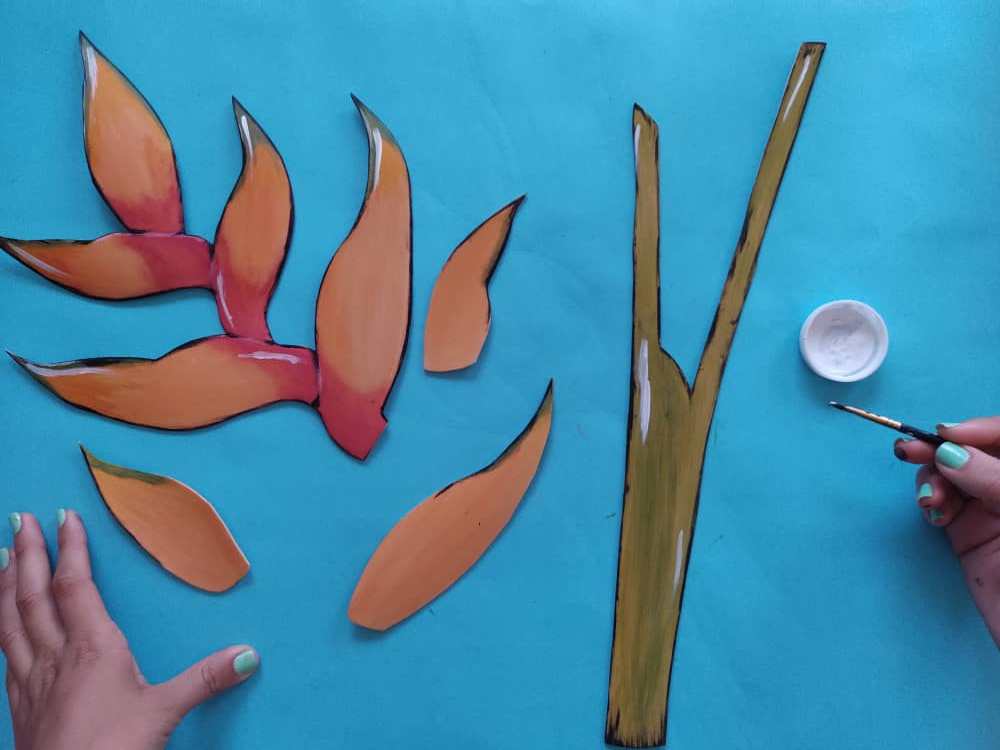
Then we continue to add paint and color to our beautiful heliconia, as are the details on its limbs and stem in green. And then we mark the edges of the flower with black paint and a fine brush, and then a few highlights with white paint.
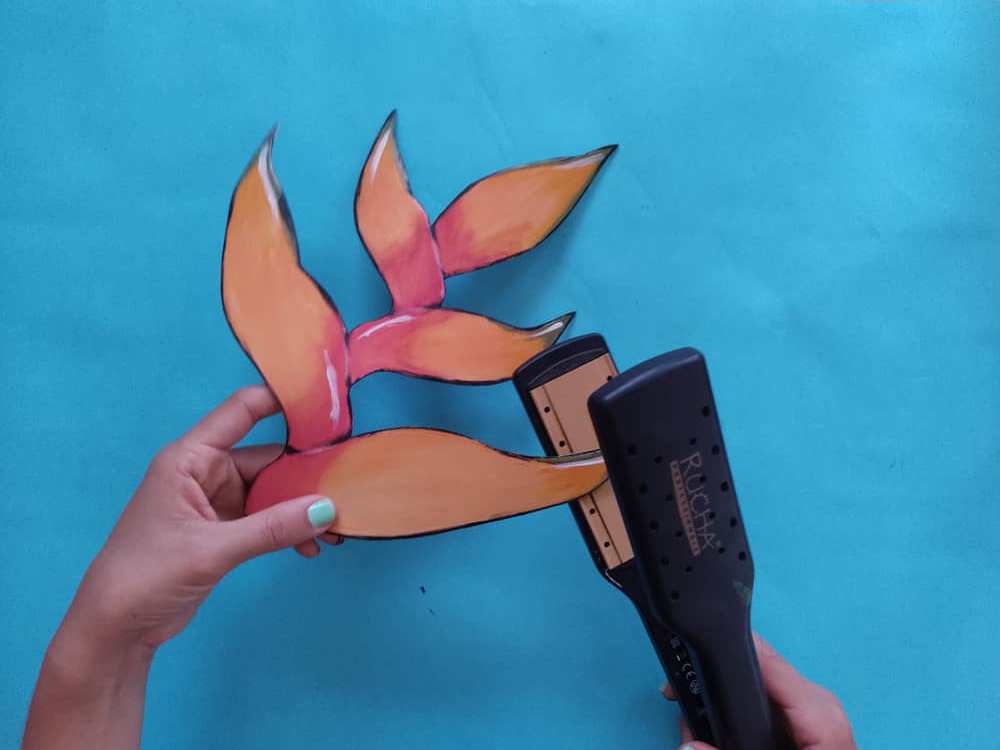
Ahora, aplicamos la técnica del termoformado a nuestra flor de foami con la ayuda de una plancha para cabellos, y abultamos los pétalos sobresalientes y miren que increíbles lucen nuestra flor cuando aplicamos esta técnica tan práctica.
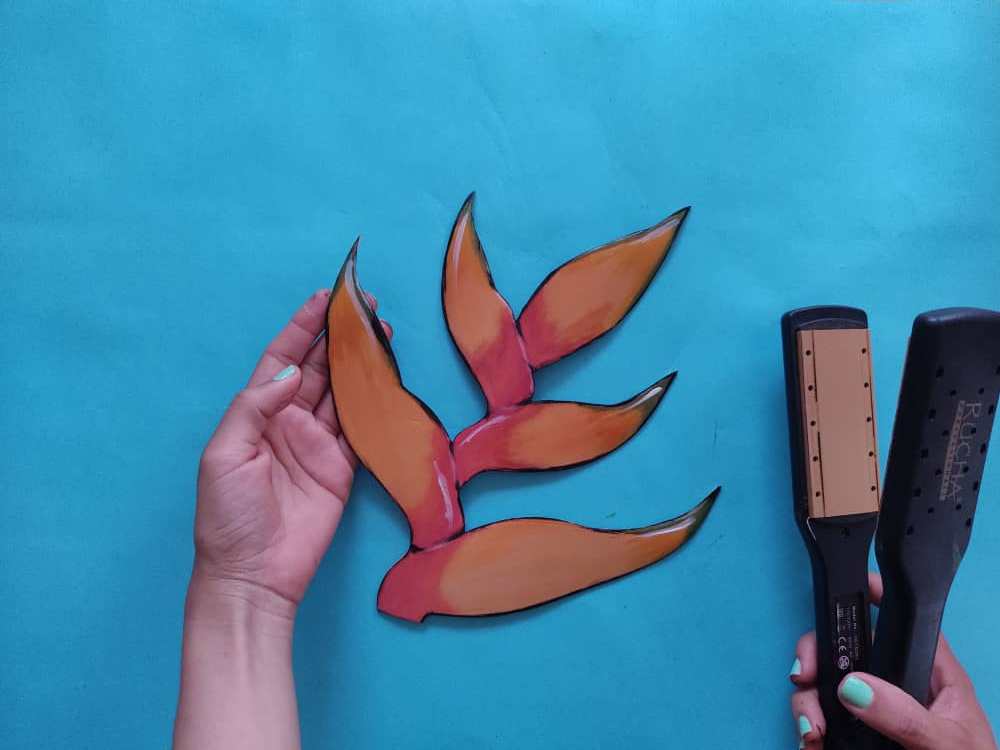
Now, we apply the thermoforming technique to our foamy flower with the help of a hair straightener, and we bulge the protruding petals and see how incredible our flower looks when we apply this very practical technique.

Seguidamente, unimos las partes de la flor heliconia encajando cada figura en su lugar, para que se vea tan real que parezca que la flor sale desde el interior del tallo. Debemos hacer un poco de presión con nuestras manos para que todo quede bien pegado.
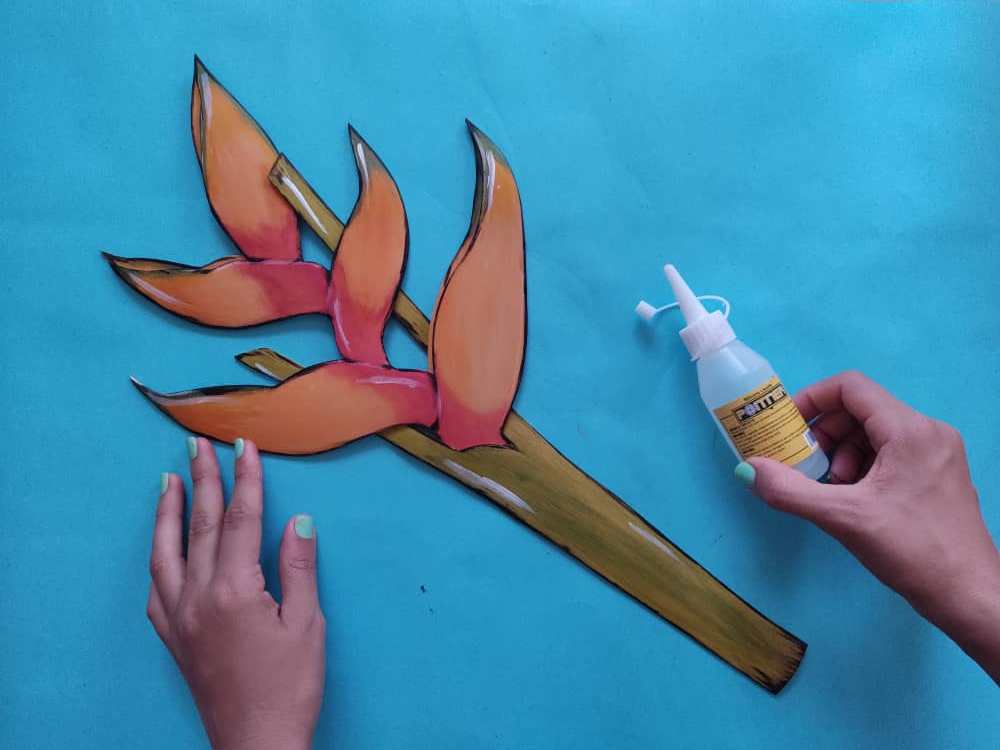
Next, we join the parts of the heliconia flower fitting each figure in its place, so that it looks so real that it seems that the flower is coming out from the inside of the stem. We must apply a little pressure with our hands so that everything sticks well.
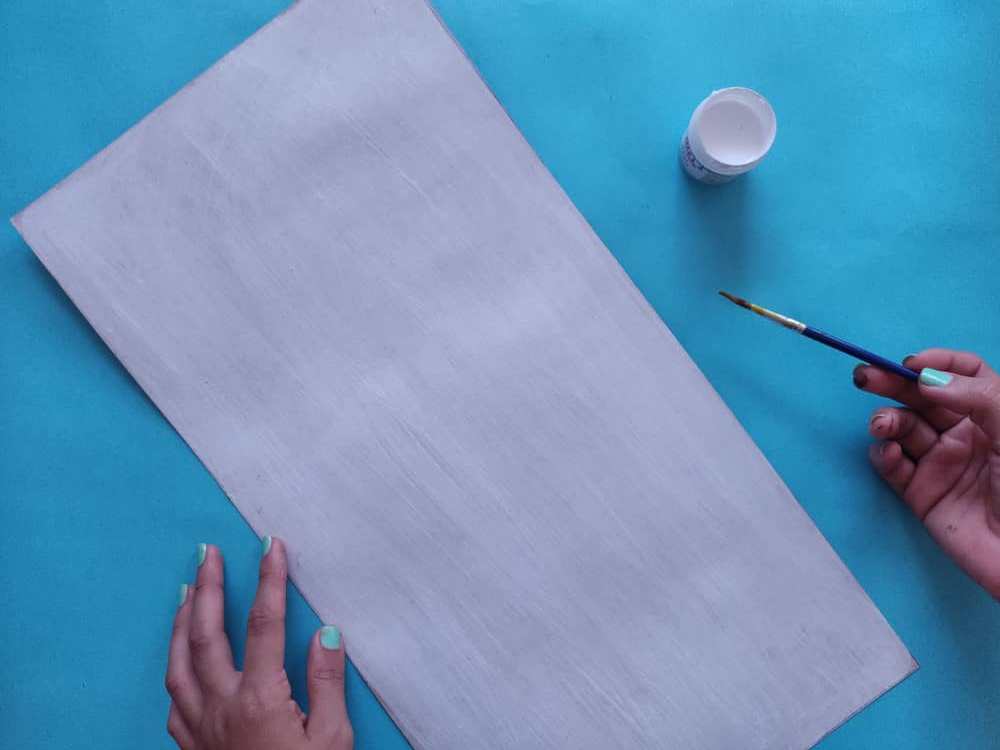
Luego, elaboramos la base de cartón de aproximadamente 30 x 50cm, y la pintamos de color blanco. Dejamos secar por unos minutos, y seguidamente pegamos esta base a otra lámina de cartón más grueso para que nuestro cuadro sea firme.
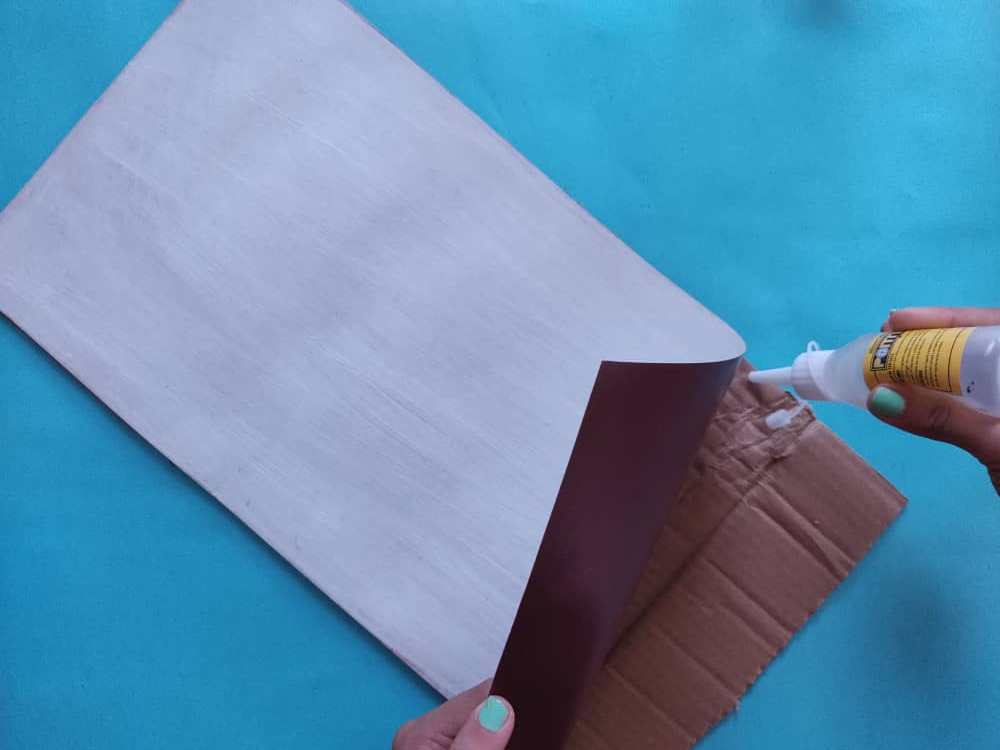
Then, we make the cardboard base of approximately 30 x 50cm, and we paint it white. We let it dry for a few minutes, and then we glue this base to another thicker cardboard sheet so that our painting is firm.
Después de que nuestra base está totalmente seca y bien firme, pegamos nuestra preciosa flor tropical sobre la base, cuidadosamente en el lugar que deseamos.
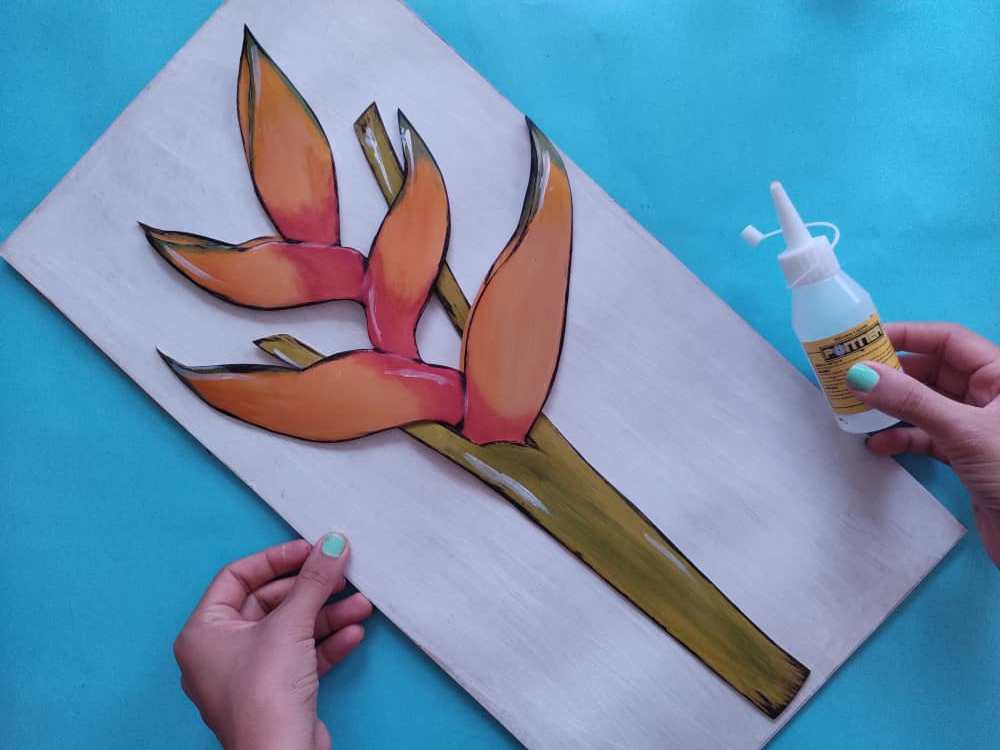
After our base is completely dry and firm, we stick our precious tropical flower on the base, carefully in the place we want.
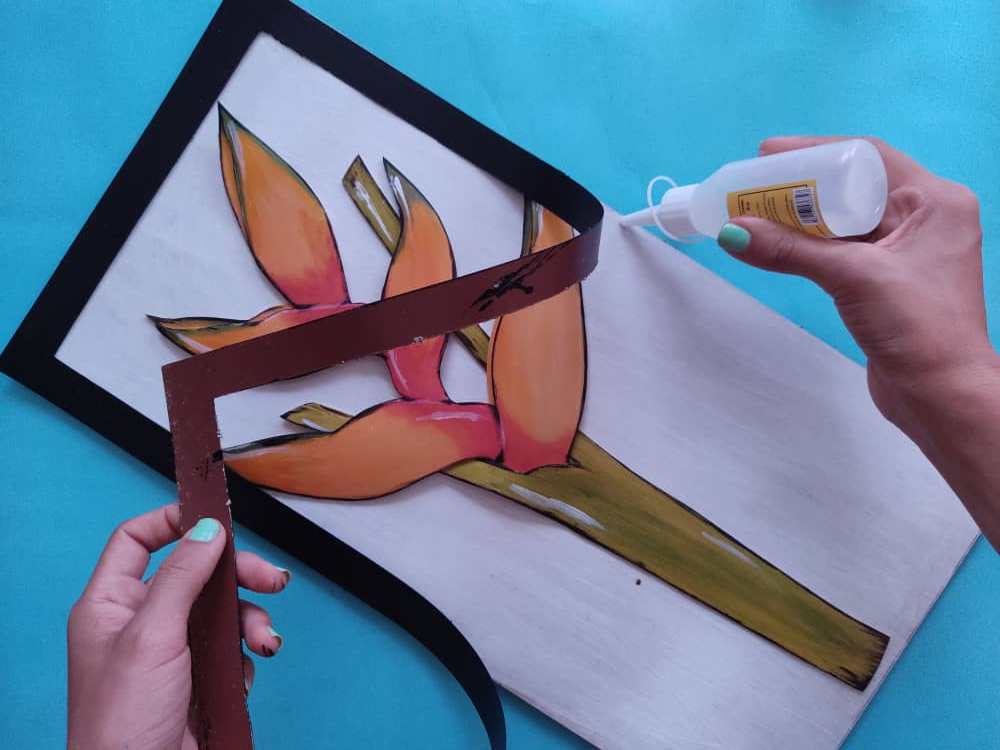
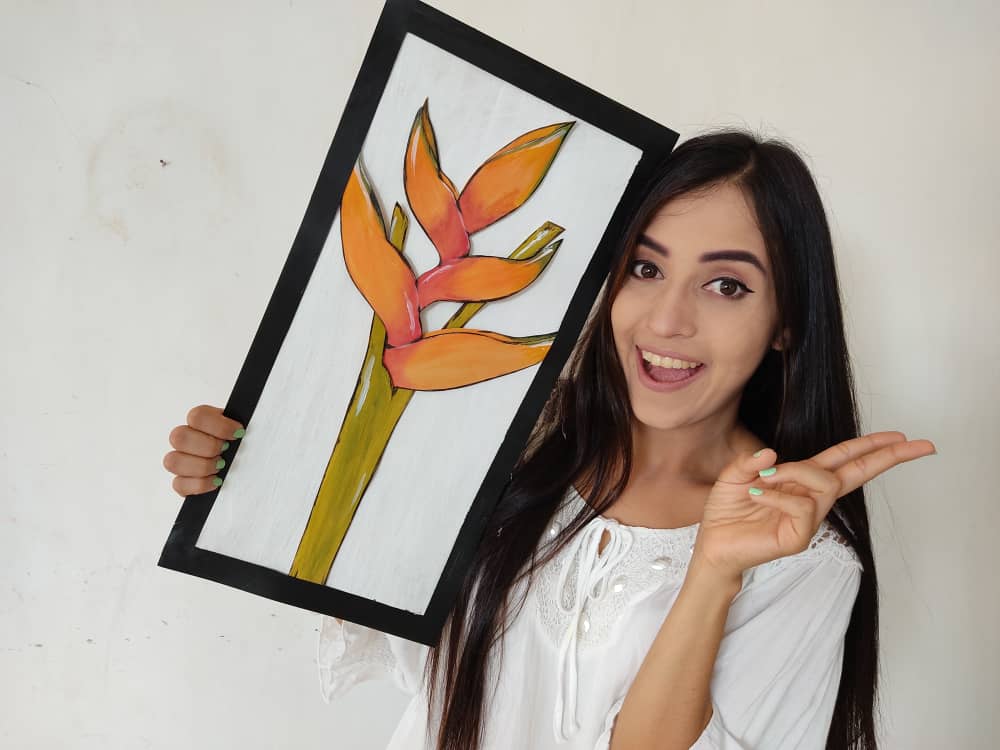
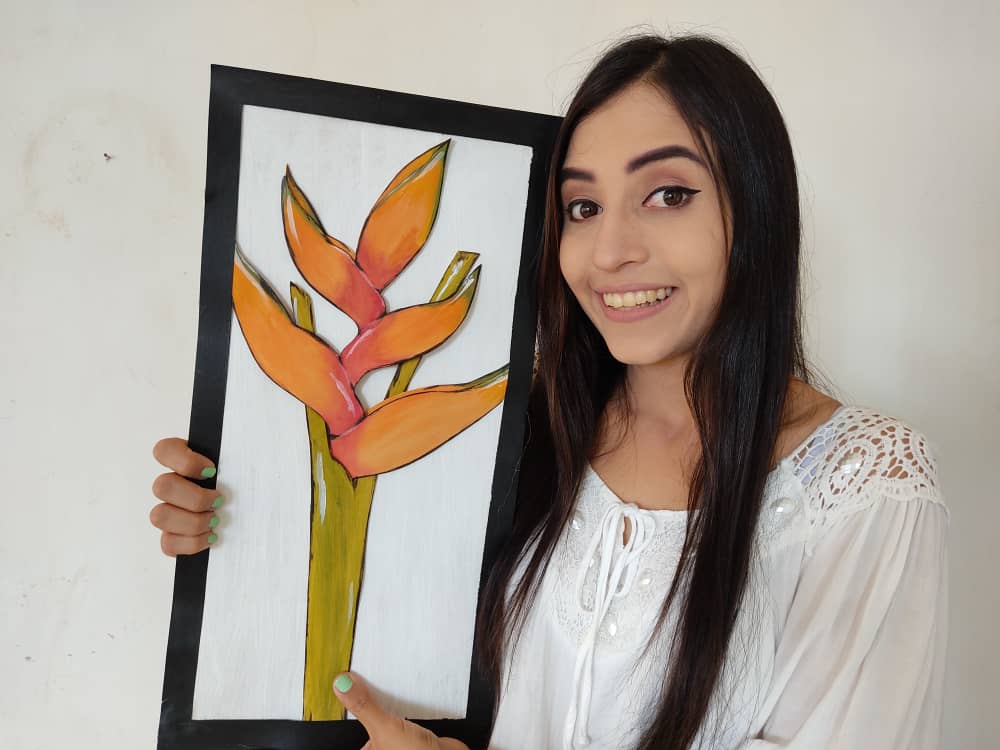
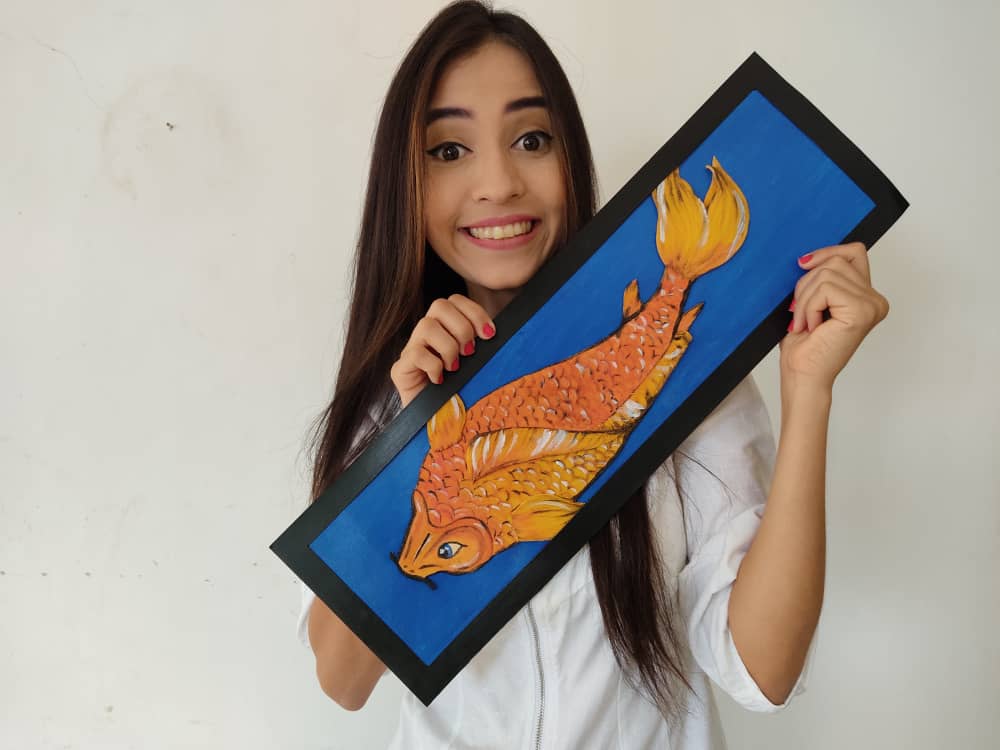
Finalmente, fabricamos un marco súper genial y lo pintamos del color que deseemos, en este caso yo decidí pintarlo de negro, para que luzca muy elegante y a la vez hermoso. Y lo pegamos en el borde.
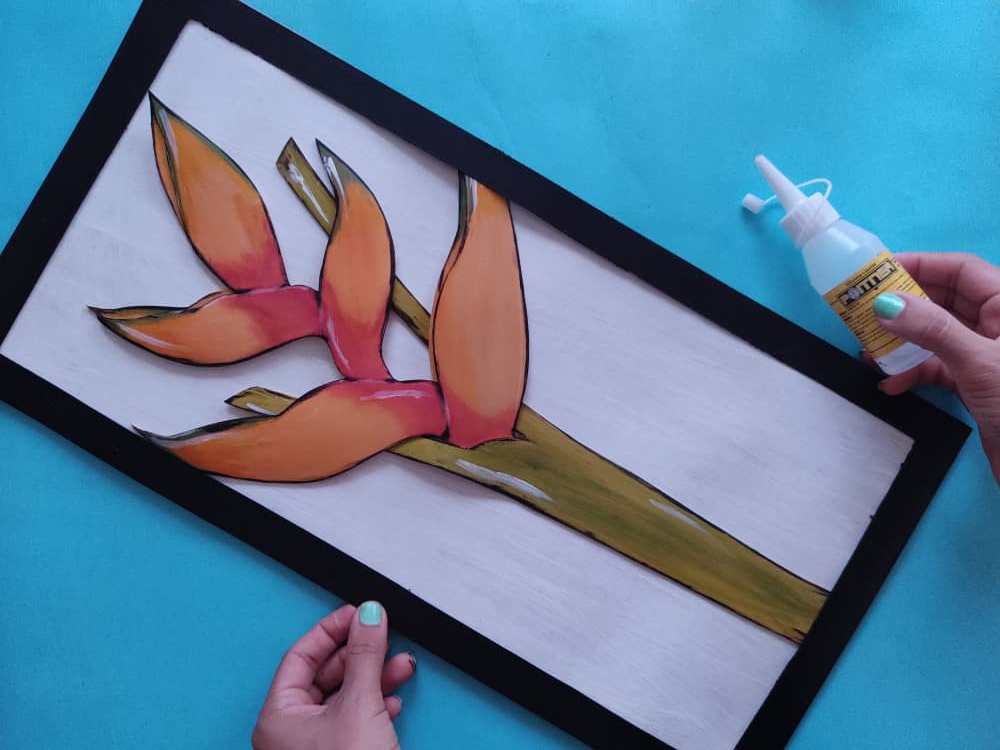
Finally, we made a super cool frame and painted it the color we want, in this case, I decided to paint it black, to make it look very elegant and at the same time beautiful. And we glue it on the edge.
.jpeg)
.jpeg)
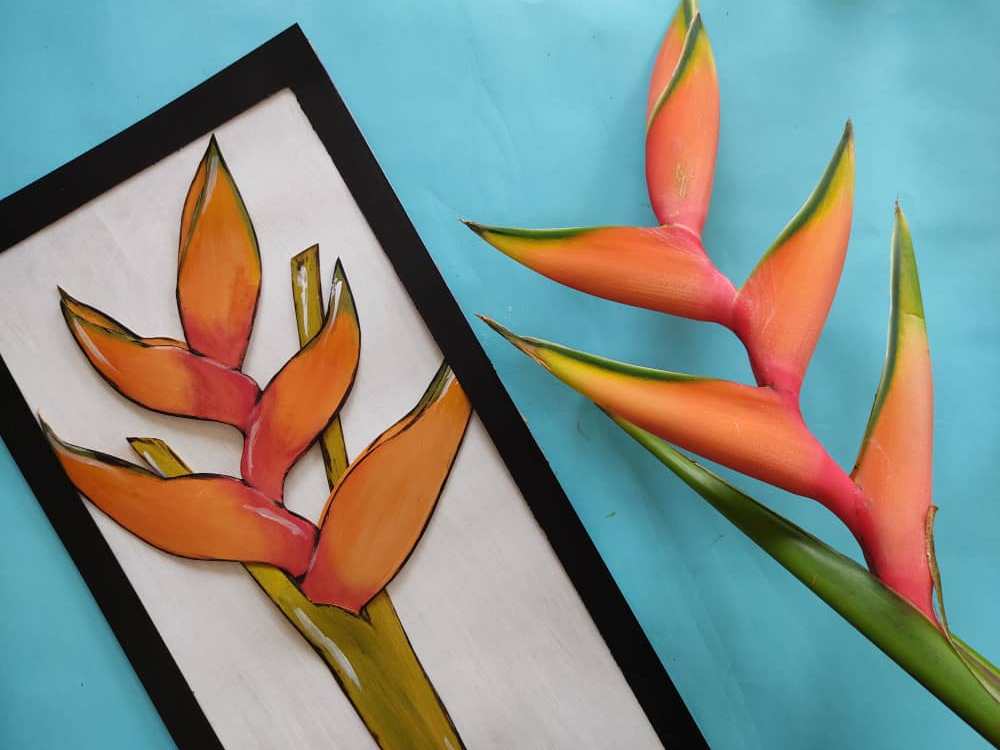
Gracias por acompañarme y espero que lo hayan disfrutado. ❤️
Thanks for joining and I hope you enjoyed it.❤️
.jpeg)
.jpeg)
.jpeg)
.jpeg)
.jpeg)
.jpeg)
.jpeg)
.jpeg)
.jpeg)
.jpeg)
.jpeg)
.jpeg)
.jpeg)
.jpeg)
.jpeg)
.jpeg)
.jpeg)
.jpeg)
.jpeg)
.jpeg)
.jpeg)
.jpeg)
.jpeg)
Clic para ver trabajos anteriores | Click to see previous works


#posh
Very interesting and beautiful work, Sara! Well done!
Very much dear friend XOX
Thank you for sharing this amazing post on HIVE!
Your content got selected by our fellow curator @priyanarc & you just received a little thank you via an upvote from our non-profit curation initiative!
You will be featured in one of our recurring curation compilations and on our pinterest boards! Both are aiming to offer you a stage to widen your audience within and outside of the DIY scene of hive.
Join the official DIYHub community on HIVE and show us more of your amazing work and feel free to connect with us and other DIYers via our discord server!
If you want to support our goal to motivate other DIY/art/music/homesteading/... creators just delegate to us and earn 100% of your curation rewards!
Stay creative & hive on!
Eso mi amiga hermoso todo lo que haces como siempre, ya se quien me va a dibujar vale. Eres la mejor.
te quedo hermosisimoo! y genial porque explicas como podemos hacerlo nosotros! Gracias
Excelente creación, hey cuál es el comando para partir la página en dos y escribir del lado izquierdo y también del derecho y para también hacerlo con las imágenes?