.jpeg)

Español
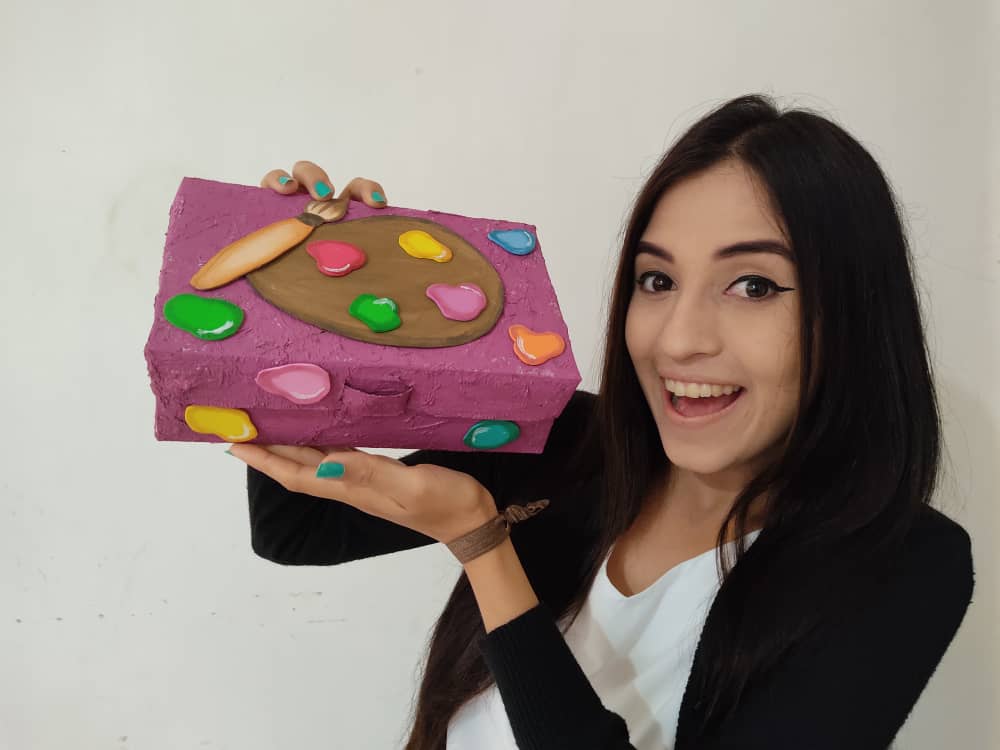
Hola mi hermosa familia Hive 🙋 En esta ocasión traigo cómo siempre un divertidísimo paso a paso que se que les va a encantar, donde les mostrare como realizar una hermosa caja muy útil para guardar nuestros materiales, herramientas y accesorios más usados, y perfecta para mantener siempre el orden en nuestra área de trabajo, la cual es indispensable para nosotros a hora de elaborar nuestros proyectos, por lo que no puede faltar una de estas en nuestro escritorio.
English
Hello my beautiful Hive family 💁 This time I always bring a hilarious step by step that I know you are going to love, where I will show you how to make a beautiful box that is very useful to store our most used materials, tools and accessories, and perfect for always keeping order in our area work, which is essential for us when preparing our projects, so you can not miss one of these on our desk.
¿Qué están esperando?
Con esta sencilla técnica es posible realizar en casa nuestra propia caja multiuso, sin duda alguna es una caja muy original, creativa y útil para guardar nuestras cosas preferidas como, pinturas, accesorios y muchas cosas más, e incluso también pueden utilizarlo nuestros niños para llevar sus cositas. Antes de comenzar no olvidemos lavarnos nuestras manos.
What are they waiting for?
With this simple technique it is possible to make our own multipurpose box at home, without a doubt it is a very original, creative and useful box to store our favorite things such as paintings, accessories and many other things, and our children can even use it to carry their little things. Before we start, let's not forget to wash our hands.
 >
>[Materiales | Materials]
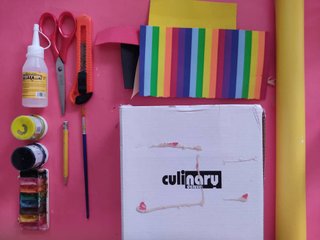
Para hacer esta preciosa caja necesitaremos:
- Moldes.
- Foami o goma eva.
- Caja de cartón.
- Papel lustrillo amarillo.
- Lápiz.
- Pincel.
- Pinturas.
- Tijera.
- Pegamento o silicón liquido.
To make this precious box will need:
- Molds.
- Foamy or EVA foam.
- Cardboard box.
- Yellow glossy paper.
- Pencil.
- Brush.
- Paintings.
- Scissors.
- Glue or liquid silicone.
Procedimiento (paso a paso)
Process (step by step)
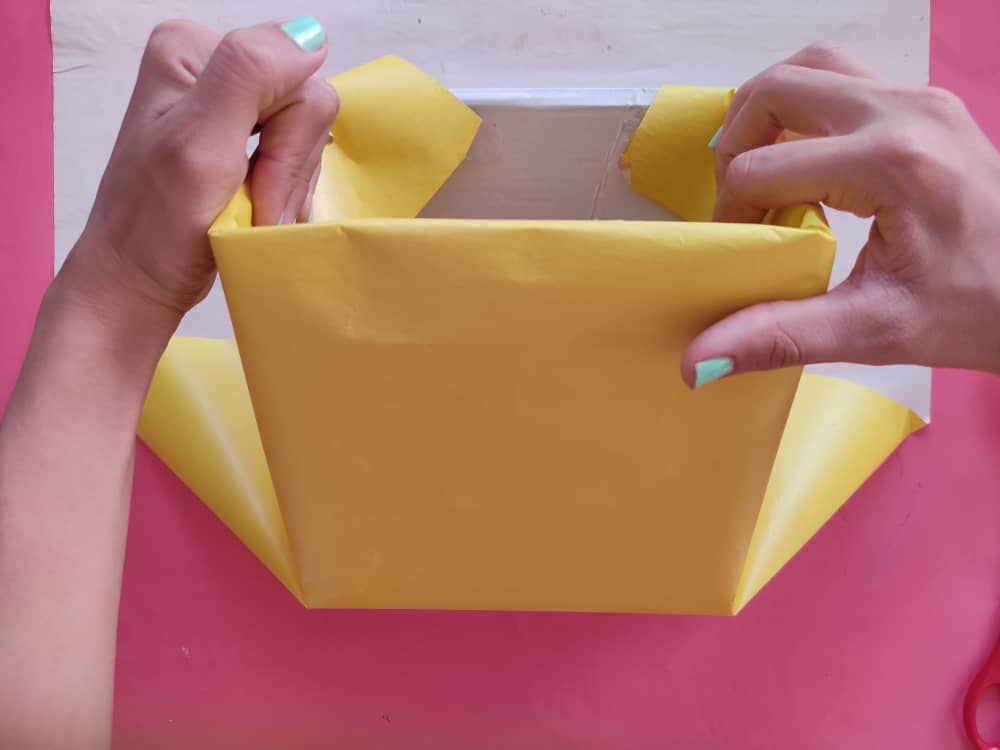
Primero, forramos la caja con papel lustrillo doblando los extremos de este hacia la parte interior de la caja, y aplicando pegamento silicón liquido, sin olvidar hacer cortes en las esquinas de los pliegues.
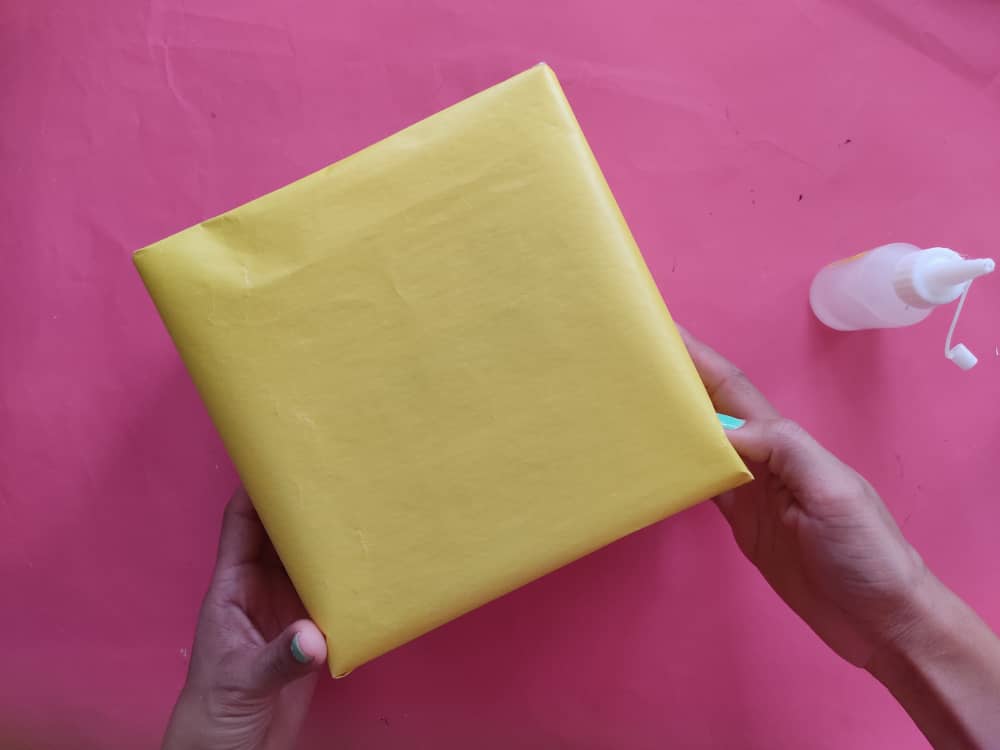
First, we line the box with lustrine paper by folding the ends of it towards the inside of the box and applying liquid silicone glue, not forgetting to make cuts in the corners of the folds.
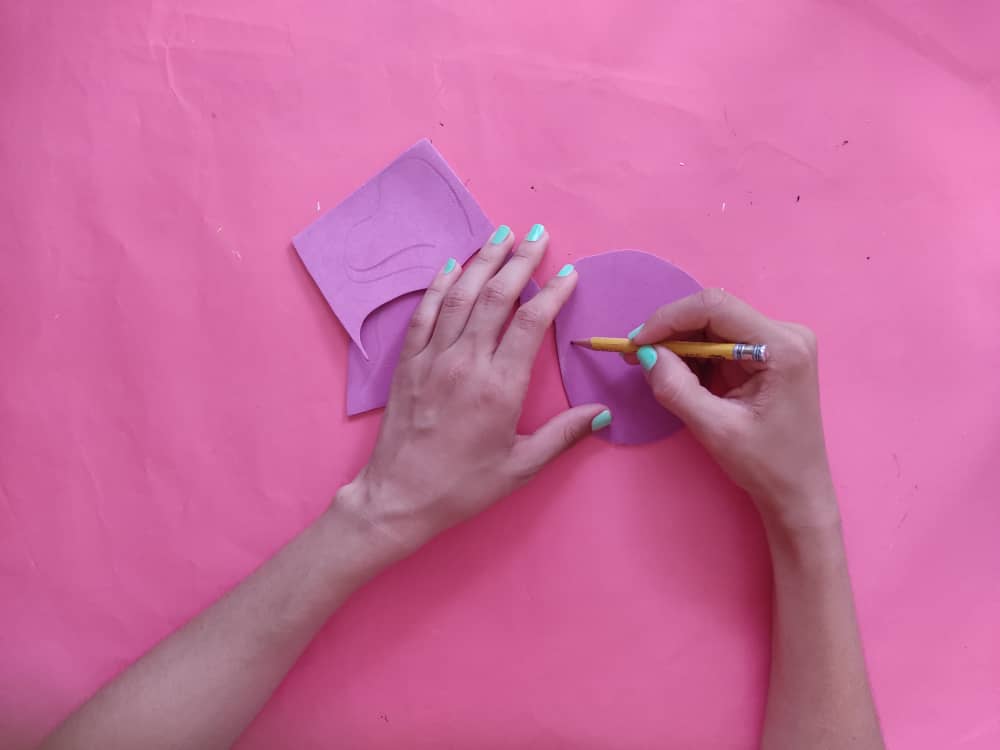
Ahora, dibujamos en la silueta de una hermosa mariposa y una flor, para embellecer nuestra cajita de una manera increíble, recuerden que si lo pueden imaginar lo pueden hacer. Y recortamos con mucho cuidado.
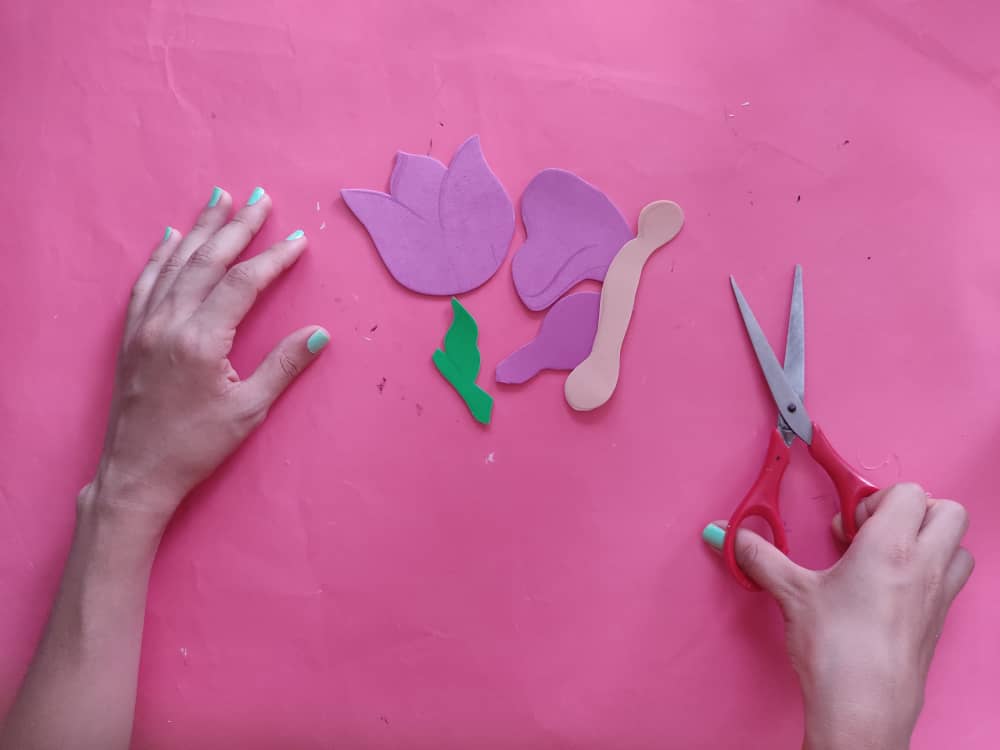
Now, we draw on the silhouette of a beautiful butterfly and a flower, to embellish our box in an incredible way, remember that if you can imagine it, you can do it. And we cut very carefully.
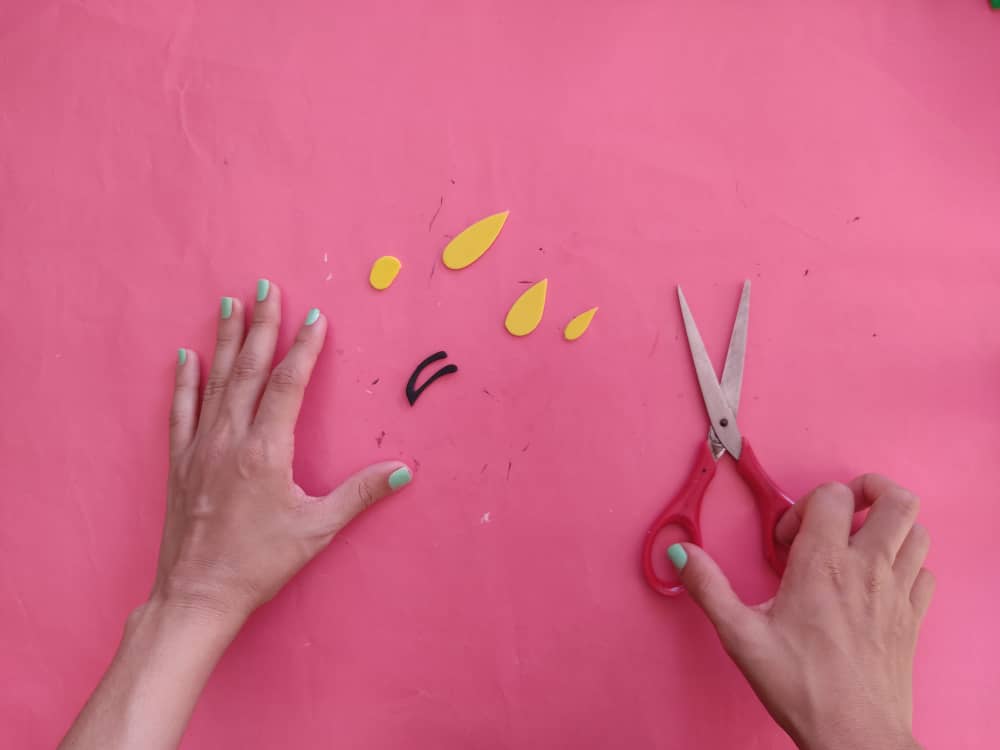
Luego, elaboramos pequeños detalles que no deben faltar, como las antenitas para la mariposa, flores pequeñas y un césped para decorar.
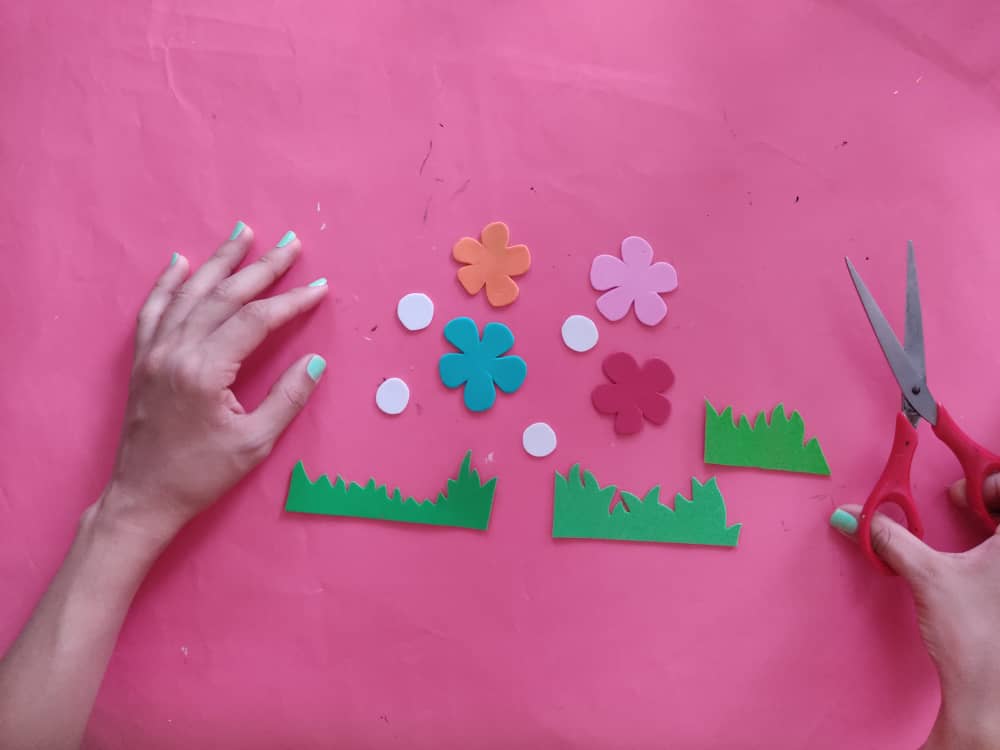
Then, we make small details that should not be missing, such as the antennae for the butterfly, small flowers, and a lawn to decorate.
Seguidamente, comenzamos a definir el cuerpo y alas de la mariposa aplicando hermosos tonos de colores para obtener un contraste muy original.
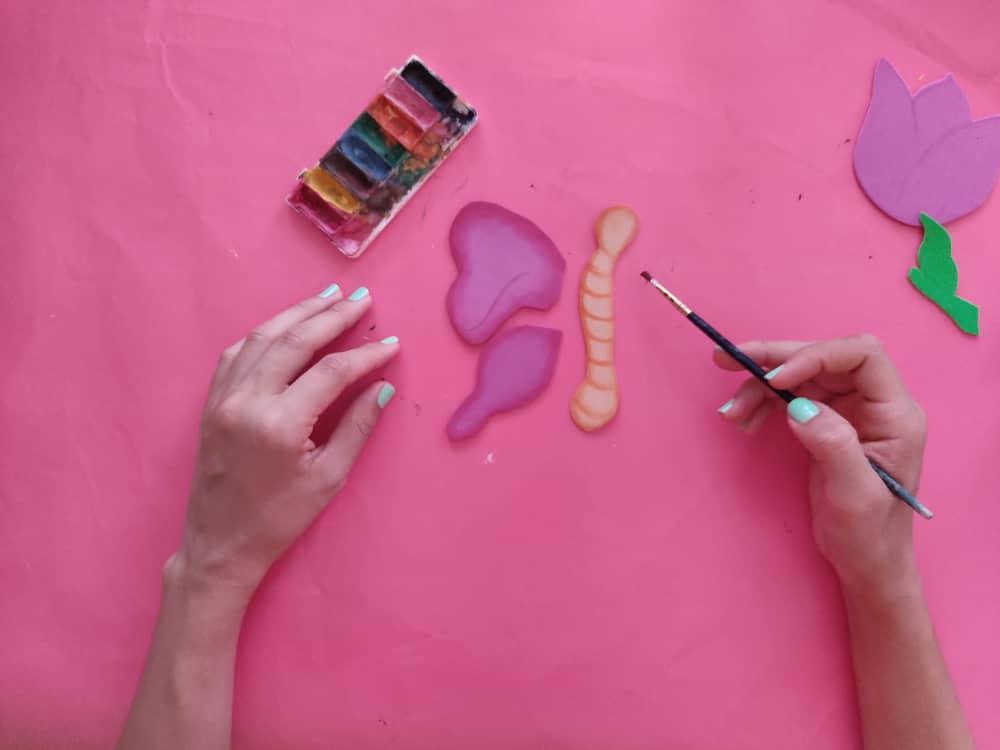
Next, we begin to define the body and wings of the butterfly applying beautiful shades of colors to obtain a very original contrast.
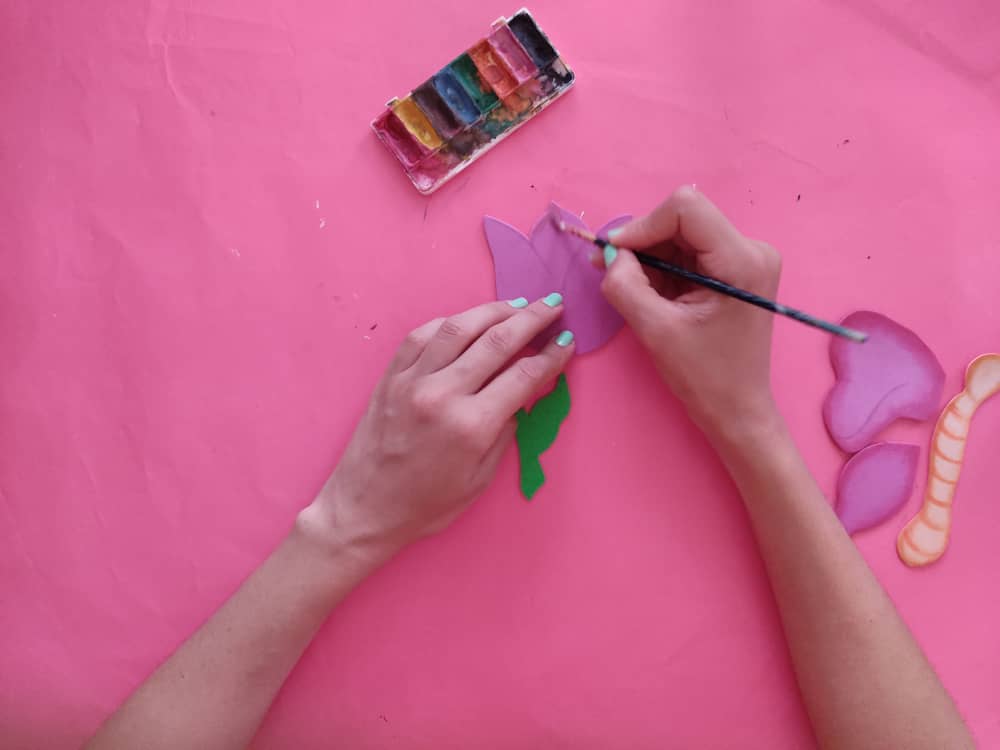
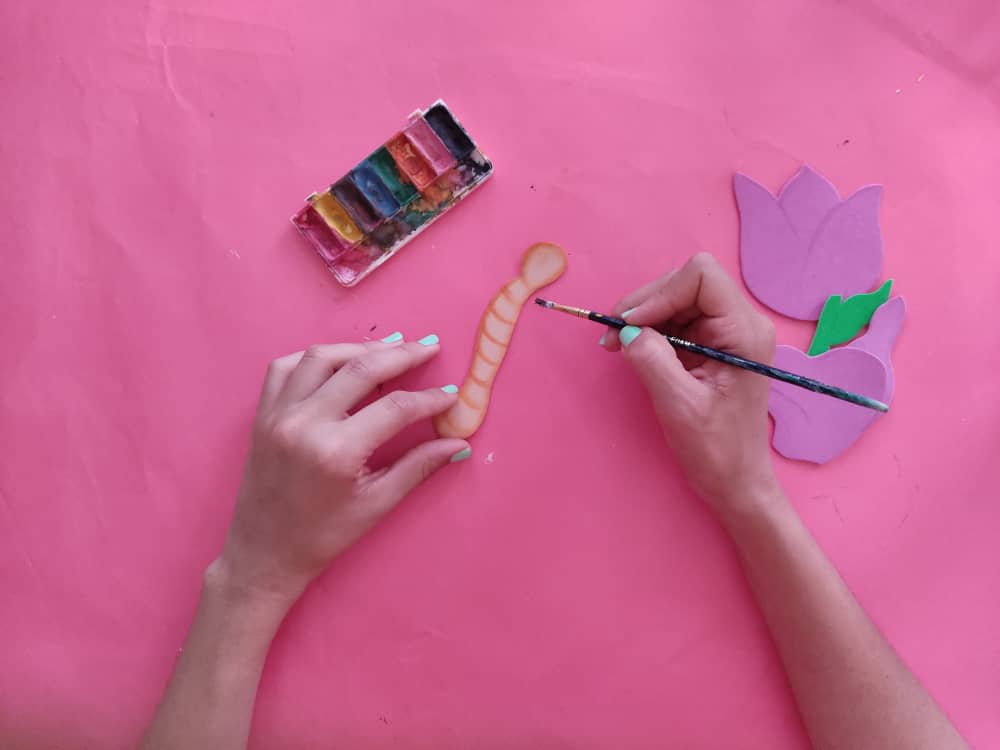
Ahora, definimos la forma de la flor de la manera que más nos guste, pues opte por sombrear con color rojo, y me encantó espero y ustedes también.
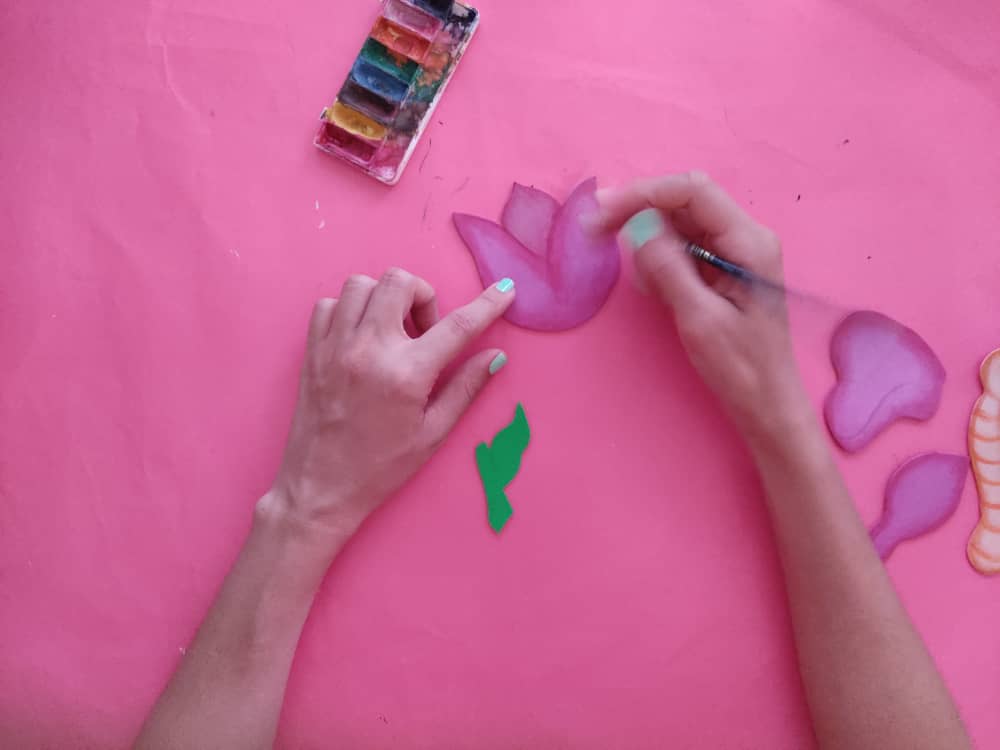
Now, we define the shape of the flower in the way that we like the most, so I chose to shade with red, and I loved it I hope and you too.
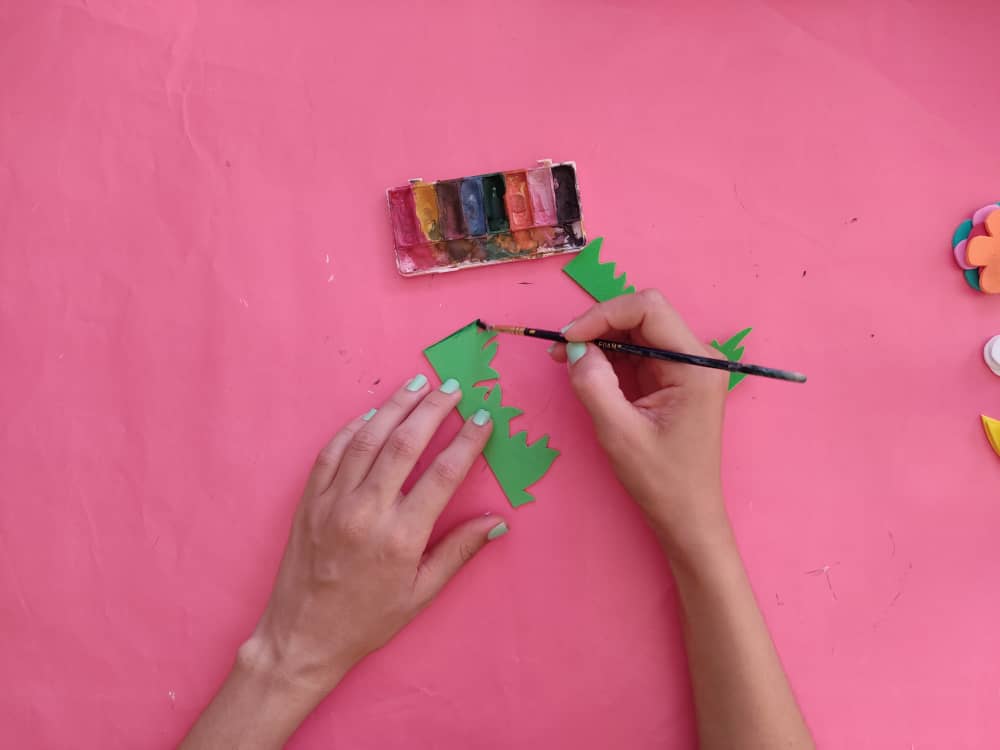
Luego, sombreamos el borde del césped con un color verde un poco más oscuro para que luzca muy real.
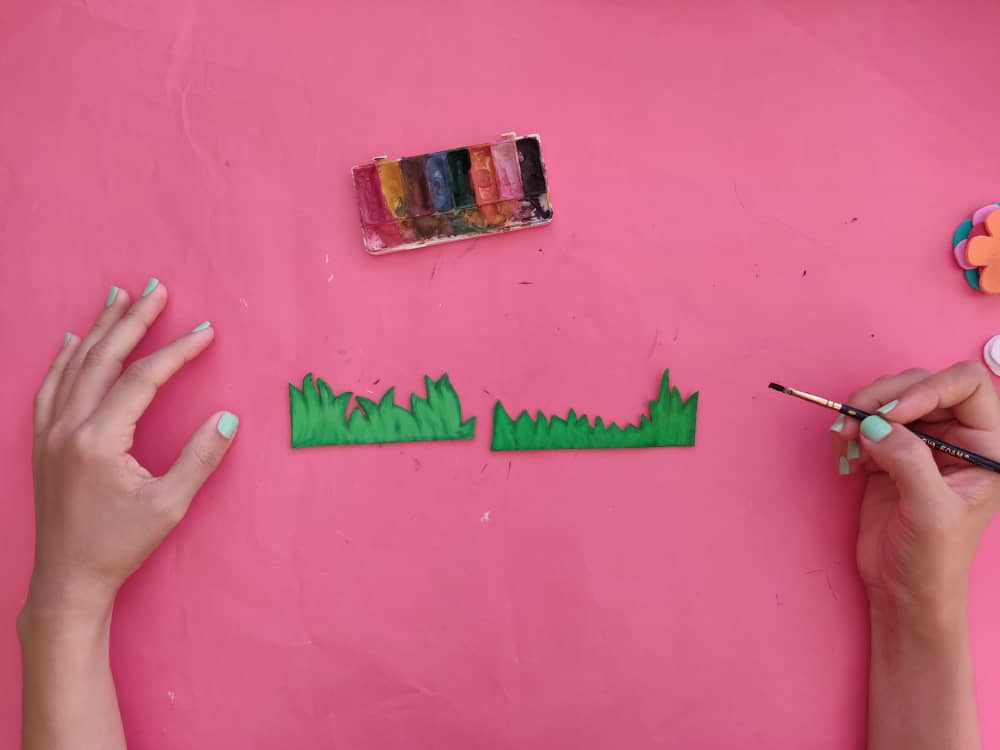
Next, we shade the edge of the lawn a little darker green to make it look very real.
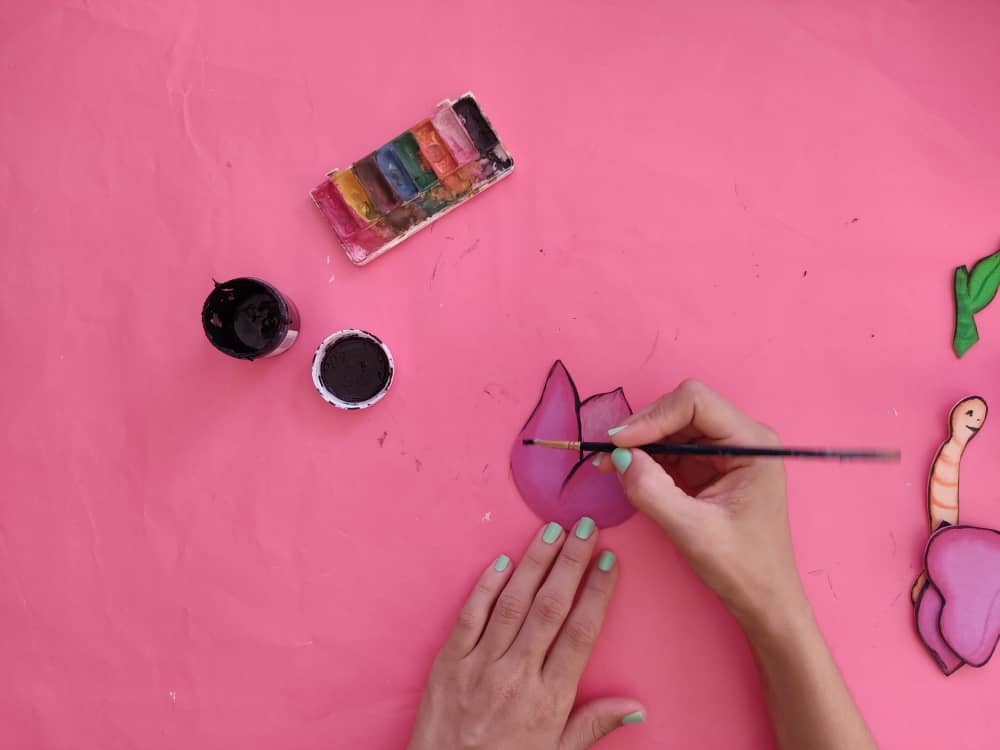
Para terminar de embellecer nuestras figuras, definimos los bordes de la mariposa y flor con color negro utilizando un pincel muy fino y/o también un marcador negro de punta fina. Esto es ideal para realzar cualquier dibujo que elabores.
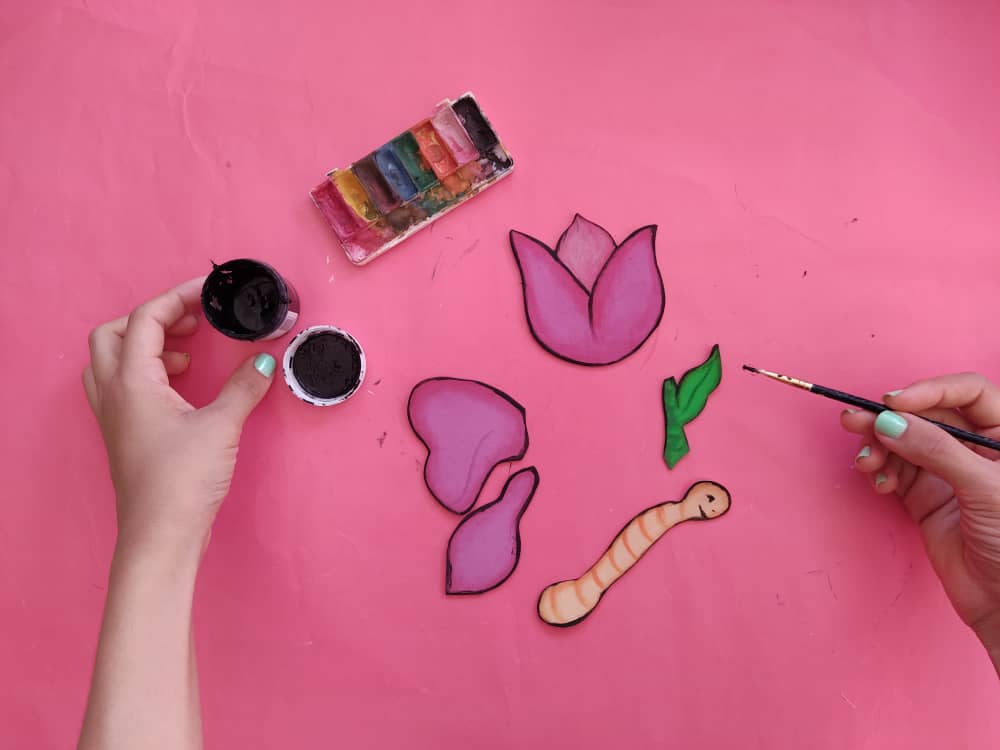
To finish embellishing our figures, we define the edges of the butterfly and flower with black using a very fine brush and/or a fine-tipped black marker. This is great for enhancing any drawing you create.
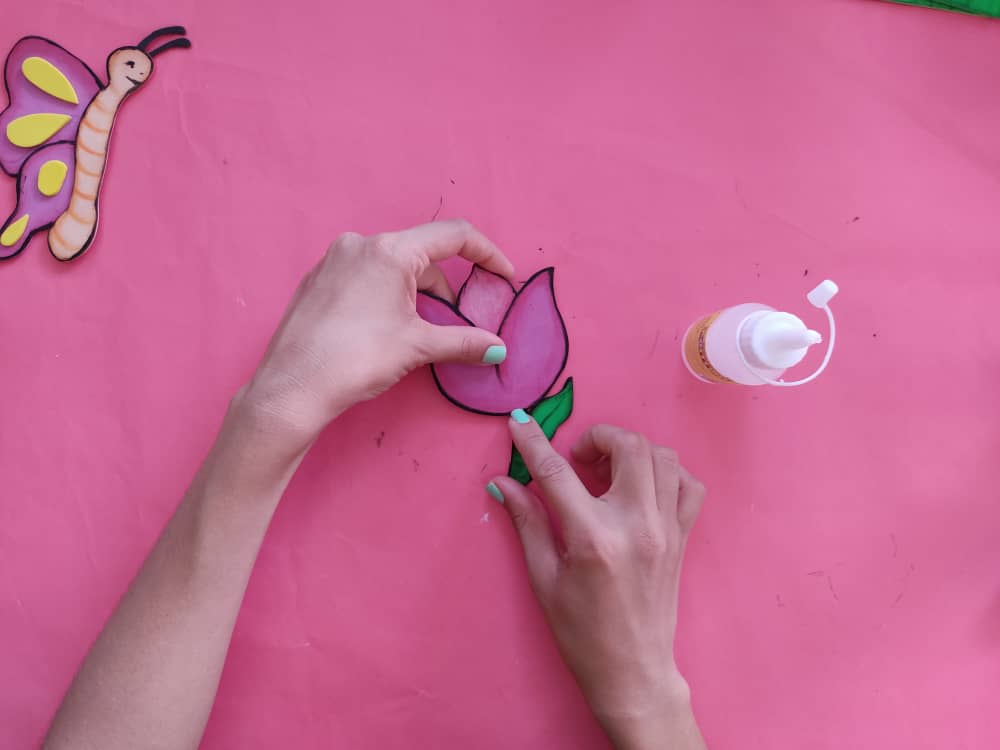
Una vez que hayamos finalizado con la pintura, comenzamos a armar nuestras figuras (mariposa, flor grande, y florecitas pequeñas) utilizando pegamento o silicón líquido.
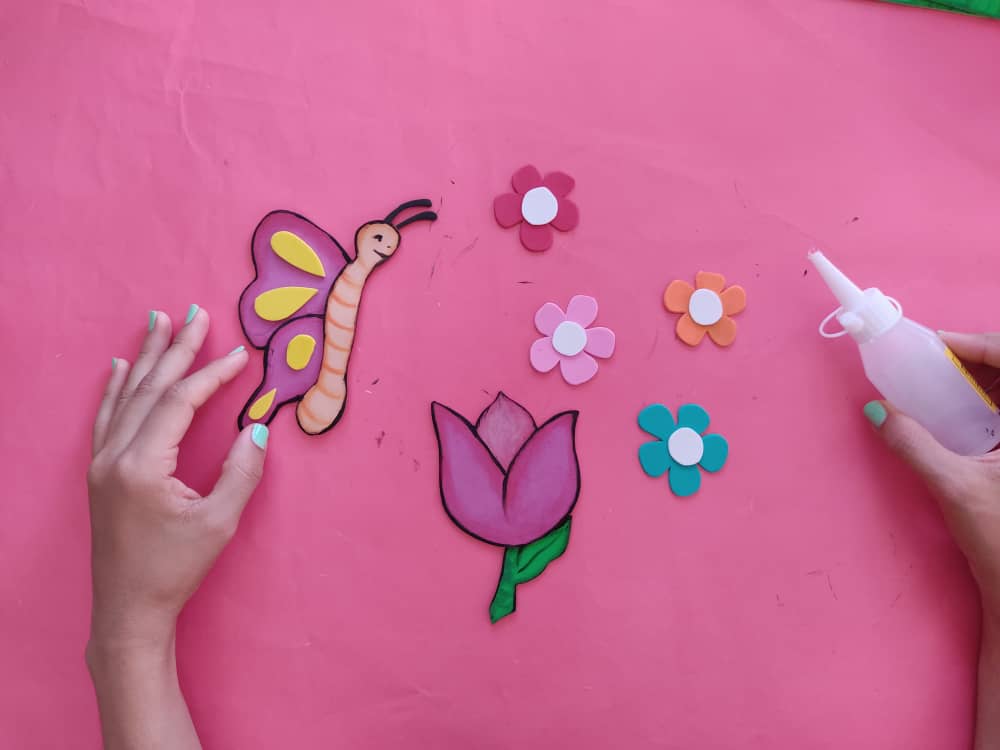
Once we have finished with the painting, we begin to assemble our figures (butterfly, large flower, and small flowers) using glue or liquid silicone.
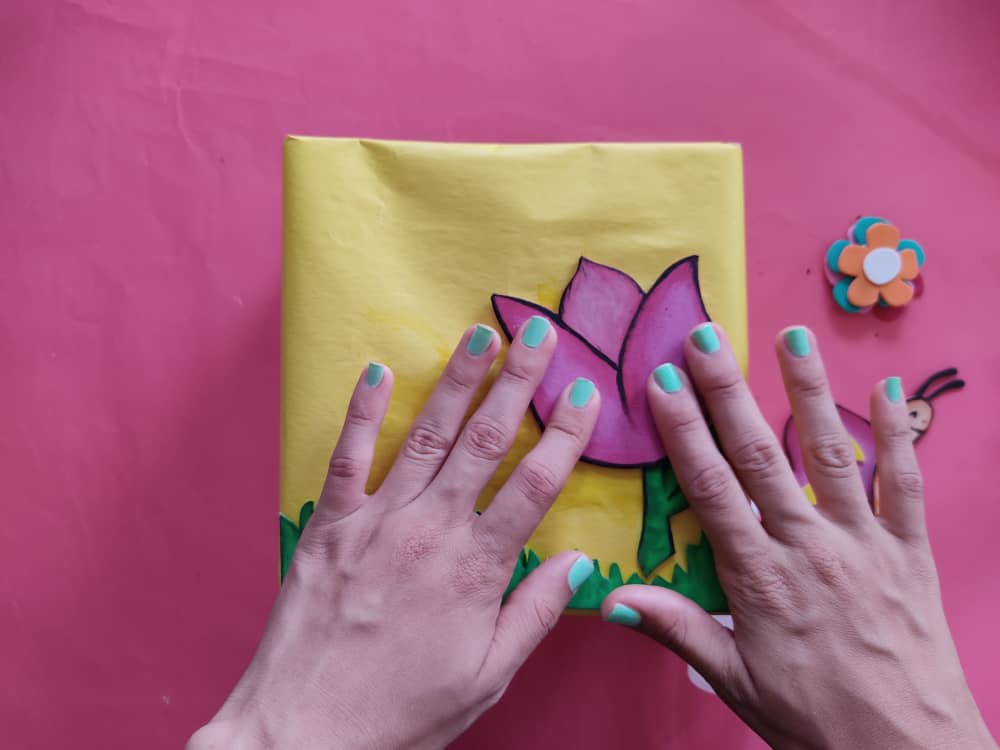
Finalmente, decoramos nuestra caja pegando nuestras lindas figuras, comenzando por el césped, y sucesivamente el resto, o también podemos ubicar y ordenar de la manera que más nos guste, siempre dejando volar nuestra imaginación.

Finally, we decorate our box by gluing our cute figures, starting with the grass, and successively the rest, or we can also locate and order in the way we like the most, always letting our imagination fly.
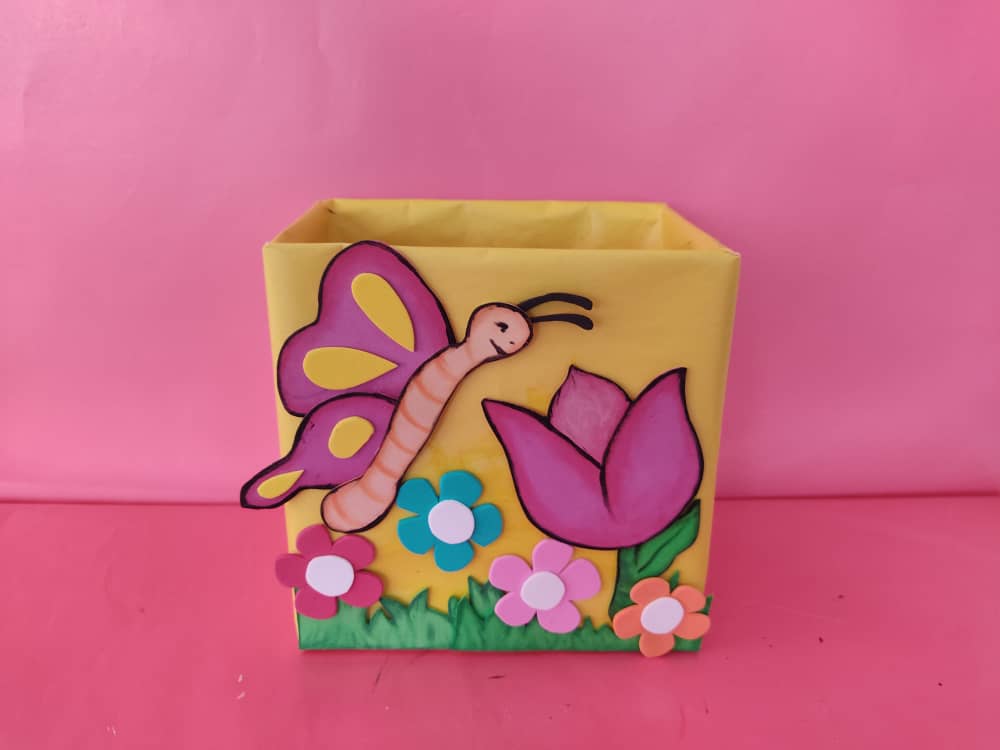
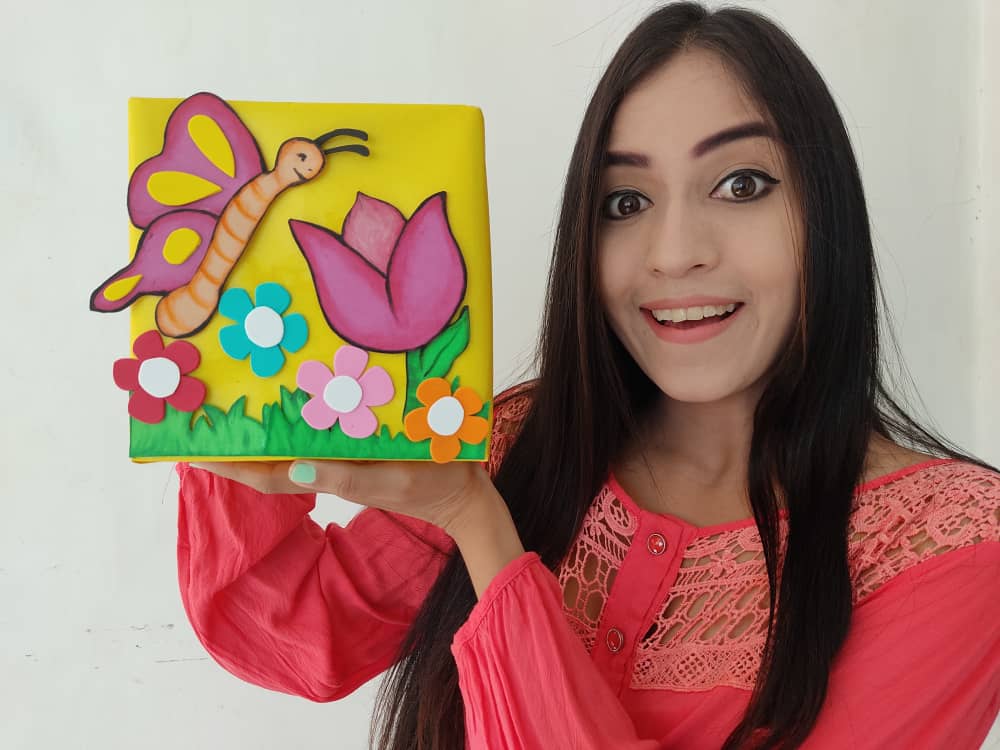
Gracias por acompañarme y espero que lo hayan disfrutado. ❤️
Thanks for joining and I hope you enjoyed it.❤️
.jpeg)
.jpeg)
.jpeg)
.jpeg)
.jpeg)
.jpeg)
Clic para ver trabajos anteriores | Click to see previous works


#posh
Siempre son necesarias.
Congratulations, your post has been upvoted by @dsc-r2cornell, which is the curating account for @R2cornell's Discord Community.
Enhorabuena, su "post" ha sido "up-voted" por @dsc-r2cornell, que es la "cuenta curating" de la Comunidad de la Discordia de @R2cornell.
Que hermosa te quedó, felicidades, ideal para los niños de la casa. Saludos 😘