.jpeg)

Español
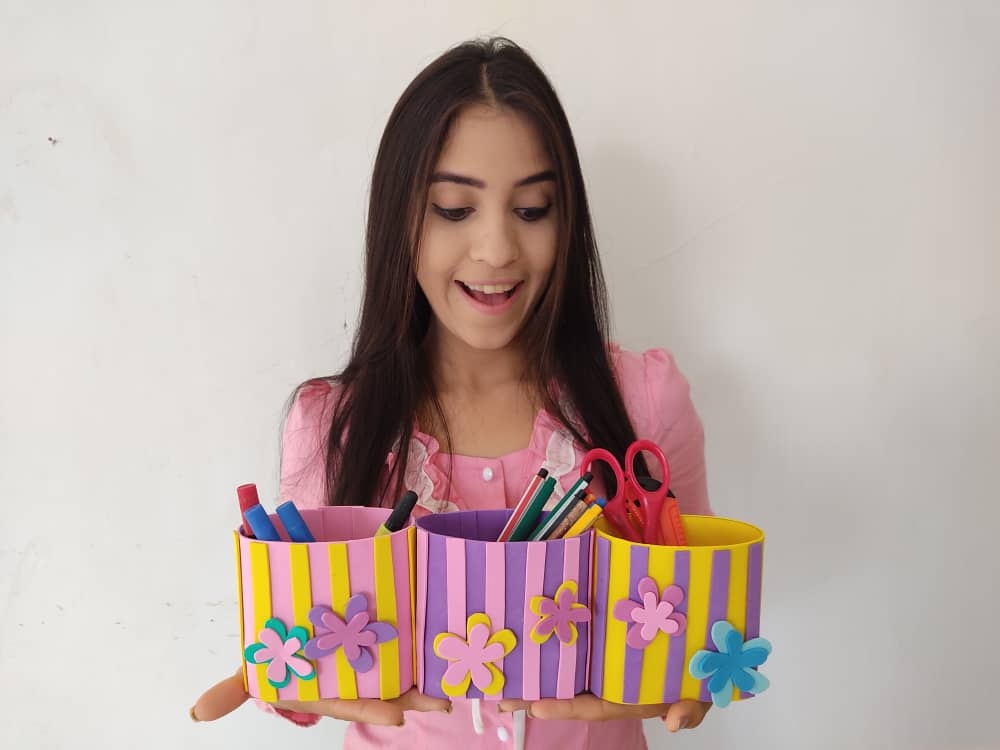
Hola hermosa familia 🖖 Está linda oportunidad traigo para ustedes una nueva idea súper fácil y sobretodo divertida, dónde les mostrare como elaborar un caja de patito organizador, con materiales muy fáciles de obtener, pues este patito es muy cuidadoso con todas las cosas que en el guarda, ayudándonos a clasificar originalmente cada uno de nuestros implementos, y al mismo tiempo le da una increíble vista a nuestro escritorio o áreas de trabajo, así que, no esperen más y sigamos disfrutando de estos proyectos ingeniosos, originales e ideales para personalizar nuestros espacios favoritos.
English
Hello beautiful family 👋 This is a nice opportunity, I bring you a new super-easy idea and above all fun, where I will show you how to make an organizer duck box, with very easy to obtain materials, because this duck is very careful with all the things that in the saves, helping us to originally classify each of our implements, and at the same time it gives an incredible view to our desk or work areas, so, do not wait any longer and let's continue enjoying these ingenious, original and ideal projects to personalize our spaces favorites.
¿Qué están esperando?
Utilizar estos hermosos materiales para transformarlos en un hermoso pato organizador es una idea muy original y económica para decorar nuestro entorno y mantener a salvo nuestras cositas. Antes de comenzar no olvidemos lavarnos nuestras manos.
What are they waiting for?
Using these beautiful materials to transform them into a beautiful organizing duck is a very original and economical idea to decorate our environment and keep our little things safe. Before we start, let's not forget to wash our hands.
[Materiales | Materials]
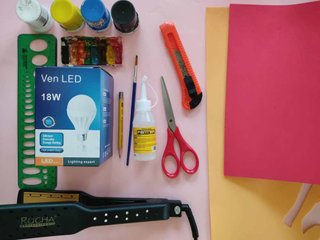
Para hacer este precioso patito necesitaremos:
- Moldes.
- Foami o goma eva.
- Caja de bombilla de 9 x 12 cm.
- Pincel.
- Pinturas.
- Tijera.
- Pegamento o silicón liquido.
To make this precious duckling will need:
- Molds.
- Foamy or EVA foam.
- 9 x 12 cm light bulb box.
- Brush.
- Paintings.
- Scissors.
- Glue or liquid silicone.
Procedimiento (paso a paso)
Process (step by step)
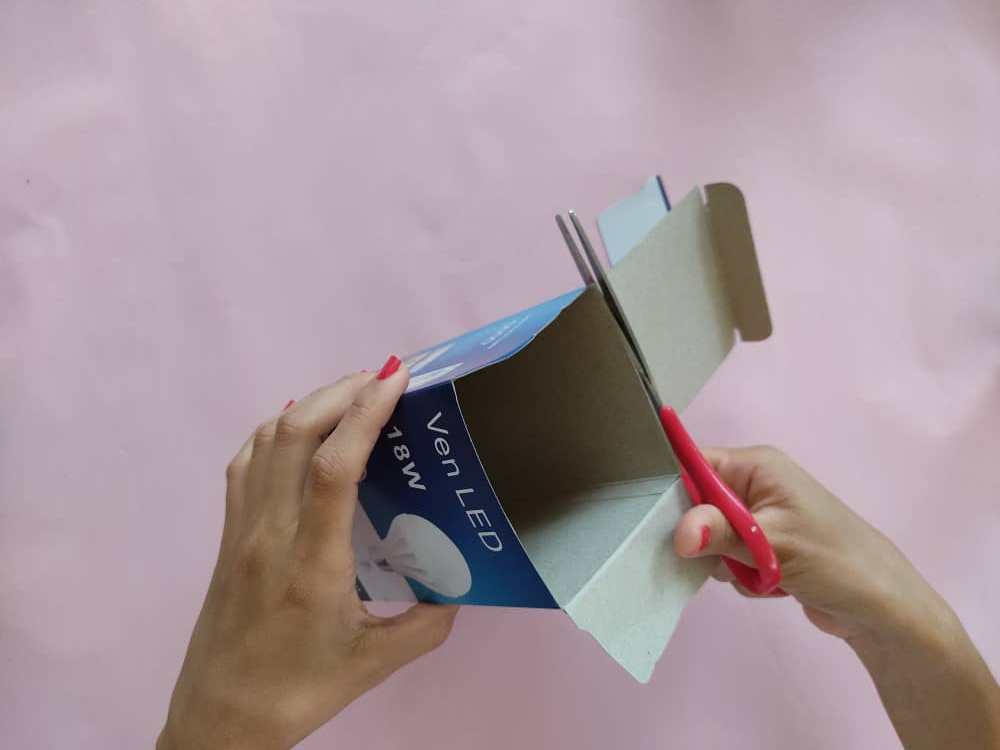
Primero, recortamos las pestañas de la parte superior de la caja de bombilla, de manera que está quede destapada.
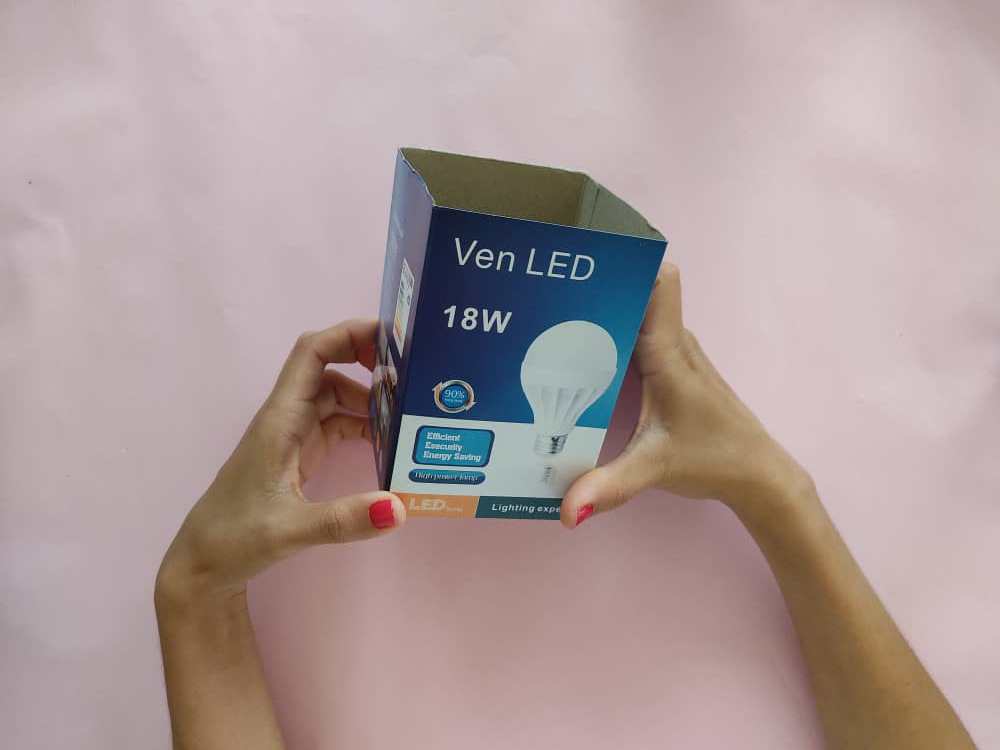
First, we trim the tabs on the top of the bulb box, so that it is uncovered.
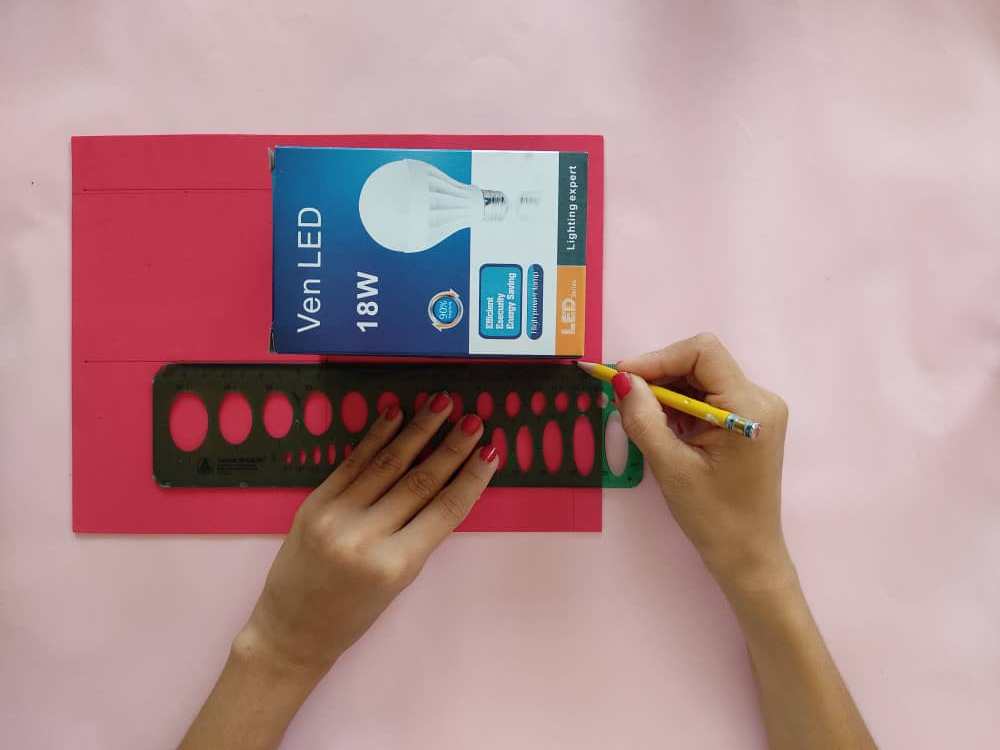
Ahora, transferimos la medida de las cuatro caras de la caja de bombilla al foami de color que queramos, yo seleccione uno de color rojo muy vivo, para que luzca preciosa y llamativa.
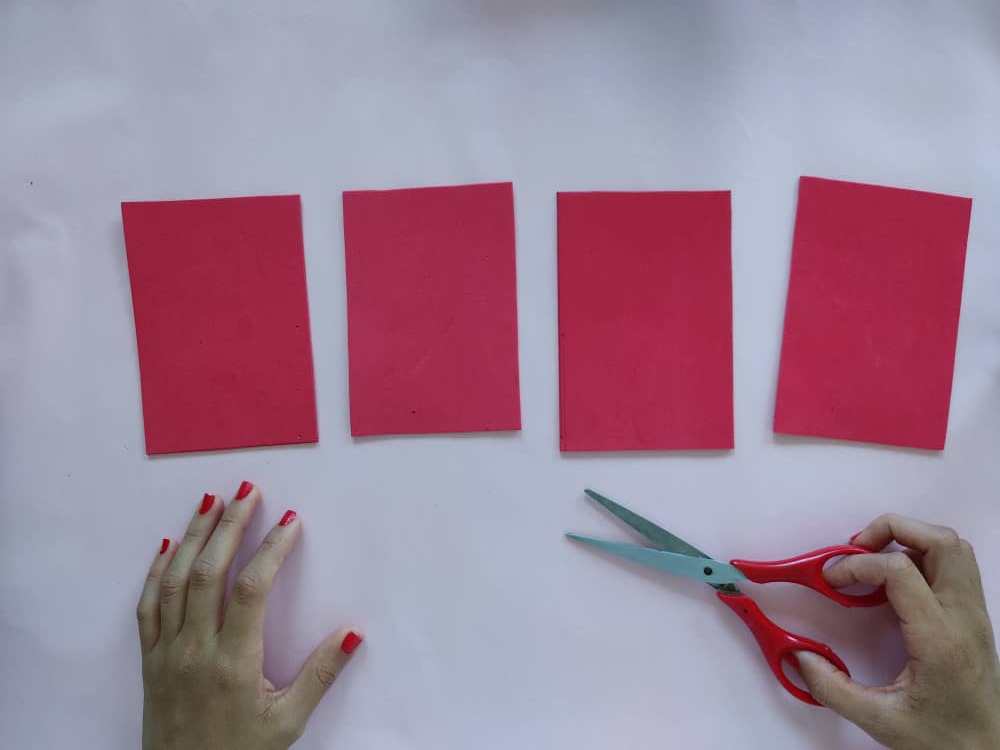
Now, we transfer the measurement of the four faces of the bulb box to the colored foamy that we want, I select one of a very bright red color, so that it looks beautiful and striking.
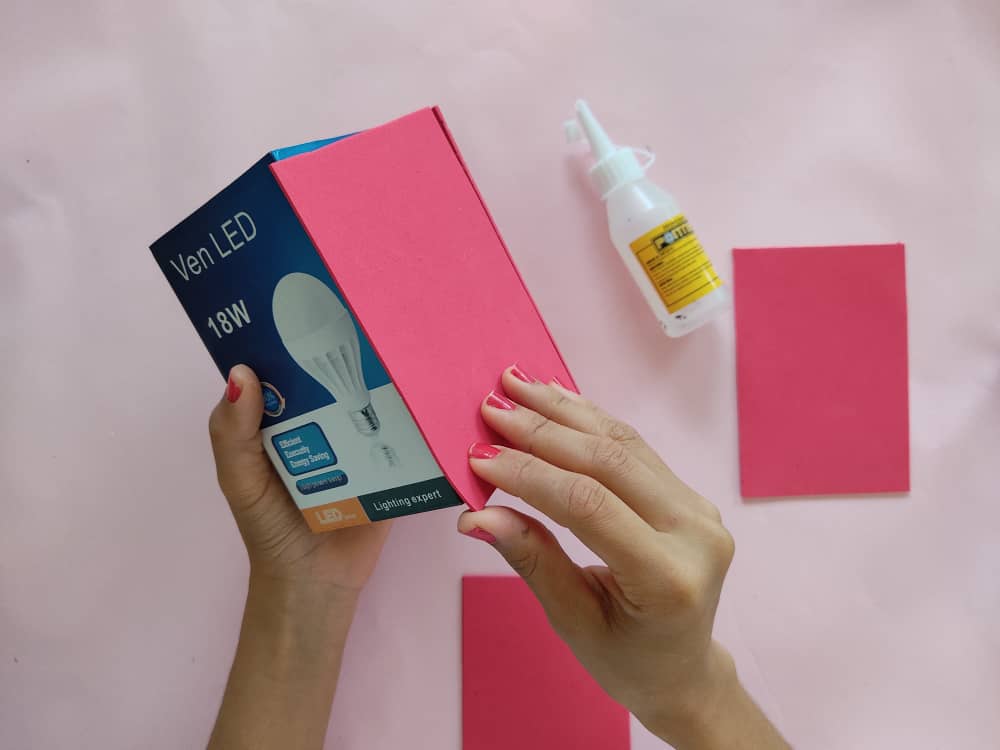
Seguidamente, pegamos el foami a sobre las caras de la caja, sin olvidar, hacer presión unos segundos sobre para que queden bien unidas, y vemos que hermosa luce.
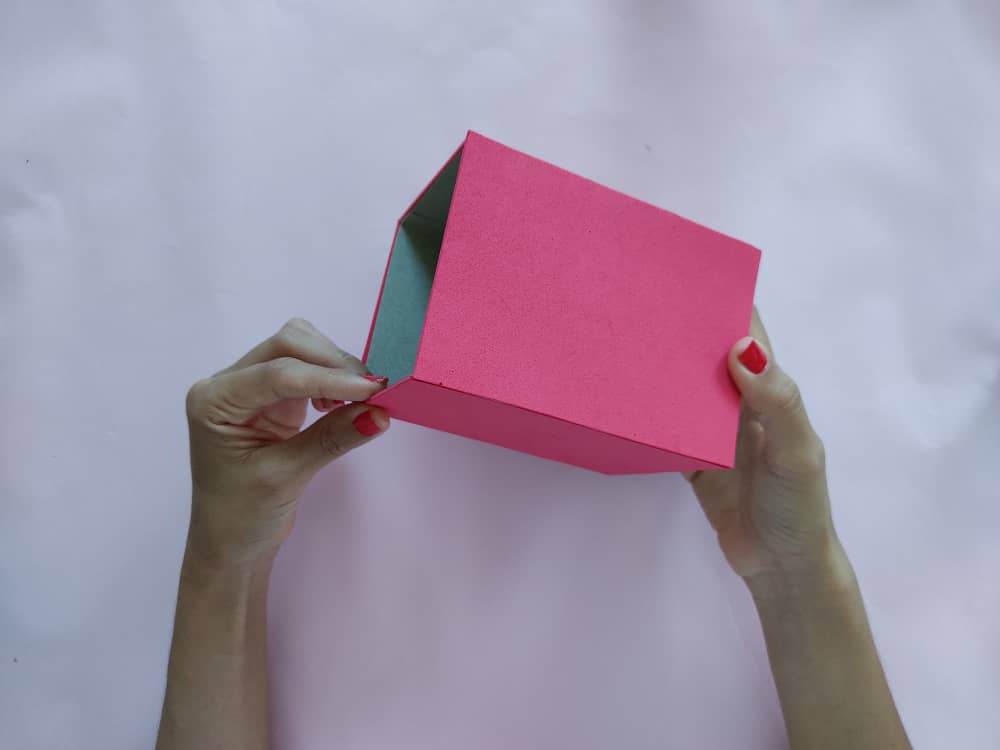
Next, we stick the foamy to the faces of the box, without forgetting, press for a few seconds so that they are well joined, and we see that it looks beautiful.
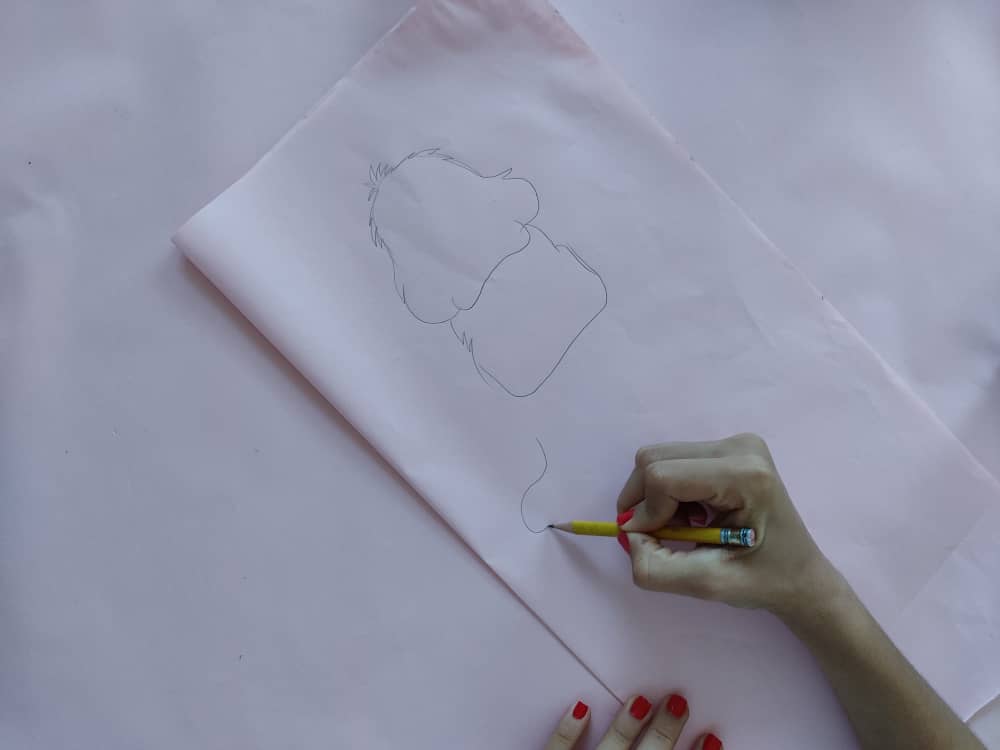
Ahora la mejor parte, pues está cajita irá acompañada de un lindo patito que será el cuidador de tus implementos, así que dibujamos sobre el papel un lindo patito separando sus patas y alas, les recuerdo que pueden personalizar está caja de la manera que quieran, es decir, que pueden hacer su animal favorito. Seguidamente, recortamos las figuras separando las del patito.
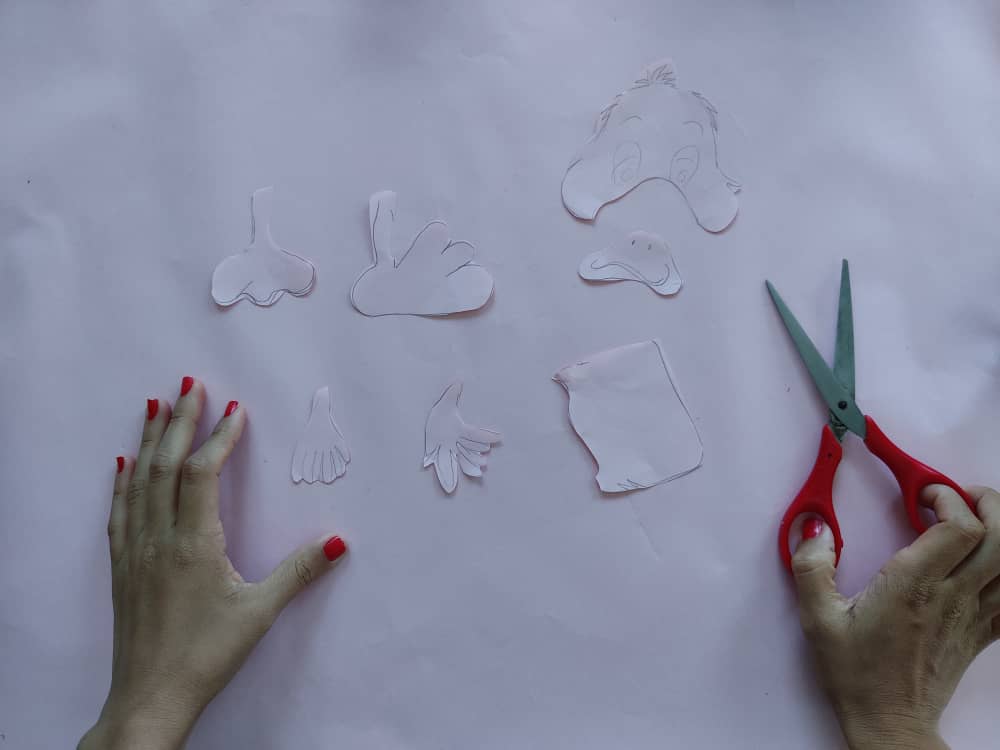
Now the best part, because this box will be accompanied by a cute duckling who will be the caretaker of your implements, so we draw on the paper a cute duckling separating its legs and wings, I remind you that you can customize this box the way you want, that is, they can make their favorite animal. Next, we cut out the figures separating those of the duckling.
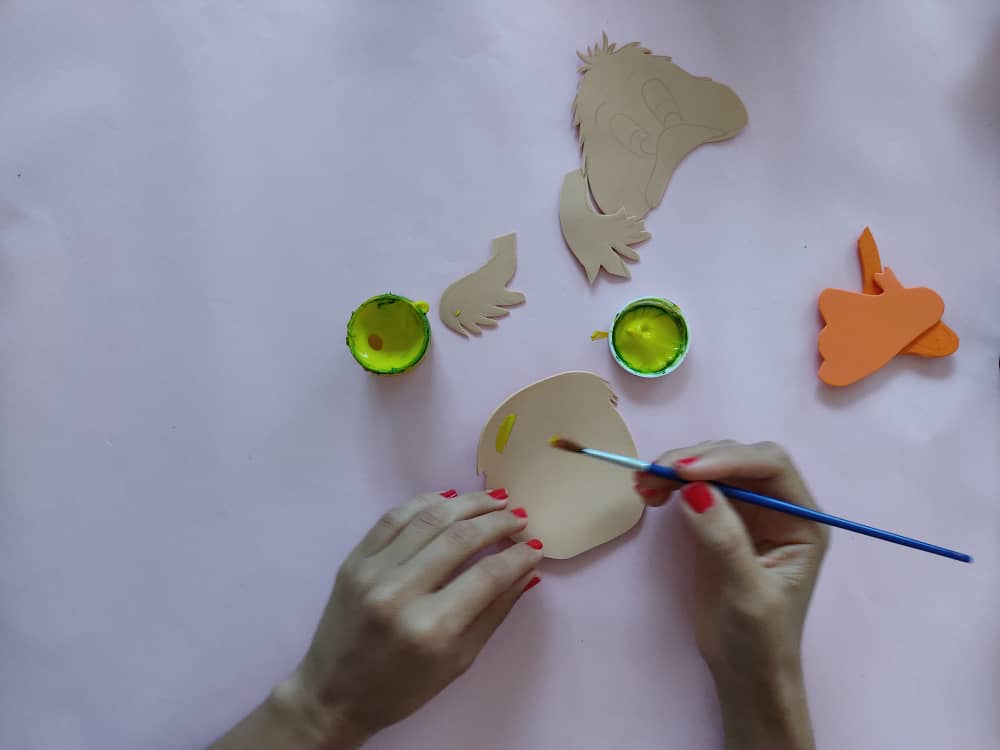
Luego, transferimos las partes del pato al foami de color que más nos guste, y una vez que hayamos obtenido estos moldes en foami, comenzamos a darle toques hermosos de pintura a este patito, y así, llenar de alegría está linda obra.
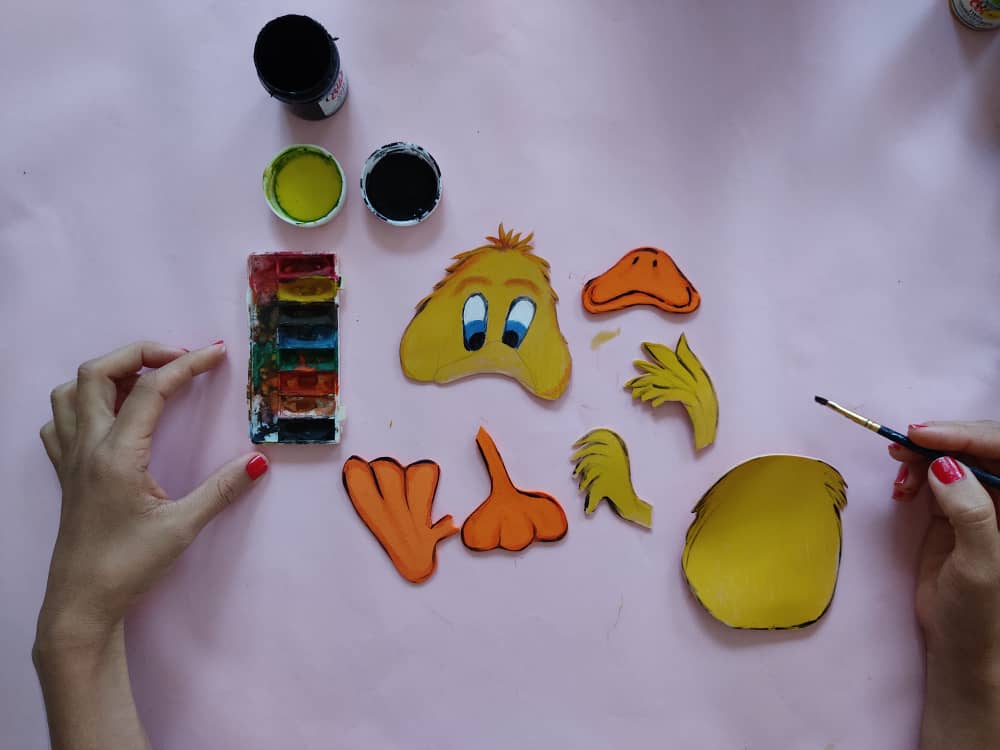
Then, we transfer the parts of the duck to the foamy of the color that we like the most, and once we have obtained these molds in foamy, we begin to give beautiful touches of paint to this duckling and thus fill with joy this beautiful work.
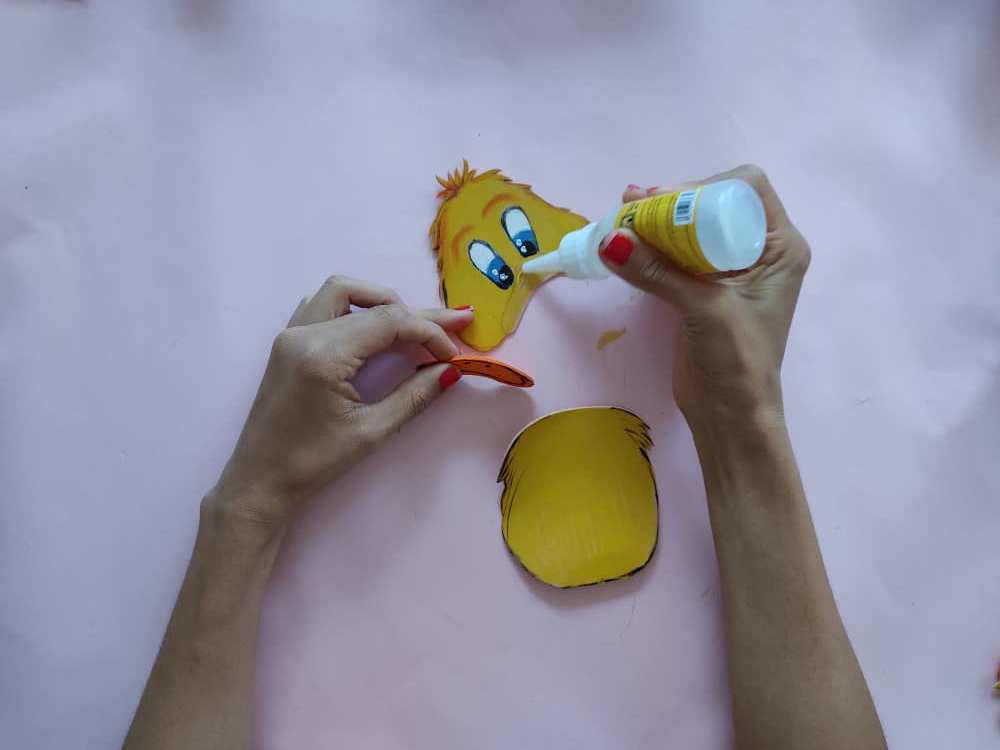
Seguidamente, armamos el cuerpo del patito pegando el pico a la cara, y la cara al cuerpo, y hacemos presión unos segundos para asegurarnos que queden bien unidos.
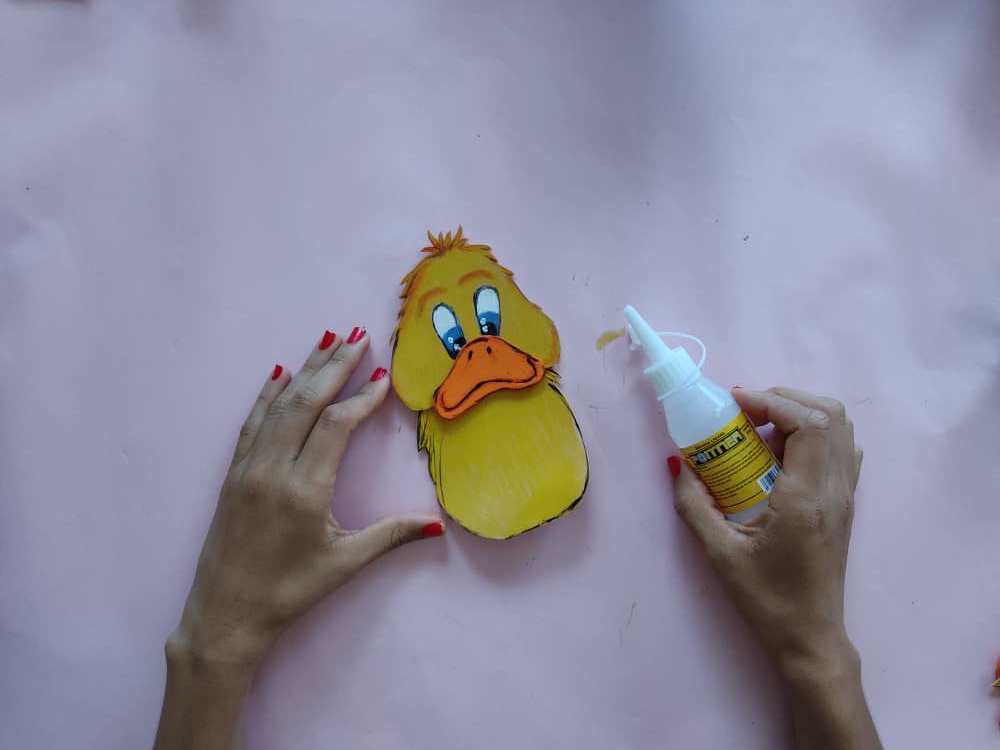
Next, we assemble the body of the duckling by sticking the beak to the face, and the face to the body, and we press for a few seconds to ensure that they are well joined.
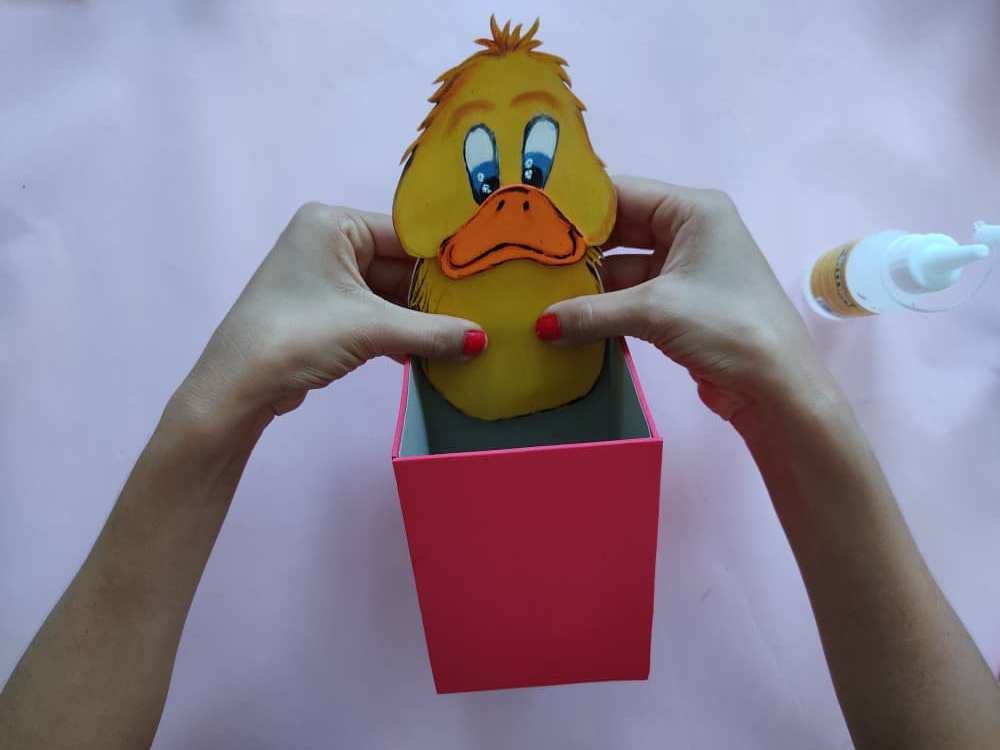
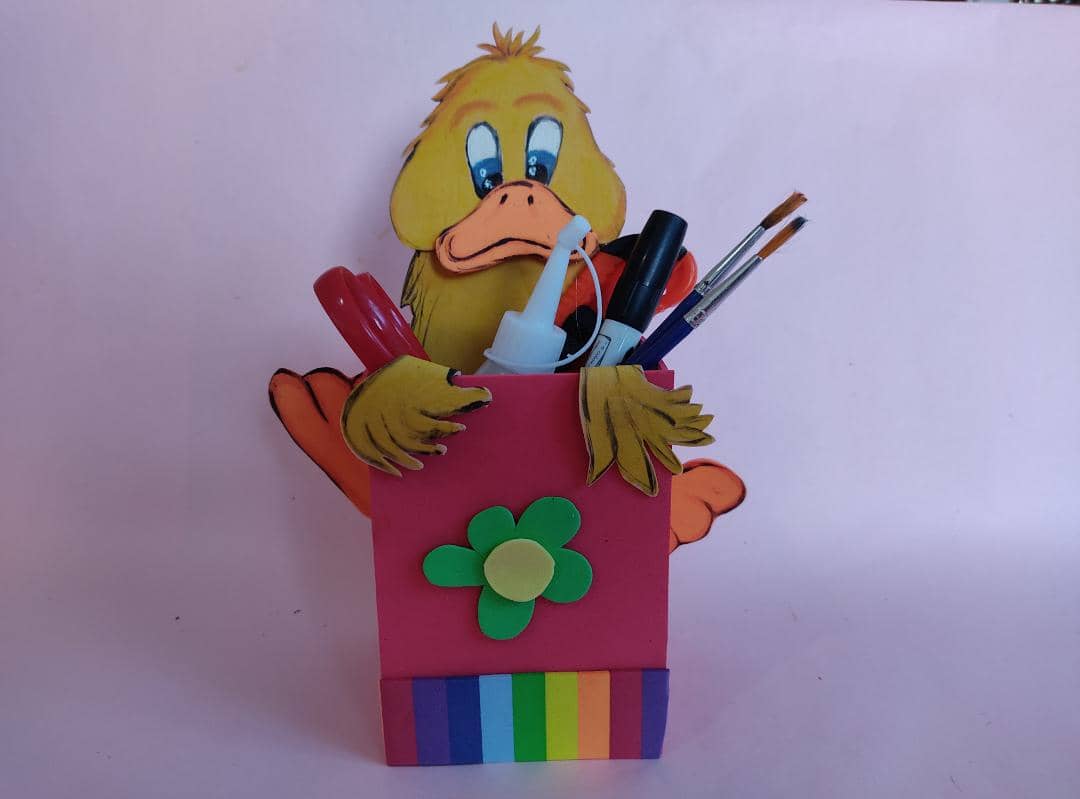
Luego, decoramos pegando el cuerpo del patito en el interior la caja, mientras que, sus alas y patas en los extremos, pueden jugar a colocar estás partes en dónde prefieran, recuerden que la idea, es que, su imaginación y creatividad sean las protagonistas de todos sus proyectos
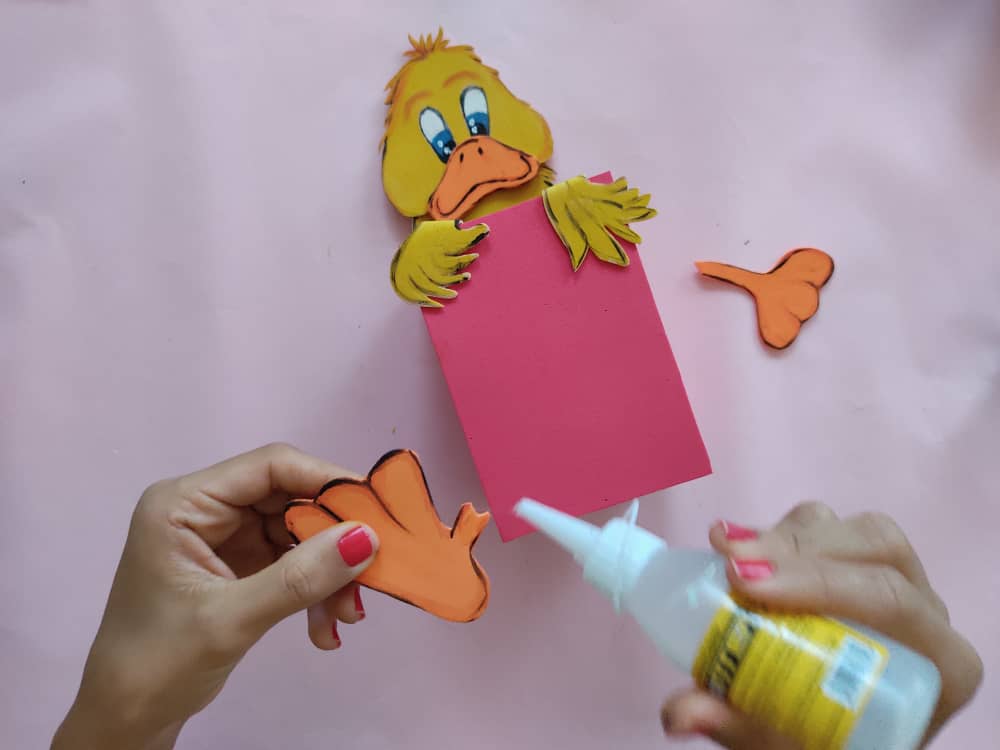
Then, we decorate by gluing the body of the duckling inside the box, while its wings and legs at the ends can play to place these parts where they prefer, remember that the idea is that their imagination and creativity are the protagonists of all your projects
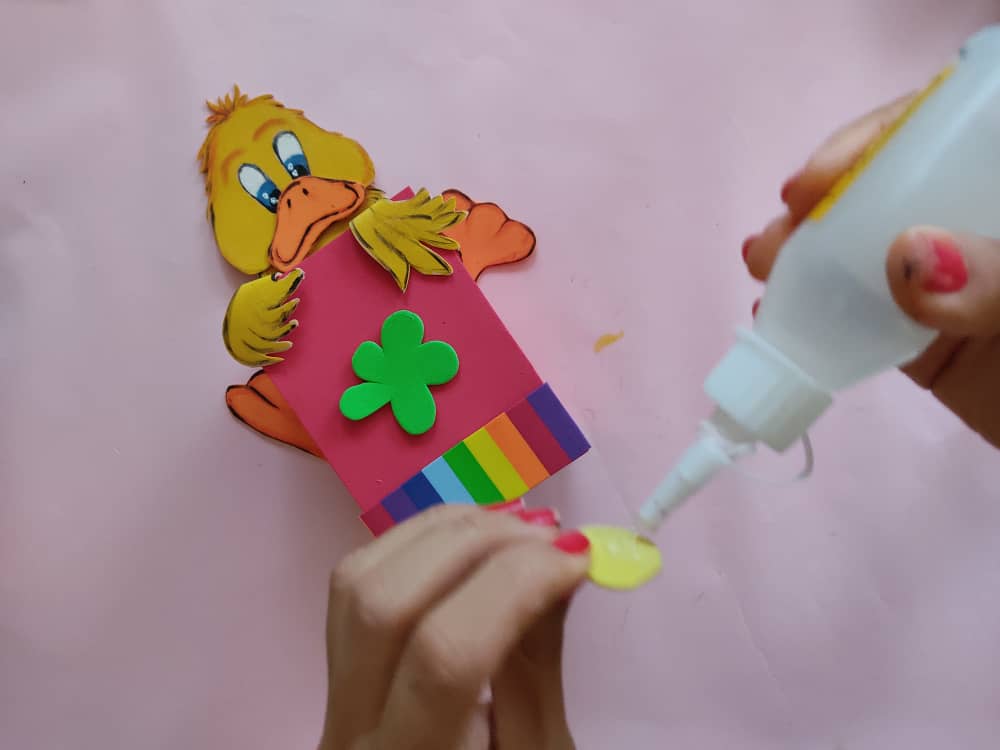
Finalmente, elaboramos y pegamos pequeños detalles en foami para decorar nuestra caja, en este caso opte por elaborar una pequeña franja multicolor y una linda sencilla flor.
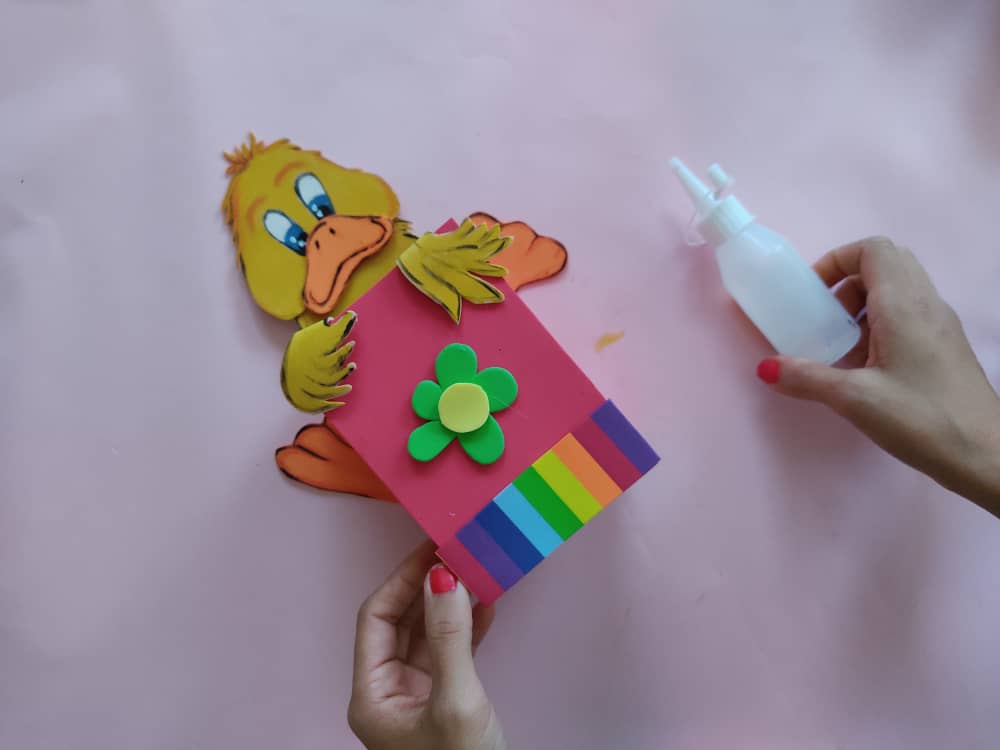
Finally, we make and glue small details in foamy to decorate our box, in this case, choose to make a small multicolored stripe and a cute simple flower.
Gracias por acompañarme y espero que lo hayan disfrutado. ❤️
Thanks for joining and I hope you enjoyed it.❤️
.jpeg)
.jpeg)
.jpeg)
.jpeg)
.jpeg)
.jpeg)
.jpeg)
.jpeg)
.jpeg)
.jpeg)
.jpeg)
.jpeg)
.jpeg)
.jpeg)
.jpeg)
.jpeg)
.jpeg)
Clic para ver trabajos anteriores | Click to see previous works
.jpeg)


My twt #posh
Really cute pen holder.. :)
Thanks dear friend.. XOX
You deserve a Blue Peter badge.
image source
Thanks for sharing your creative and inspirational post on HIVE!
This post got curated by our fellow curator @priyanarc and you received a 100% upvote from our non-profit curation service!
Join the official DIYHub community on HIVE and show us more of your amazing work!
Me gusto mucho, tiene muy linda creatividad
Me gusto mucho, tiene muy linda creatividad
guaao te quedo muy bonito tu manualidad