In previous tutorials for the GDevelop, you have learned how to do various types of the actions and the events that could help you make the game using GDevelop. We have also learned how to make some of the screen movement using the IDE as well.
Today in this tutorial we are going to see how to change the background of the game by pressing the key or the mouse press. You can also do the same action by allowing the button press for the background change. I hope you understand how to change background in the game using key press.
Here's the table of content for previous posts on the topic for you to learn.
- GDevelop - How to Create Project
- GDevelop - How to Create Scene
- GDevelop - How to add background Image
- GDevelop - How to add Image Sprite
- GDevelop - How to Horizontal Scroll
- GDeveop - How to Vertical Scroll
- GDevelop - How to Switch Level or Scene in Game
- GDevelop - Switch Scene or Level
- GDevelop - Add Force to Sprite
For taking this tutorial, you have to download the GDevelop game IDE. This is pretty small amount of software that can be easily used for making the game. So download GDevelop. Each 2 or 3 months the software updates and that update can be pushed using the auto-update.
Make sure to also save your projects in the drive which you regularly take backup. Save your file regularly and also take backup of folder regularly too.
In previous 9 tutorials so far, we have learned how to create project, how to add scene, then how to add object with sprite and then how to make horizontal and vertical movements. We didn't stopped at that and moved for some of other changes of key press. And also few other tutorials for you to try out as well.
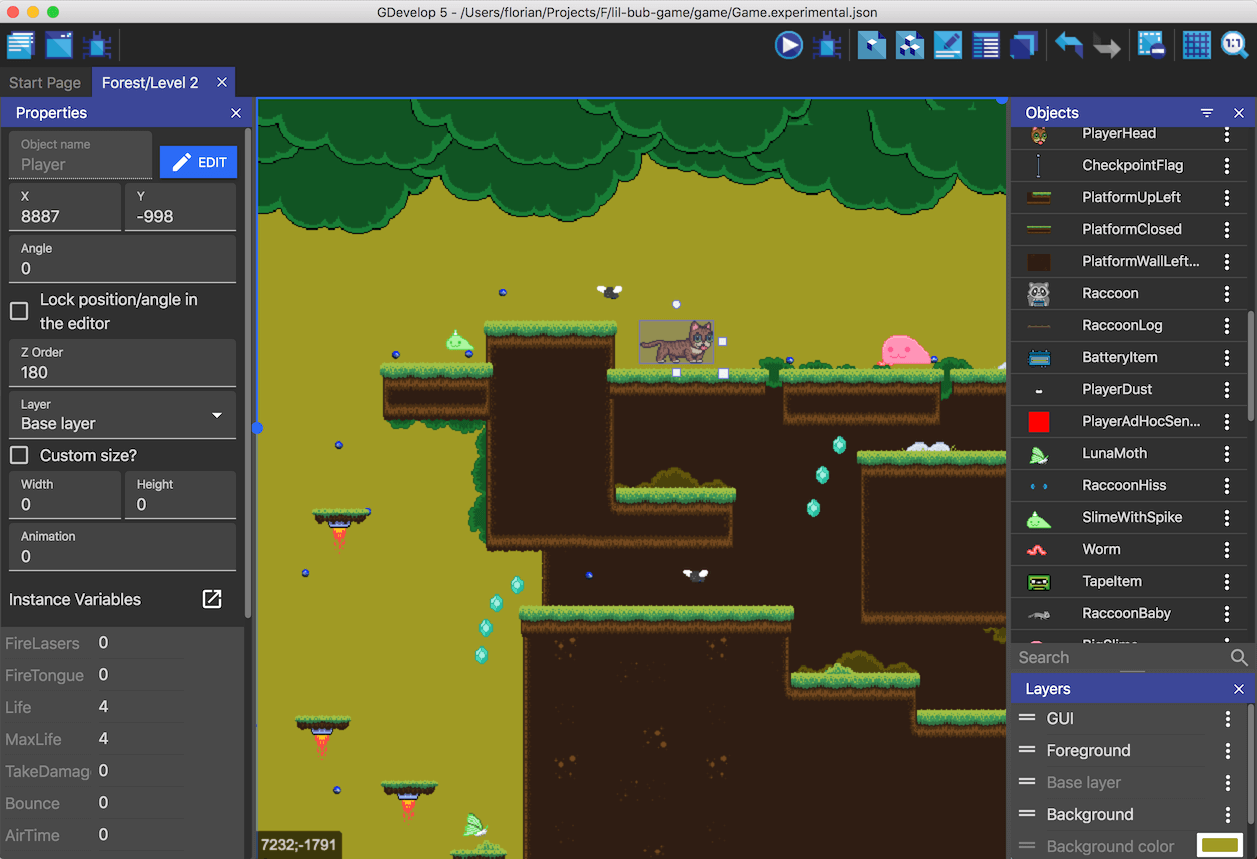
Image Credit: GDevelop
Follow the instructions below to Key Press Change Background.
- Install GDevelop from official site.
- Open up Gdevelop.
- Create new project.
- Click on project explorer on left top panel.
- Choose scene.
- Once you add scene, the next step is to add the sprite.
- Add new object
- After adding the object you can add any sprite resembles the button.
- Now switch to the scene events tab.
- Now make sure to add the logic for the scene event on the sprite object for key press.
- Here you have to add the logic that changes the scene color.
- Then another press should switch it back. Make sure to add that logic.
- Save the code.
- Save the project.
- Preview the project.
That is all. Your sprite now should be able to change the background. You can also assign specific keys to change the background as logic. So you can see that when you press certain amount of keys, you can easily change the background. You should make sure to also assign the mouse taps if you want that sort of the background change. This exercise will prepare you for usage of keys and mouse easily.
You can follow the instructions through the video tutorial as well.
This was one of the videos from the series which has touched the makeup region of any game. Now the thing is that we have to work on some effects in and out of the game. We have to make sure to move to the particle effects and the objects that can make use of it. So next few tutorials on the series I am going to focus on that part.
I suggest you to go through the series of tutorials listed at the top of the table of content. You would be able to go through pretty interesting tutorials series there. You would also learn some really good basics that you can make use of later in the games. So keep visiting those tutorials in case if you stumbled into problems.
We will continue the further game development topic in next post.