In previous tutorials, we have learned Particle Emitter. I didn't do much of in depth in it to avoid the complications. So I thought it's time to move to another topic. This time we are going to see how to use tiled sprite inside the game.
Like there are some sprite which have repeat background. And you can use them as a tile. So say like wall, sky, grass are the natural elements in the game which can be used in that case.
Tiled sprites are pretty much important in the 2D Games as you use the elements in repeat and make sure to use them in the right way to avoid making it complicated and stale. You have to experiment with placement.
Before we move onto the tutorial, let's take a look at what we have done so far.
So here is the table of content of the previous tutorials that you can follow for making the specific parts of the game development.
- GDevelop - How to Create Project
- GDevelop - How to Create Scene
- GDevelop - How to add background Image
- GDevelop - How to add Image Sprite
- GDevelop - How to Horizontal Scroll
- GDeveop - How to Vertical Scroll
- GDevelop - How to Switch Level or Scene in Game
- GDevelop - Switch Scene or Level
- GDevelop - Add Force to Sprite
- GDevelop - Key Press Change Background
- GDevelop - Particle Emmiter
Make sure to download the Gdevelop and then start to use it immediately. No need of big install. Just download and get started. You can also enable the auto update with the update channel so that it can update in the background.
Also I have explained this before but make sure to backup your projects. Because lack of the electricity and other effects make it difficult to backup the projects. And so you could lose the work. Make sure to use the git or even local backup for the regular backup of game projects.
As of now we have done 11 tutorials in the GDevelop series. And you can check the above table of content to check them out any time you want. They don't cover the step by step approach so feel free to pick any random video out of it and get going with the code.
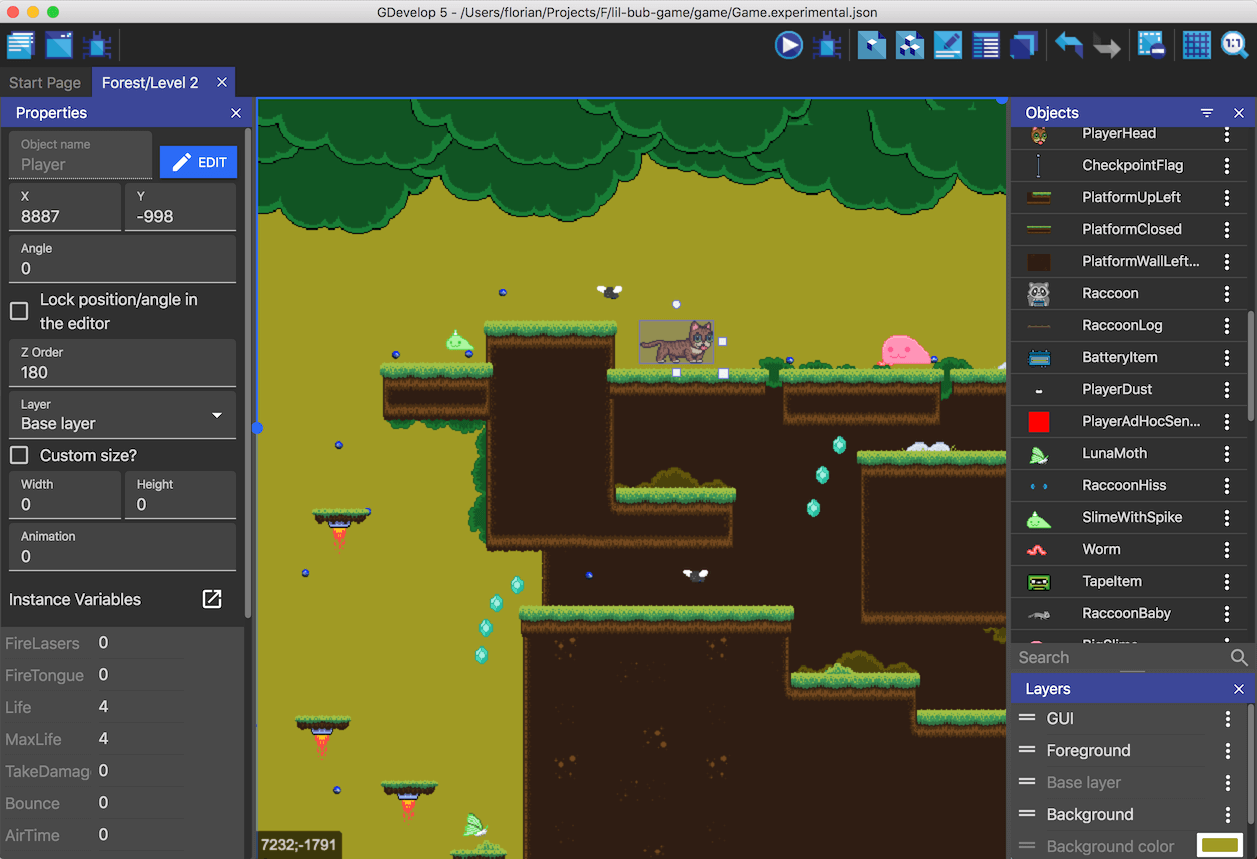
Image Credit: GDevelop
Follow the instructions below to work with the Tiled sprite in the game.
- Install GDevelop from official site.
- Open up Gdevelop.
- Create new project.
- Click on project explorer on left top panel.
- Choose scene.
- After adding the scene, lets add the background for the game.
- You need to add new object.
- Download the tiled sprites from the internet sites like opengameart, itch etc.
- Now add object by clicking plus icon.
- Now use the Tiled sprite object.
- Now choose the file for the tiled sprite.
- Add the name for the tiled sprite.
- Save the settings.
- Now drop the object on the scene.
- Expand the tile using the selection and spread tool options.
- Now save the settings.
- Preview the game scene.
That's it. Now that you have learned how to add the tiled sprite into the scene and you can now view the scene by pressing the play button.
You may notice that in video I am making use of the fantasy forest which is pretty good design for small games. You can make use of many other different type of the assets depending on how it suits your game scenario. I'd recommend making your own if you can't make use of the stock assets that are out there.
You can follow the instructions through the video tutorial as well.
You have plenty of options to download the Tile art. Like say itch io has some of the good artists and the designers. And most of the art is pretty cheap there. And so for making initial type of the games you can definitely try to make use of them. Once you have enough money go for the envato studio's art assets for the game.
There are some assets that you can use from the opengameart. You will learn a lot of things along the way and also you don't have to worry about the license and the price. So start with what you have and build on that. As that seems to be the formula for the better game at the end. We will see more in depth tutorials later.
We will continue the further game development topic in next post.