.jpeg)

Español
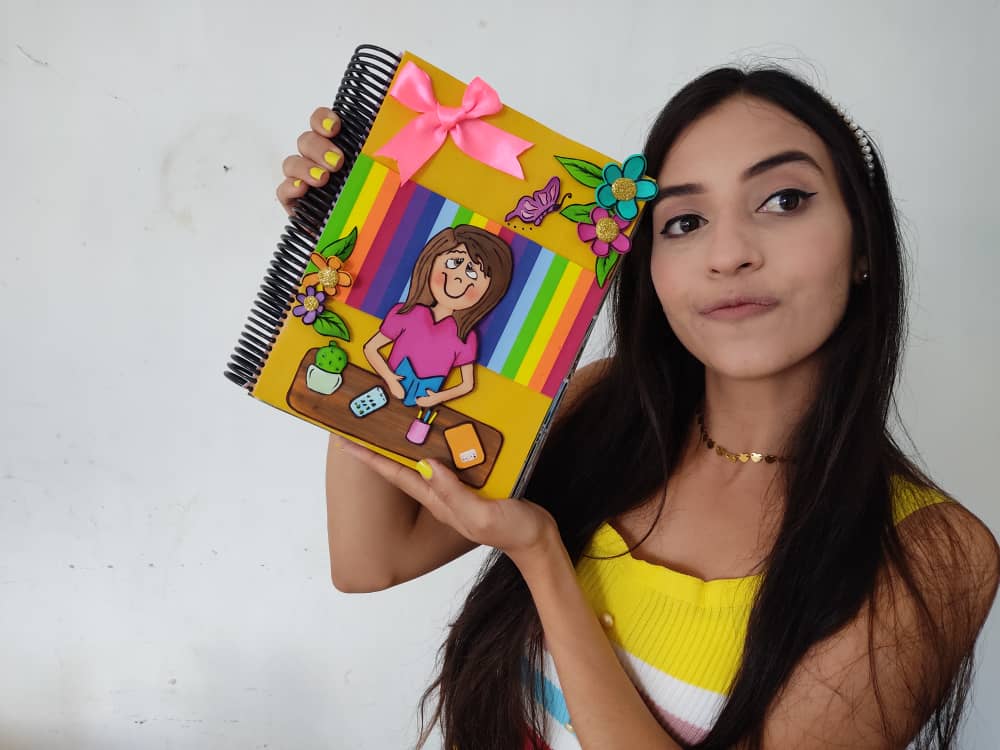
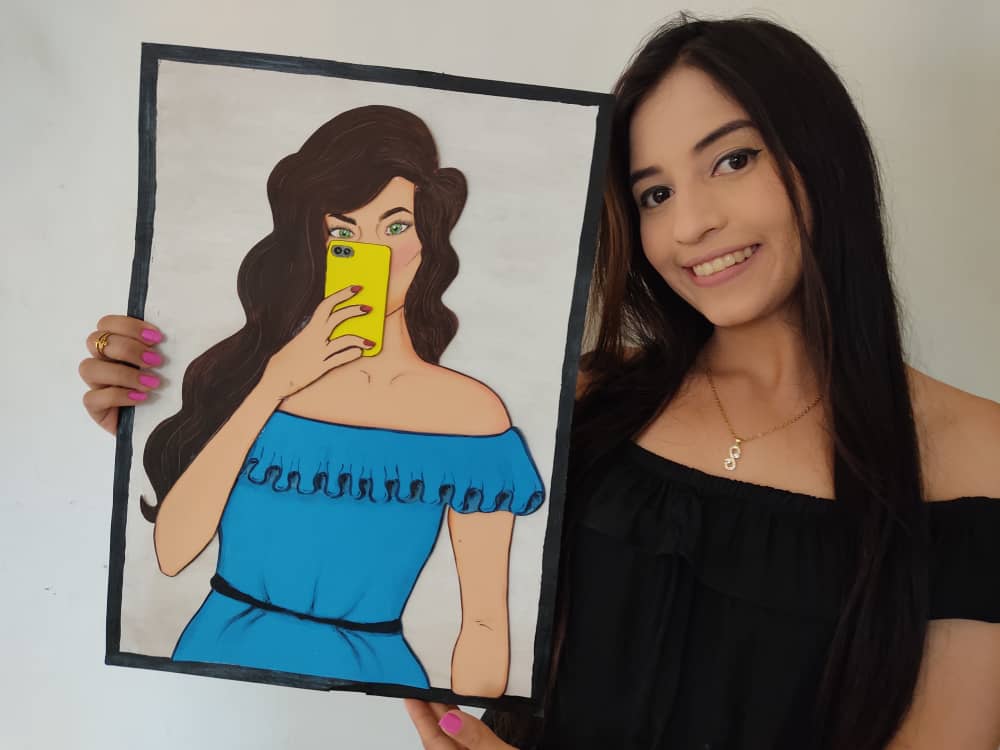
Hola Hive ❤️ Este hermoso día les traigo un genial y divertido paso a paso donde les mostrare como elaborar un hermoso cuadro donde tendremos una linda chica con lindos y de coloridos cabellos rizados muy hermosos y abundantes, esta chica tiene unos ojos muy grandes, que la hacen lucir preciosa y mágica, este hermoso cuadro está elaborado de materiales bastante económico y muy fáciles de obtener, así que, sigamos disfrutando de esta larga y productiva cuarentena, recuerden debemos mantener nuestros pensamientos positivos para atraer cosas positivas.
English
Hello Hive ❤️ This beautiful day I bring you a great and fun step by step where I will show you how to make a beautiful painting where we will have a beautiful girl with beautiful and abundant colorful curly hair, this girl has very large eyes, which make her look beautiful and magical, this beautiful painting is made of materials that are quite cheap and very easy to obtain, so, let's continue enjoying this long and productive quarantine, remember we must keep our thoughts positive to attract positive things.
¿Qué están esperando?
Gracias a esta técnica podemos crear nuestro propio cuadro de chica de cabellos rizados, además, una hermosa obra hecha en casa es una manera creativa y muy económica de darle un toque de alegría a nuestro entorno. Antes de comenzar no olvidemos lavarnos nuestras manos.
What are they waiting for?
Thanks to this technique we can create our own painting of a curly-haired girl, in addition, beautiful homemade work is a creative and very cheap way to give a touch of joy to our surroundings. Before we start, let's not forget to wash our hands.
[Materiales | Materials]
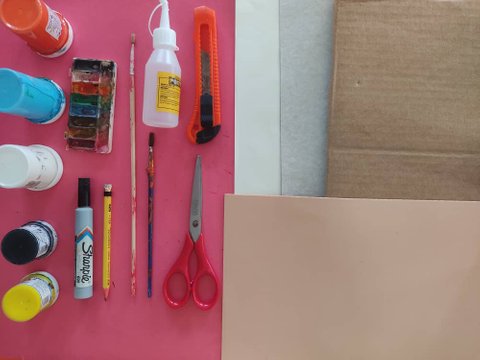
Para hacer esta hermosa chica necesitaremos:
- Moldes.
- Foami o goma eva.
- Papel vegetal o calco.
- Lamina de cartón.
- Regla.
- Lápiz.
- Marcador.
- Tijera.
- Cúter.
- Pincel o brocha.
- Pinturas.
- Silicón liquido o pegamento.
To make this beautiful lady we will need:
- Molds.
- Foamy or EVA foam.
- Vegetable paper or tracing.
- Cardboard sheet.
- Rule.
- Pencil.
- Bookmark.
- Scissors.
- Cutter.
- Brush or brush.
- Paintings.
- Liquid silicone or glue.
Procedimiento (paso a paso)
Process (step by step)
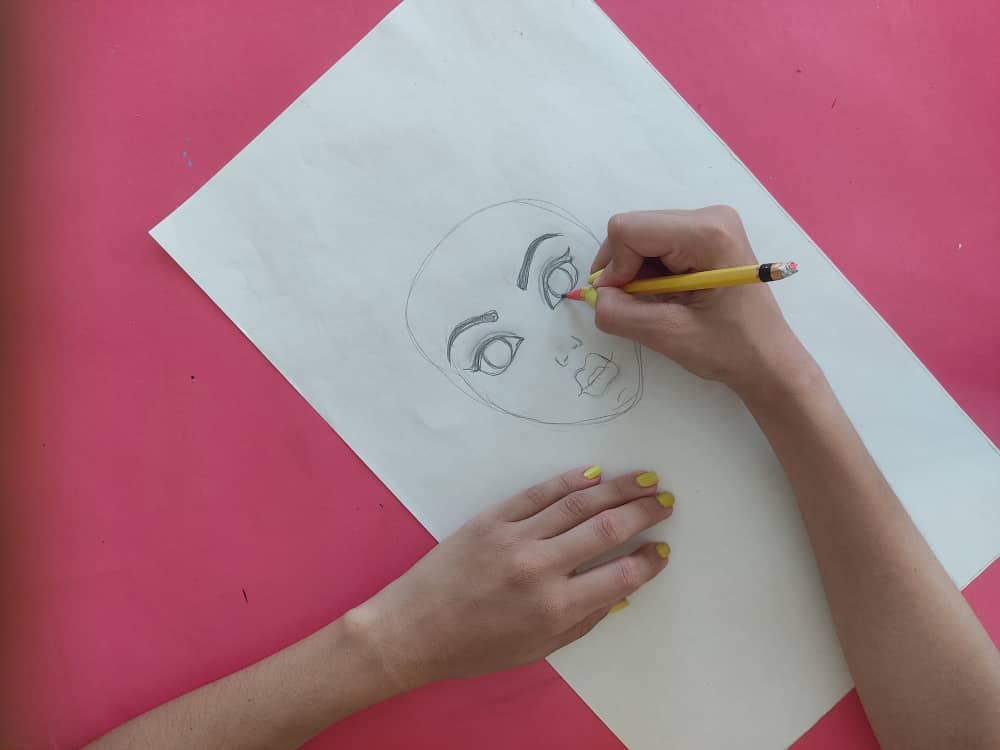
Primero, dibujamos la cara de la hermosa chica, definimos sus cejas, y todos los rasgos de su cara, terminando con un increíble cabello, abundante y lleno de hermosos rizos.
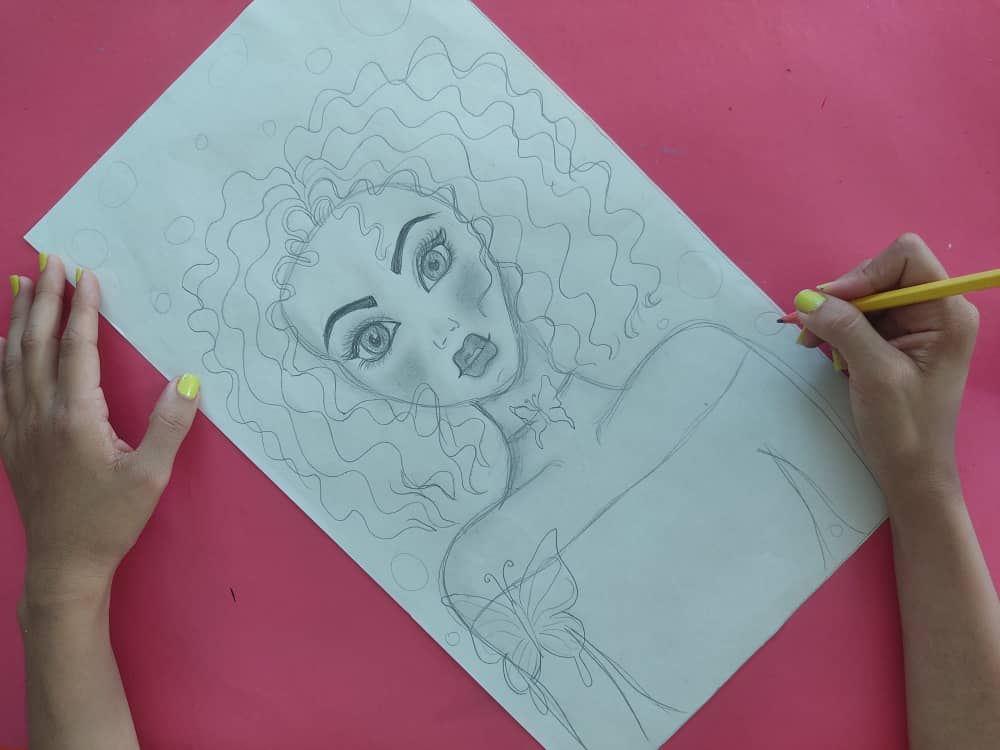
First, we draw the face of the beautiful girl, define her eyebrows, and all the features of her face, ending with incredible hair, abundant and full of beautiful curls.
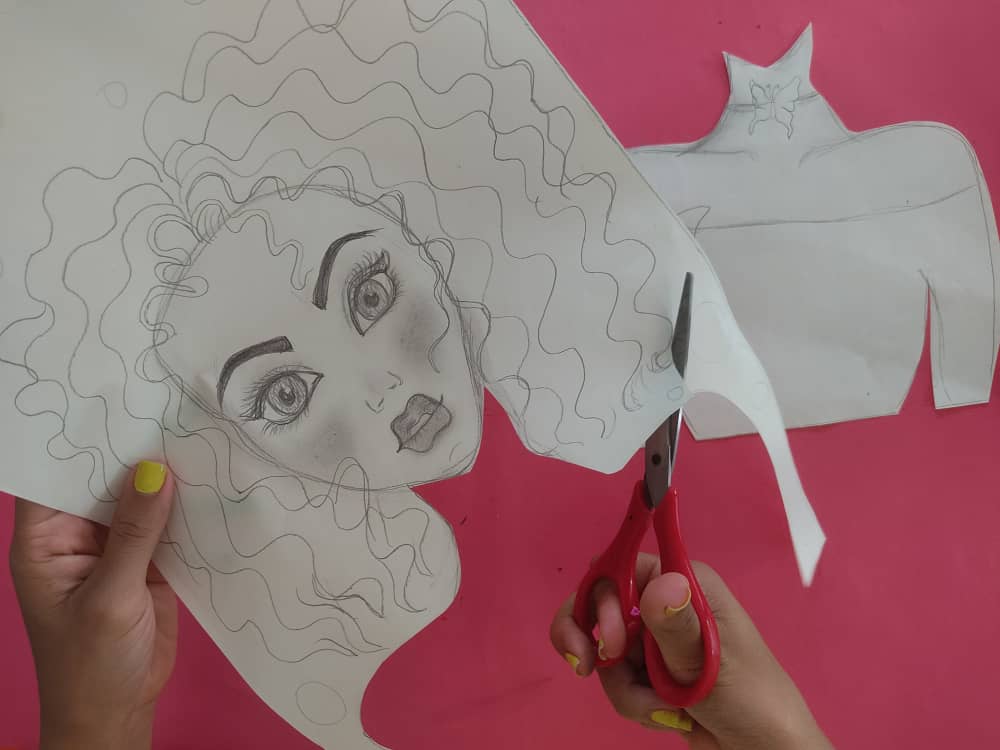
Luego, recortamos separando las piezas de su cabello, cara, cuello y camisa, debemos ser muy cuidadosos a la hora de cortar el cabello ya que deseamos que los rizos mantengan esa linda forma que le hemos dado.
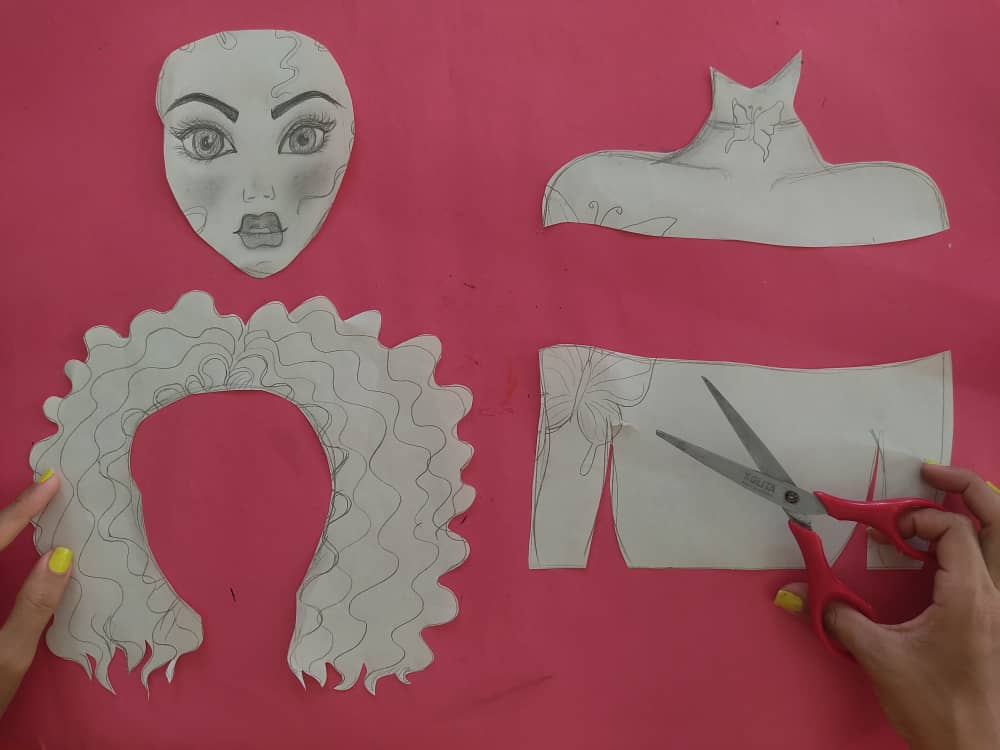
Then, we cut separating the pieces of her hair, face, neck, and shirt, we must be very careful when cutting the hair since we want the curls to maintain that beautiful shape that we have given them.
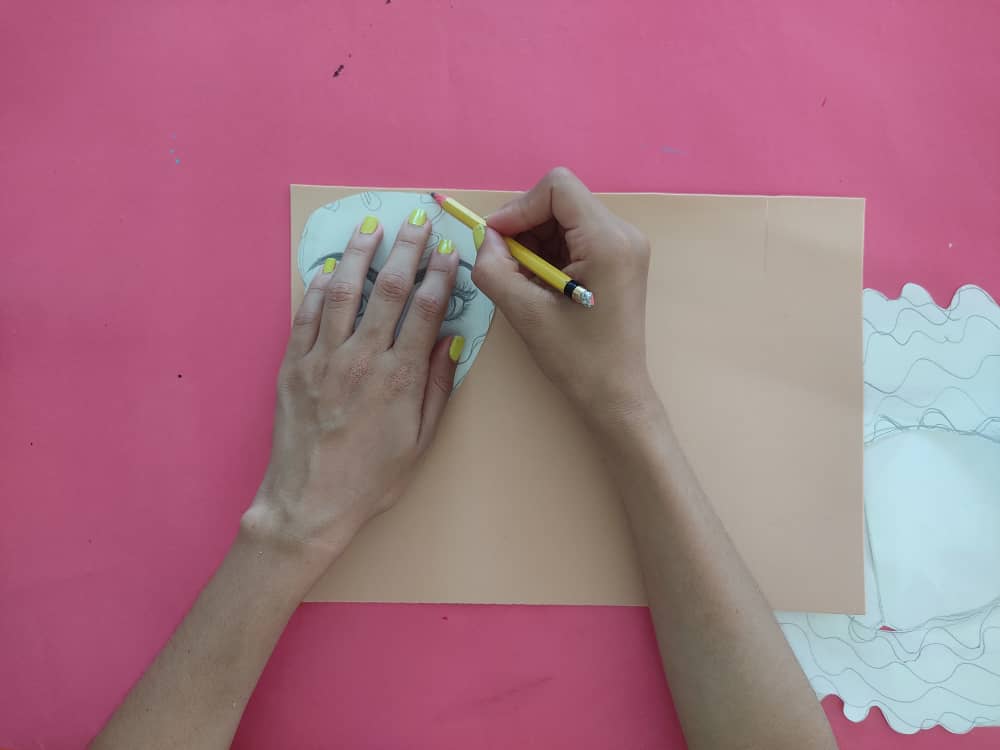
Seguidamente, transferimos las piezas obtenidas a las láminas de foami, conservando las medidas exactas de cada figura, y recortamos cuidadosamente.
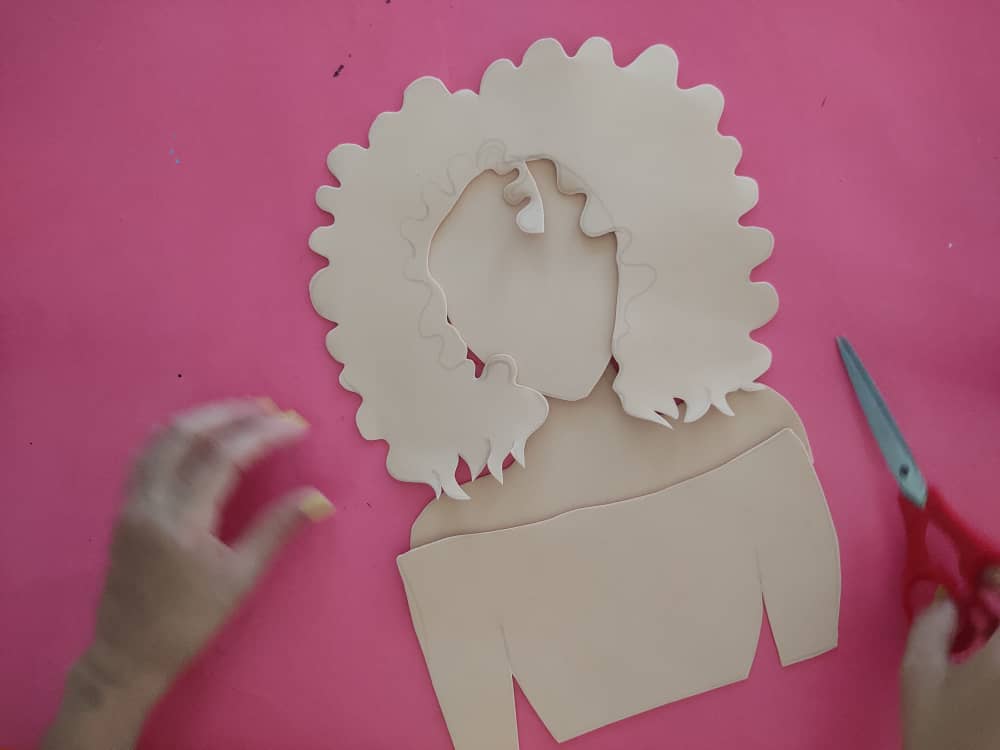
Next, we transfer the pieces obtained to the foamy sheets, keeping the exact measurements of each figure, and carefully cut out.
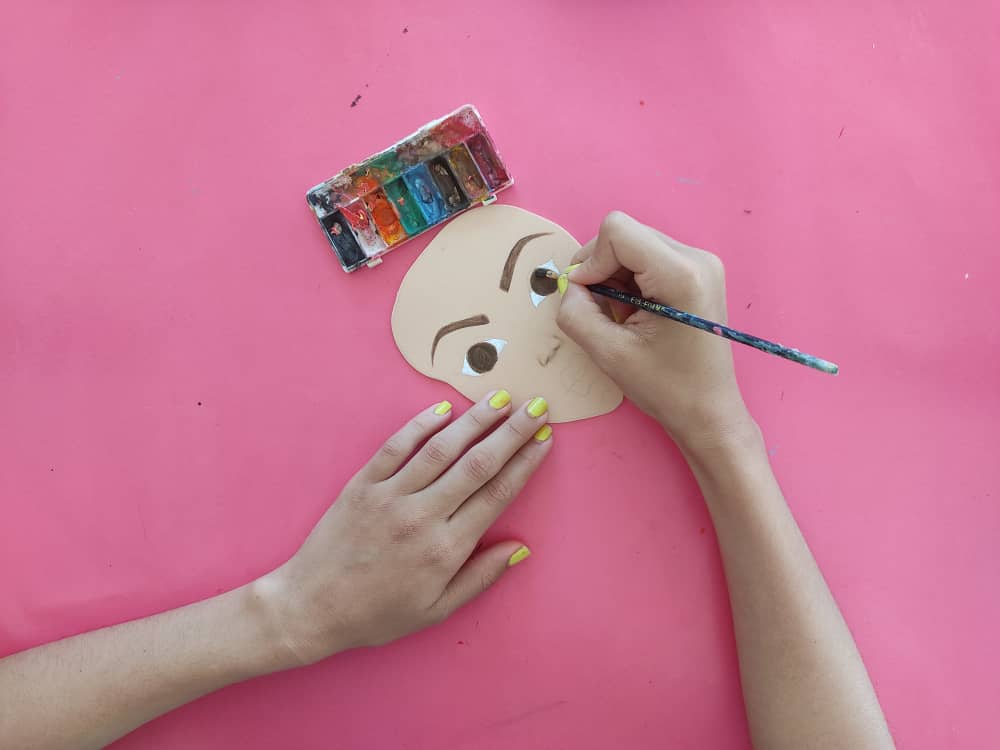
Ahora, comenzamos a pintar la cara de la chica, definiendo cejas, ojos, nariz y boca, y también su pecho, tan solo sombreados sus bordes y definimos las líneas del cuello.
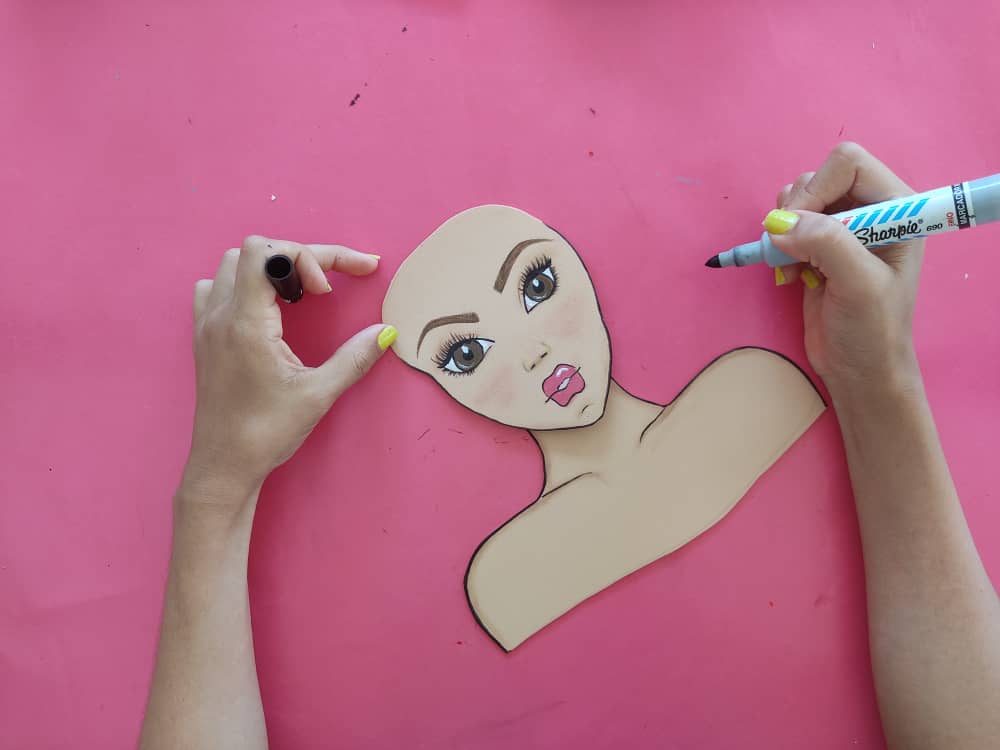
Now, we begin to paint the face of the girl, defining eyebrows, eyes, nose, and mouth, and also her chest, just shading its edges and defining the lines of the neck.
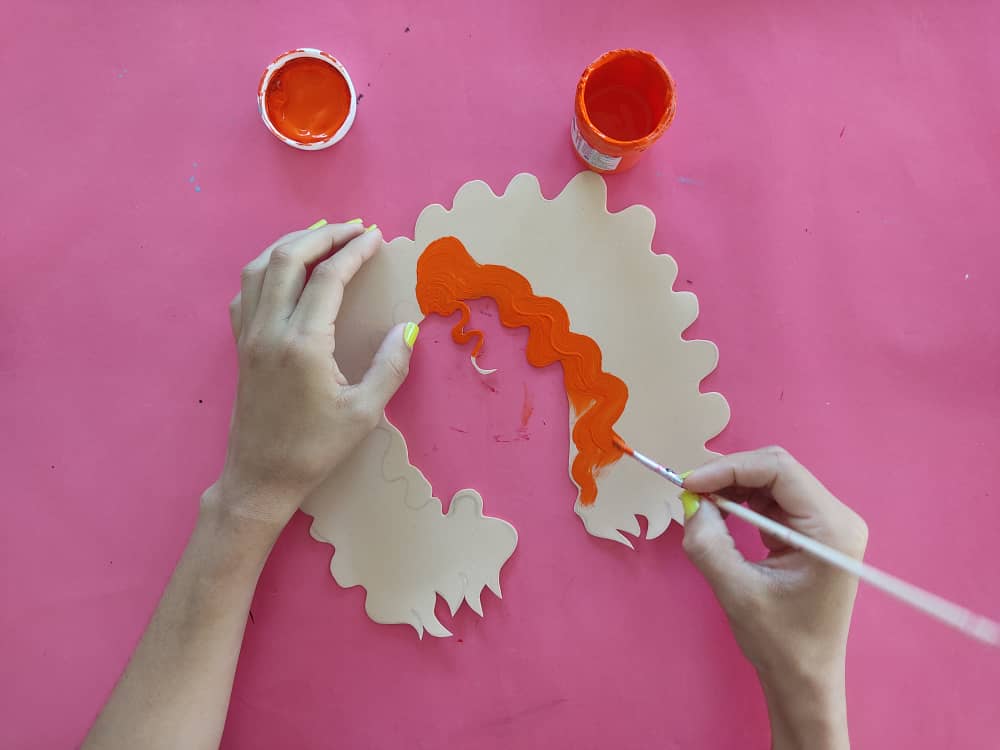
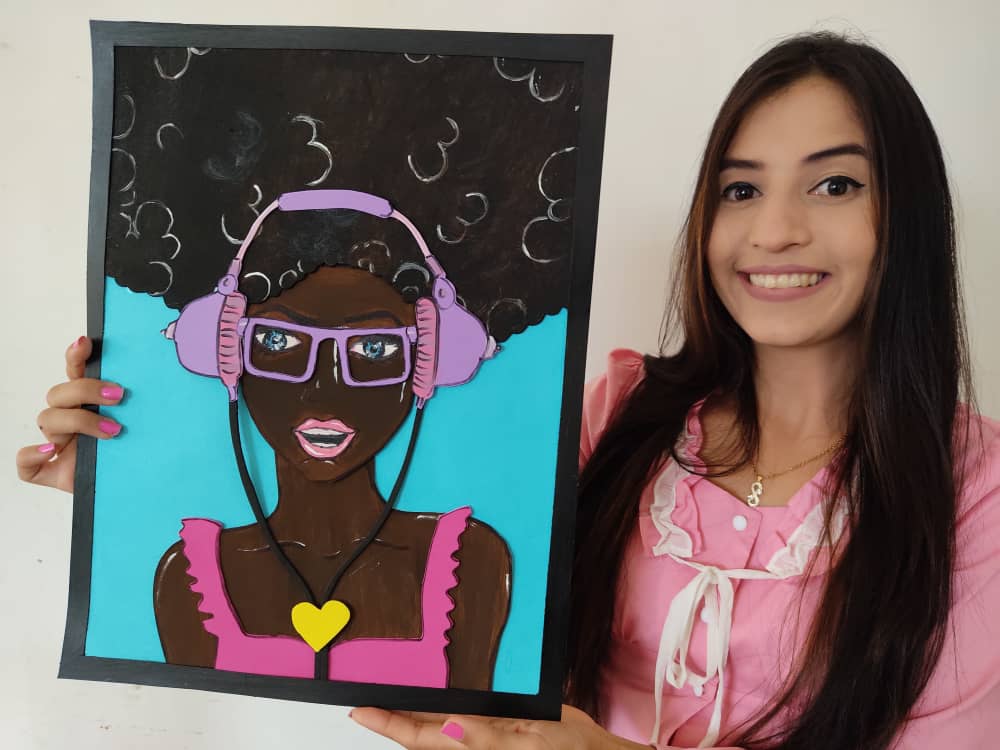
Seguidamente, definimos con pinturas de tonos naranja, amarillo y rojo los rizos en el cabello de nuestra hermosa chica, en este caso opte por pintarlo de este color, ya que, le dará un toque muy diferente, y sobre todo muy precioso.
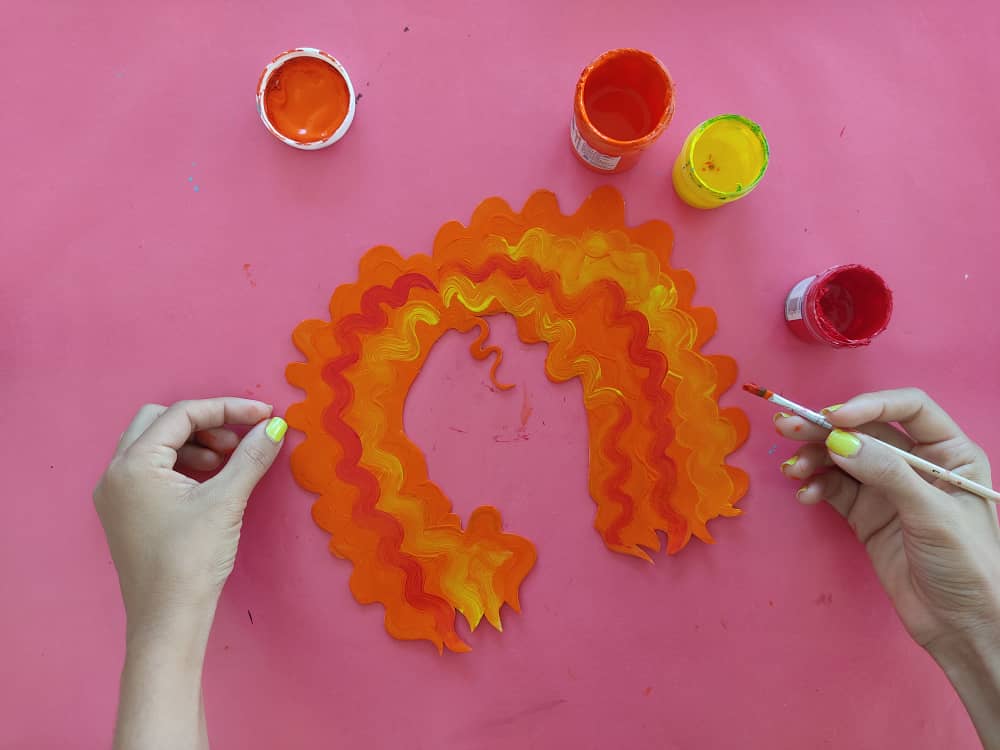
Next, we define with paints of orange, yellow, and red tones the curls in our beautiful girl's hair, in this case, I chose to paint it in this color, since it will give it a very different touch, and above all very precious.
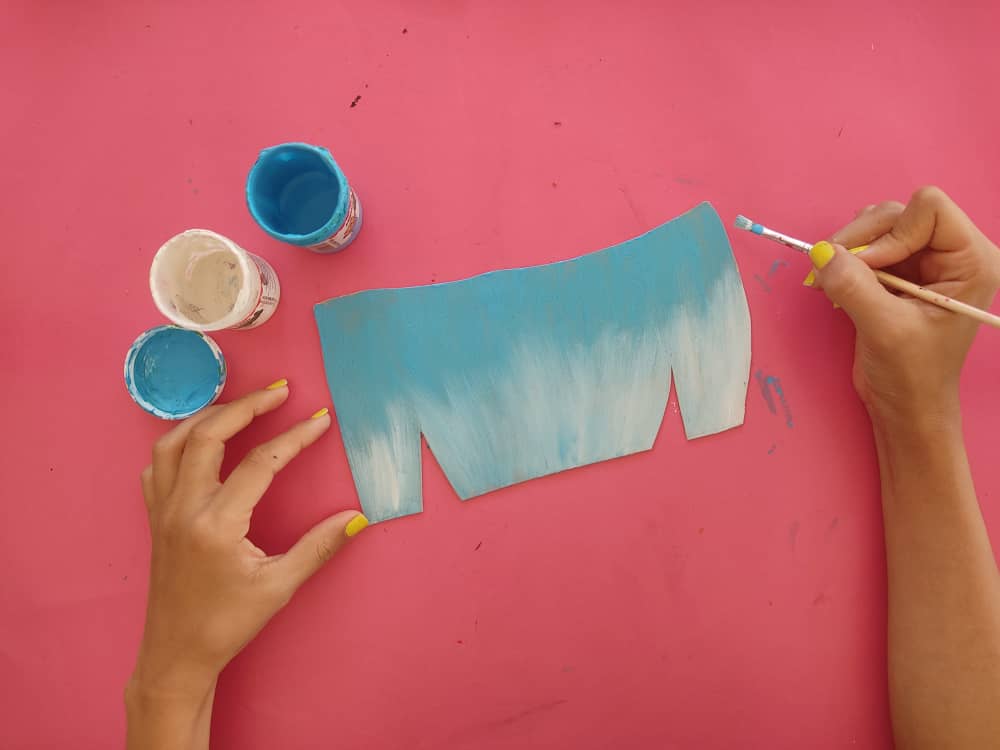
Luego, pintamos la camisa de esta chica de un hermoso color azul cielo, agregando los detalles que más nos gusten, pero siempre con mucho color, está vez opte por elaborar una especie de degradado entre blanco y azul. Y el resultado fue genial.
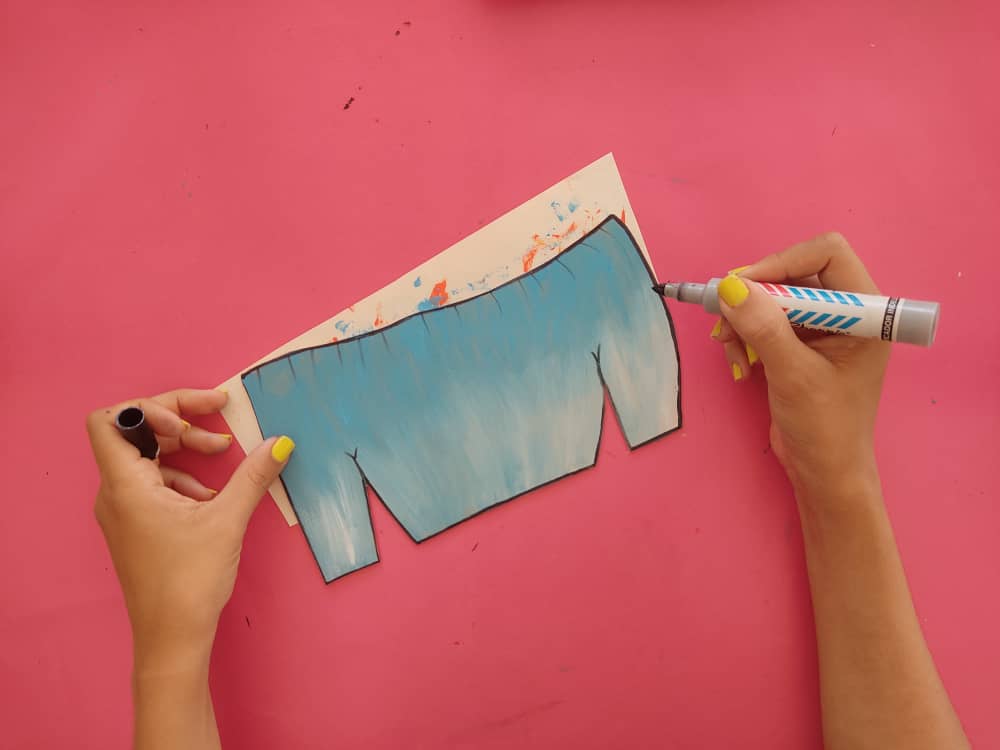
Then, we painted this girl's shirt a beautiful sky blue, adding the details that we like the most, but always with a lot of colors, this time I chose to make a kind of gradient between white and blue. And the result was great.
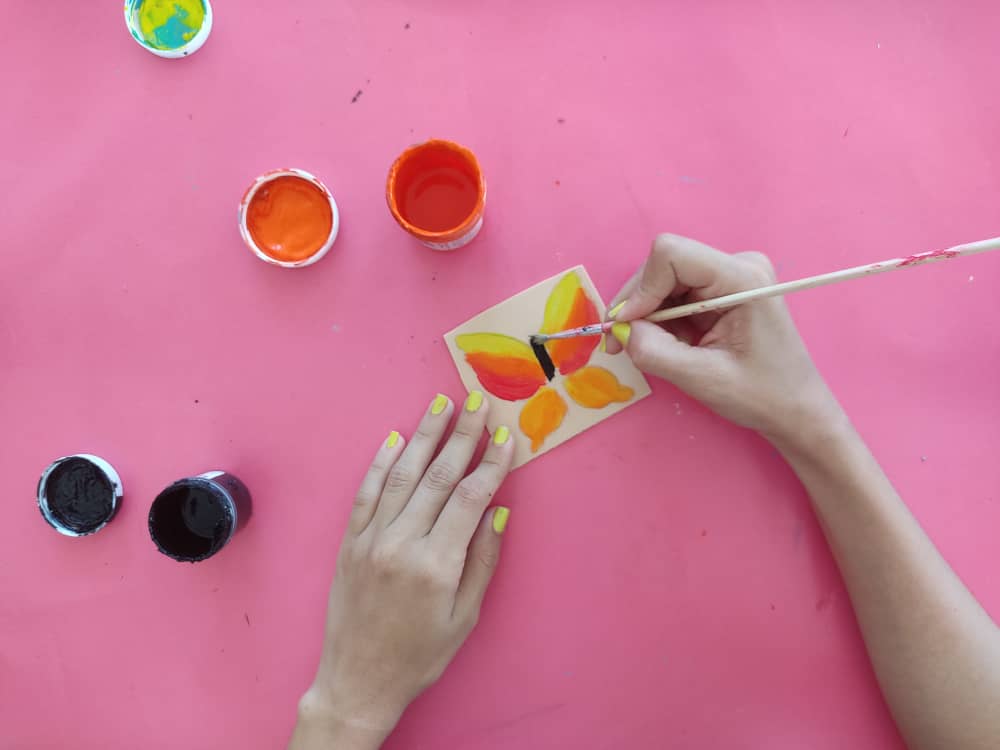
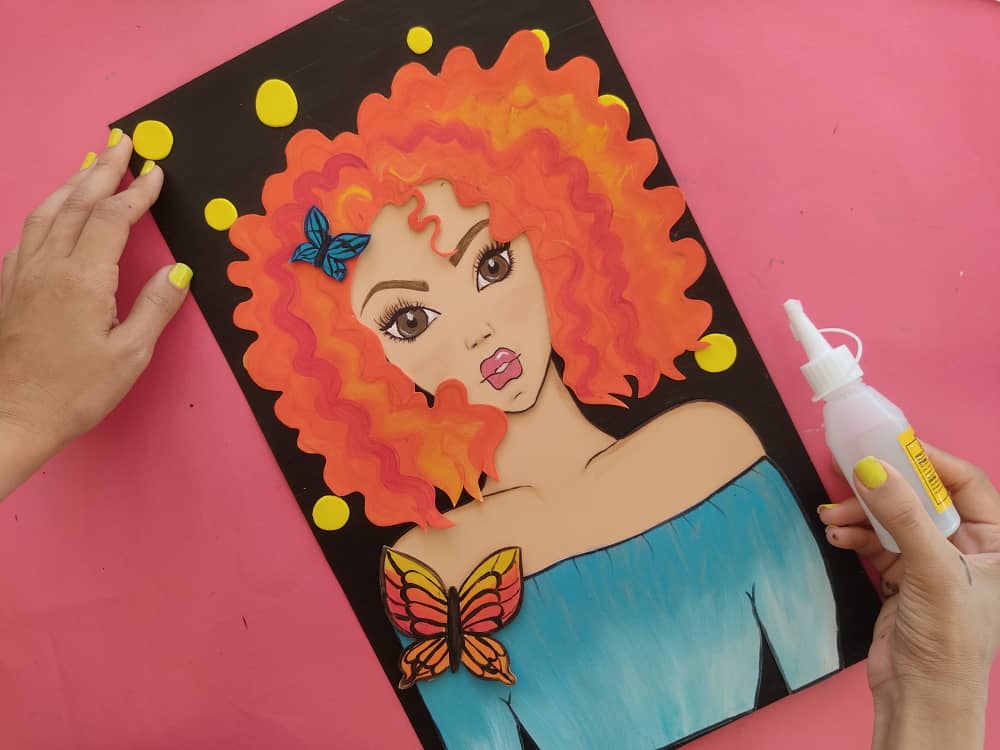
Después que tengamos todas las piezas listas, elaboramos hermosas mariposas, para decorar a nuestra obra de una manera muy original.

After we have all the pieces ready, we make beautiful butterflies decorate our work in a very original way.
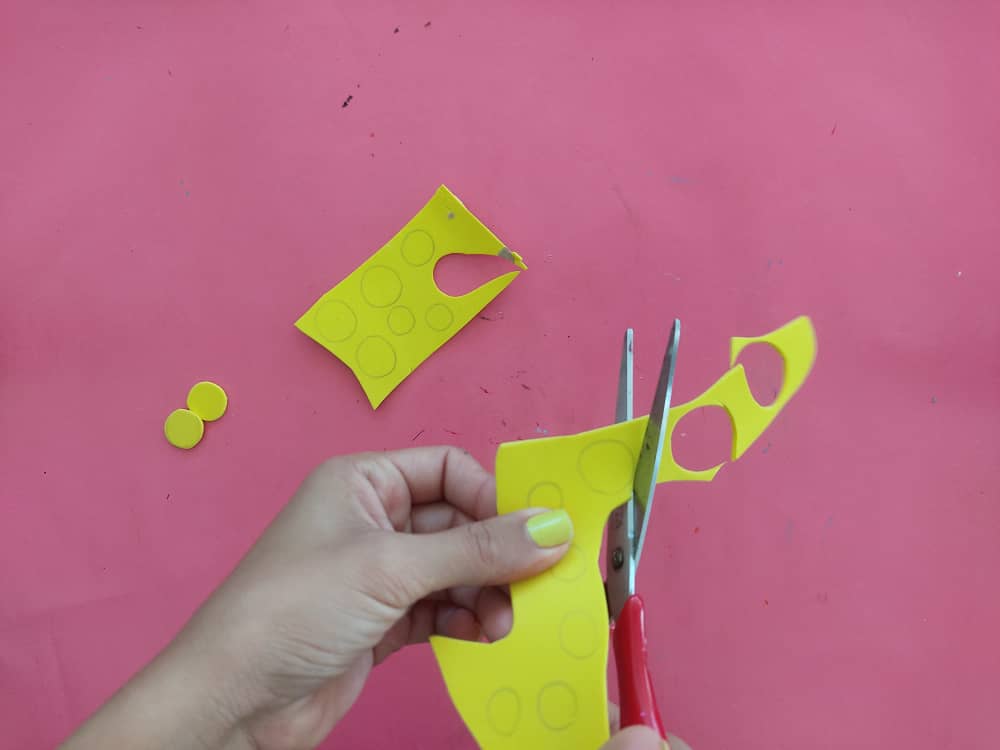
Ahora, elaboramos algunos círculos de color amarillo y de distintos tamaños para decorar un poco el fondo de este cuadro mágico, y así darle unos simples toques de luz.
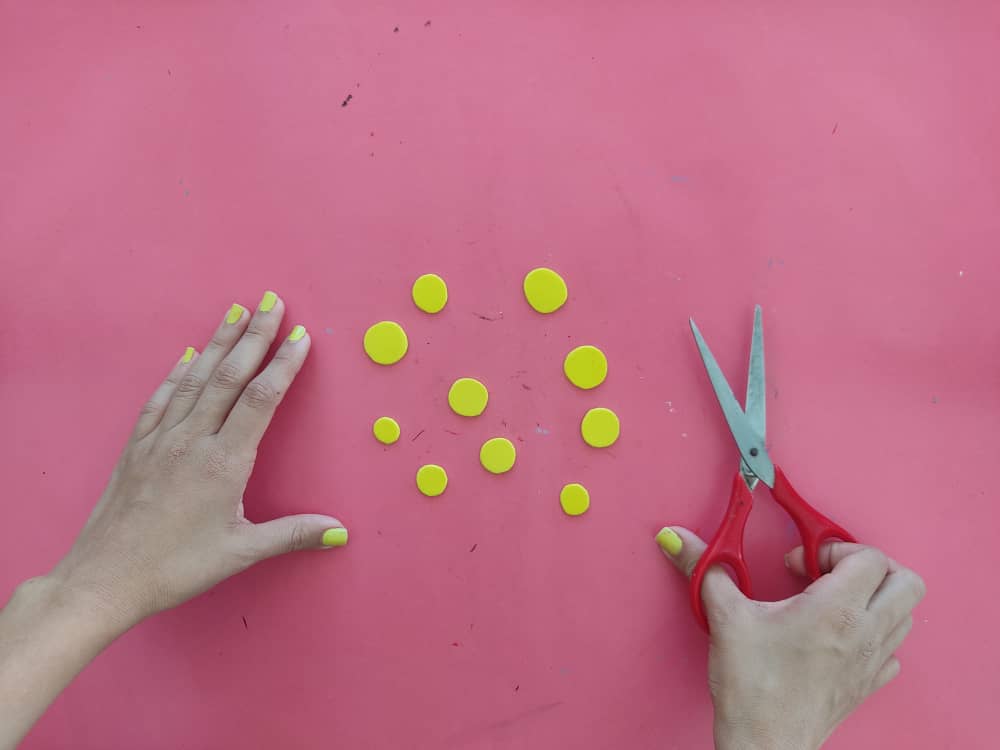
Now, we make some yellow circles of different sizes to decorate the background of this magic painting a bit and thus give it a few simple touches of light.
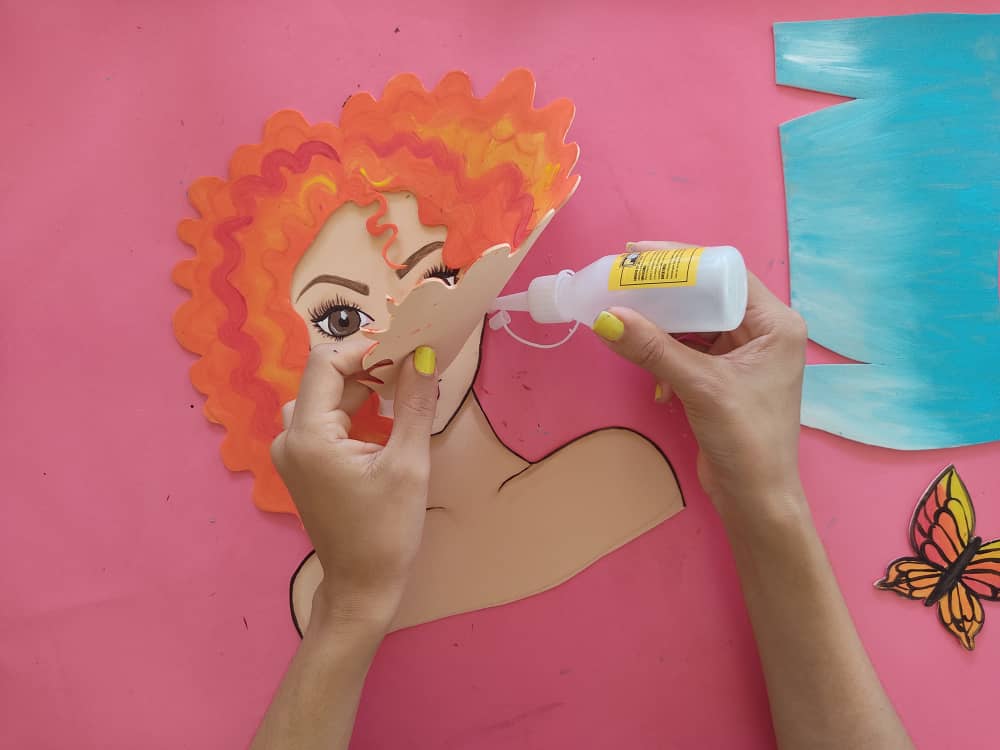
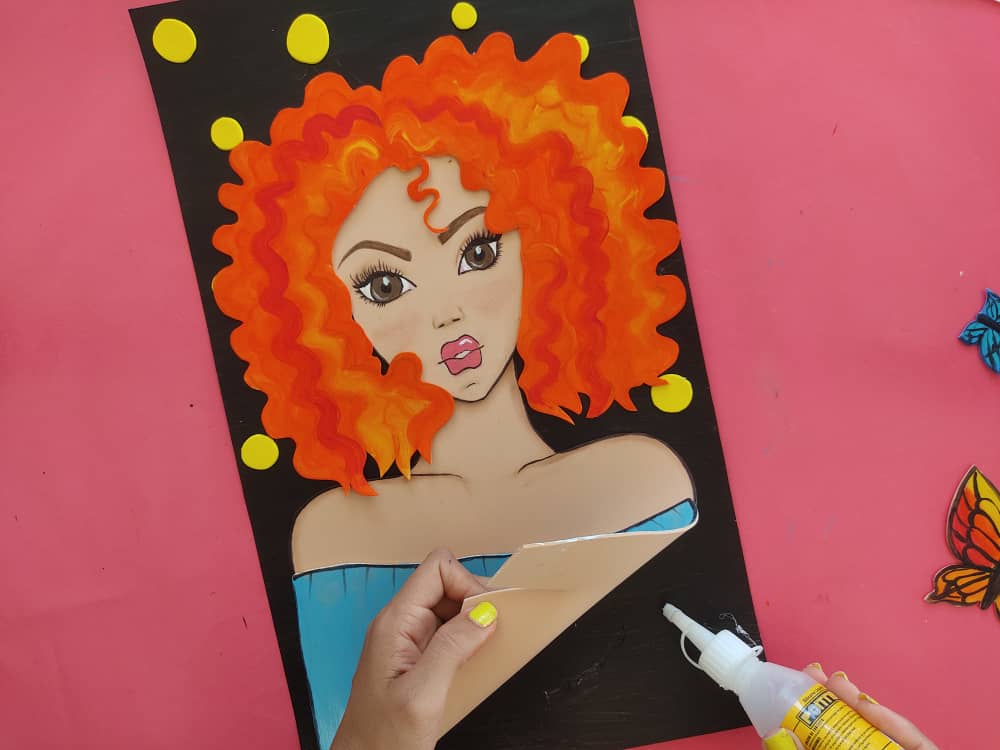
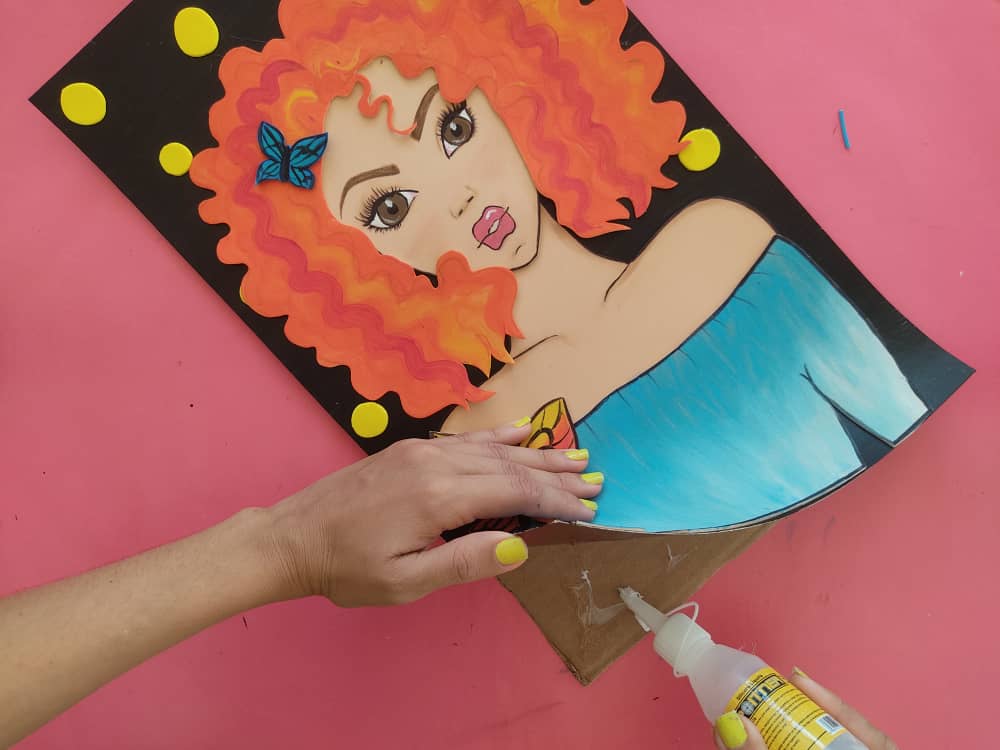
Seguidamente, armamos la hermosa chica utilizando pegamento o silicón líquido, comenzamos pegando su cuello y cara, y luego el resto, debemos asegurarnos de ubicar bien todas las piezas para que esta chica quedé perfecta.
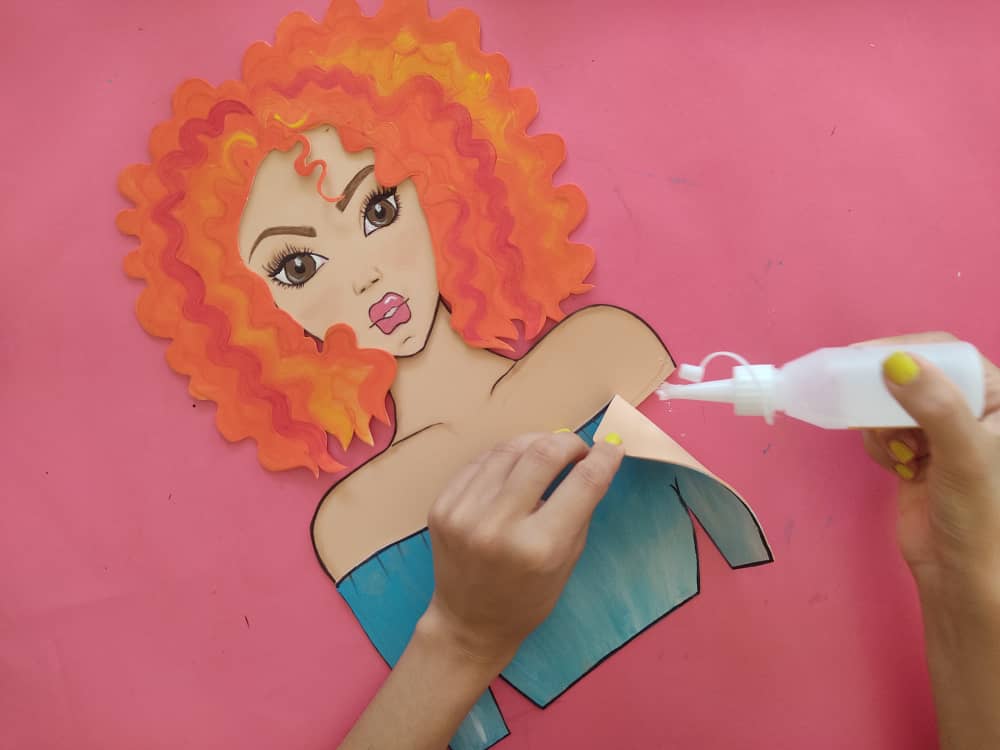
Next, we assemble the beautiful girl using glue or liquid silicone, we begin by gluing her neck and face, and then the rest, we must make sure to place all the pieces well so that this girl is perfect.
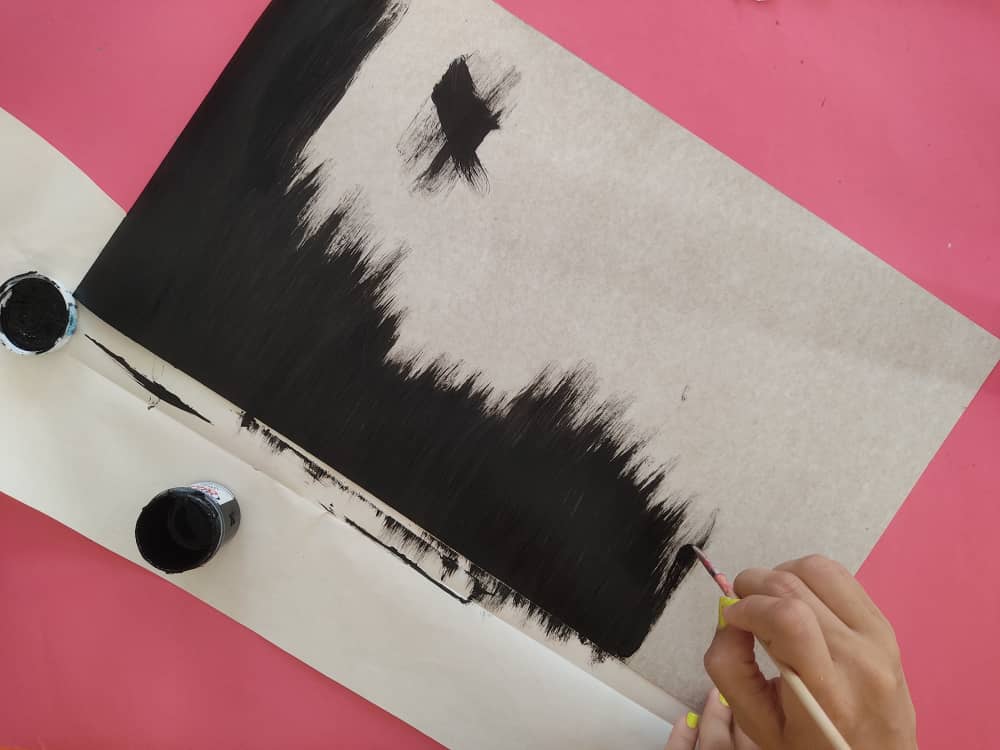
Luego, fabricamos una base de aproximadamente 48cm de largo por 25cm de ancho, y la pintamos de color negro, para que nuestro cuadro luzca elegante.
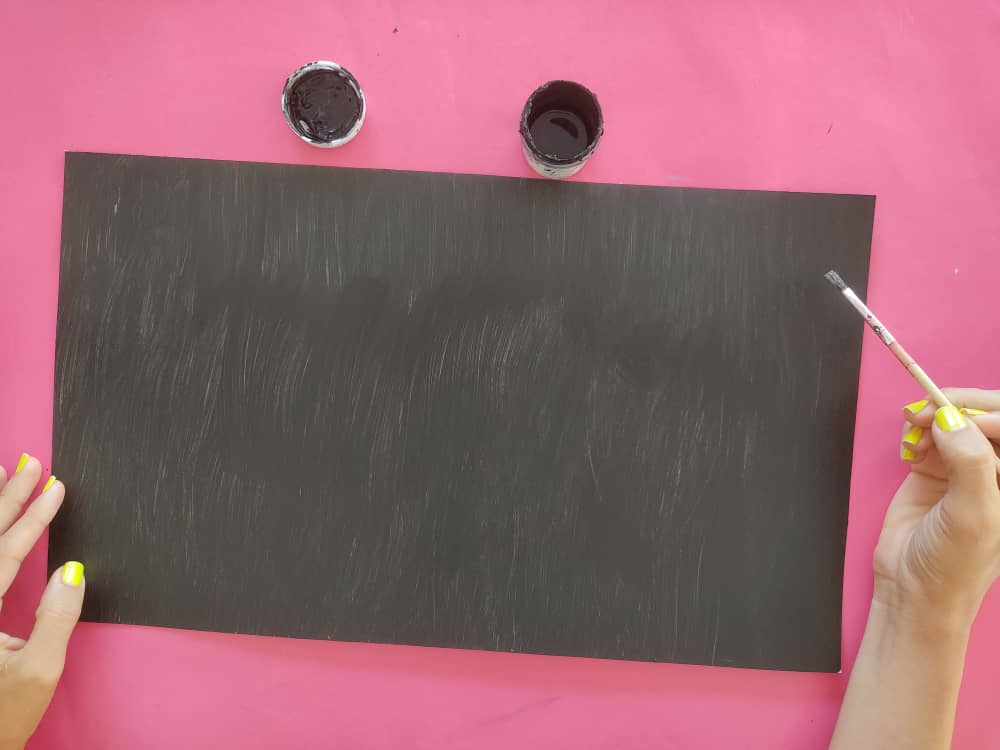
Then, we make a base approximately 48cm long by 25cm wide and paint it black, so that our painting looks elegant.
Una vez que este seca la pintura, la hermosa chica sobre la sabe, incluyendo los círculos amarillos, de manera que luzca muy hermosa, y con tonos brillosos.
Once the paint is dry, the beautiful girl knows about it, including the yellow circles, so that it looks very beautiful, and with bright tones.
Finalmente, pegamos nuestro lindo cuadro sobre una base de cartón grueso para darle a este la firmeza que necesita, y así, poder colgarlo y llenar de magia nuestras paredes.
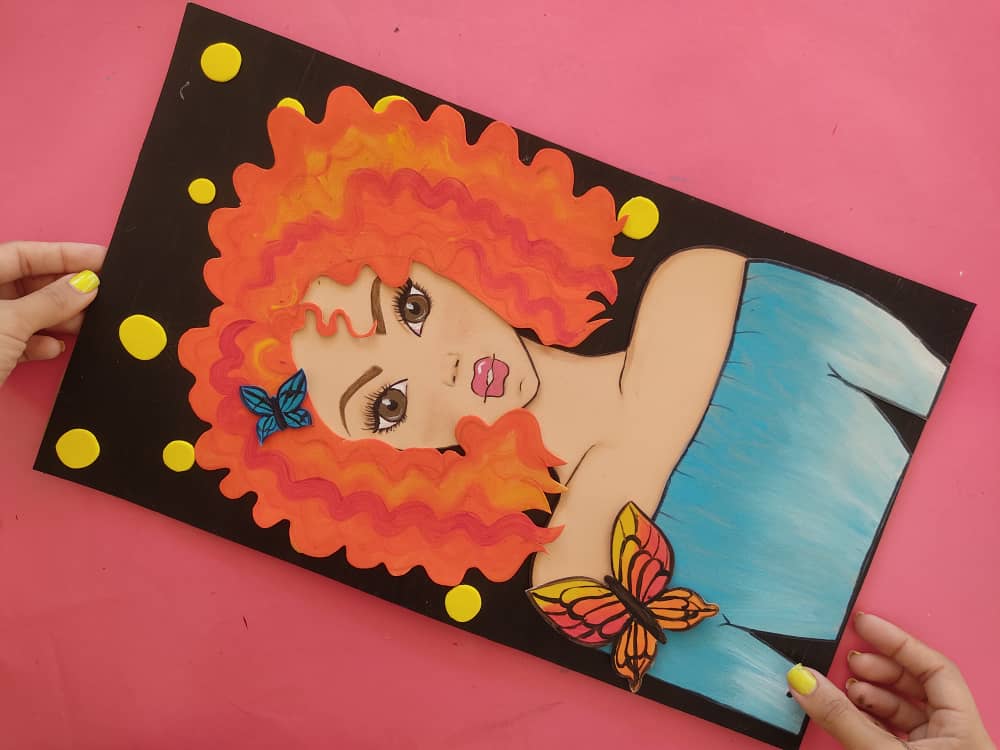
Finally, we glued our beautiful painting on a thick cardboard base to give it the strength it needs, and thus, to be able to hang it and fill our walls with magic.
.jpeg)
.jpeg)
Gracias por acompañarme y espero que lo hayan disfrutado. ❤️
Thanks for joining and I hope you enjoyed it.❤️
.jpeg)
.jpeg)
.jpeg)
.jpeg)
.jpeg)
.jpeg)
.jpeg)
.jpeg)
.jpeg)
Clic para ver trabajos anteriores | Click to see previous works


Congratulations, your post has been upvoted by @dsc-r2cornell, which is the curating account for @R2cornell's Discord Community.
Thank you for sharing this amazing post on HIVE!
Your content got selected by our fellow curator @priyanarc & you just received a little thank you via an upvote from our non-profit curation initiative!
You will be featured in one of our recurring curation compilations and on our pinterest boards! Both are aiming to offer you a stage to widen your audience within and outside of the DIY scene of hive.
Join the official DIYHub community on HIVE and show us more of your amazing work and feel free to connect with us and other DIYers via our discord server: https://discord.io/diyhub!
If you want to support our goal to motivate other DIY/art/music/homesteading/... creators just delegate to us and earn 100% of your curation rewards!
Stay creative & hive on!
La verdad es un exelente trabajo, muy bien realizado, gracias.
que bonito
Another lovely portrait, Sara! Excellent work! 🤗
espectacular felicidades