.jpeg)

Español
Hola querida familia de Hive 🖖 en esta oportunidad les traigo un nuevo y fabuloso paso a paso, donde aprenderemos como elaborar un hermoso cuadro de un jardín de flores, y como todo jardín, nunca pueden faltar los pajaritos, y pues a mí me encantan, así que, acompáñenme en este divertido trayecto, y se sorprenderán de lo fácil y sencillo de su elaboración y el resultado mágico que obtendrán.
English
Hello dear Hive family 👋 This time I bring you a fabulous new step by step, where we will learn how to make a beautiful picture of a flower garden, and like any garden, you can never miss the little birds, and I love them, So, join me on this fun journey, and you will be amazed at how easy and simple it is to make and the magical result you will get.
¿Qué están esperando?
Utilizar estos hermosos materiales para transformarlos en un hermoso cuadro, es una idea muy original y económica para decorar nuestro entorno y darle un toque de creatividad a nuestras paredes. Antes de comenzar no olvidemos lavarnos nuestras manos.
What are they waiting for?
Using these beautiful materials to transform them into a beautiful painting is a very original and economical idea to decorate our environment and add a touch of creativity to our walls. Before we start, let's not forget to wash our hands.

[Materiales | Materials]
Para hacer este precioso cuadro necesitaremos:
- Moldes.
- Foami o goma eva.
- Cartón.
- Papel crepe negro.
- Lápiz.
- Pincel.
- Pinturas.
- Tijera.
- Pegamento o silicón liquido.
To make this precious painting will need:
- Molds.
- Foamy or EVA foamy.
- Cardboard.
- Black crepe paper.
- Pencil.
- Brush.
- Paintings.
- Scissors.
- Glue or liquid silicone.
Procedimiento (paso a paso)
Process (step by step)
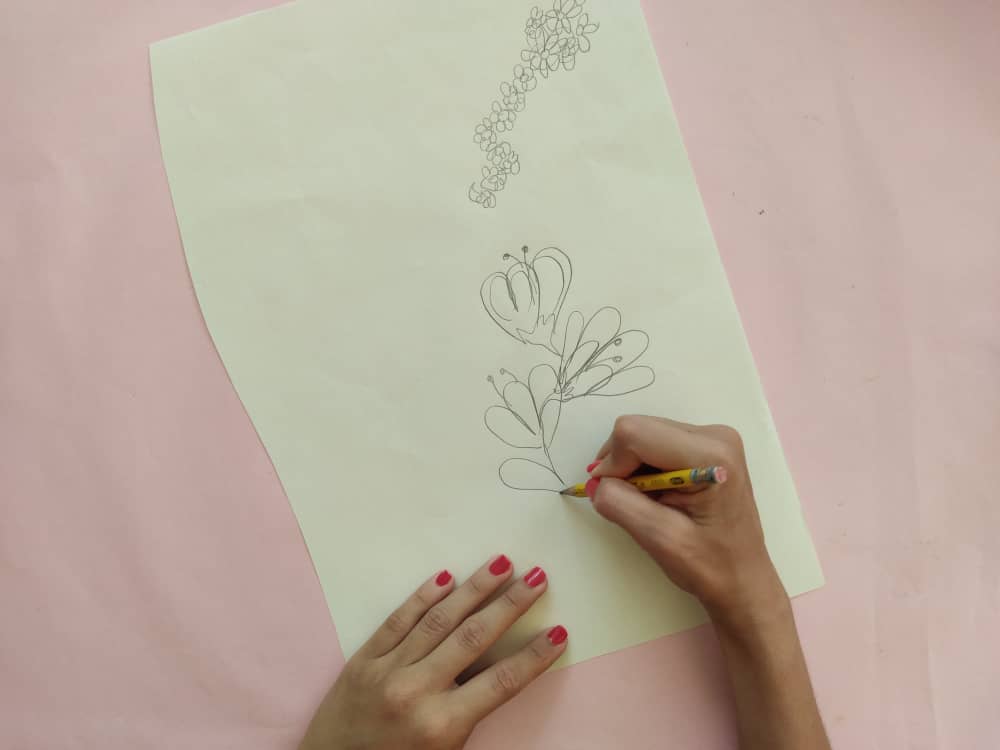
Primero, dejamos volar nuestra imaginación y dibujamos un jardín con las flores que queramos, y por supuesto, con hermosos pajaritos visitando a estás lindas flores .
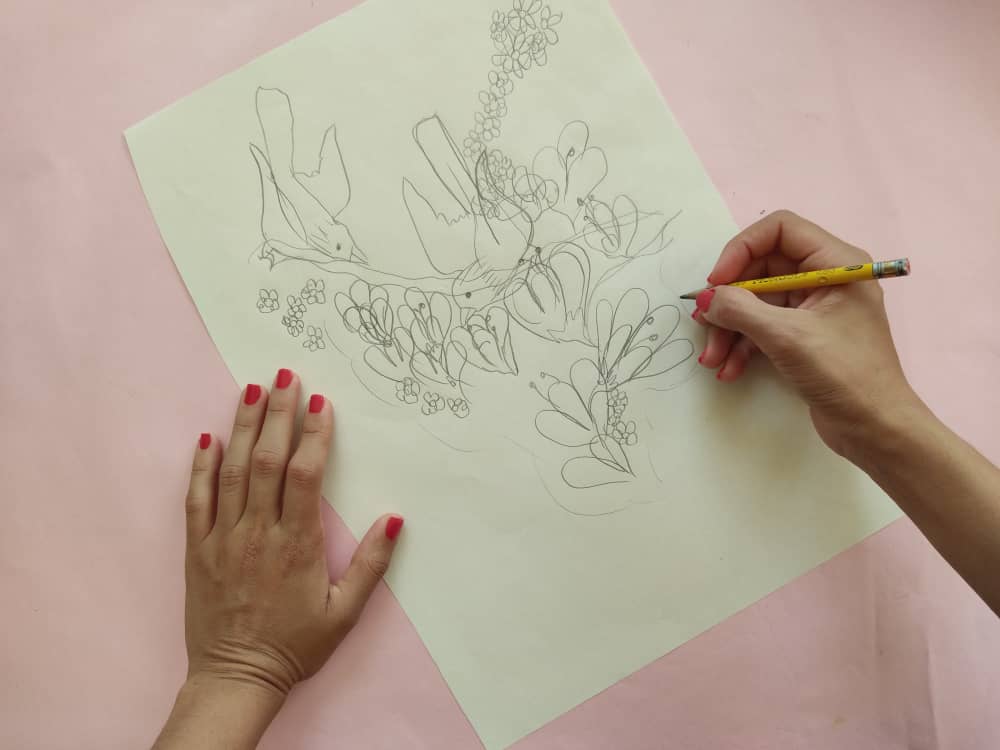
First, we let our imagination run wild and draw a garden with the flowers we want, and of course, with beautiful little birds visiting these beautiful flowers.
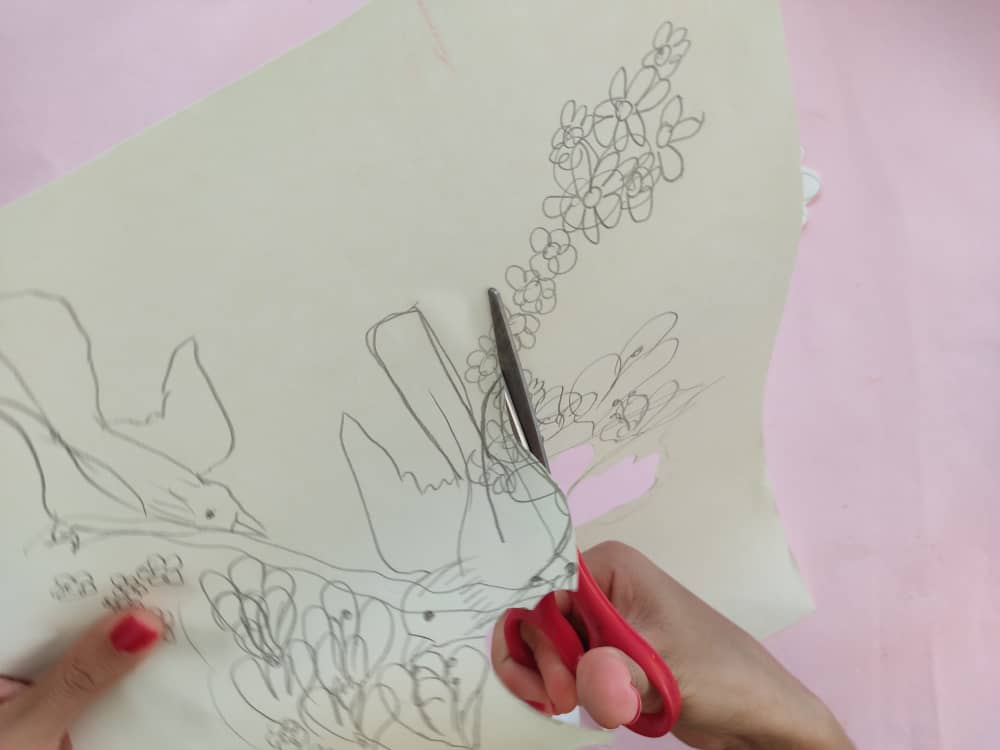
Seguidamente, recortamos con mucho cuidado las figuras de nuestro dibujo para extraer los moldes por separados de los pajaritos y las flores grandes.
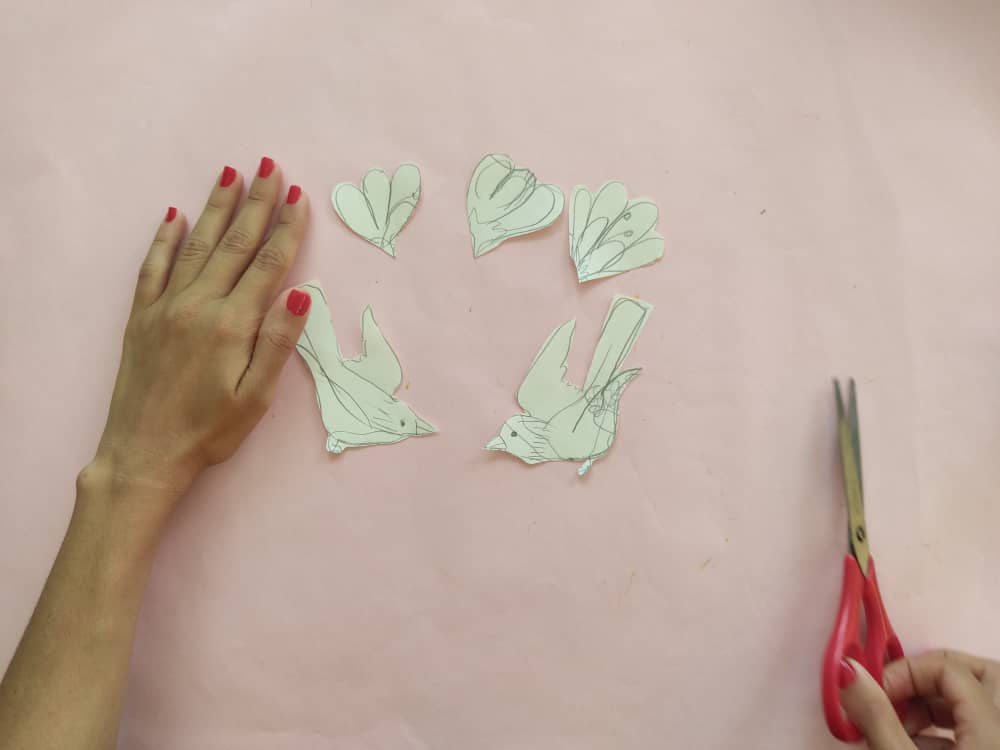
Next, we cut very carefully the figures in our drawing to extract the molds separately from the birds and the large flowers.
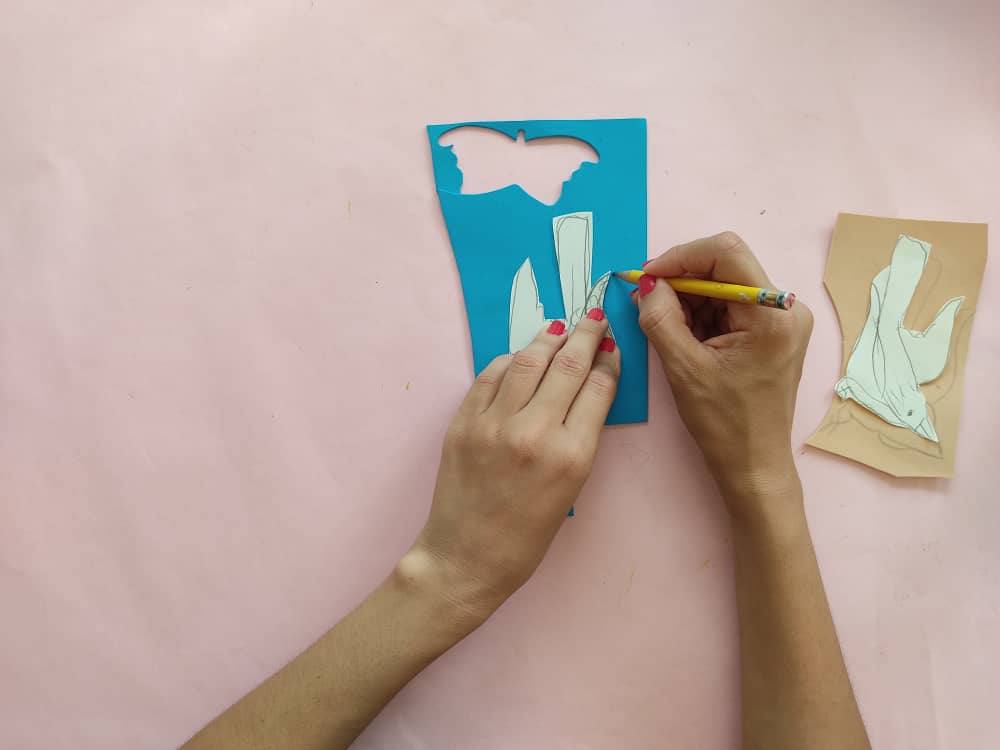
Ahora, transferimos los moldes al foami de los colores que gustes, en mi caso decidí utilizar foami de colores diferentes.
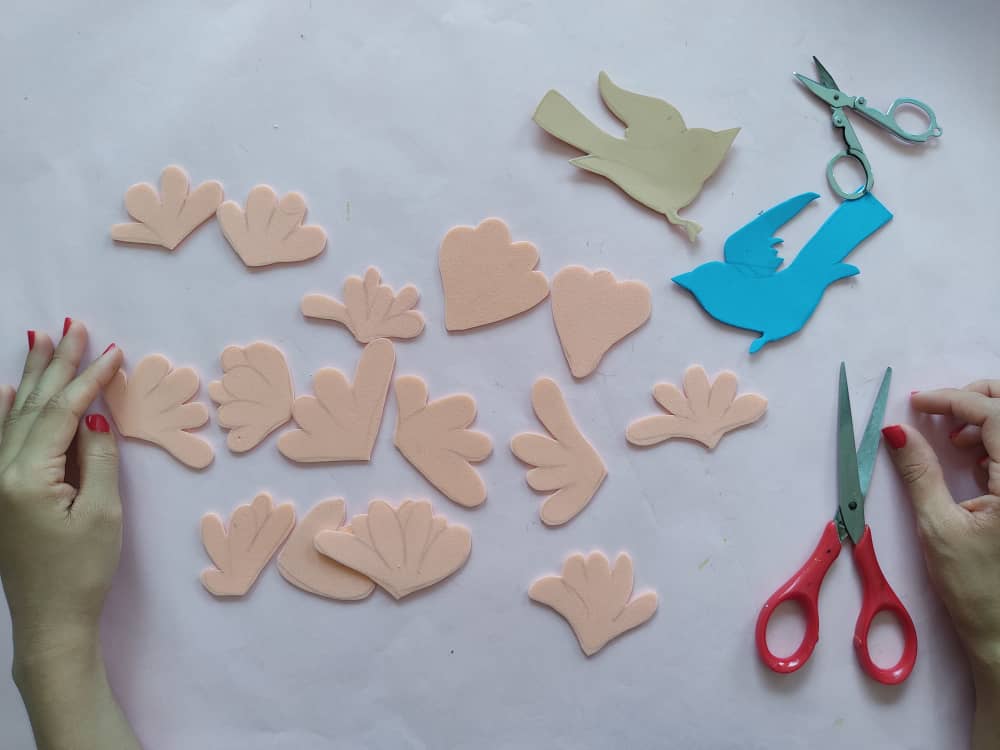
Now, we transfer the molds to the foamy of the colors you like, in my case I decided to use different colored foamy.

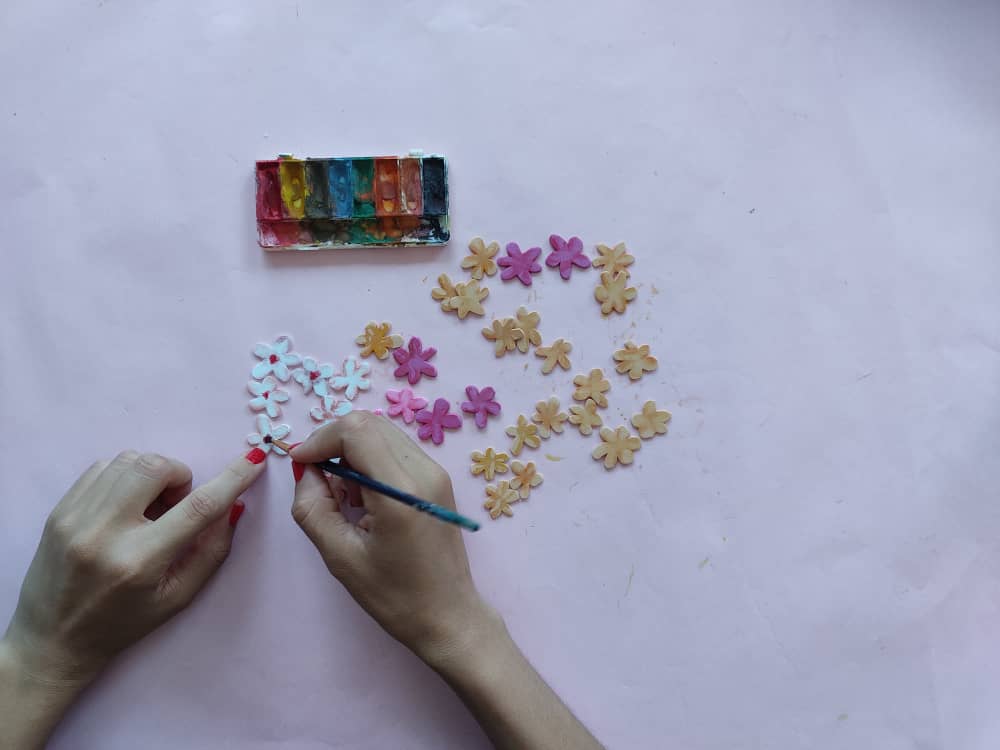
Luego, llegamos al paso más hermoso de todos donde le daremos magia, amor y alegría a nuestras figuras aplicando hermosos tonos de pintura, así que, dejemos que nuestra imaginación se encargue de darle una belleza auténtica a estas preciosas flores y también a los hermosos pajaritos.

Then, we come to the most beautiful step of all where we will give magic, love, and joy to our figures by applying beautiful shades of paint, so, let our imagination take care of giving authentic beauty to these precious flowers and also to the beautiful little birds.
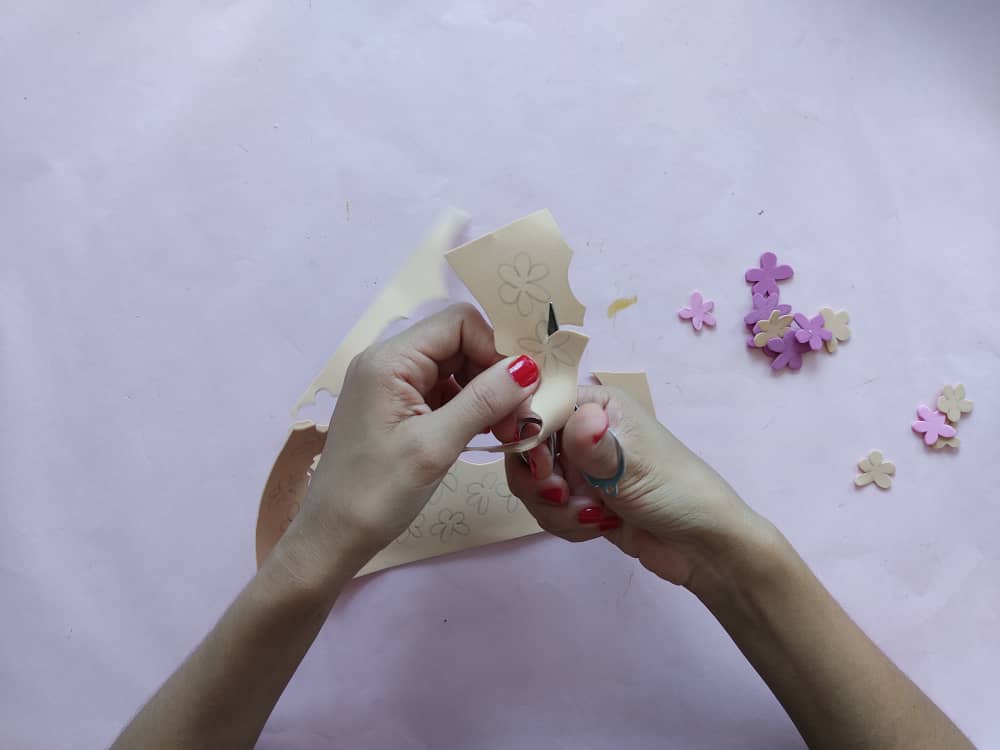
Ahora, elaboramos pequeñas florecitas con foami y las pintamos con hermosos colores para decorar nuestro jardín.
Now, we make small flowers with foamy and paint them with beautiful colors to decorate our garden.
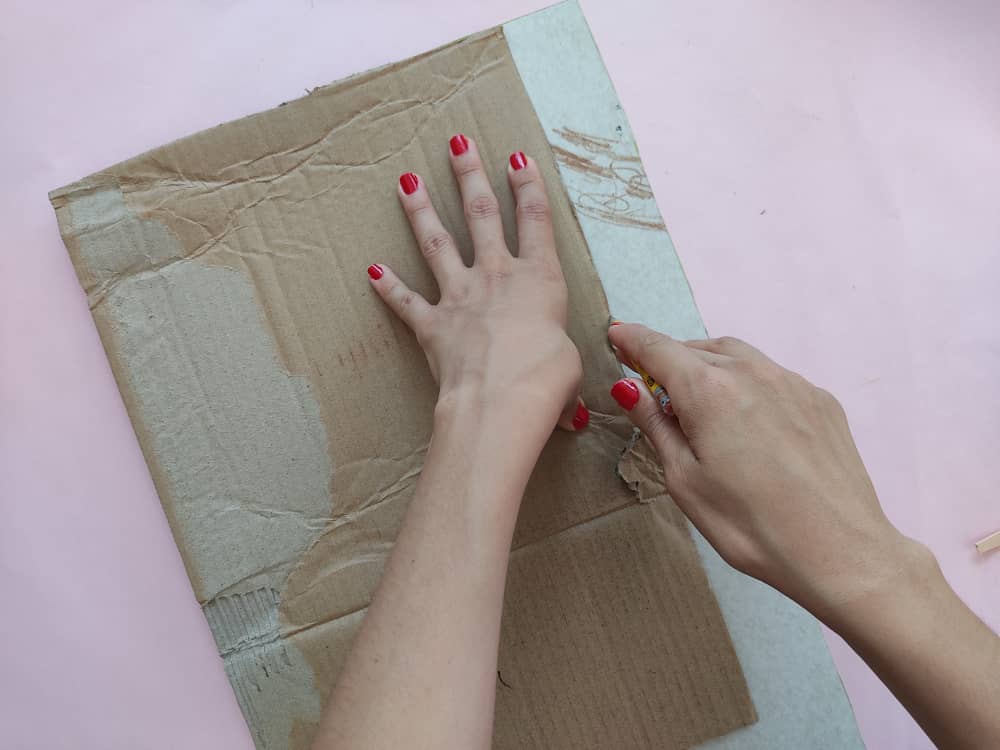
Luego, elaboramos la base de cartón de aproximadamente 35 x 50cm, utilizamos una lámina de cartón blando y otra de cartón más grueso para que la base tenga más firmeza, y las unimos con la ayuda de pegamento o silicón liquido. Seguidamente, forramos la base con papel crepe de color negro. Recuerden que pueden jugar con los tonos y usar el color que deseen.
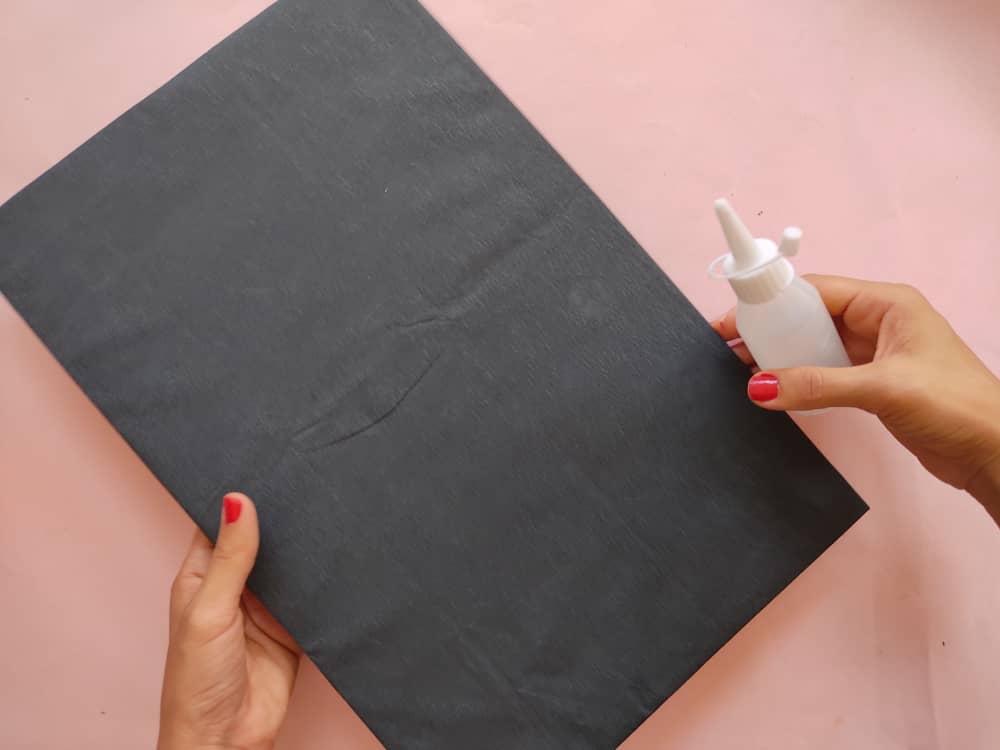
Then, we make the cardboard base of approximately 35 x 50cm, we use a soft cardboard sheet and a thicker cardboard one so that the base has more firmness, and we join them with the help of glue or liquid silicone. Next, we line the base with black crepe paper. Remember that you can play with the tones and use the color you want.
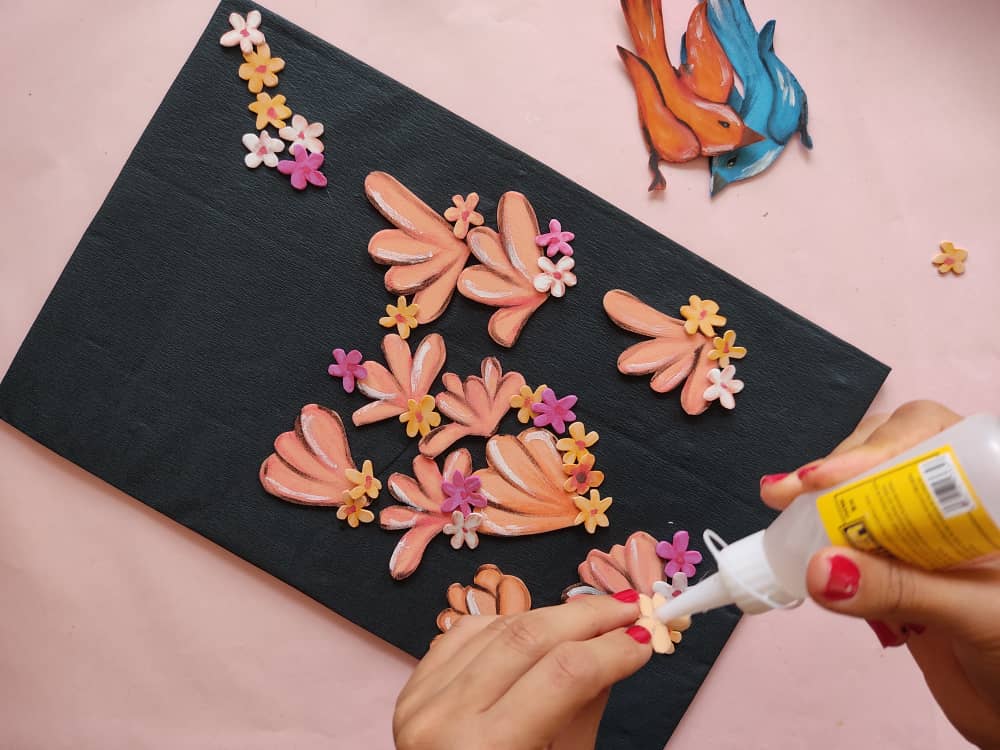
Ahora, comenzamos a darle vida y forma a nuestra obra decorando y pegando con las flores y sucesivamente los pajaritos sobre la base o fondo del cuadro. Debemos hacer un poco de presión para asegurarnos que todo quede bien pegado.
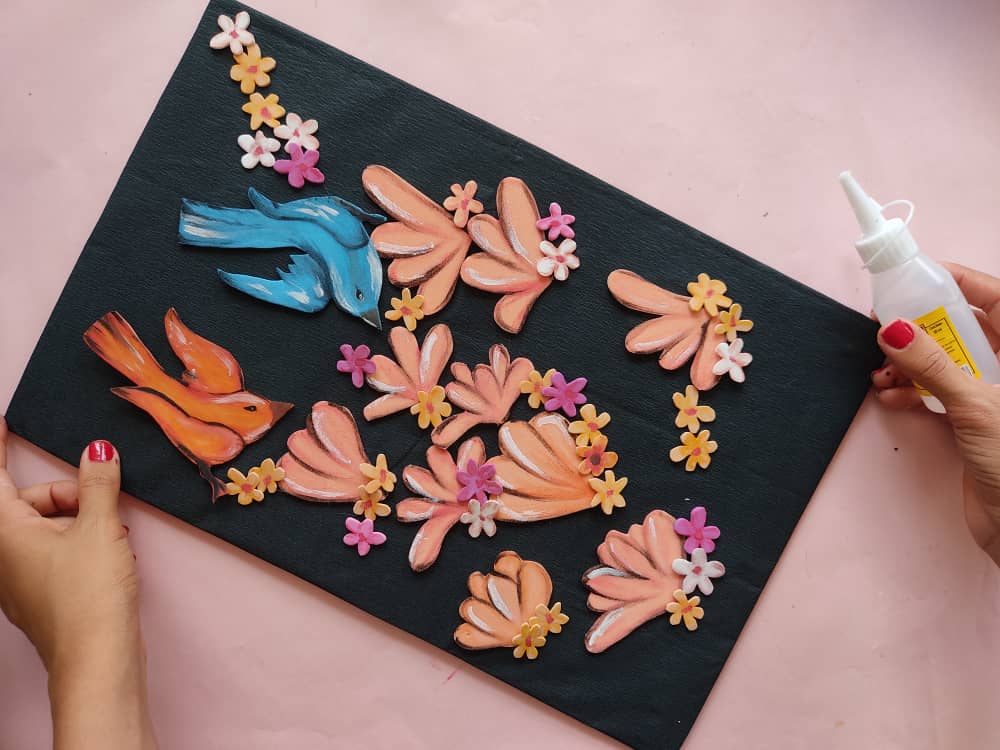
Now, we begin to give life and shape to our work by decorating and gluing with the flowers and successively the little birds on the base or background of the painting. We have to do a little pressure to make sure everything fits together.
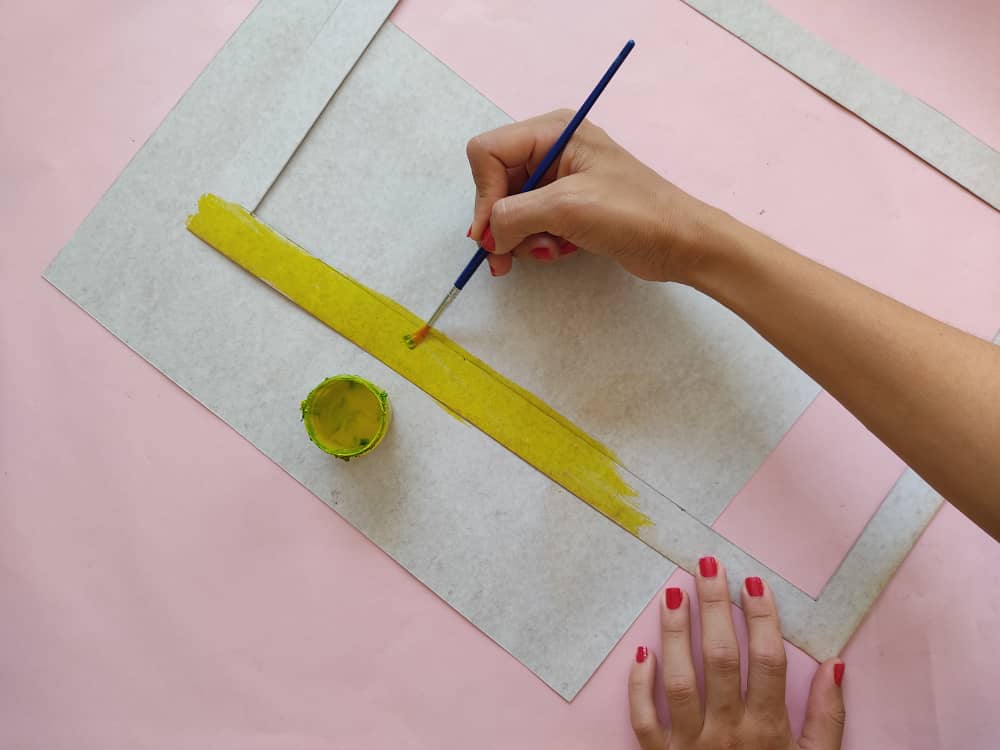
Para terminar, fabricamos un marco súper genial para nuestro cuadro, y seguidamente lo pintamos del color que más nos guste, en este caso opte por utilizar un color amarillo muy hermoso y llamativo. Finalmente, pegamos el marco a nuestro cuadro aplicando silicón por todo el borde de la base.
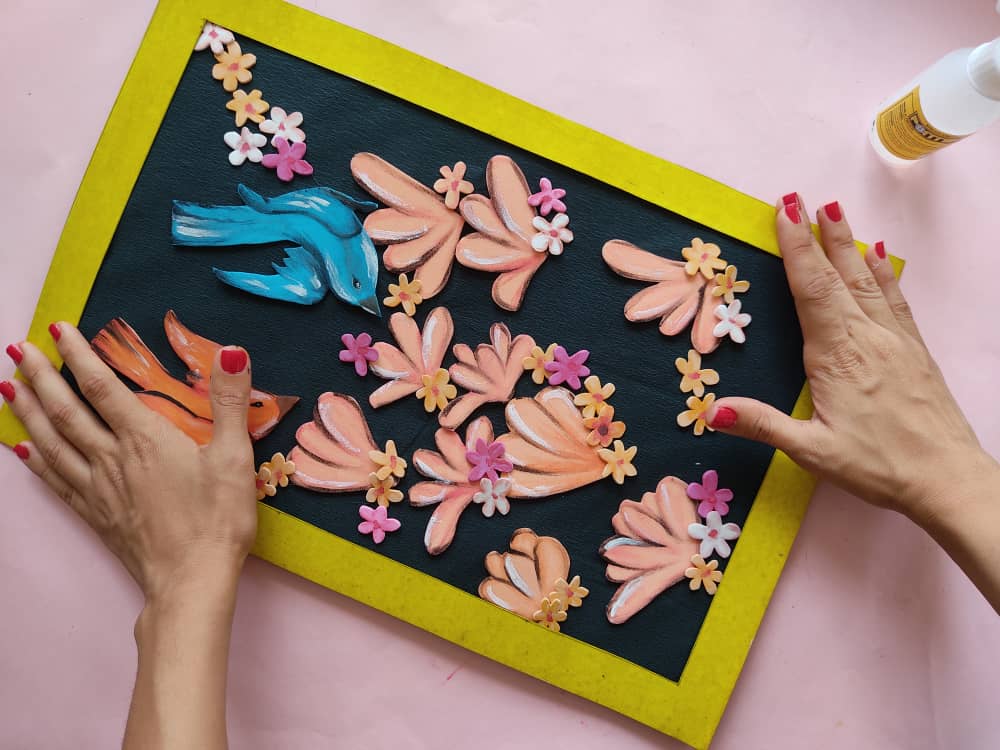
To finish, we make a super cool frame for our painting, and then we paint it in the color that we like the most, in this case, choose to use a very beautiful and striking yellow color. Finally, we glue the frame to our frame by applying silicone over the entire edge of the base.
.jpeg)
.jpeg)
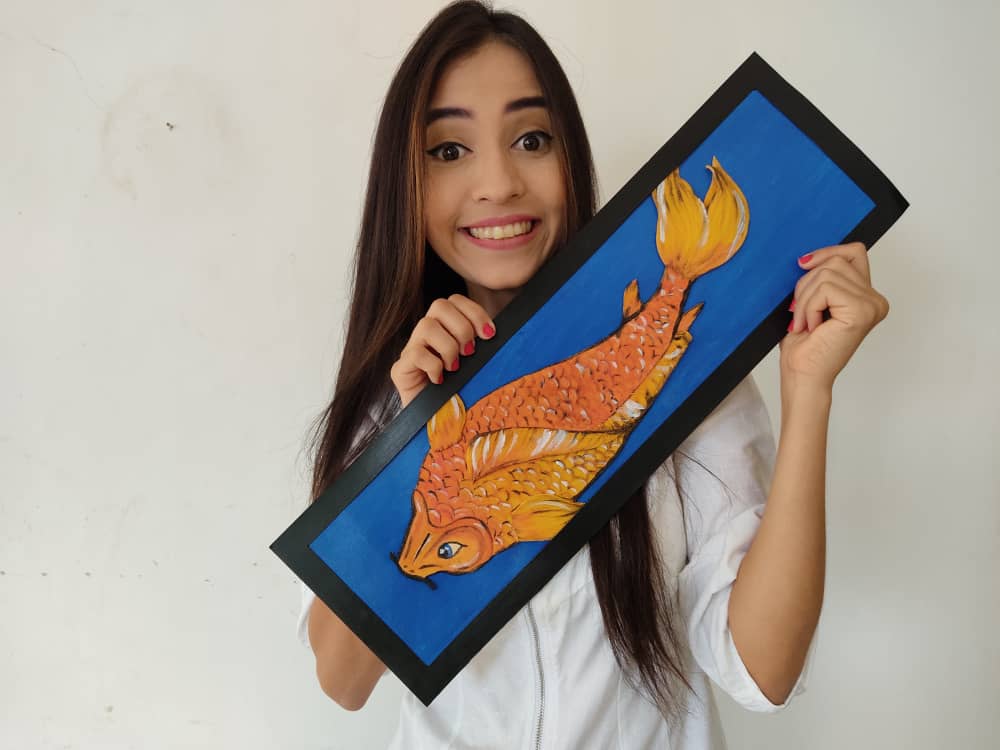
Gracias por acompañarme y espero que lo hayan disfrutado. ❤️
Thanks for joining and I hope you enjoyed it.❤️
.jpeg)
.jpeg)
.jpeg)
.jpeg)
.jpeg)
.jpeg)
.jpeg)
.jpeg)
.jpeg)
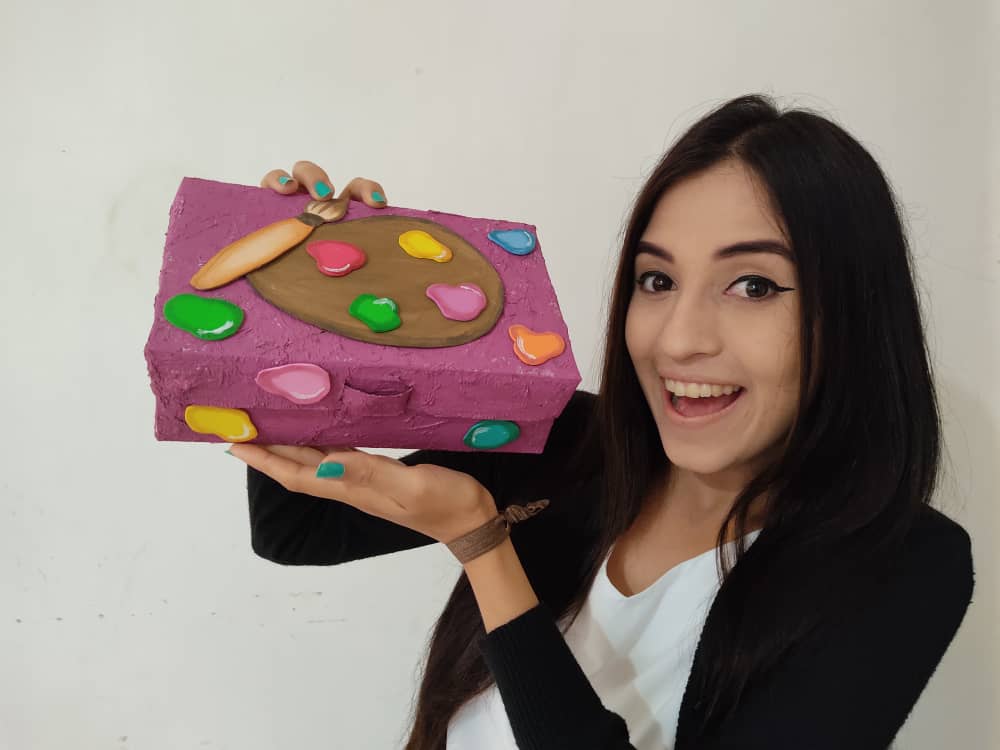
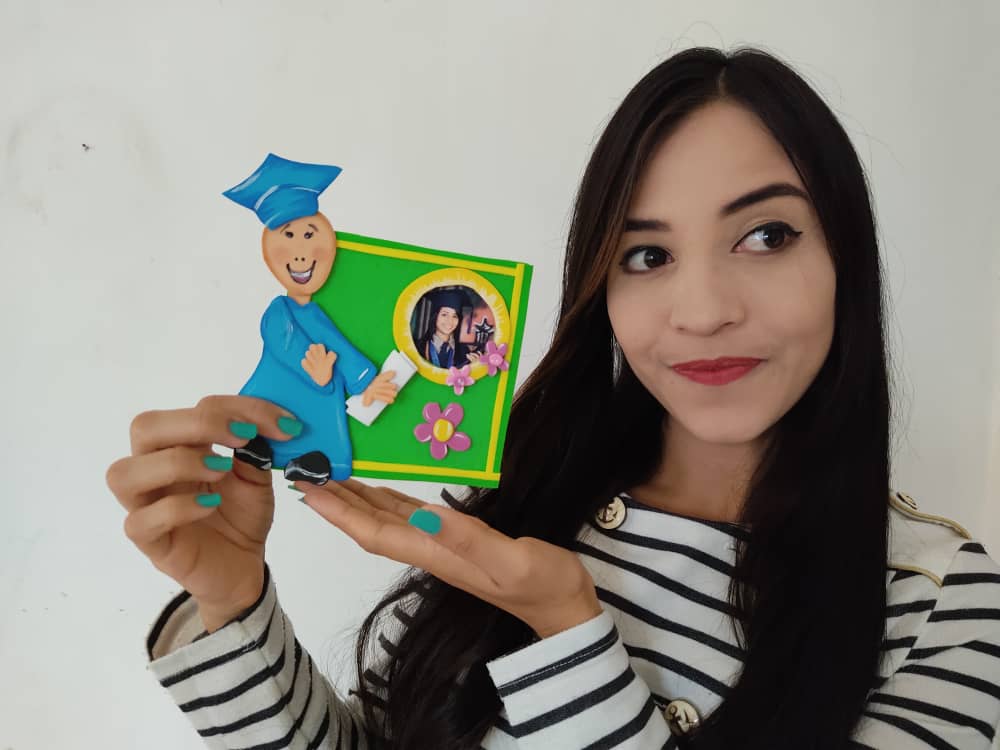
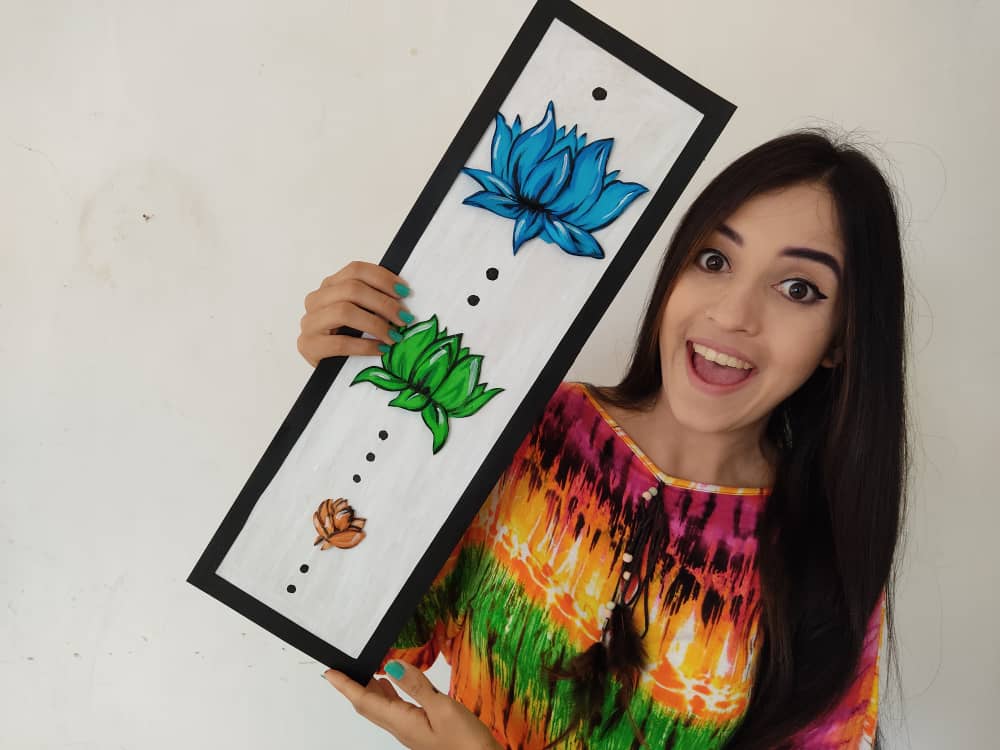
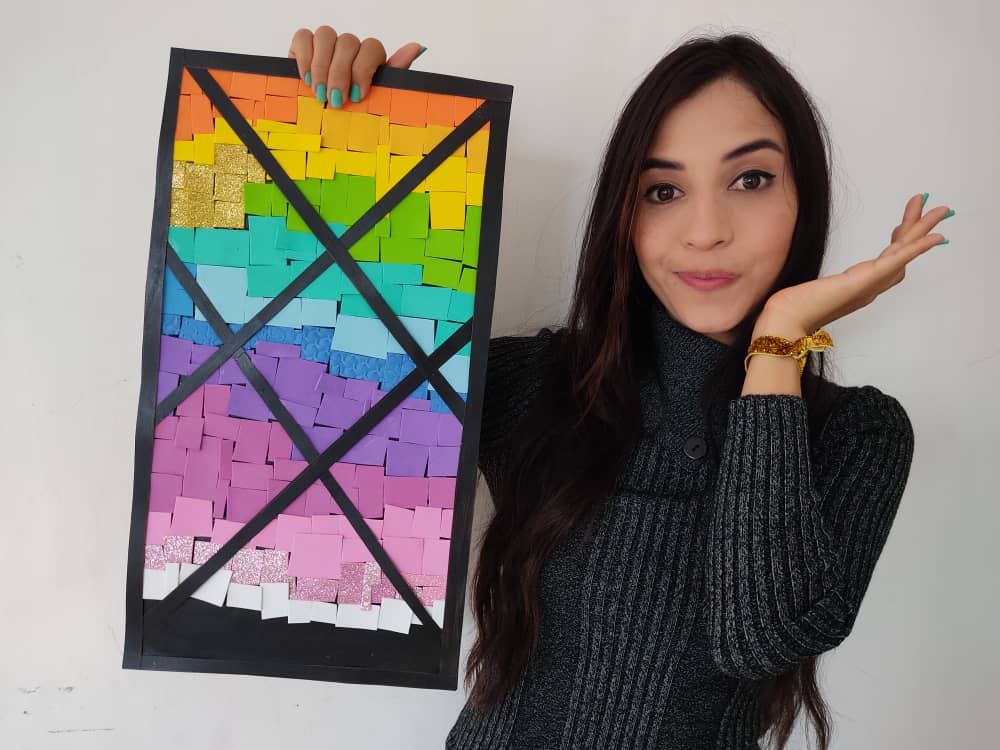
Clic para ver trabajos anteriores | Click to see previous works
.jpeg)


My twt #posh
So creative and colorful work again @saracampero.
Very much dear friend. XOX
Congratulations, your post has been upvoted by @dsc-r2cornell, which is the curating account for @R2cornell's Discord Community.
Thanks for your unconditional support friends.
¡Te quedó hermoso!
Gracias querida