Undoubtedly one of the strengths of GIMP is the wide range of possibilities when it comes to customizing its themes.
Not only the icons and palettes of GIMP can we customize in terms of size, color, style, etc. We can also customize the background or canvas on which we work our images with different levels of contrasts to be able to customize it to our liking.
In this post I had made a first introduction to GIMP highlighting its main qualities in a very general overview of a graphics instrument with truly exceptional qualities, free and free:
Sin lugar a dudas uno de los puntos fuertes de GIMP es la amplia gama de posibilidades en lo que a personalización de sus temas se refiere.
No solo los iconos y paletas de GIMP podemos personalizar en cuanto a tamaño, color, estilo, etc. También podemos personalizar el fondo o lienzo sobre el cuál trabajamos nuestras imágenes con distintos niveles de contrastes para poderlo personalizar a nuestro gusto.
En este post les había hecho una primera introducción a GIMP destacando sus principales cualidades en una semblanza muy general de un instrumento de gráfica de cualidades verdaderamente excepcionales, libre y gratuito:

To continue with a second part dedicated to explaining how to start taking the first steps with GIMP, that is, the steps necessary to become familiar with all the icons is to create an image from scratch.
para continuar con una segunda parte dedicada a explicar como comenzar a efectuar los primeros pasos con GIMP, es decir los pasos necesarios para familiarizarse con todos los iconos es crear una imagen desde cero.
How to customize GIMP themes. / Cómo personalizar los temas de GIMP.
Today's post will be dedicated to explaining - in broad terms - how to customize the themes of our GIMP.
It is noteworthy -and to clarify- that a little over 2 months ago GIMP published a new version, 2.10.20 to be more exact on June 11, 2020. Which is not the one I have installed on my PC.
From version 2.8 onwards, GIMP comes with Gimpshop, which is nothing more than the modification of some aspects of the interface such as the windows, position of the commands in the menus, terminology, etc. .. so that the user finds it the most. possible similar to Adobe Photoshop.
Regardless of the concepts stated here, they are applicable to any version, leaving aside the theme they have installed by default.
In the latest versions, the theme installed by default was the classic one with Tango style icons. With a variation of smaller icons to optimize the gaps between tool palettes and panels.
El post de hoy lo dedicaré a explicar -a grandes rasgos- como personalizar los temas de nuestro GIMP.
Es de destacar -y aclarar- que hace poco más de 2 meses GIMP publicó una nueva versión, la 2.10.20 para ser más exactos el 11 de junio de 2020. Que no es la que tengo instalado en mi PC.
Desde la versión 2.8 en adelante GIMP viene con Gimpshop que no es otra cosa que la modificación de algunos aspectos de la interfaz como las ventanas, posición de los comandos en los menús, terminología, etc.. en modo que el usuario lo encuentre lo más parecido posible a Adobe Photoshop.
De cualquier los conceptos aquí vertidos son aplicables a cualquier versión dejando de lado el tema que tengan instalado por defecto.
En las últimas versiones el tema instalado por defecto, era el clásico con iconos estilo Tango. Con una variación de iconos más pequeños para optimizar los espacios que quedan entre las paletas y paneles de herramientas.
Customizing the icons. / Personalizando los iconos.
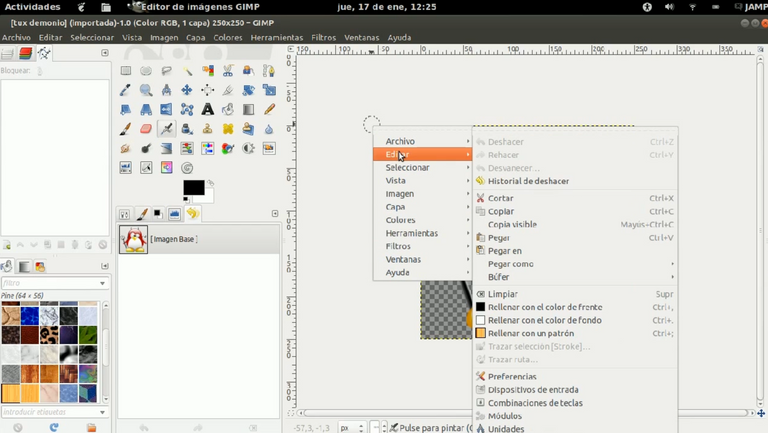
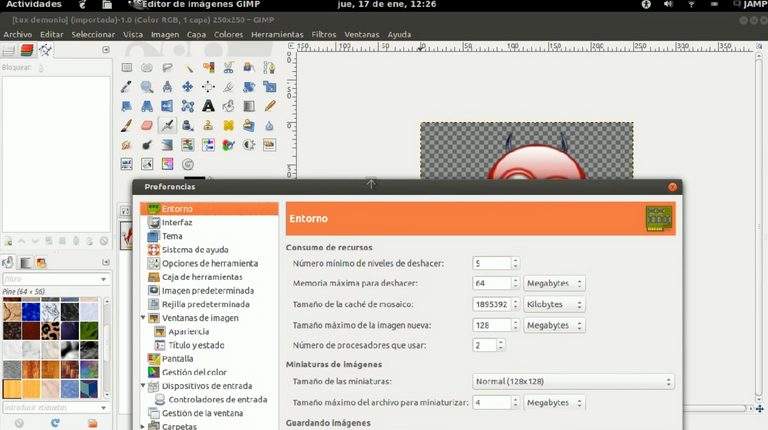
To begin with the customization we are going to Edit, Preferences and the Environment window will open with all the possibilities that GIMP offers us to customize our application, with a wide range of possibilities.
Para comenzar con la personalización vamos a Editar, Preferencias y se nos abrirá la ventana de Entorno con todas las posibilidades que nos ofrece GIMP para personalizar nuestra aplicación, con todo un amplio abanico de posibilidades.

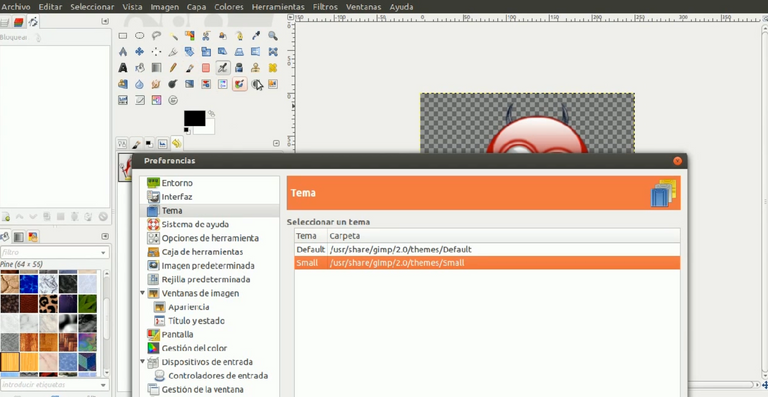
In this post I will show you how to modify the theme.
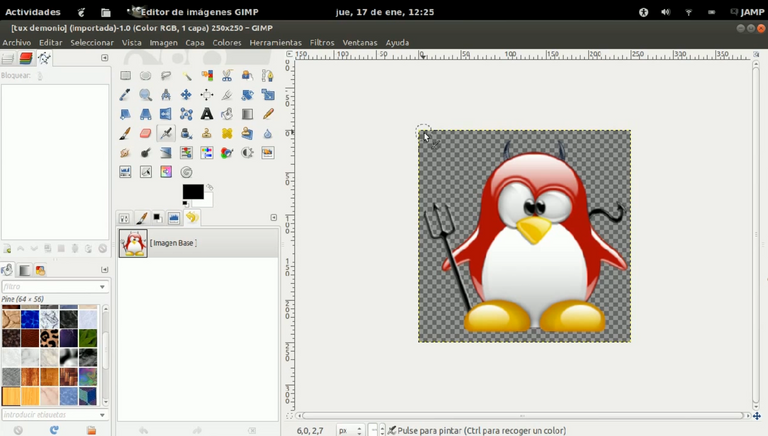
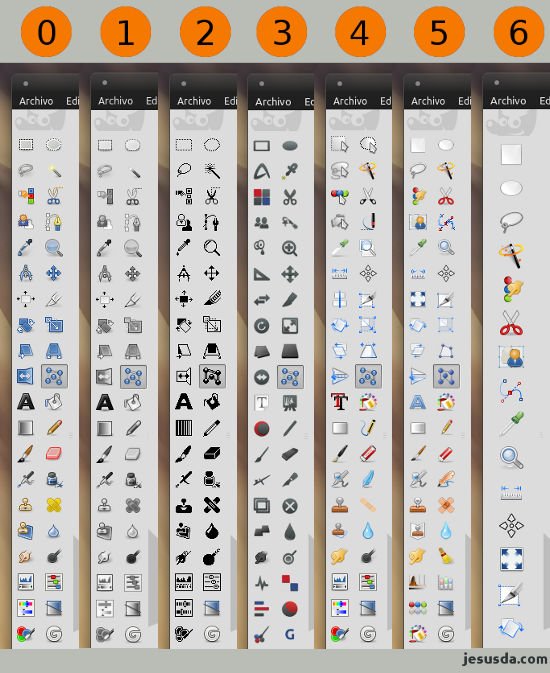
As we can see, the screen shows us that we have a default theme installed with the Small variant, that is, with smaller icons to be able to optimize, as I said before, the spaces that remain between the palettes and tool panels.
En este post les mostraré cómo modificar el tema.
Como podemos ver la pantalla nos muestra que tenemos instalado un tema de Default con la variante Small, es decir con iconos más pequeños para poder optimizar como ya dije anteriormente los espacios que quedan entre las paletas y paneles de herramientas.
If, instead, we select ** Small ** we will see a resizing of the (smaller) icons. It is up to each of us to choose the variant with which we feel most comfortable to work.
Si, en cambio, seleccionamos Small veremos un redimensionamiento de los iconos (más pequeños). Está a cada uno de nosotros elegir la variante con la cuél se siente más cómodo para trabajar.
Customizing the background (canvas) / Personalizando el fondo (lienzo).
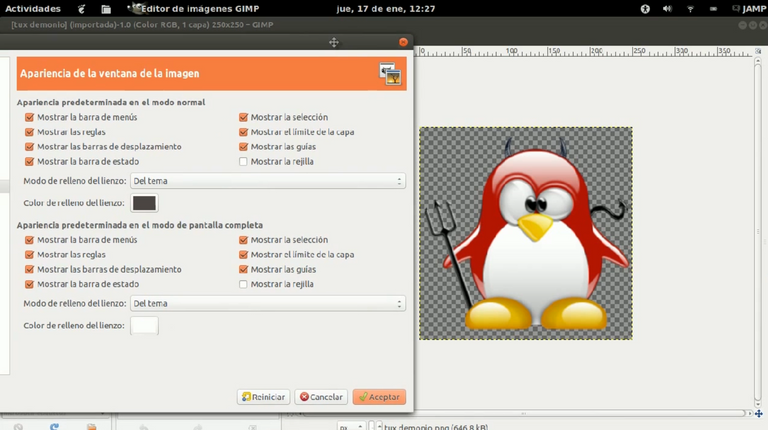
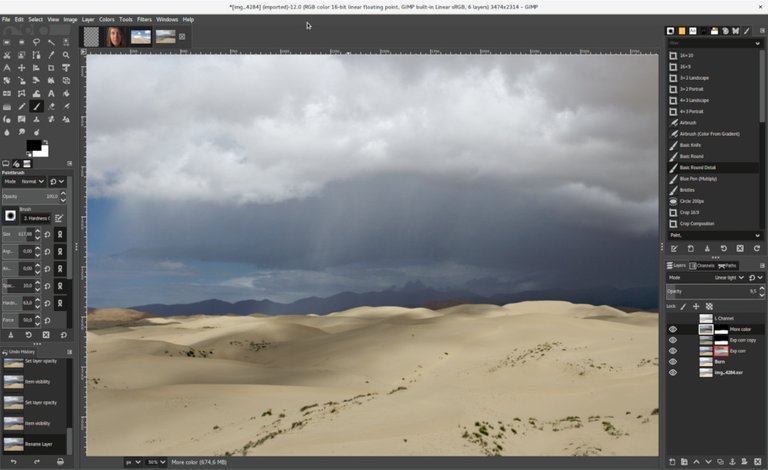
Other aspects that we can customize is the working background on which we will insert the images if we want to modify them or we will create them if we start from scratch.
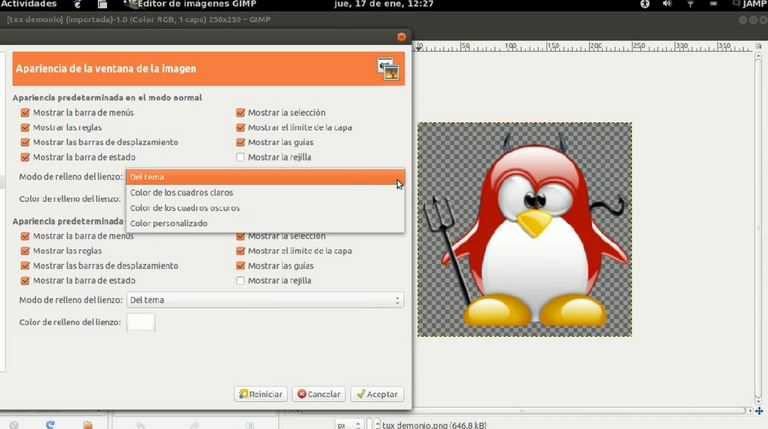
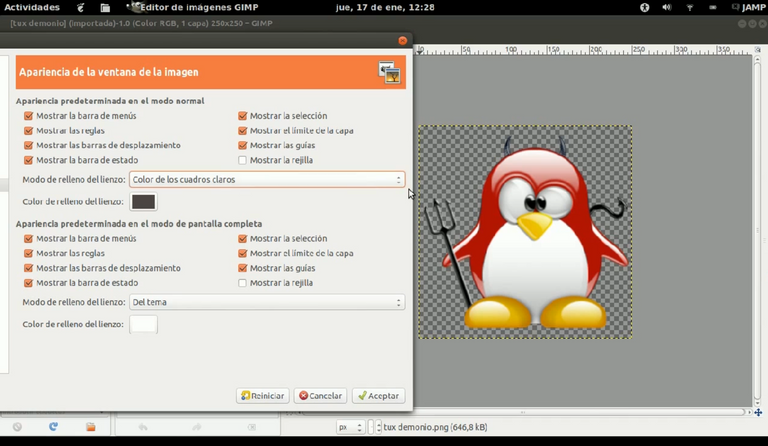
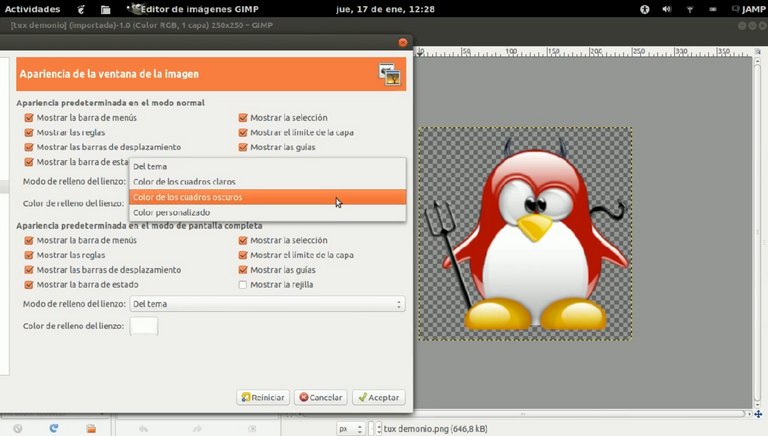
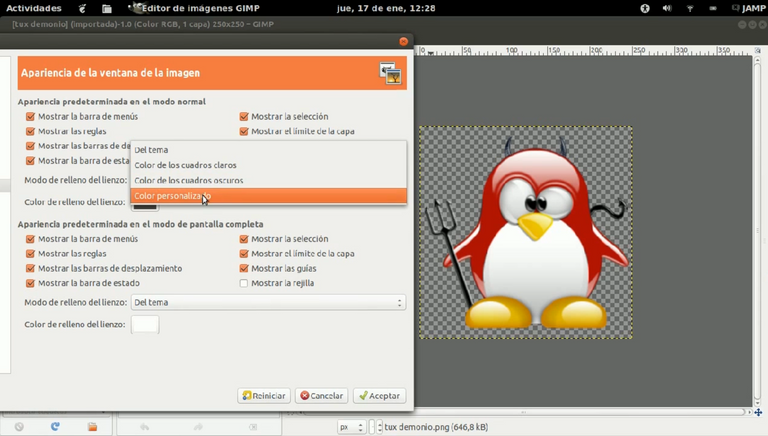
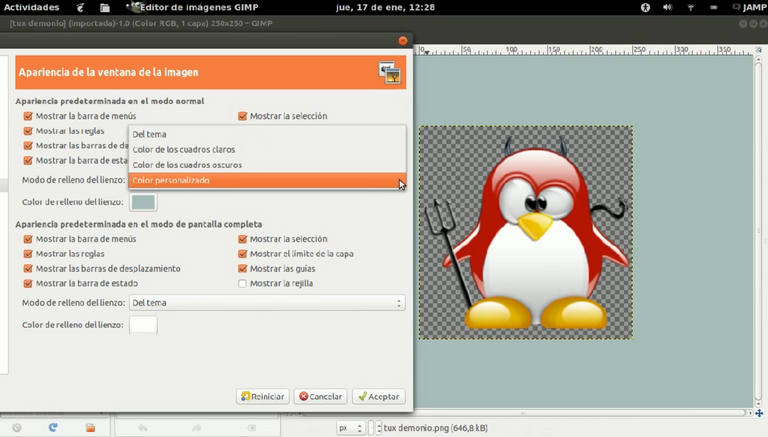
In this case we must go to Image Window Appearance
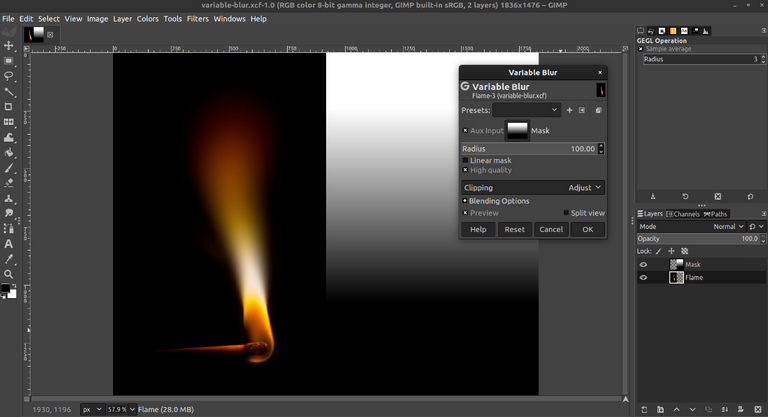
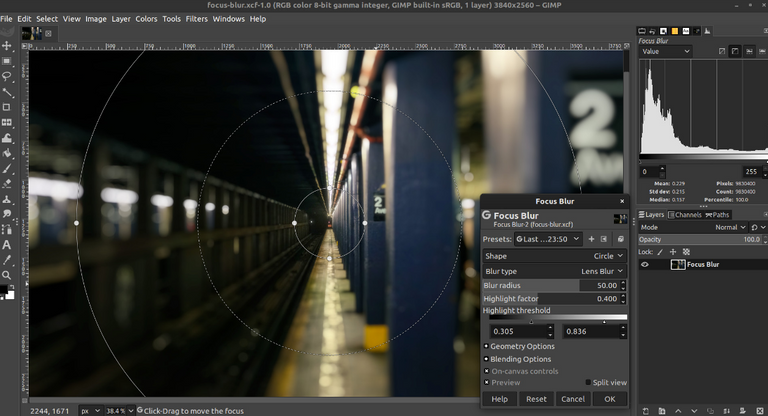
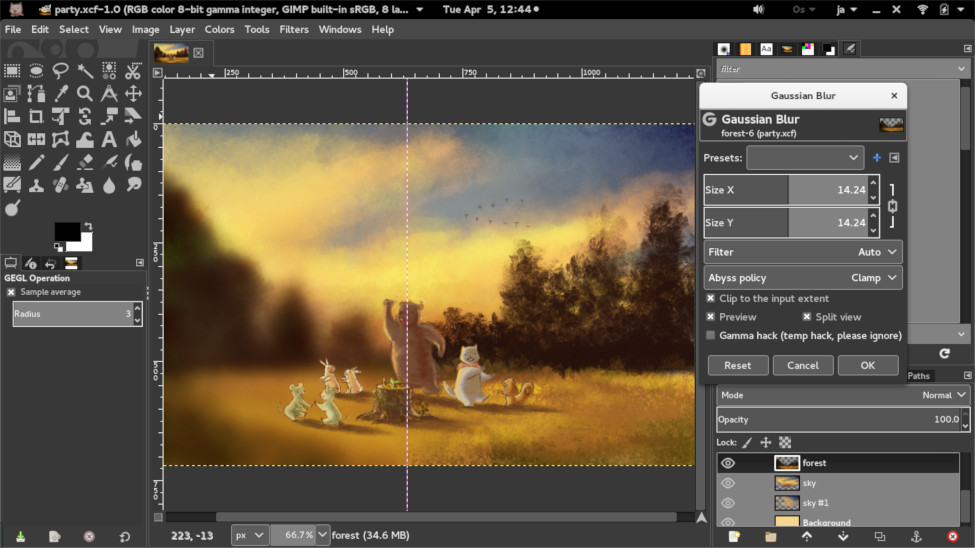
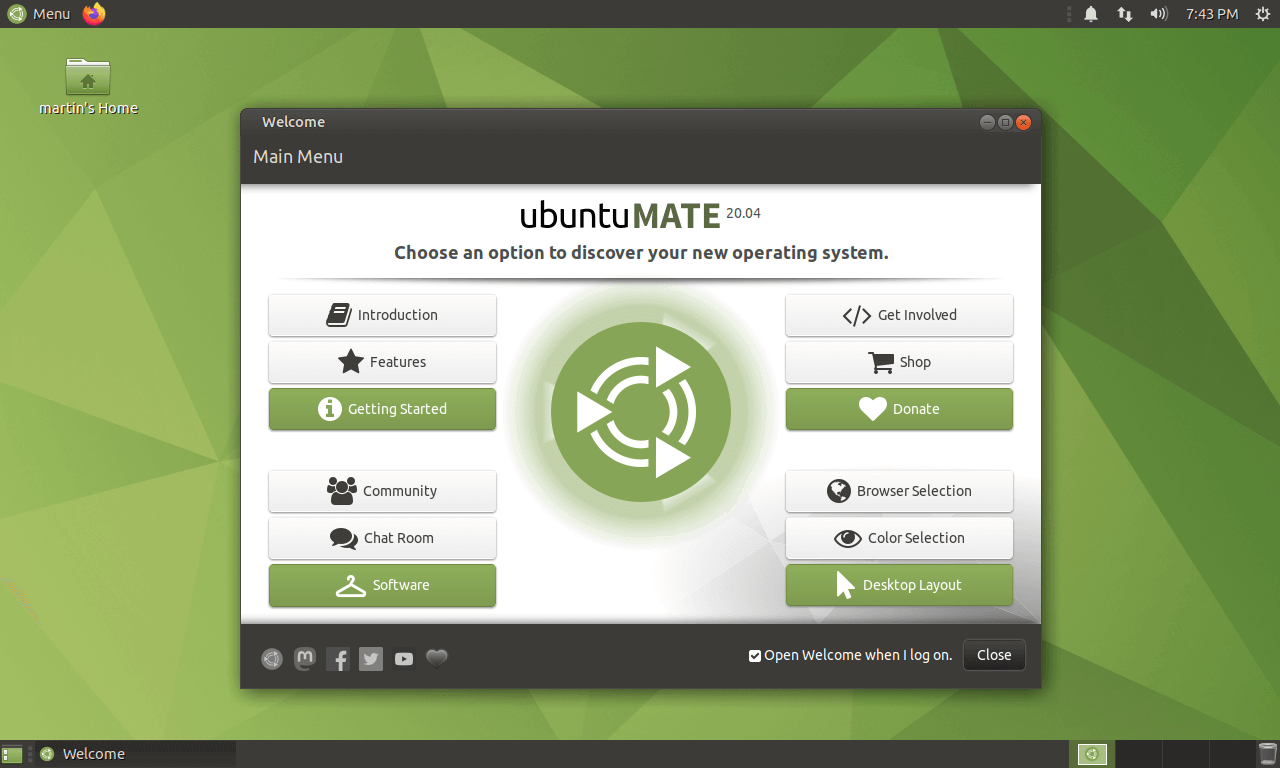
The colors of the general theme will be adapted to that of our distribution -Ubuntu in my case- That is, if my theme is Ambiance, the GIMP windows will have a color that adapts to it, but we can customize the background as we will see in the following images to give it a greater or lesser opacity from the menu Image Sale Appearance and changing the canvas fill mode:
Otros aspectos que podemos personalizar es el fondo de trabajo sobre el cuál insertaremos las imágenes si deseamos modificarlas o crearemos las mismas si partimos desde cero.
En este caso debemos ir a Apariencia de la Ventana de la Imagen
Los colores del tema general van a estar adaptados al de nuestra distribución -Ubuntu en mi caso-, al GTK de nuestro sistema. Es decir si mi tema es Ambiance las ventanas de GIMP tendrán un color que se adapte al mismo, pero nosotros podemos personalizar el fondo como veremos en las siguientes imágenes para darle una mayor o menor opacidad desde el menú Apariencia de la Venta de la Imagen y cambiando el modo de relleno del lienzo:

Customizing with Ubuntu Tweak and Ubuntu Tweak Tool. / Personalizando con Ubuntu Tweak y Ubuntu Tweak Tool.
This good project has unfortunately been abandoned in 2017 and therefore it is only applicable to those users who have old versions of Ubuntu installed on their PCs.
Packages are available in Launchpad for Xenial, Yakkety and Zesty.
Este buen proyecto desgraciadamente ha sido abandonado en el 2017 y por lo tanto sólo es aplicable a aquellos usuarios que tangan instaladas en sus PC viejas versiones de Ubuntu.
Hay paquetes disponibles en Launchpad para Xenial, Yakkety y Zesty
Download and install themes from the Internet. / Descargar e instalar los temas desde Internet.
Finally, we can download and install a specific package (icons, canvases, brushes, brushes, etc.) from the Internet.
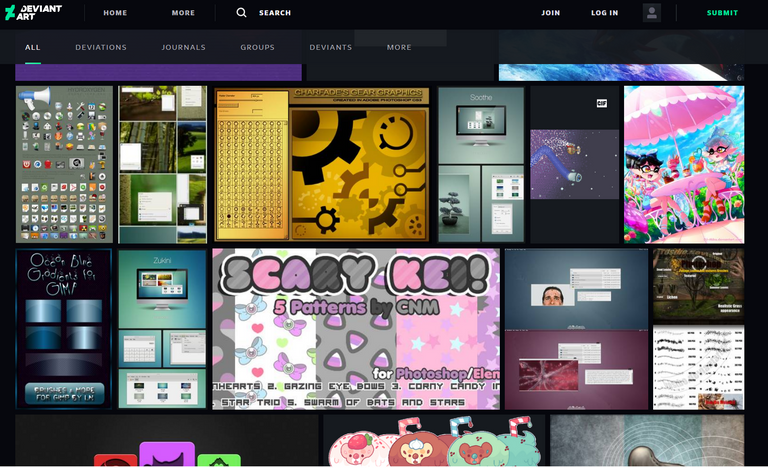
A suitable site is DeviantArt an artistic community with a lot of graphic material of excellent quality.
In the search box we select GIMP Themes and we will find all the results that interest us ready to download.

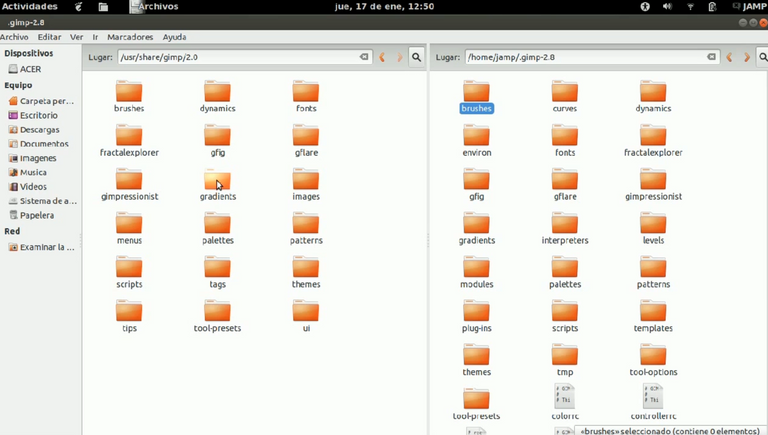
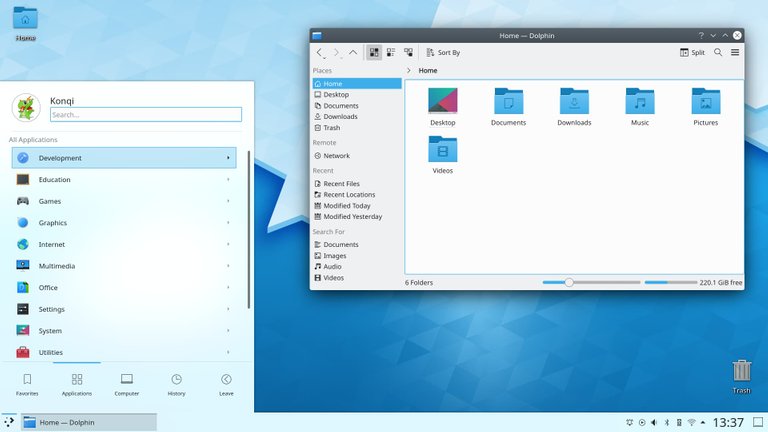
Let's remember to install in the folder where the other default themes are already found, as shown in the image.
For example, if we download a theme, we will host it in the Themes folder. If we download a brush we will do it inside the Brushes folder. And so on.
Por último podemos descargar e instalar un paquete determinado (iconos, lienzos, brochas, pinceles, etc) desde Internet.
Un sitio indicado es DeviantArt una comunidad artística con muchísimo material de índole gráfica de excelente calidad.
En la casilla de búsqueda seleccionamos GIMP Themes y encontraremos todos los resultados que nos interesan listos para descargar.
Recordemos de instalar en la carpeta donde se encuentran ya los otros temas de default como muestro en la imagen.
Por ejemplo si descargamos un tema lo alojamos en la carpeta Themes. Si descargamos una brocha lo haremos dentro de la carpeta Brushes. Y así sucesivamente.
Other site from which podemos encontrar material para GIMP de descarga libre y gratis es Jesus da with instrucciones detalladas para su instalación.
Otro sitio donde podemos encontrar material para GIMP de descarga libre y gratuita es Jesus da con instrucciones detalladas para su instalación.


Congratulations @losapuntesdetux! You have completed the following achievement on the Hive blockchain and have been rewarded with new badge(s) :
You can view your badges on your board And compare to others on the Ranking
If you no longer want to receive notifications, reply to this comment with the word
STOPDo not miss the last post from @hivebuzz:
Thank you for the constant support @hivebuzz received and for the work in favor of the community.
You're welcome @losapuntesdetux👍🙂