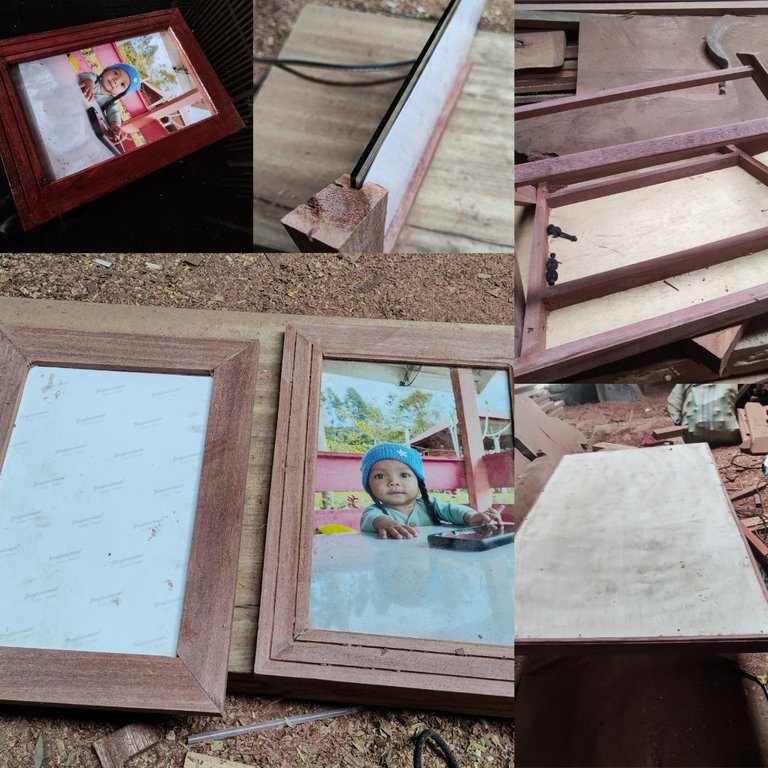

Welcome to April all hivean friends,may it be a month full of blessings for all of us!, at the end of last April I just celebrated the birthday of my youngest daughter Arsyila at the age of a year and we celebrated it simply in the village which coincided with our parents' house, a week before the event I took my wife to the village and I returned to the overseas people to continue my work in furniture and I will return home the day before the event and as time went on that day came and the day before I went home to celebrate my son's birthday, my wife called me to make an oshin table (mini table) and 2 units of frames,in a bit of a hurry I immediately worked on the express project and postponed the making of other projects that were almost finished.
And in the Architecture+Design edition of the first week of April, I again share how to make these two projects as simple as possible so that you can follow my way of completing them easily and this is also one of the easy projects even though here I am working on it using a large machine, but I can also do it using a mini wood machine.
For the first discussion I will discuss the process of making the oshin table which is a small table that is often used in the room of the house and of course the table is short which I will use as a table where I put Arsyila's birthday cake and that table is 110cm long X 70cm wide X 50 cm high with a wooden base and an 8mm multiplex table top cover sheet which is made of plywood left over from the table a few moth ago.
The machine tools I used to complete this project consisted of the machines I normally use.
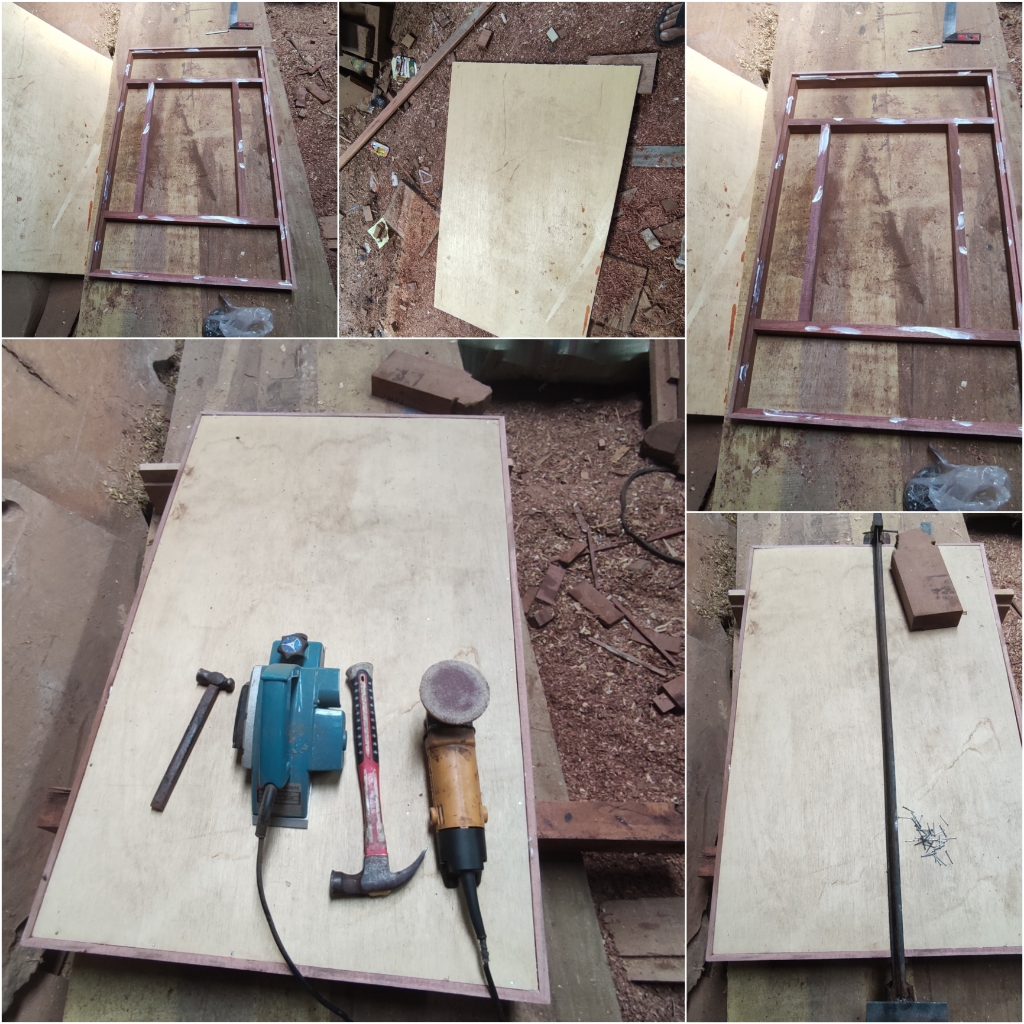
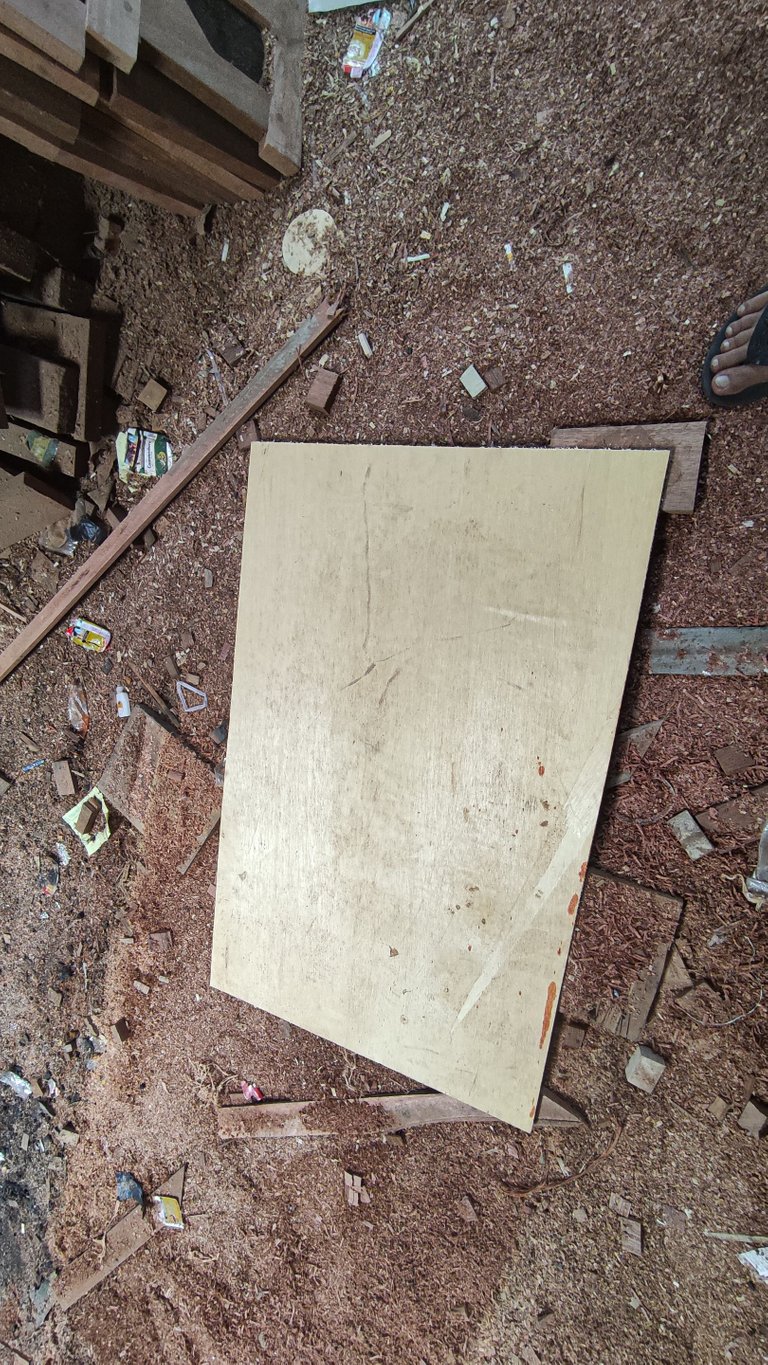
In the finishing oshin table or mini table for a relaxing table while sitting on the floor, here I first made a series of tablecloth sheets that tablecloth sheets made of 8mm multiplex the remaining size is 65cm x 110cm or what is usually in carpentry called sheet leaf,become the basic size that I will use to complete the project and I try to design it as complex as possible so that the table looks simple and attractive.
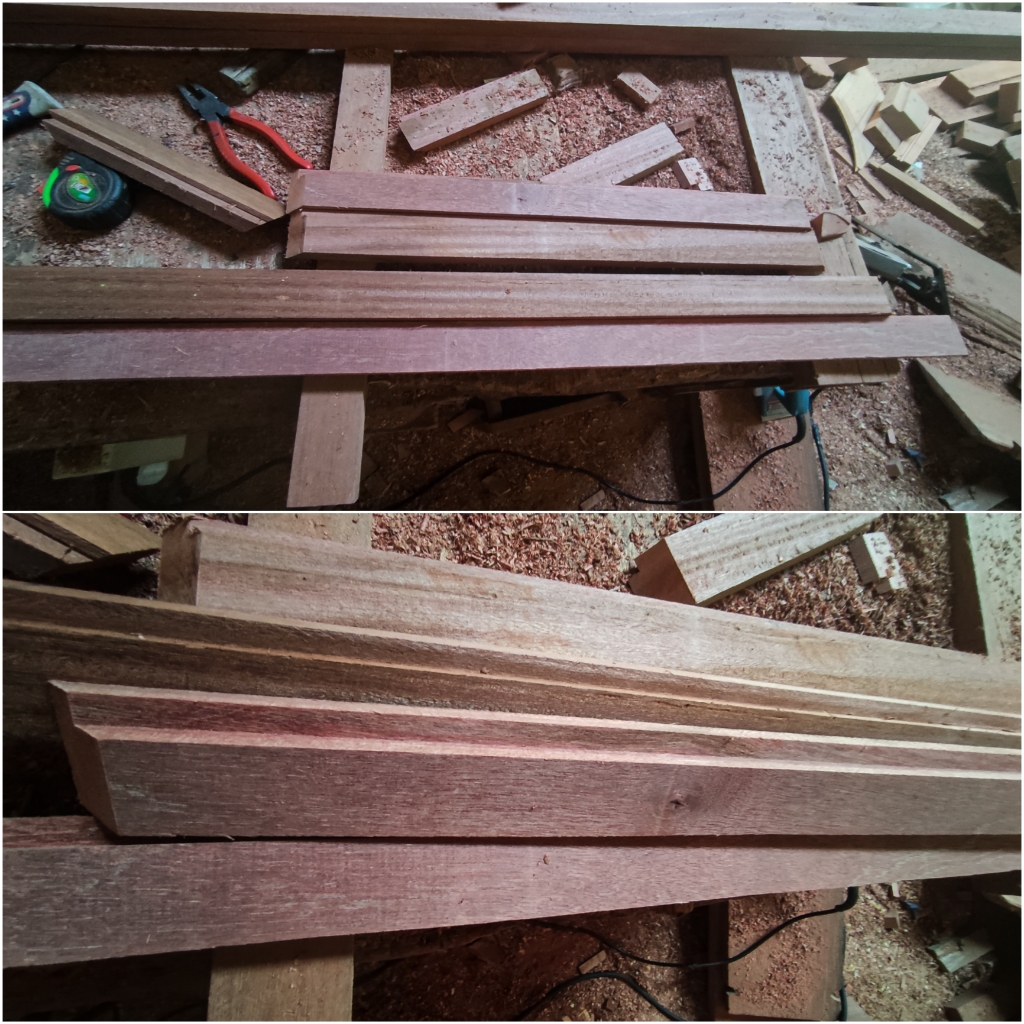
The way I made a series of designs listed from my idea to complete this project is very simple by utilizing the leftover mixed wood from meranti jamb beams,I trimmed the remnants of the wood which is 150cm long and 2.5cm thick and make the width of the remaining wood to 3cm by using a large crab machine so that the material processing process is faster and more stable.
For the main set of left, right, front and back tables on the table top surface, I made sponging holes for the multiplex stand and the main set also became the main table trim the outside of the table that I will give a sharpener machine flower in the finishing stage and here I use the angle connection scale.
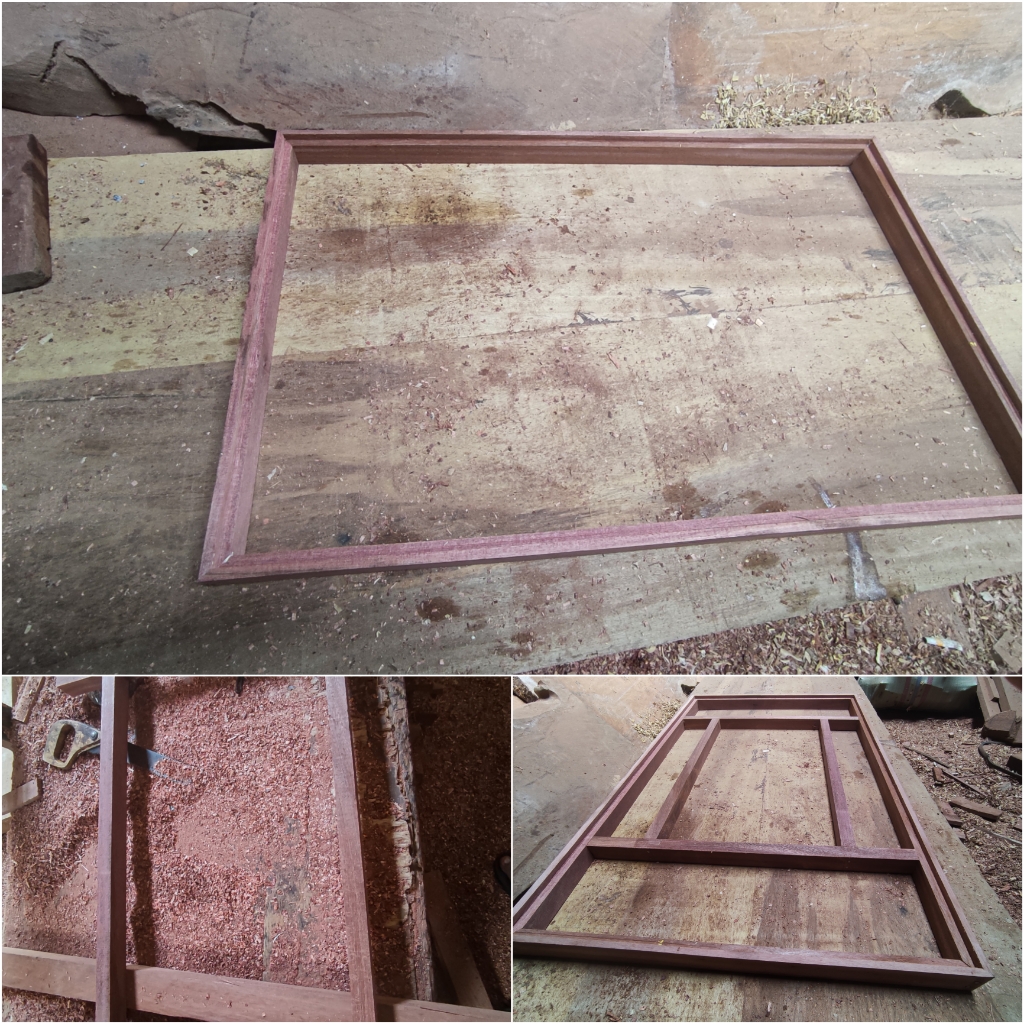
Then I continued the process of connecting to the 4 corners of the main series of bones which were made from meranti wood with a lock system using nails and glue so that the connection was really strong with an outer length of 110cm and a width of 70cm, while the inside is 65cm x 105 cm.
and the result will be seen to form a rectangular series, then I continue by adding an additional series bulkhead in the middle of the series so that the table is more sturdy and also the bulkhead becomes a place for attaching the table legs.
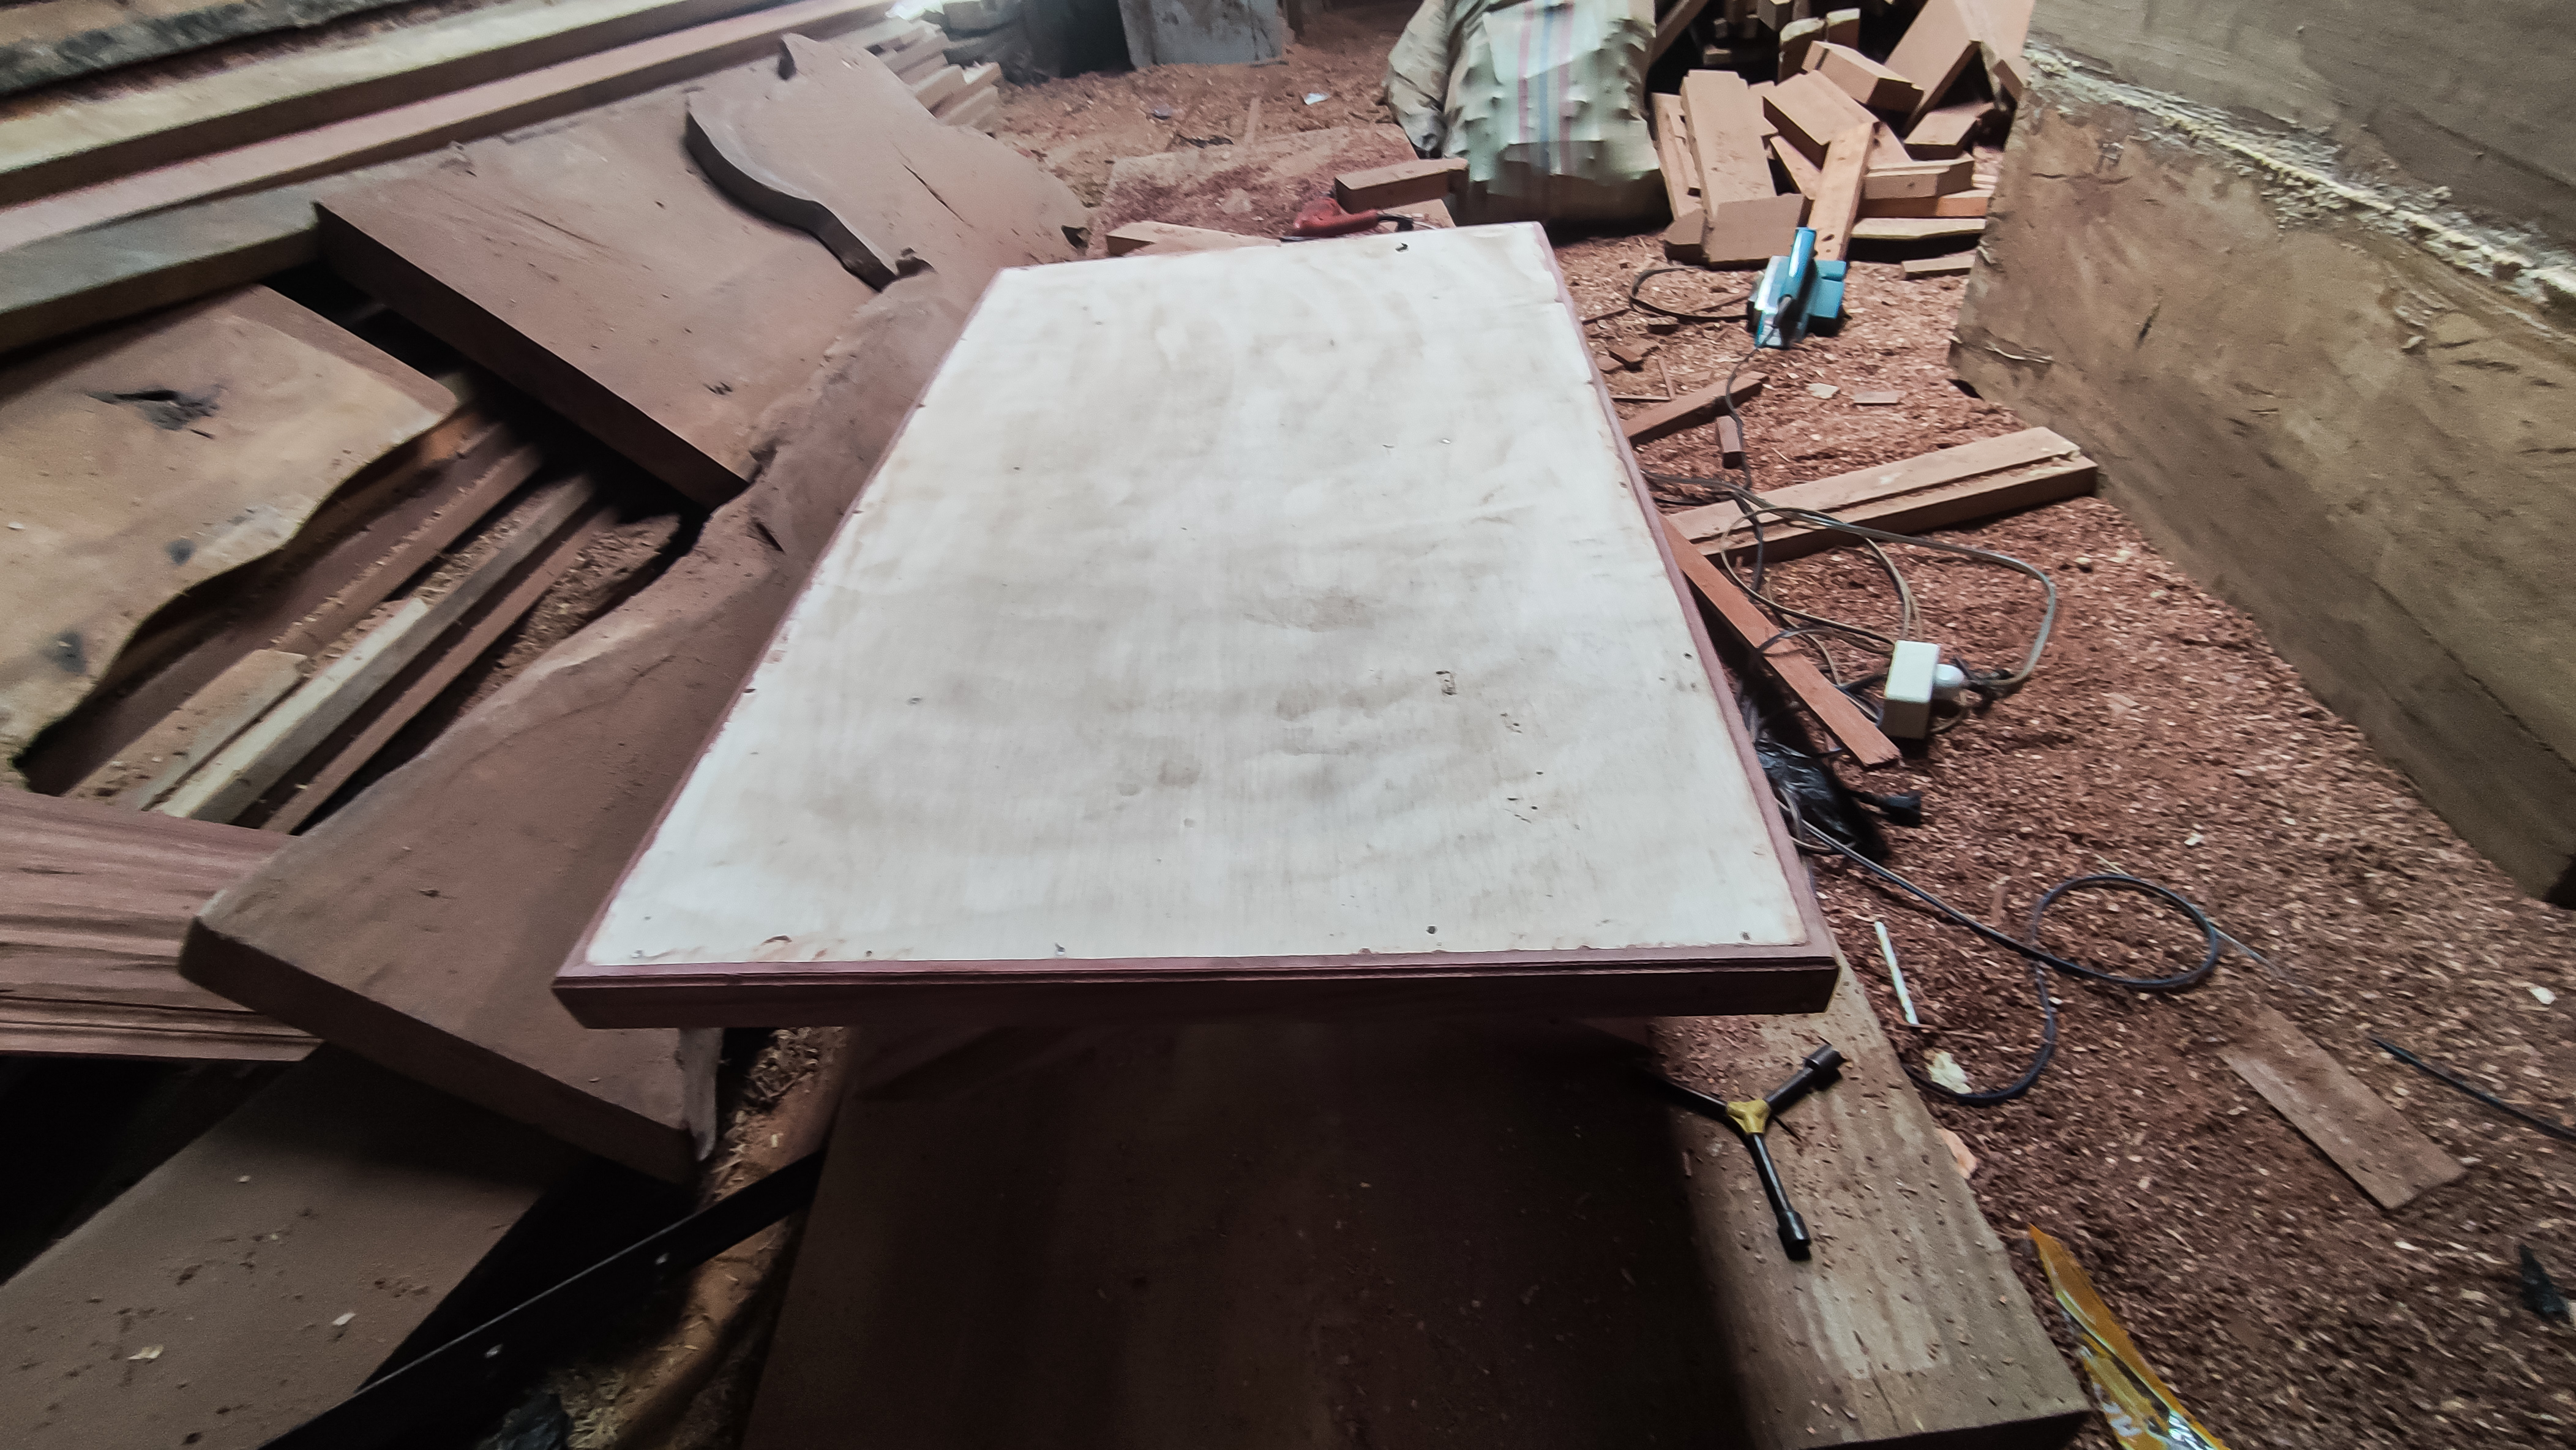
After the main assembly process was completed, I continued the process of gluing the 8mm multiplex on the circuit using glue and small nails with a pressing system and so that the table sheet was really strong and durable.
After the process of the main table sheet series is complete, now I continue the process of making the table legs with a cross leg shape system that can be folded to the left side,so that the table is easier to store when the table is not in use and here I intentionally did not make the table a 100% permanent folding system.
To finish making the table legs so that the table looks more luxurious and contains a modern architectural design, I used a wooden block measuring 6cm x 3.5cm with a length of 75cm that forms an X and the table will have a height of 50cm.
at the end of the bulkhead of the upper circuit which I will attach to the bulkhead of the base circuit of the table sheet, I cut a 45° angle so that it sticks flat to the frame and the table legs will also stick flat to the floor when the table is ready to be used.
And for the process of determining the series of X-shaped legs, here I use bolts with a flat bolt system.
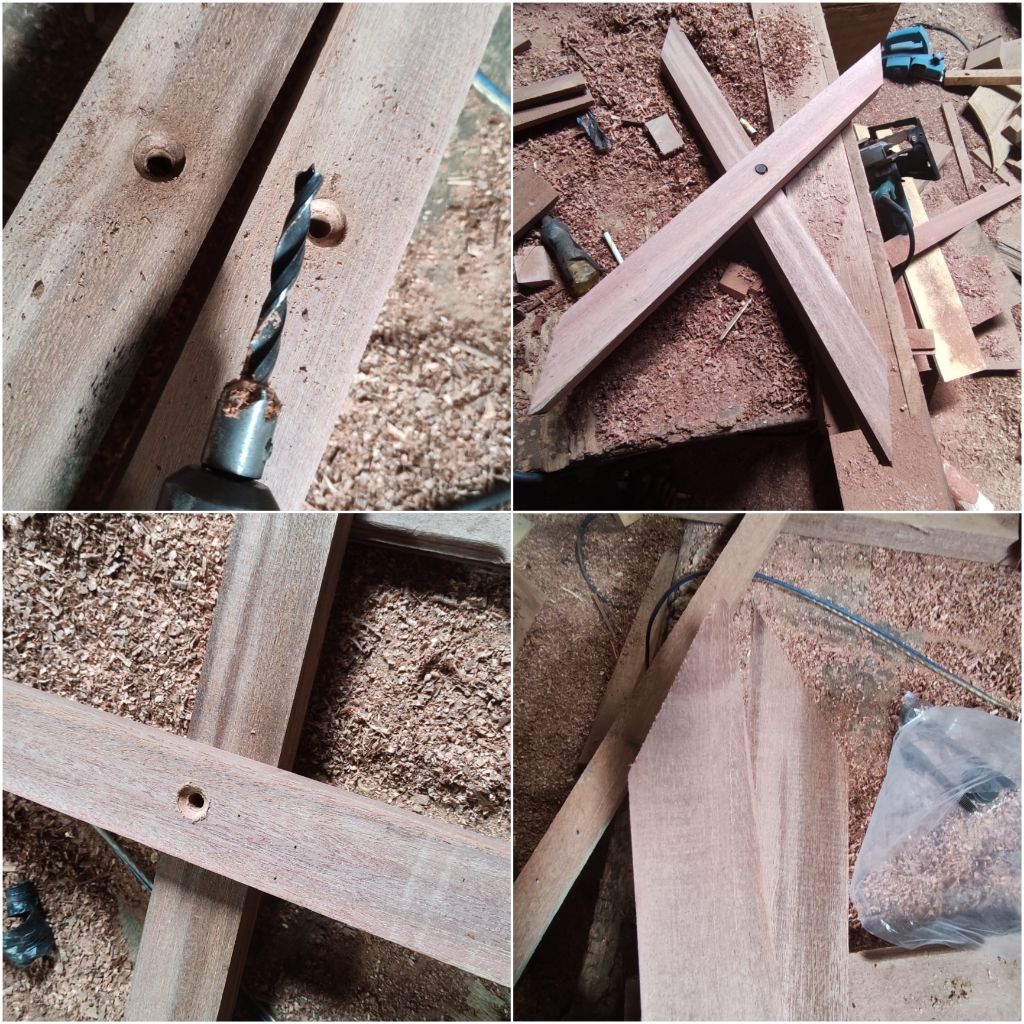
Then after the assembly process was complete, I continued the process of placing the arrangement on the circuit and the main structure of the table began to form and it looked so beautiful.
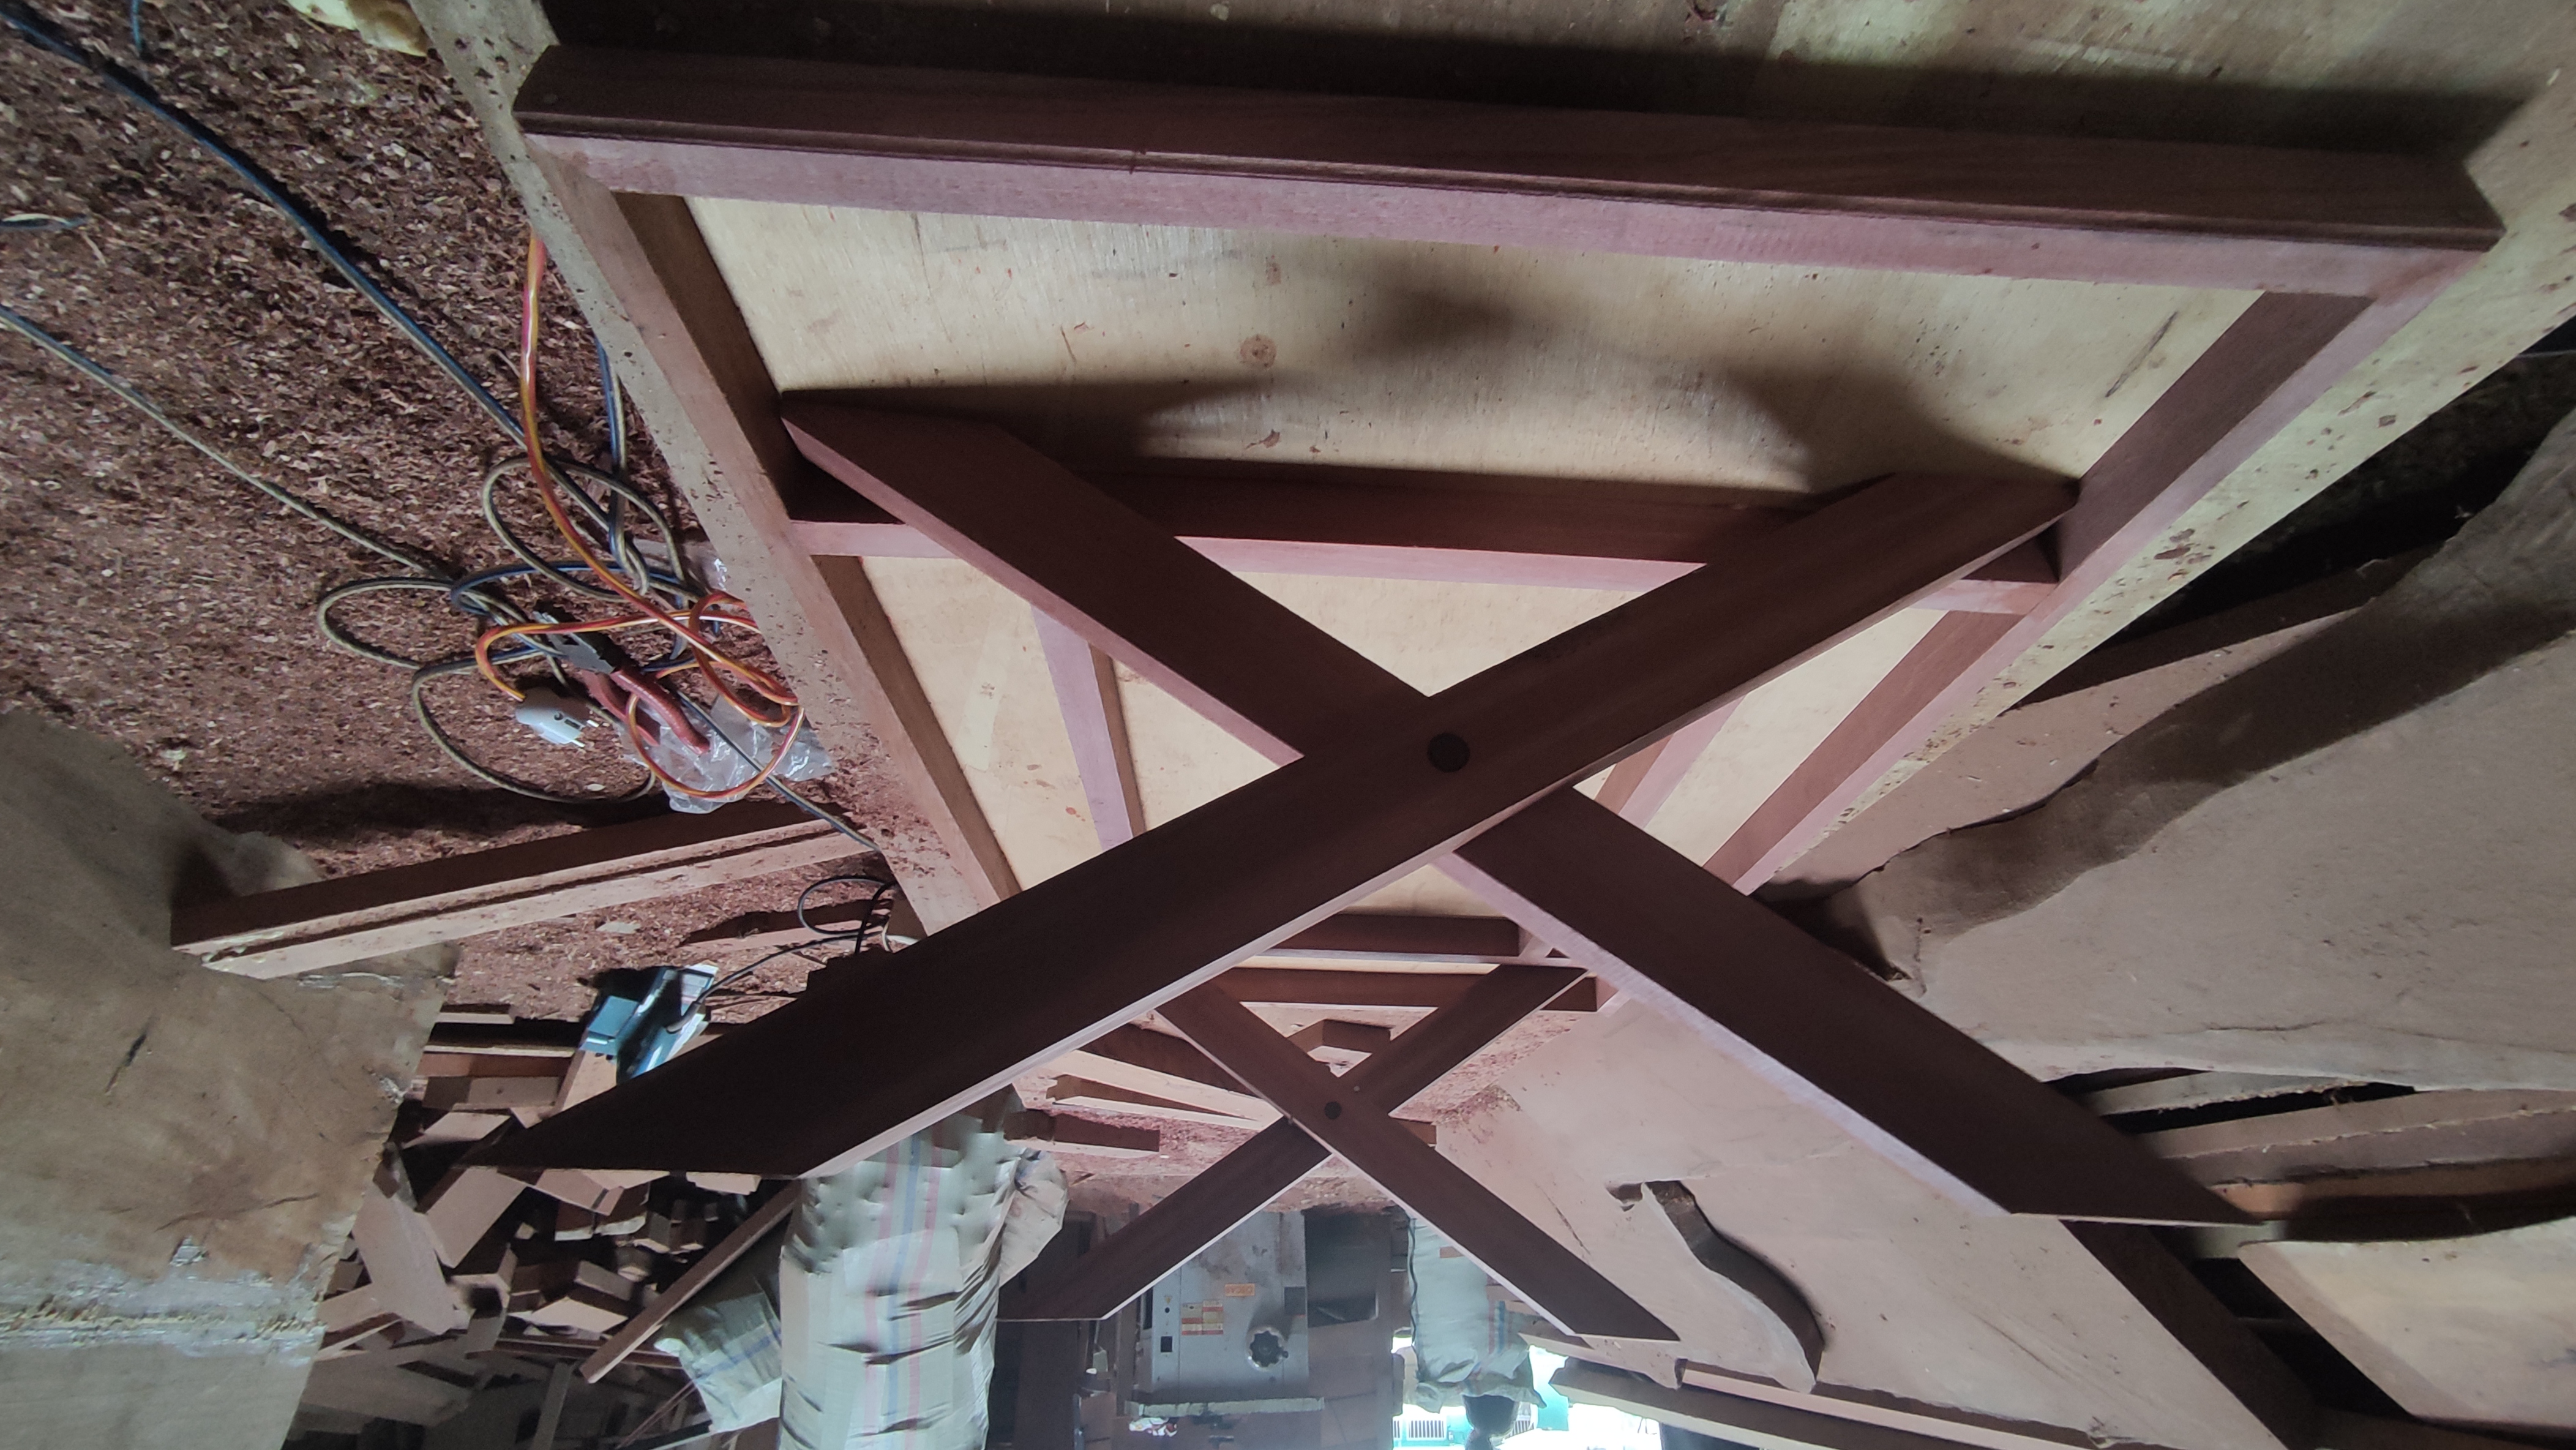
Next, after I finished I made the main series of legs that formed an X and to get a more perfect design, I again added 2 bones which also function to strengthen the table so that the leg design is formed more perfect and looks more beautiful.
And the size of the wood that I used to perfect the design of the table legs, I gave 2.5cm x 2.5 cm of wood that forms a square and I gave the wood on the left and right with a distance of 3 cm from the floor so that the table leg design looks so elegant.
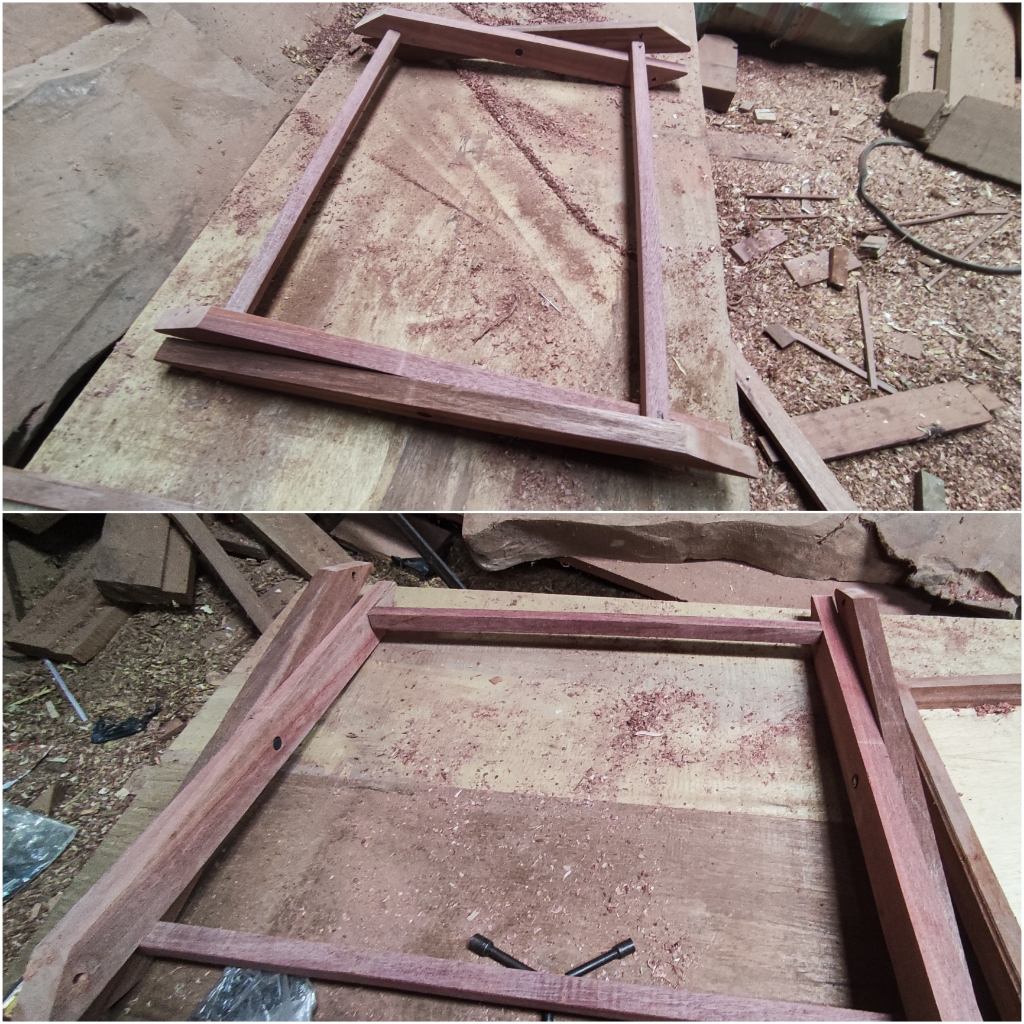
Then after I finished working on the table legs, now I continue the process of connecting the legs with the main series of table sheets and in connecting here I use a bolt system because I made this table design with a 50° left or right folding system.
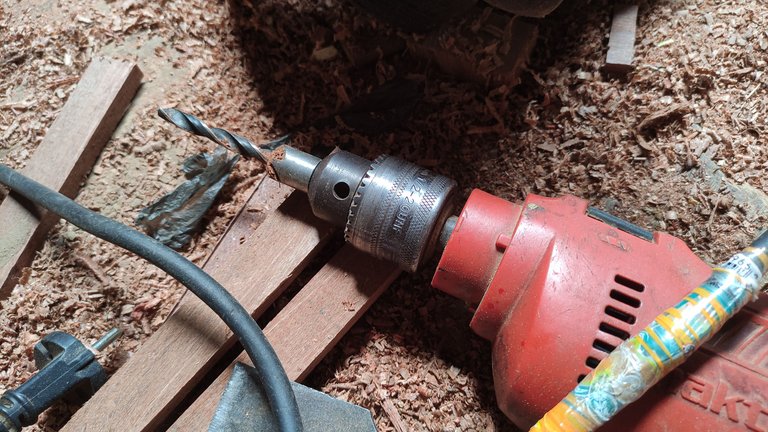
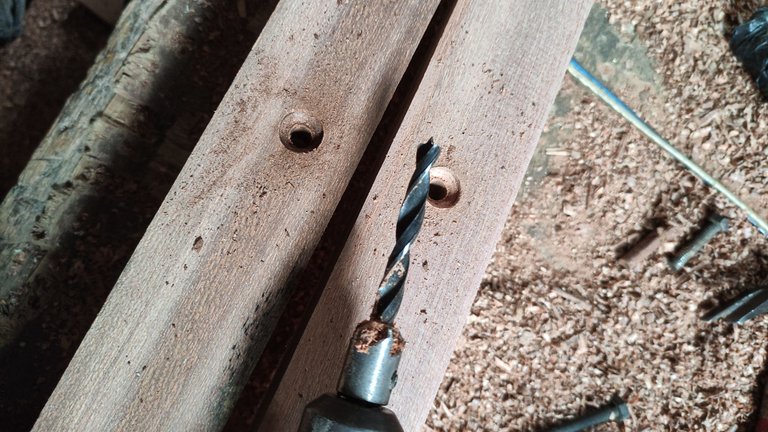
In the process, I first drilled holes in the top end of the table legs that would attach to the table sheet assembly and I also punched holes in the main bulkhead of the table sheets for bolting and here I used 3 inch bolts,in the drilling process I use an electric drill machine and here I only use 2 left fastening bolts, while on the right I don't provide bolts so I can fold the table legs.
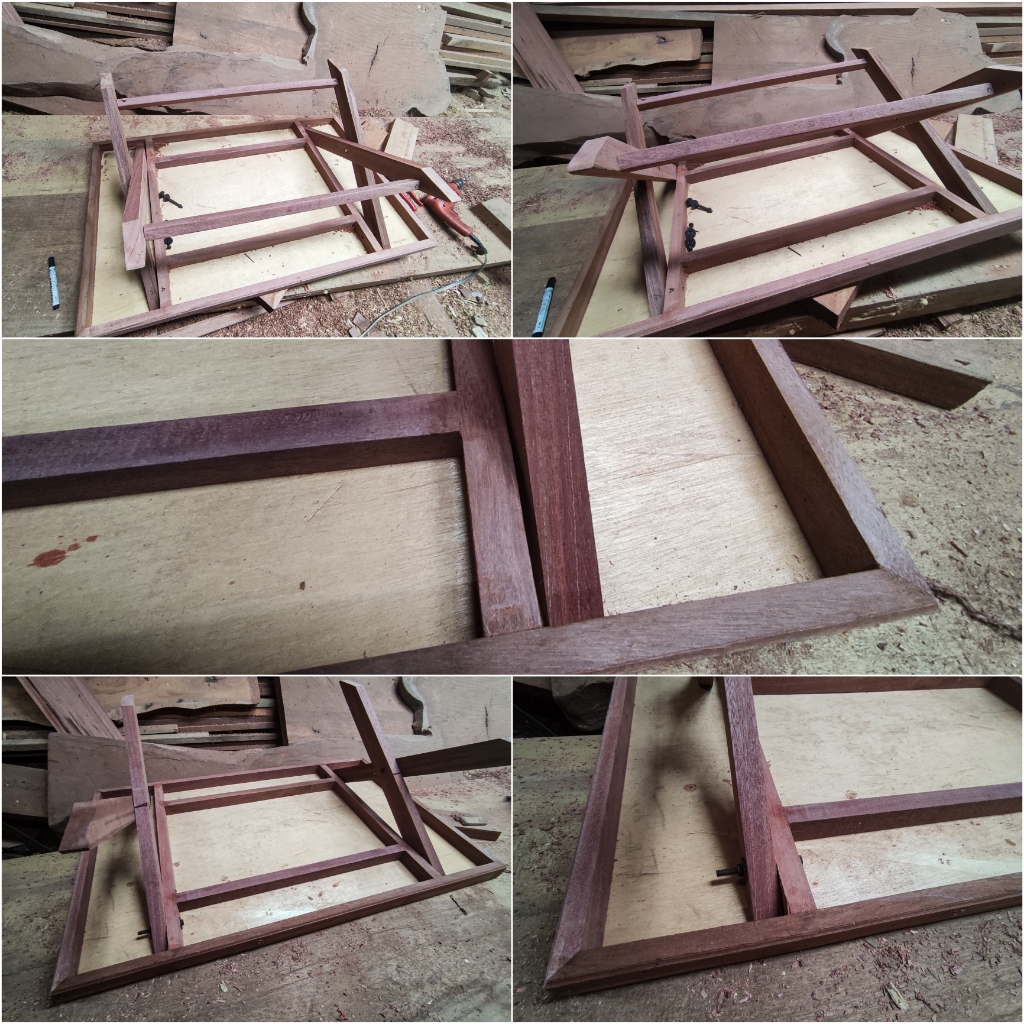
And now a mini table for Arsyila with a size of 70cm x 110 cm x 50 cm a series made of meranti wood and table tops made of 8mm multiplex I have finished working on and this is how the result of the table looks with a simple architecture+design followed by some pictures from the process stage main manufacture.
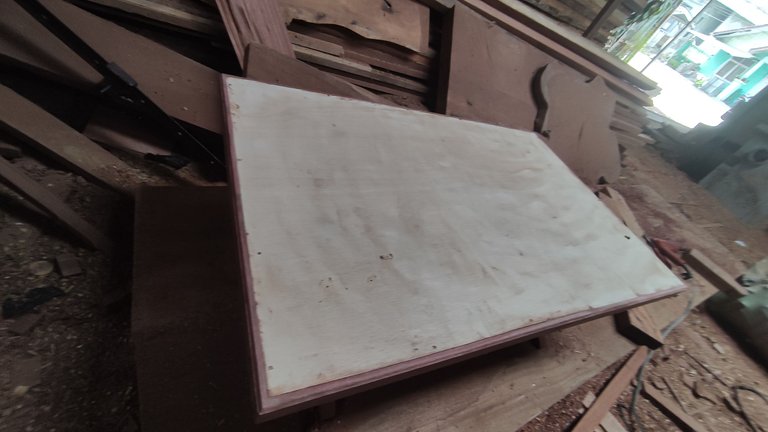
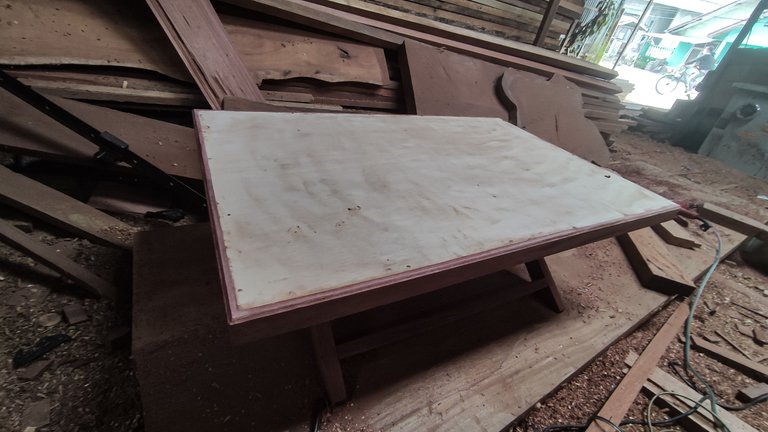
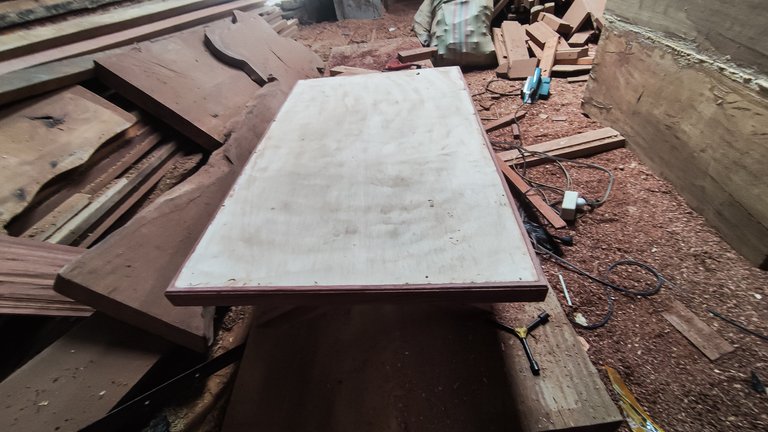
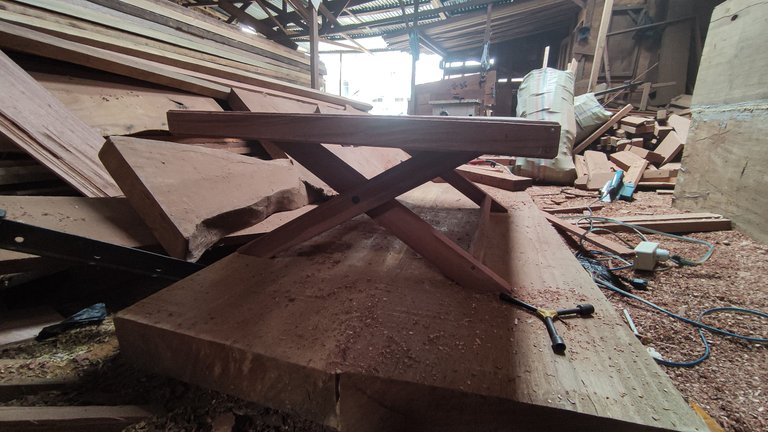
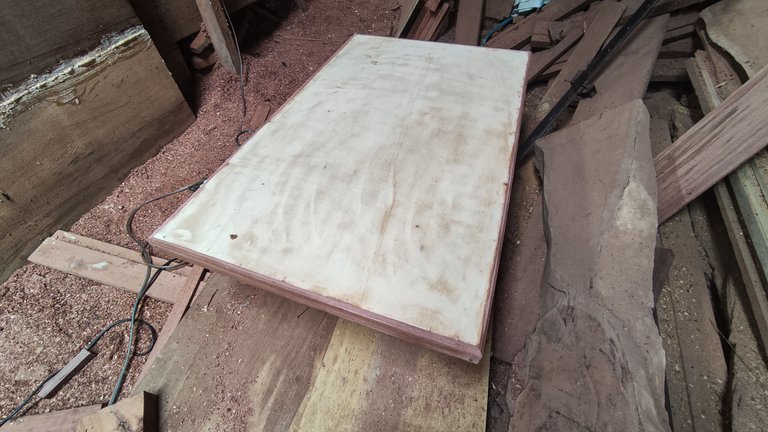
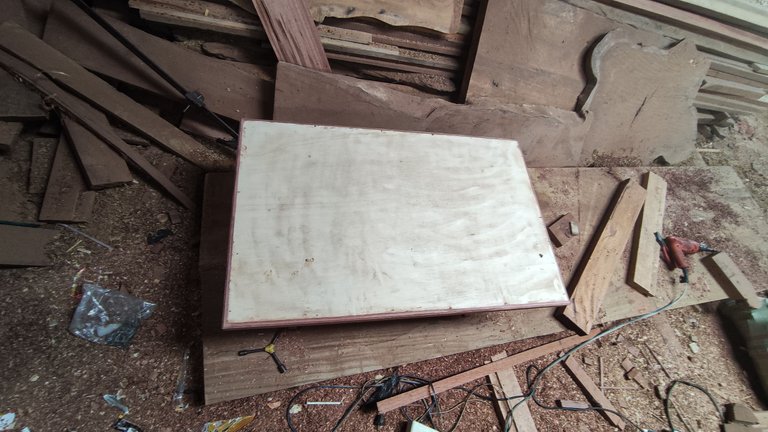
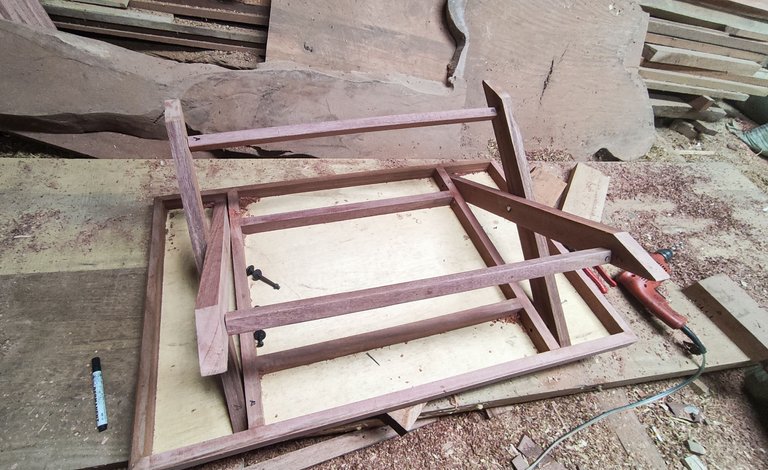

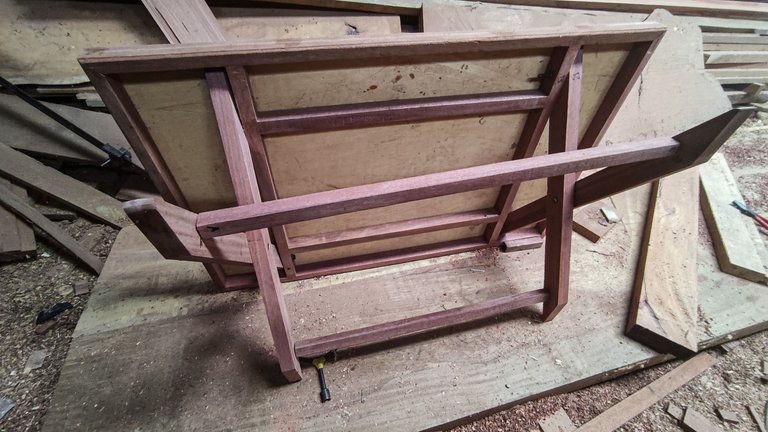
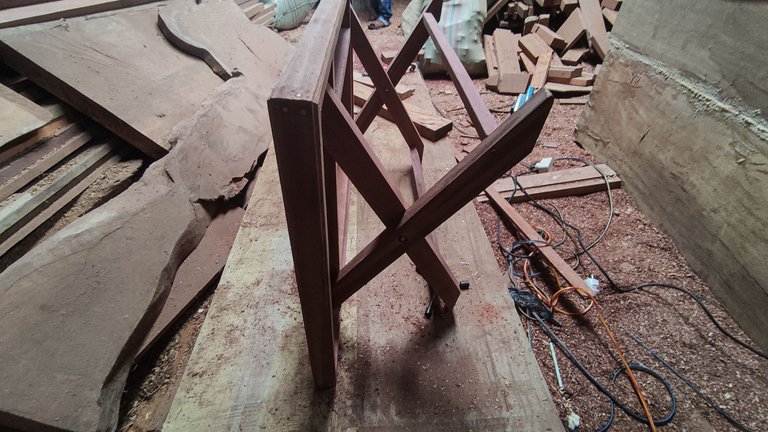
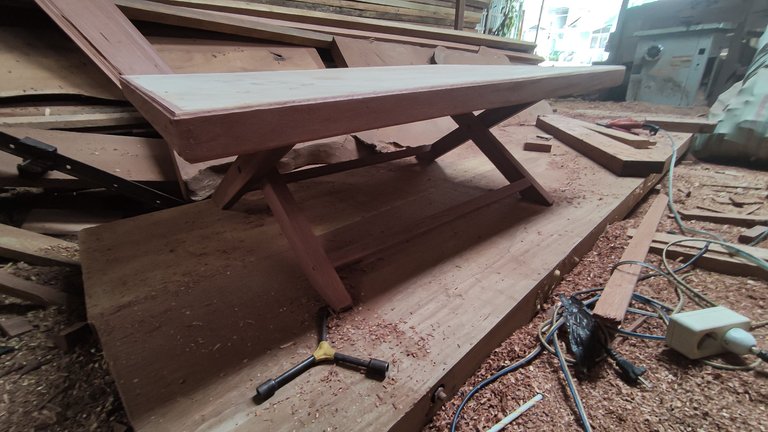
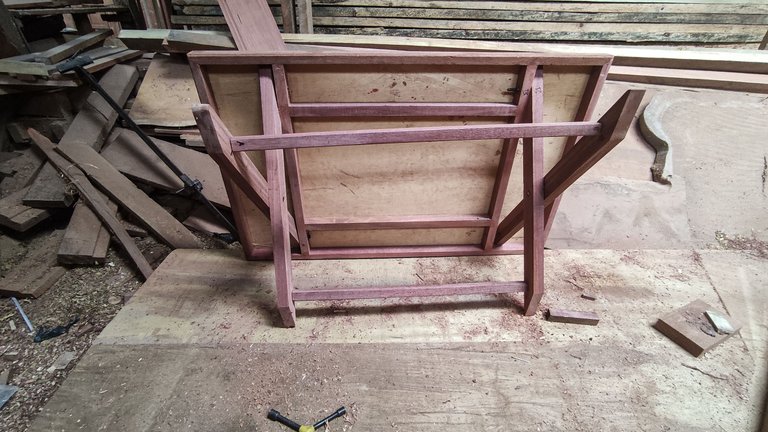
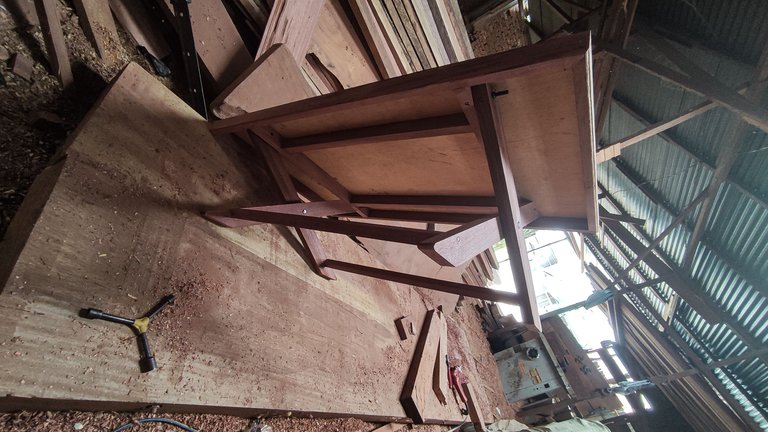
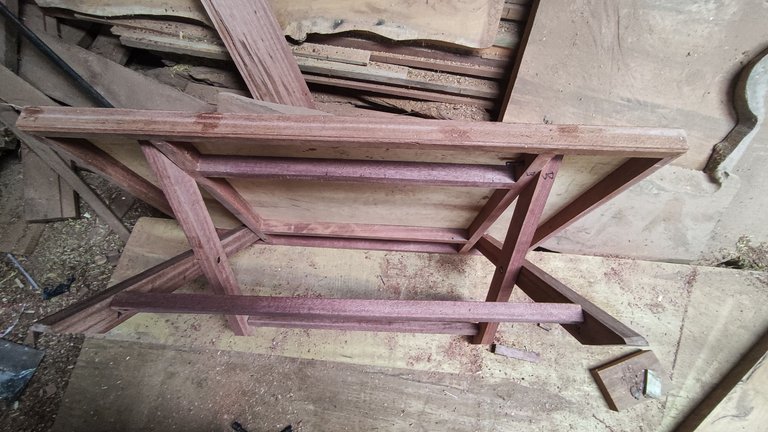
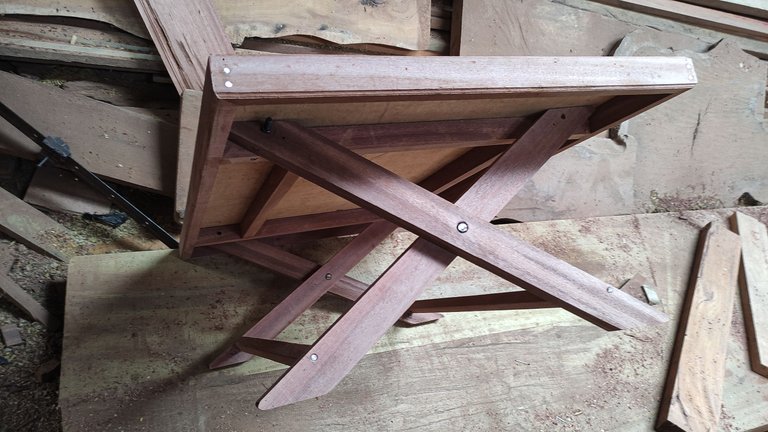
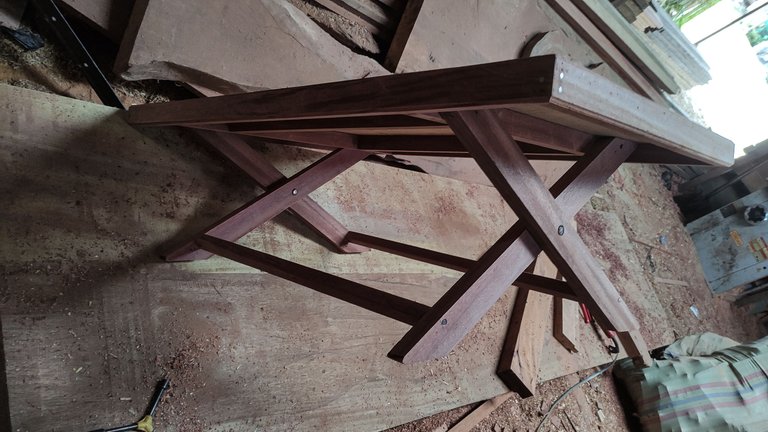
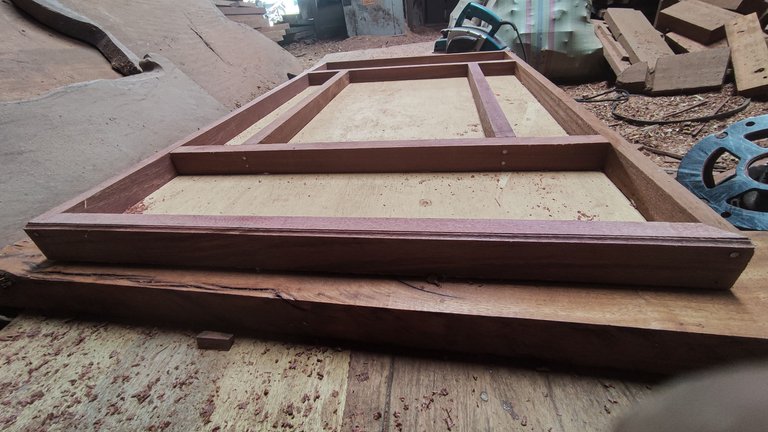
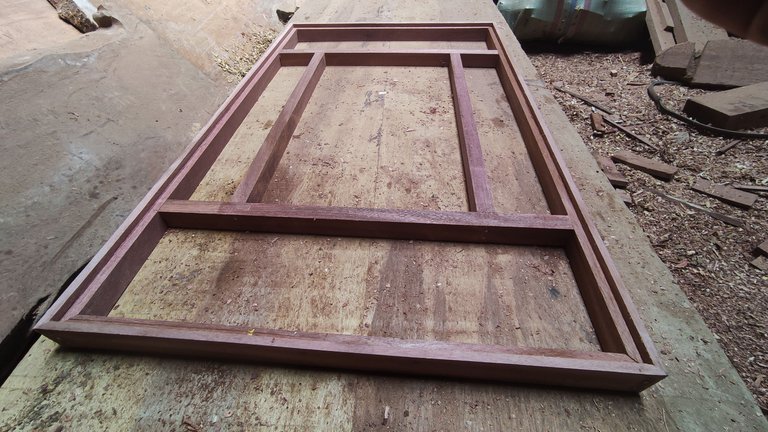
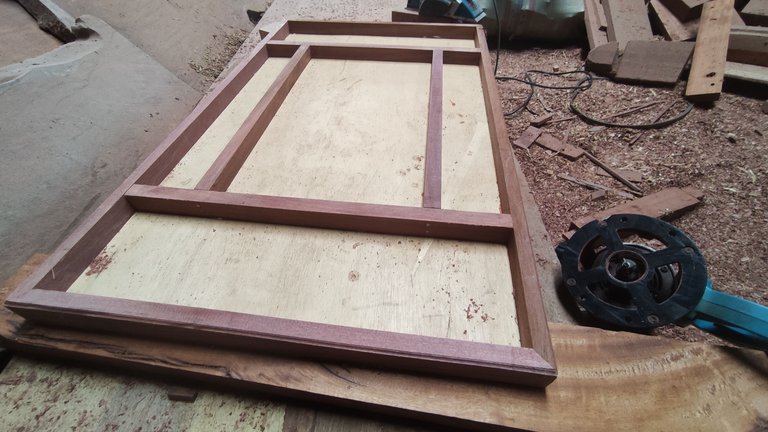
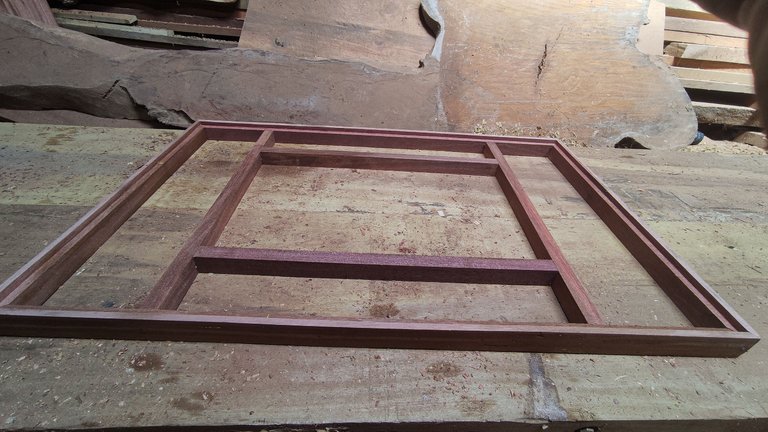
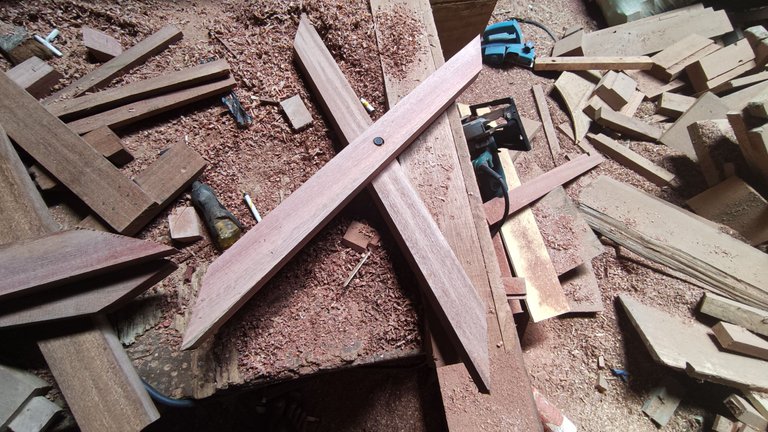


This is what the mini table looks like that I will use at my youngest daughter Arsyila's 1st birthday, for that table I didn't finish it until the painting stage because the time was so short.
And now we are entering the stage of making 2 photo frames measuring 21cm x 32cm.
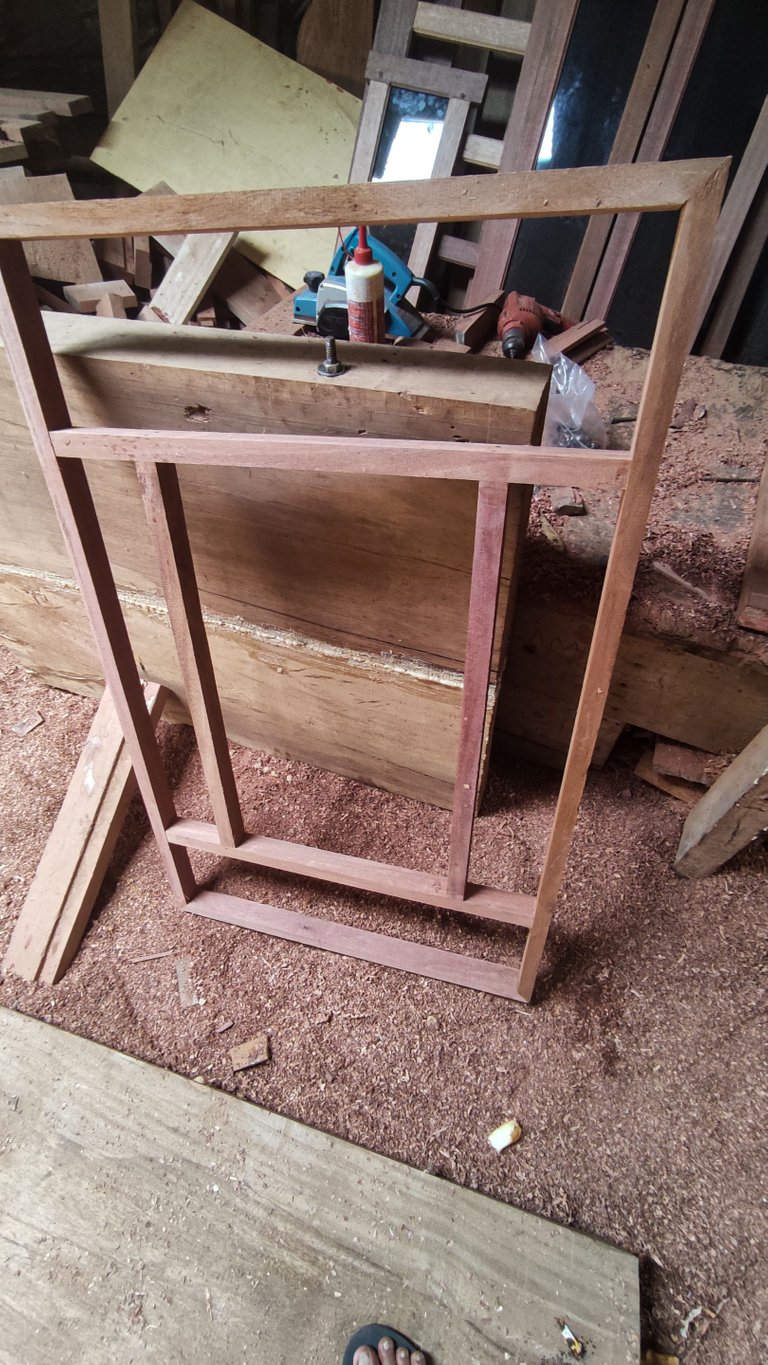
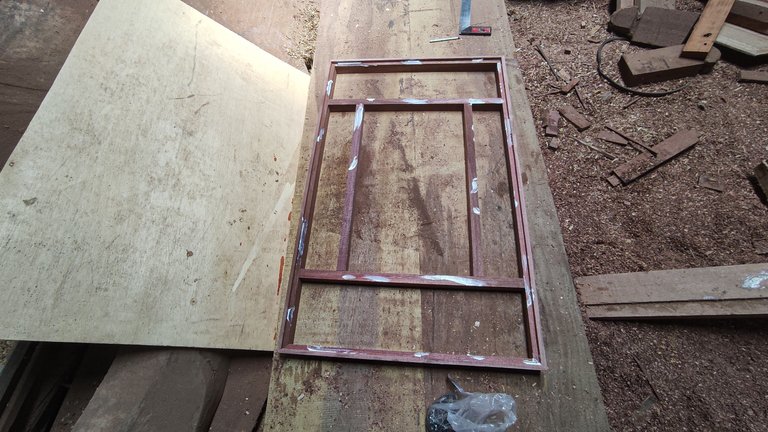
To make the 2 units of the wooden frame, I again used meranti wood, which is a good type of wood and in this 2-unit project I used waste wood from waste meranti and after I flatten the wood, the size becomes 2.5 cm thick and 4 cm wide, then after I clean it, I continue to cut a 50° angle and this time I made a picture cropping photo frame design,which means the base image in the frame cannot be changed unless you destroy the frame.
To get the right size before cutting the material, you have to calculate it first and the calculation method is exactly the same as how to calculate the window making that I have shared.
The size of the photo sheet is 21cm x 32cm and the width of the wood frame is 4cm, so to get the right size when cutting the material, we have to subtract 2 cm from the left and right of the image and 2 cm from the top of the image sheet material and the 2 cm we subtract around the photo serves for the nails that will enter the bone frame along with the glass because here I made a dead cropping photo frame design.
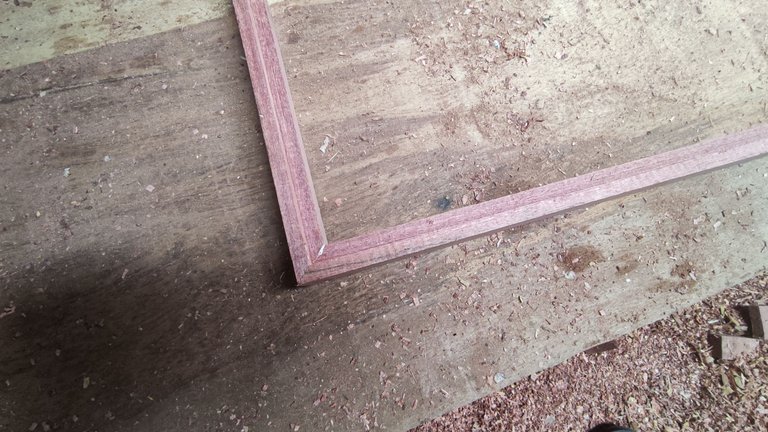
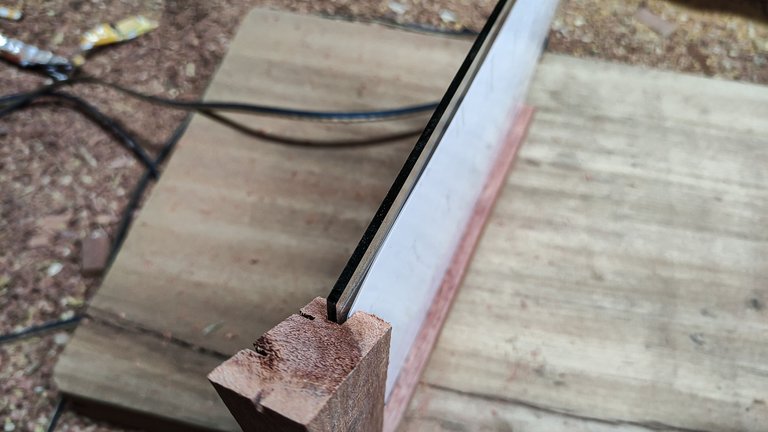
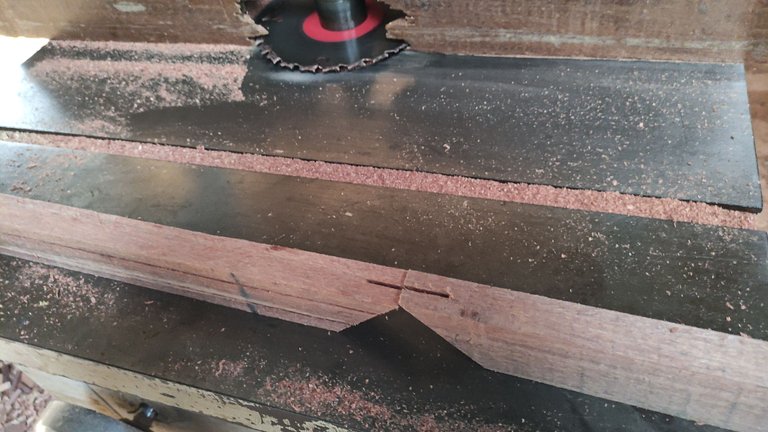
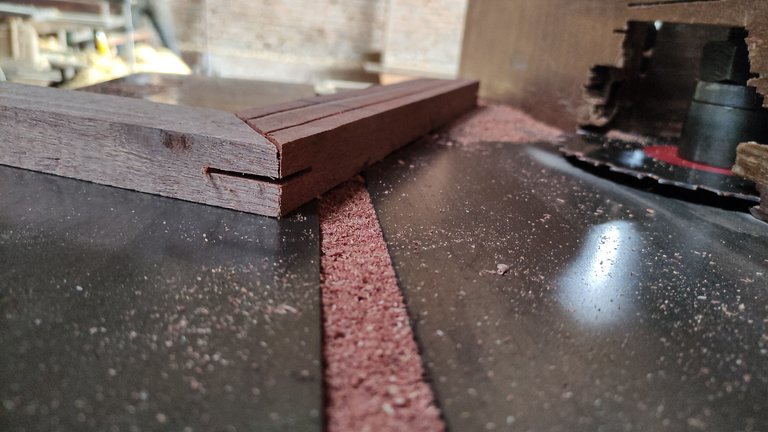
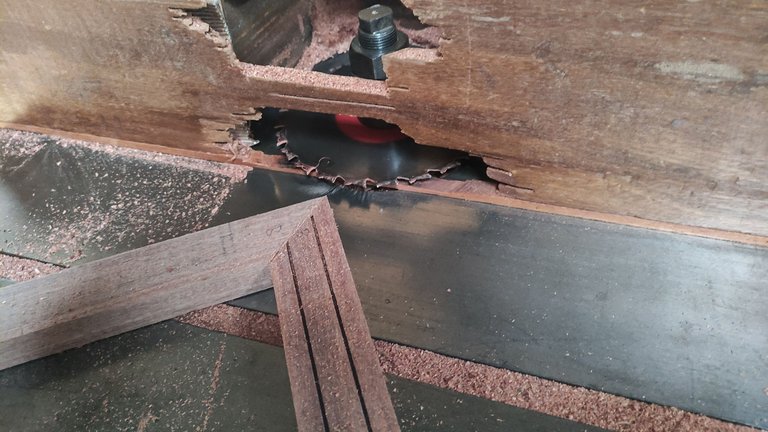
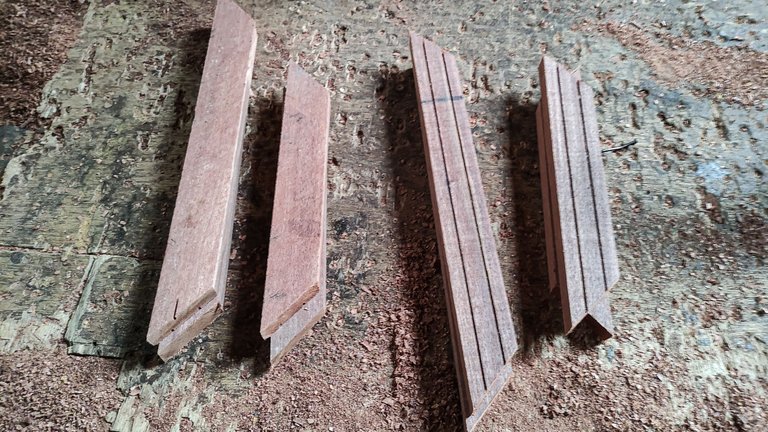
Means that the size in the frame (bulk) becomes 19cm x 30cm in a 50° cut angle and after it's finished I cut the 2 units of the frame, then I continue the process of giving 2 lines on 1 top bulkhead and 1 right partition on the front surface area and I also continue the process of making the peg holder at the corner of the connection, to make it easier for you to understand, you can see the image below and in this process i use panel machine.
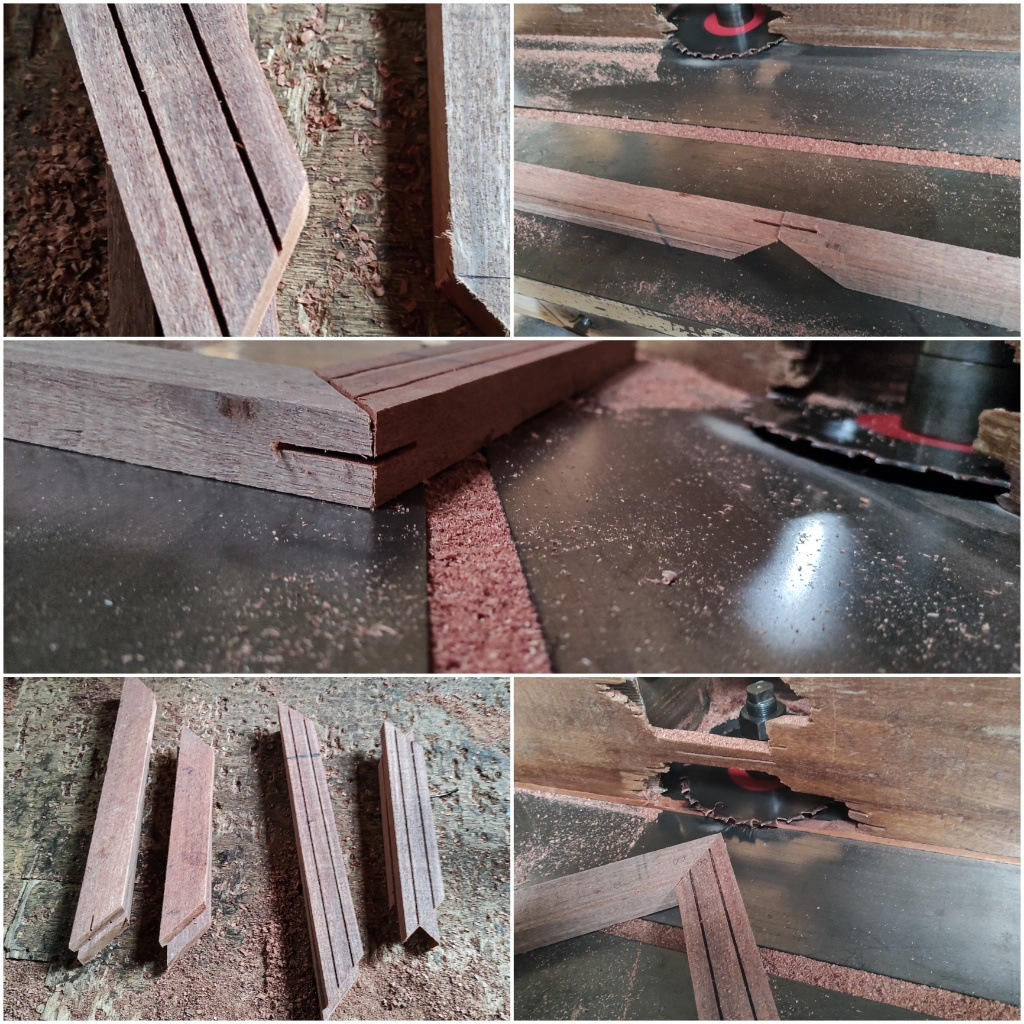
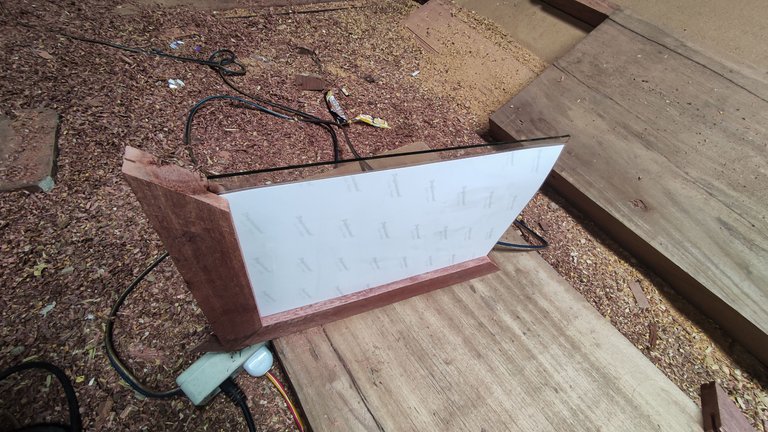
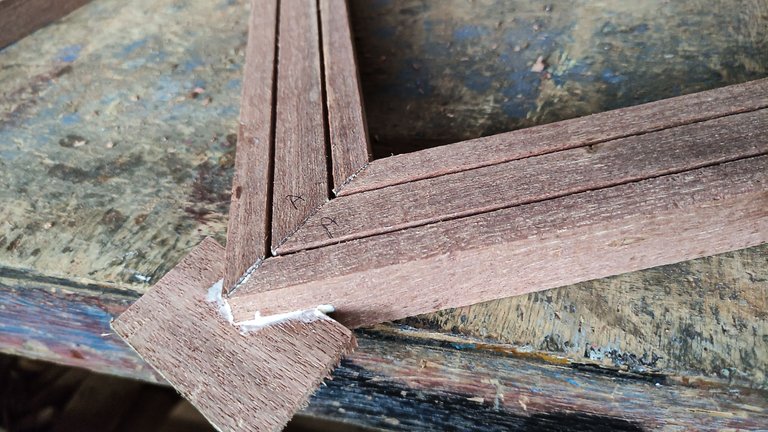
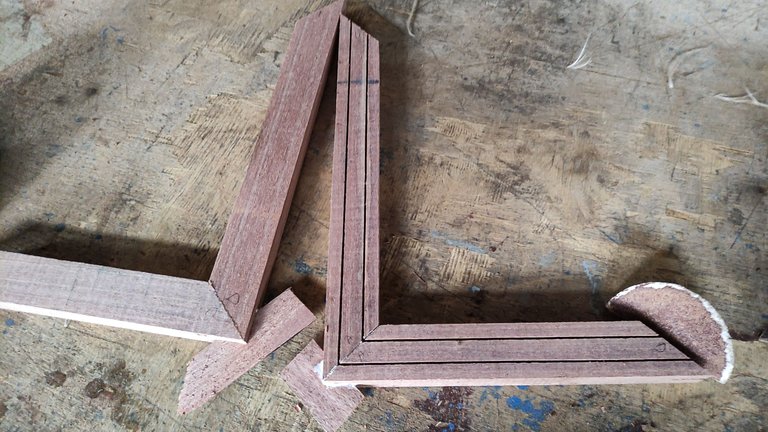
After the main process is complete, now I continue the process of giving 03mm flowers on the inner surface of the frame and the process of scraping the glass holder of the frame along with photos and I also continue the process of connecting the sides that form L , in the process of locking the corners here I use thin wooden pegs and help glue so that the frame is really strong and this is what all those processes look like.
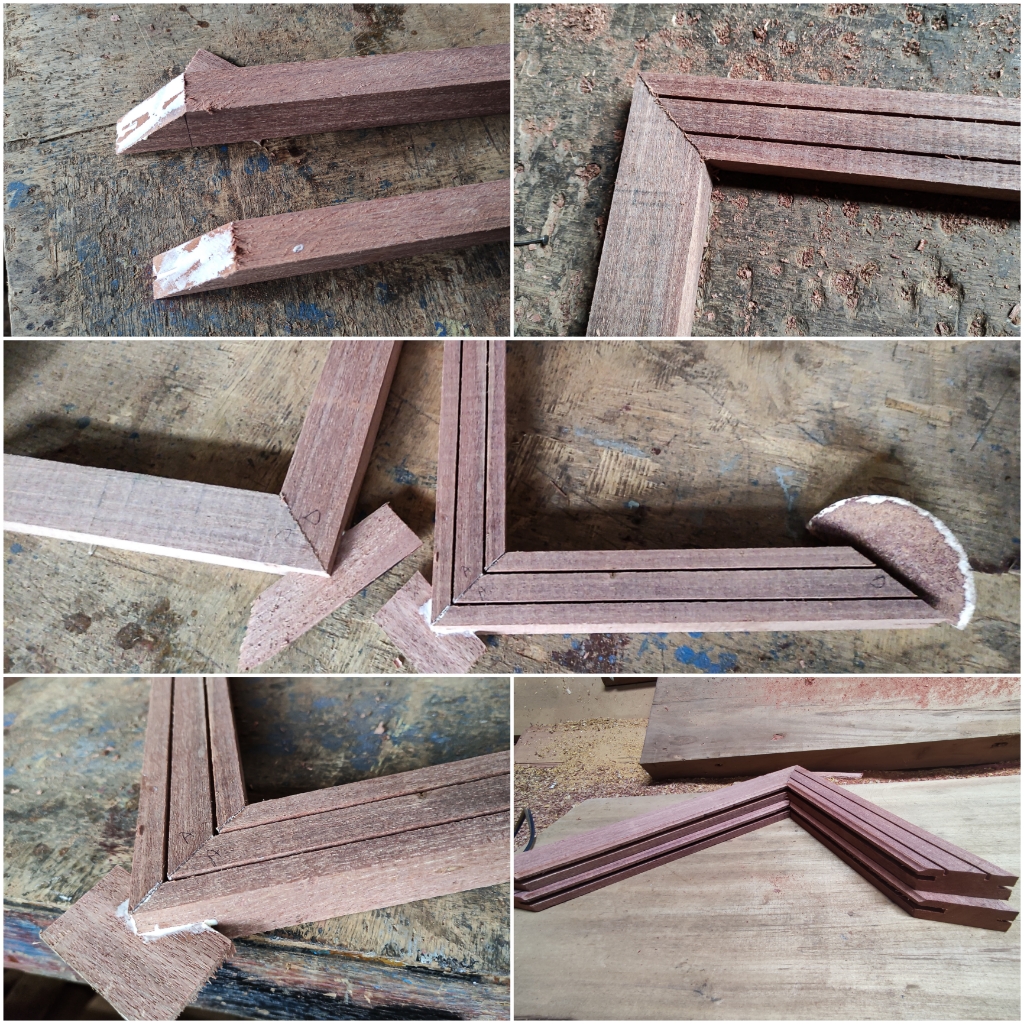
Then after the process is complete and the glue dries, now I continue the process of smoothing the connection and the wood surface, after that I continue the process of inserting the glass and photo together.
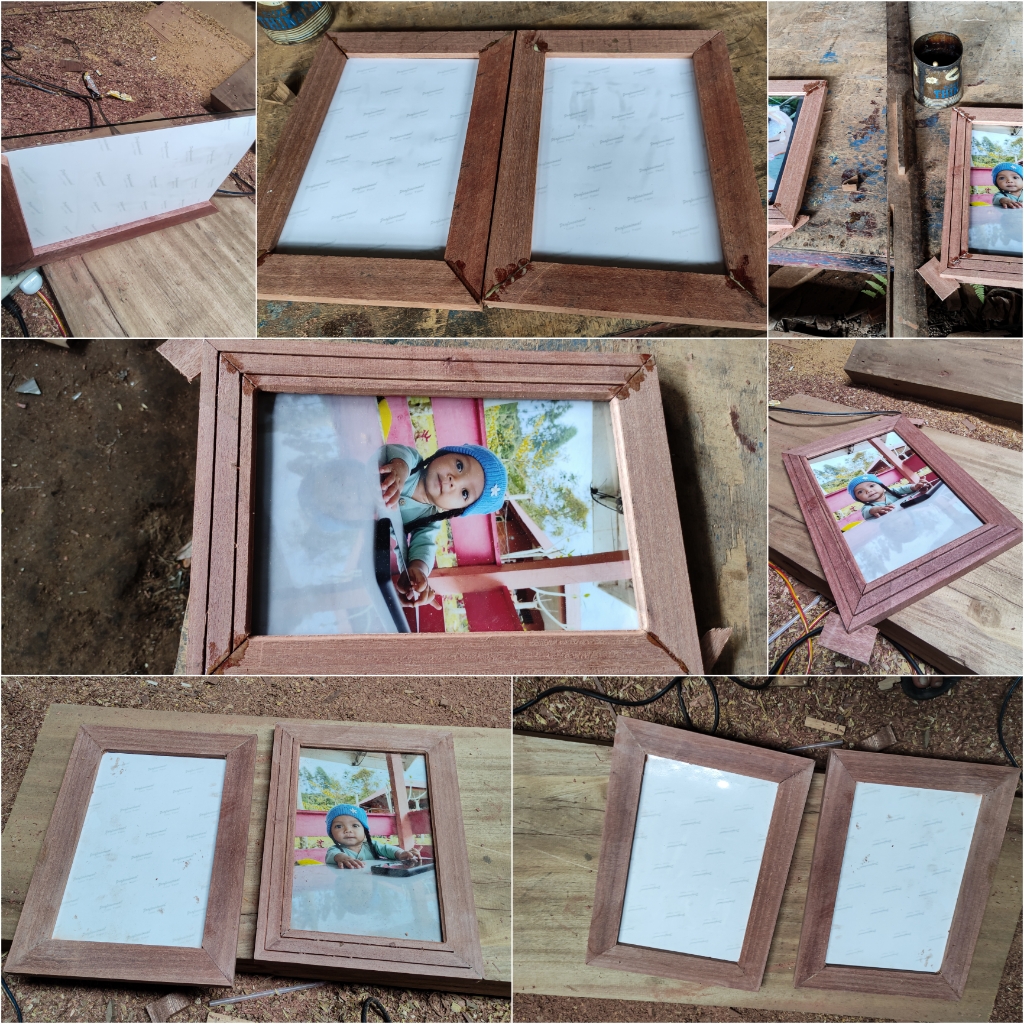
After the bonding process is complete, I wait for about an hour for the glue to dry completely, then after the glue dries, I continue with the process of sanding the entire surface after that i continue painting,in the painting process, I worked manually using leftover paint some time ago.
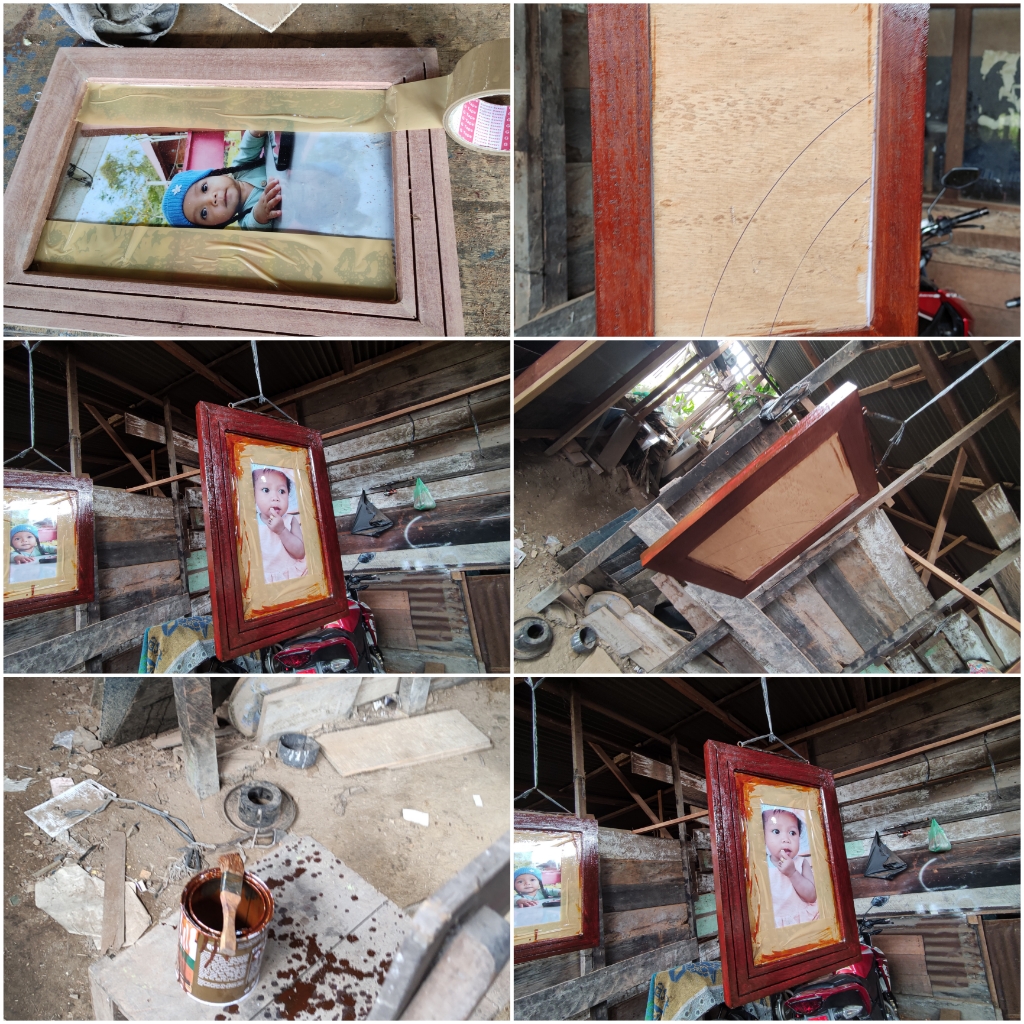
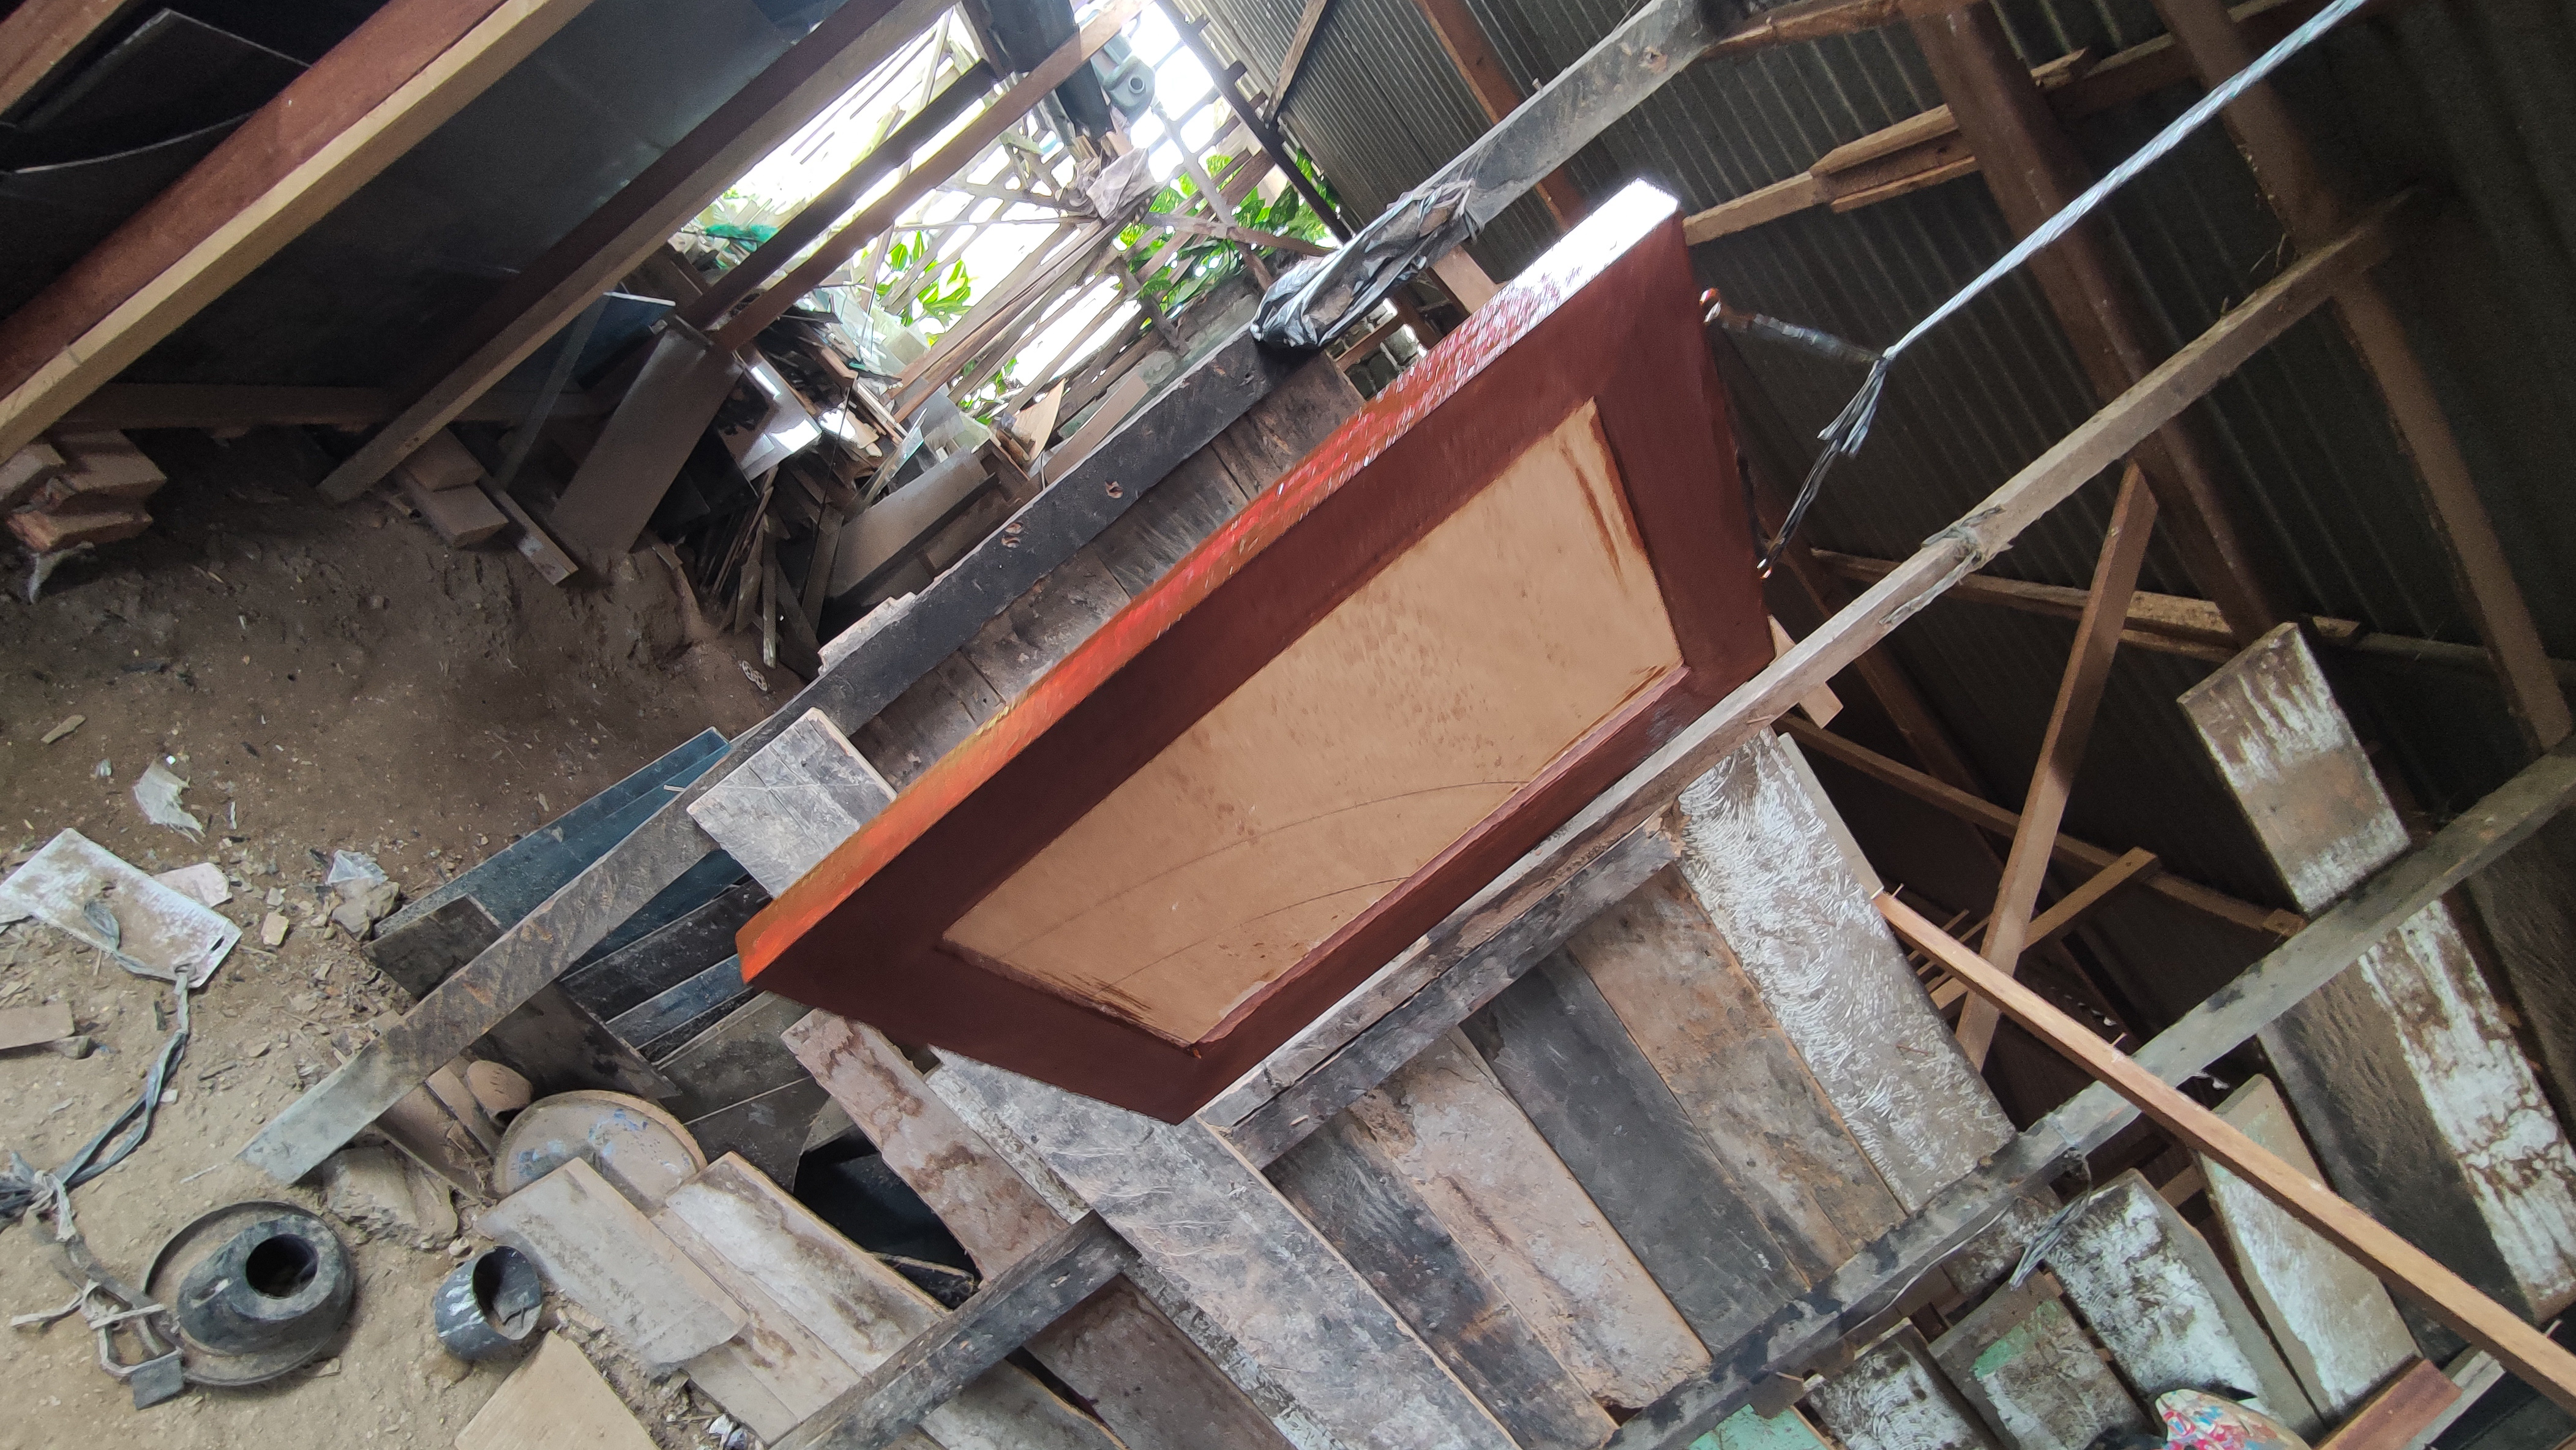
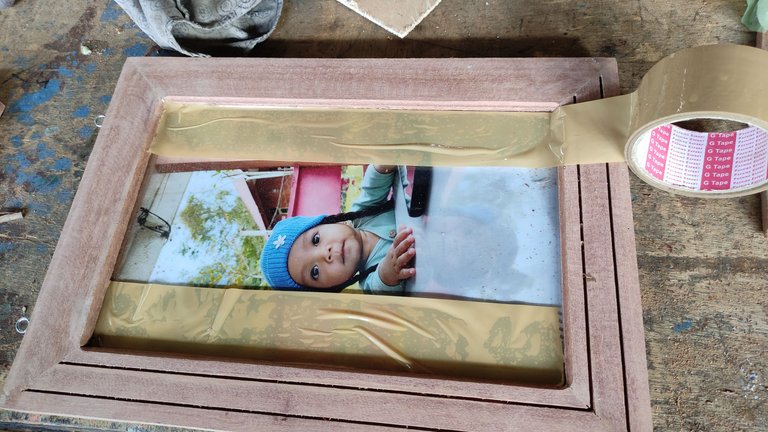
To protect the glass from drops of paint, around the front of the glass, I put duct tape and on the back of the frame I put multiplepk and then I also put a frame hanger on the top of the frame and during the painting process I hung a photo frame to make the painting process easier and this is what the whole process looks like.
And after all that process is complete this is how it looks like.
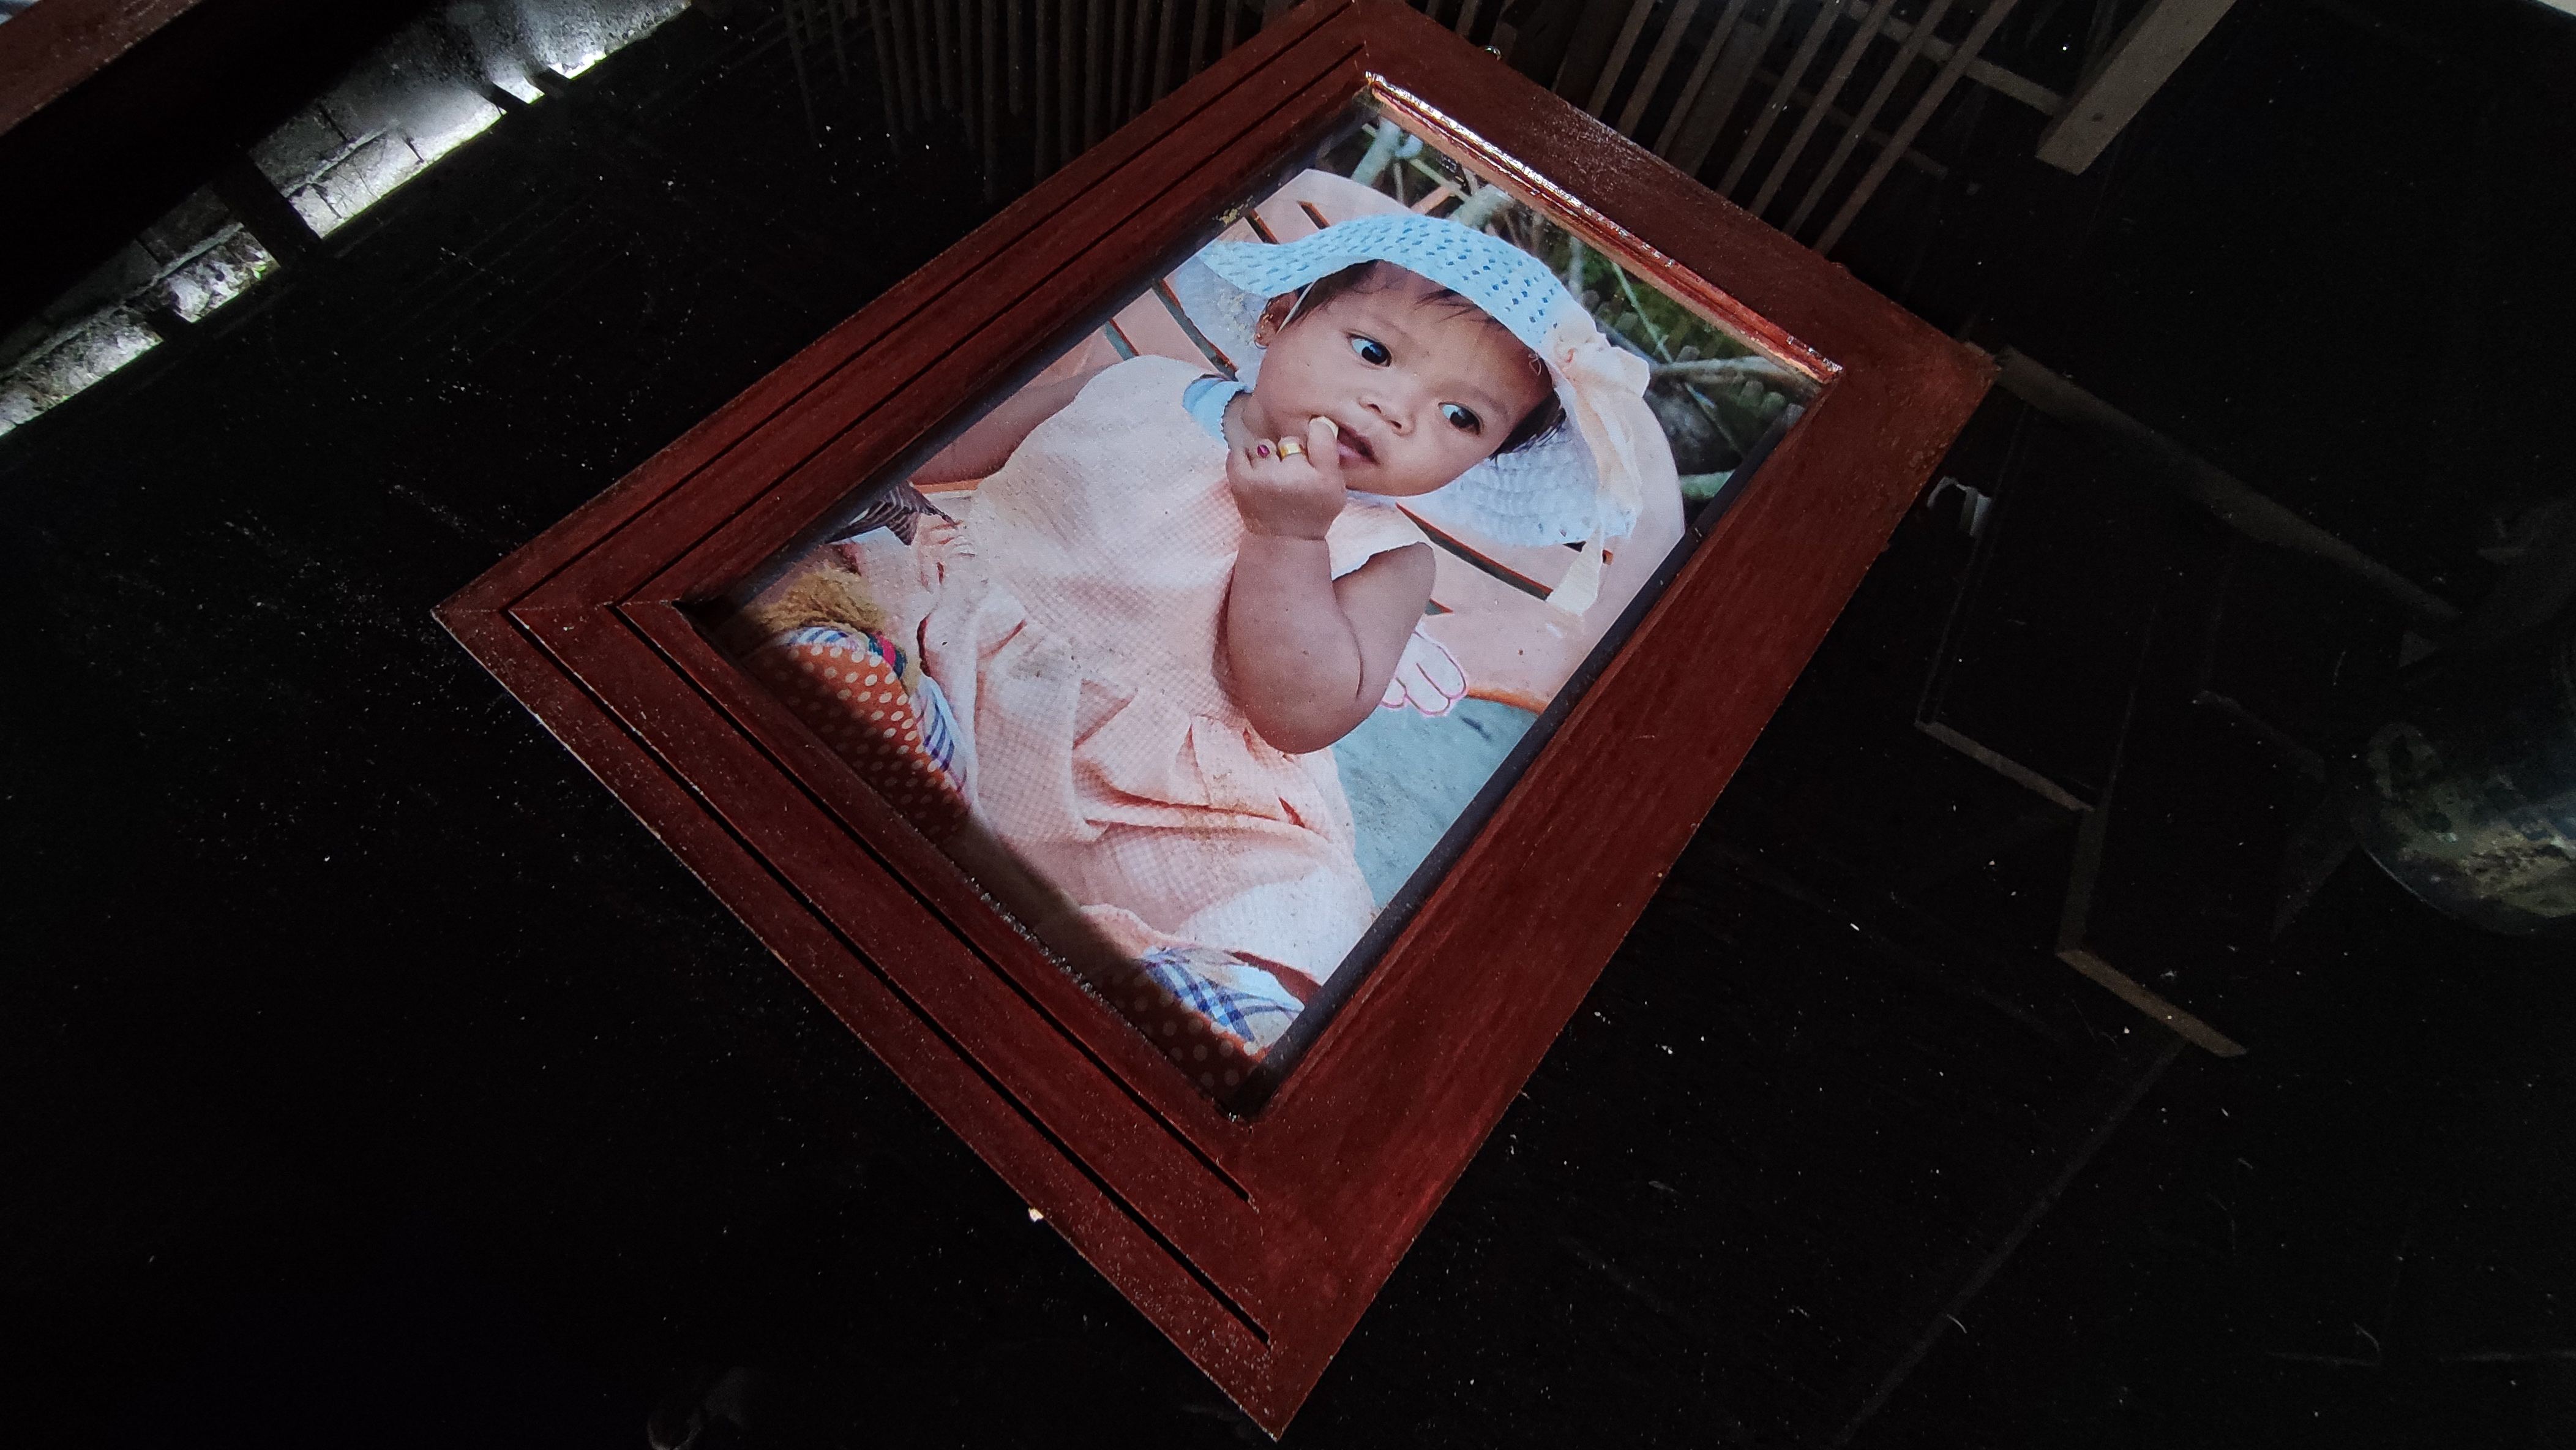
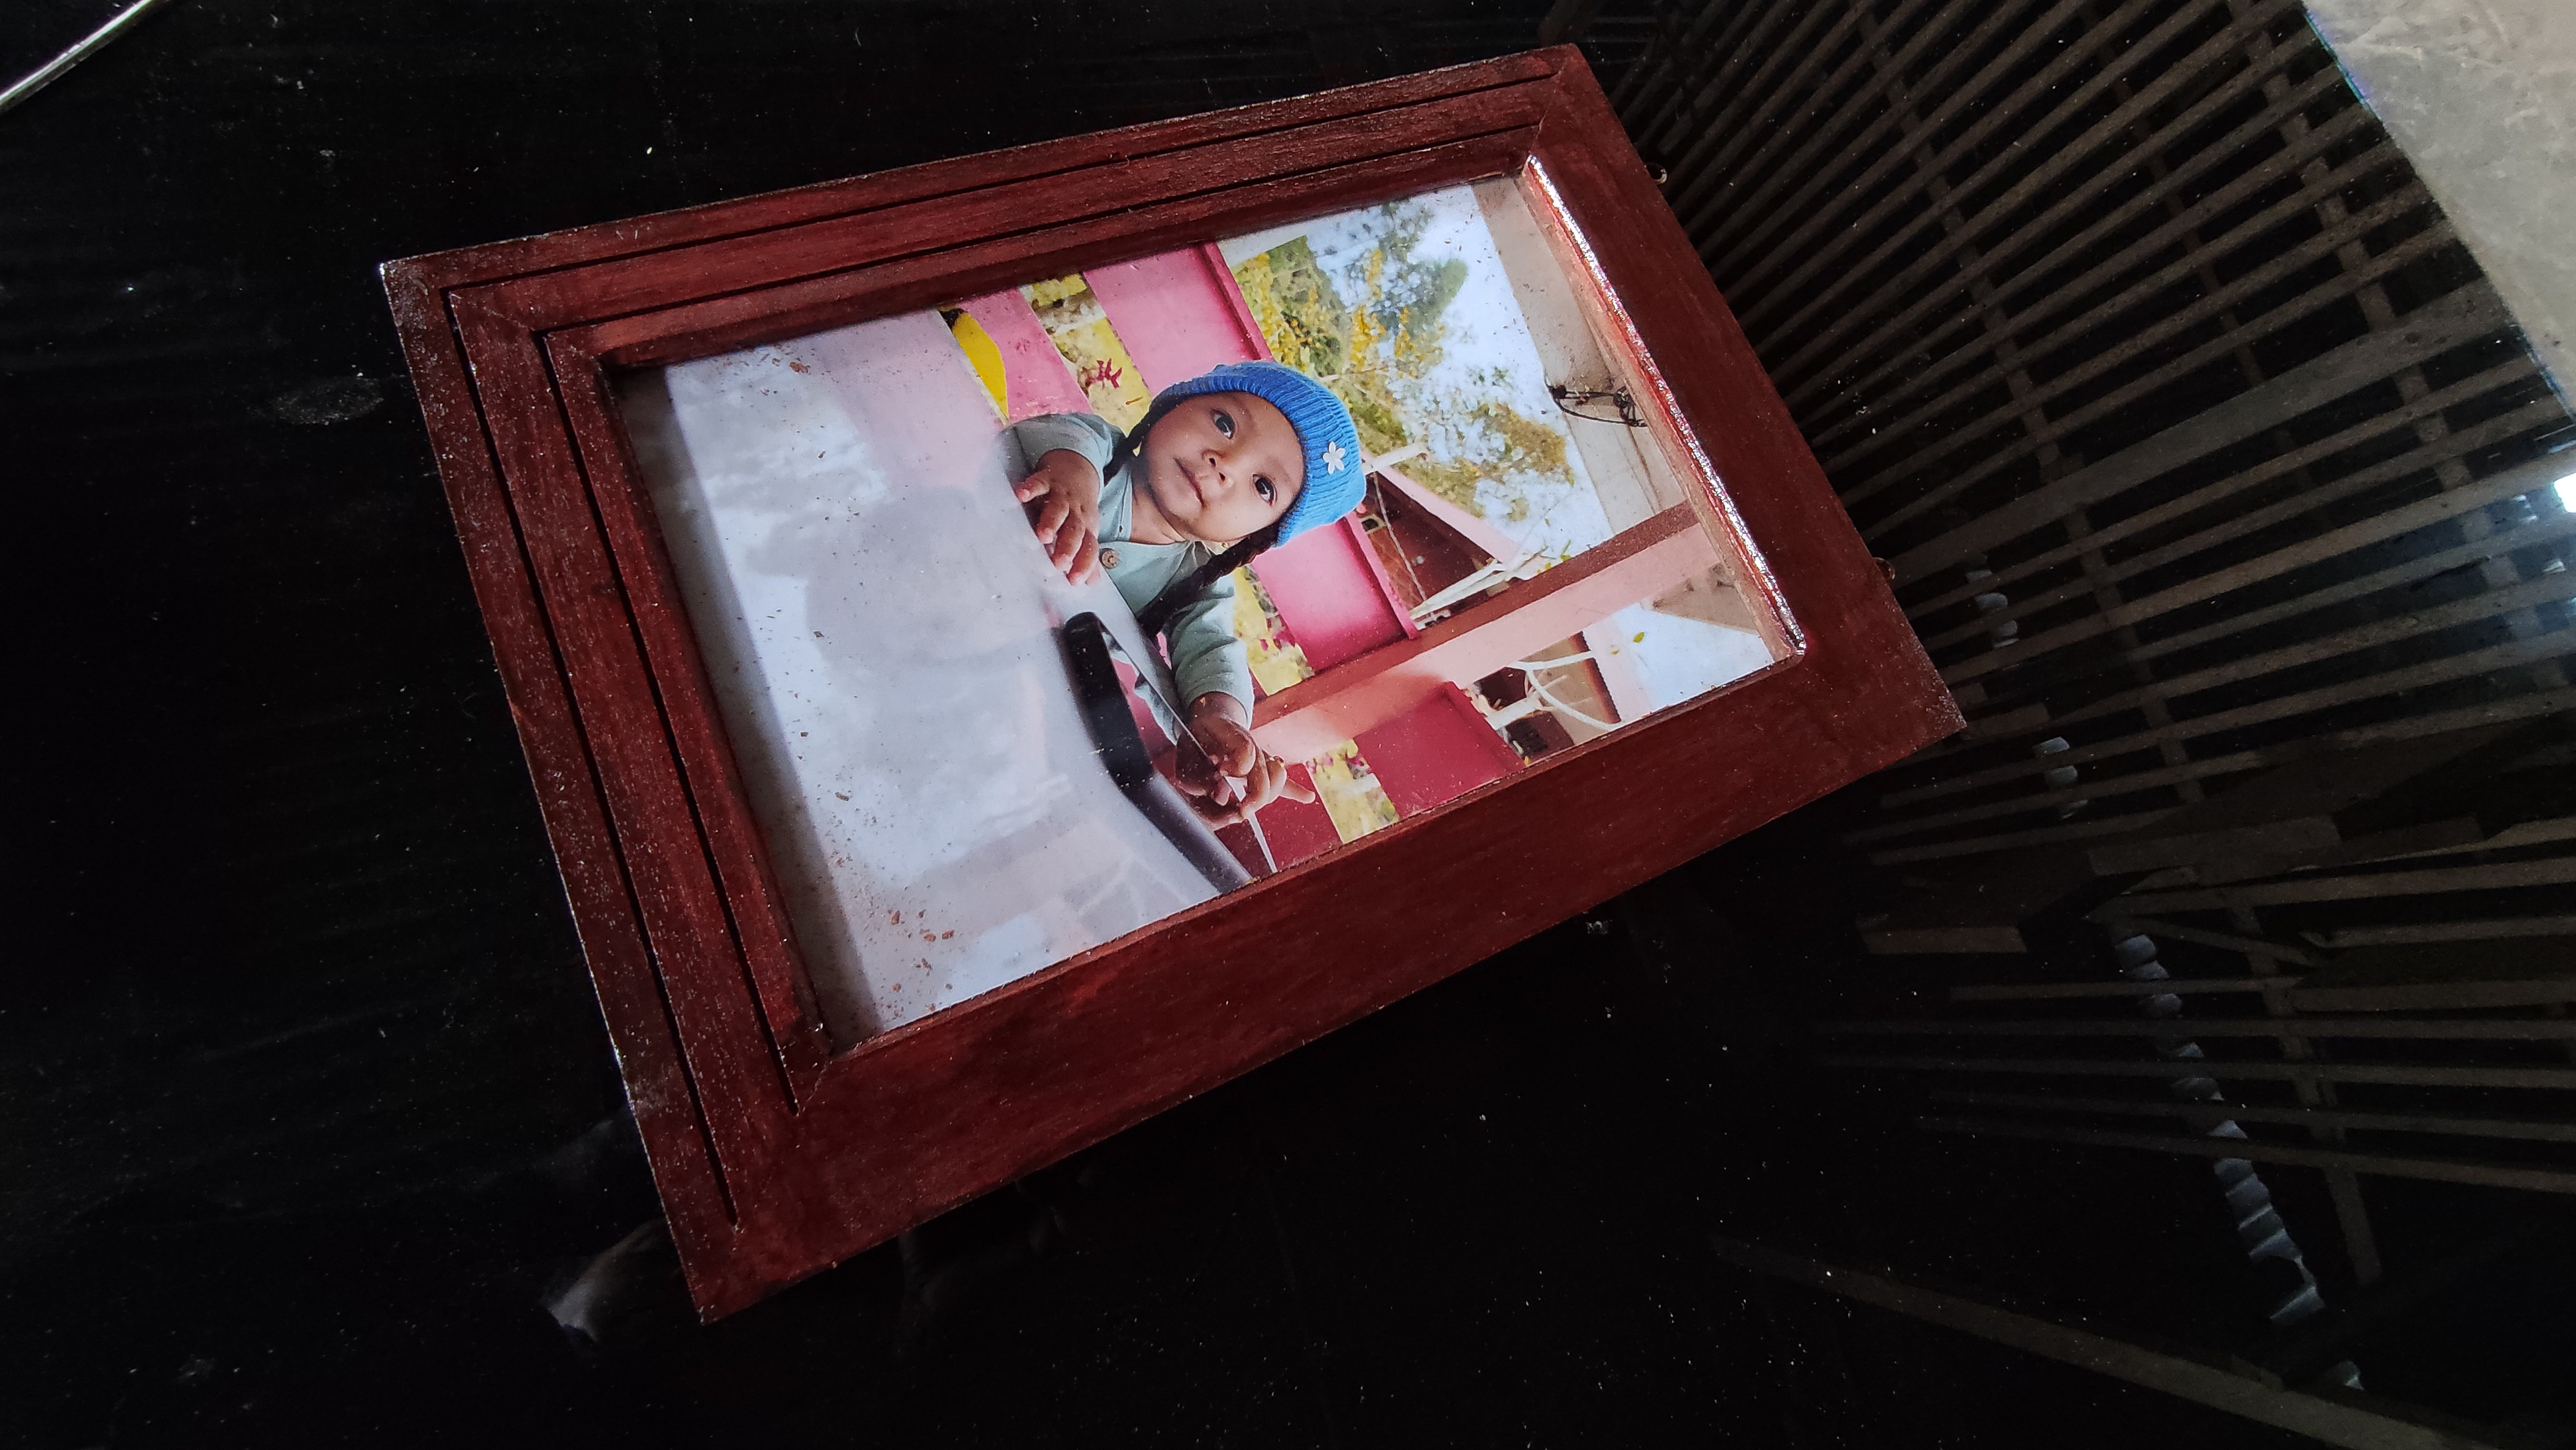
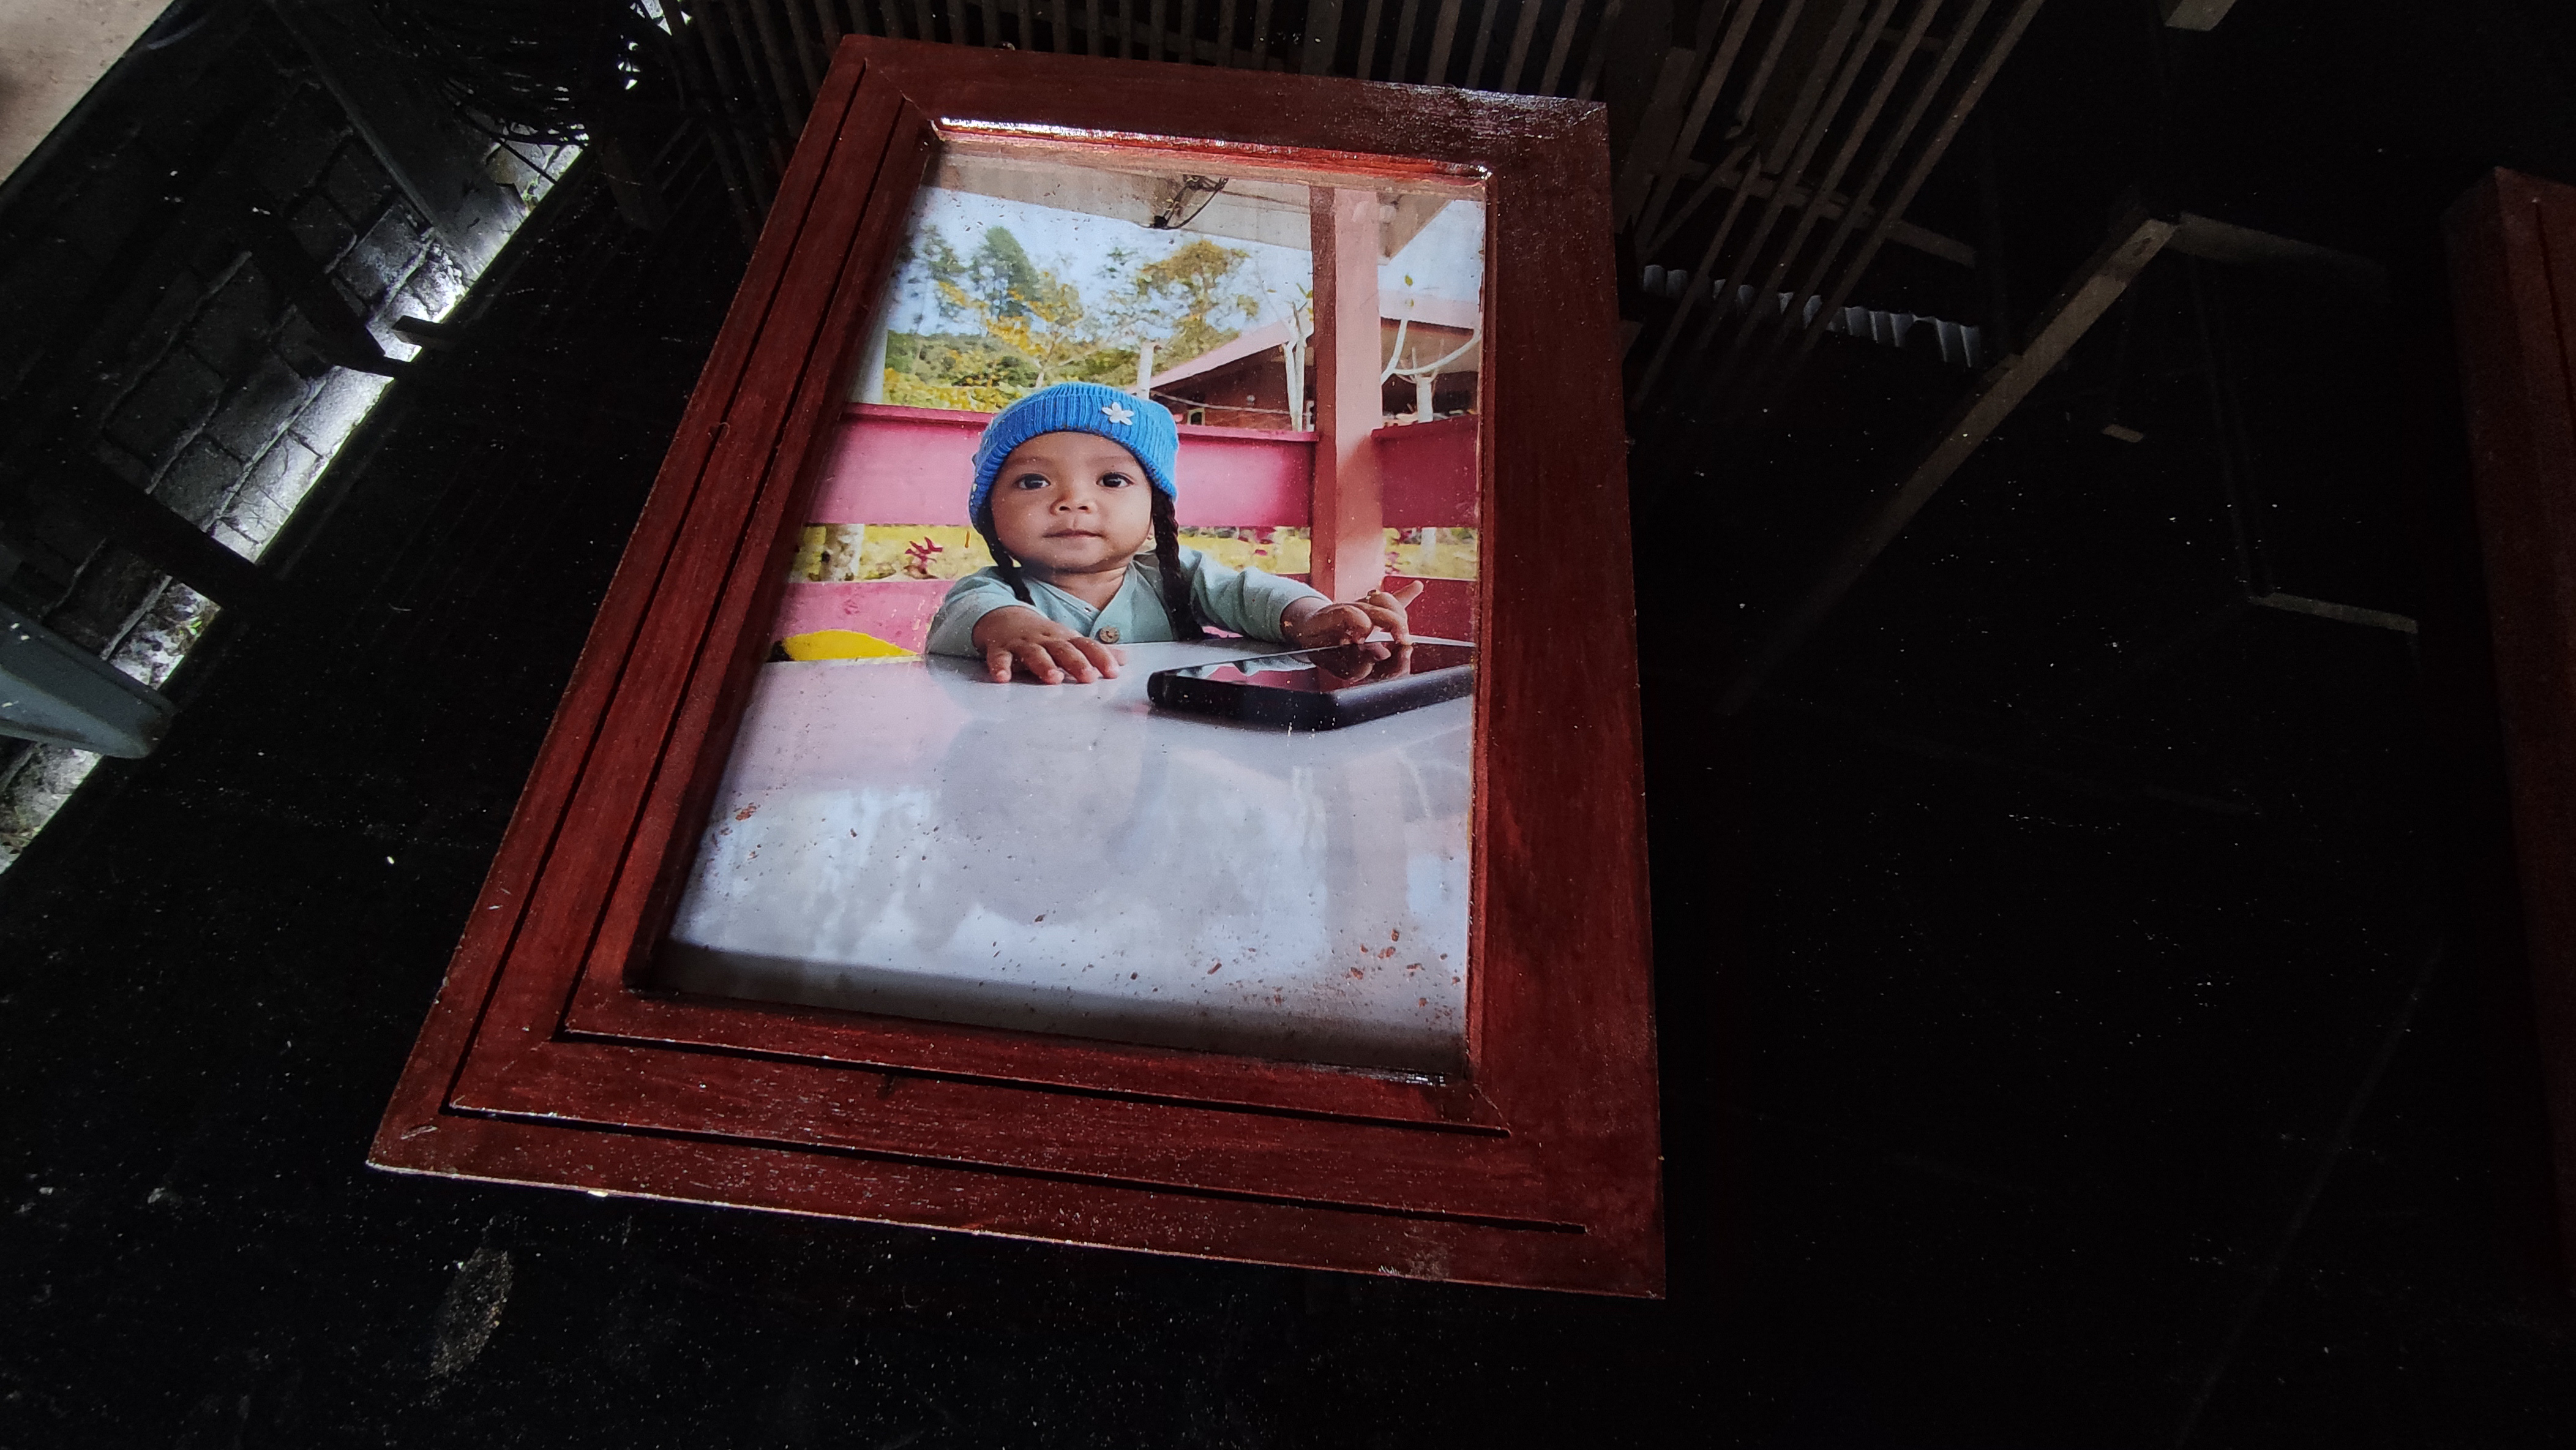
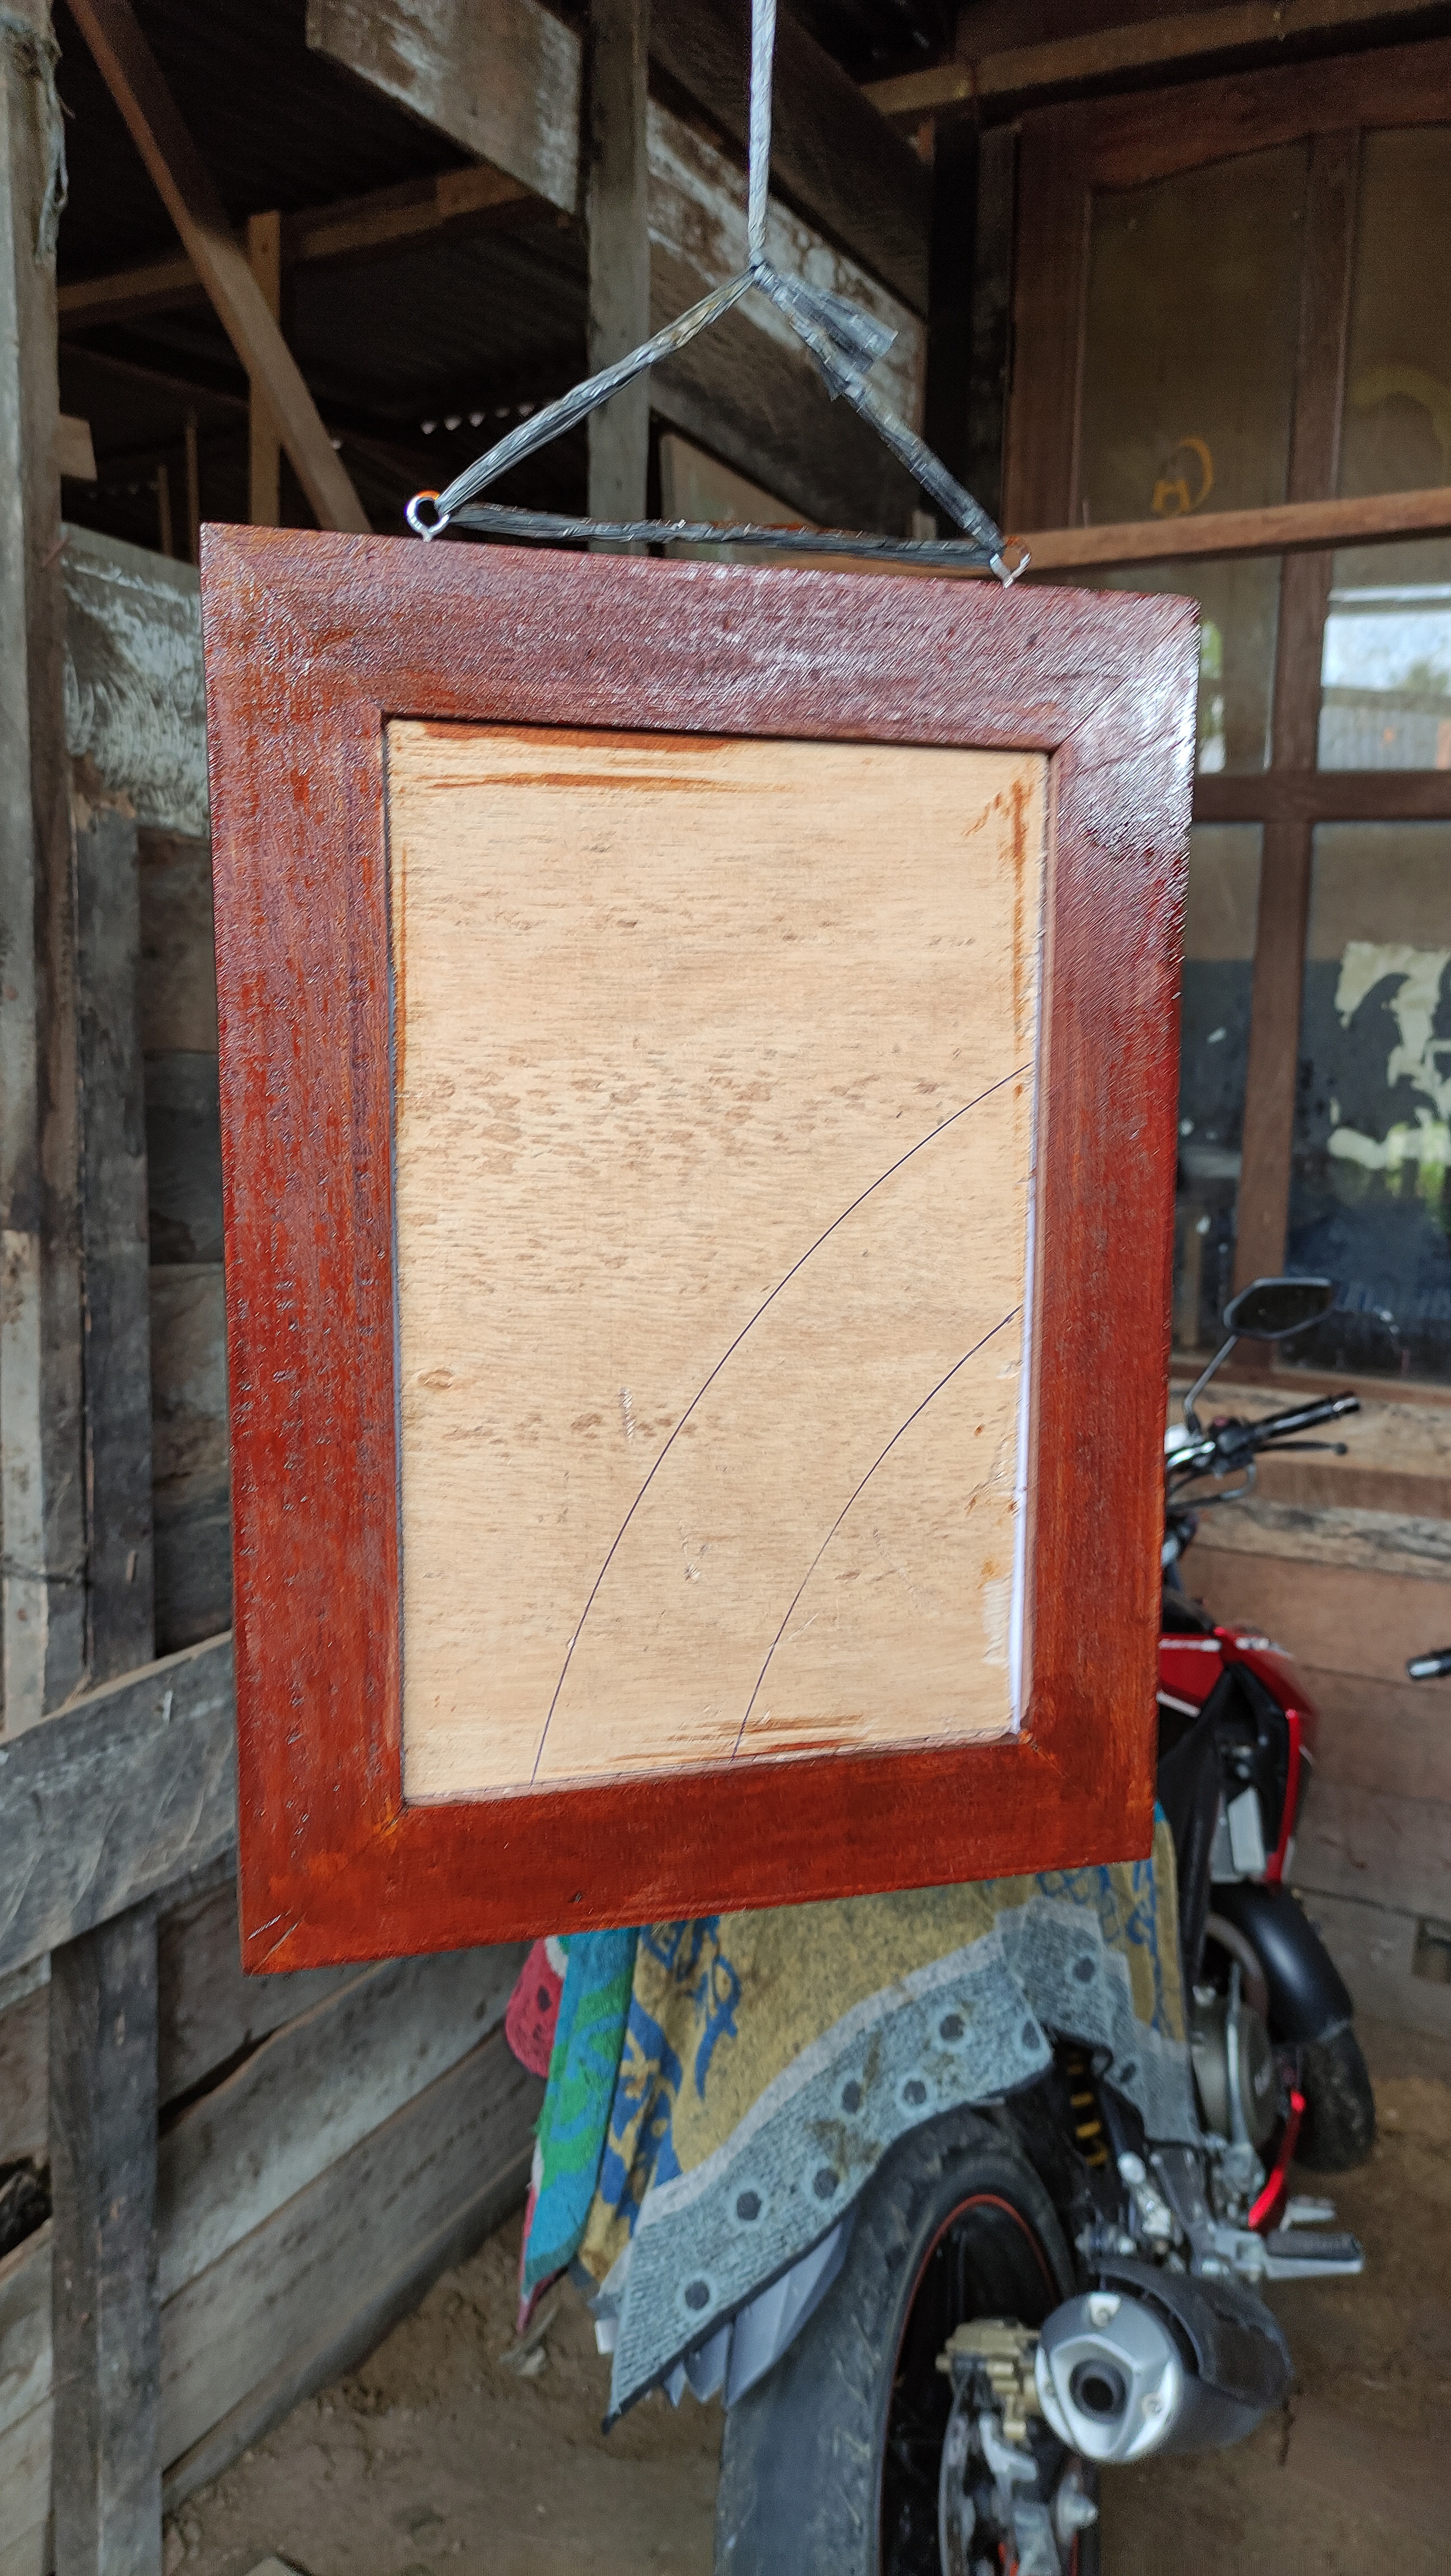
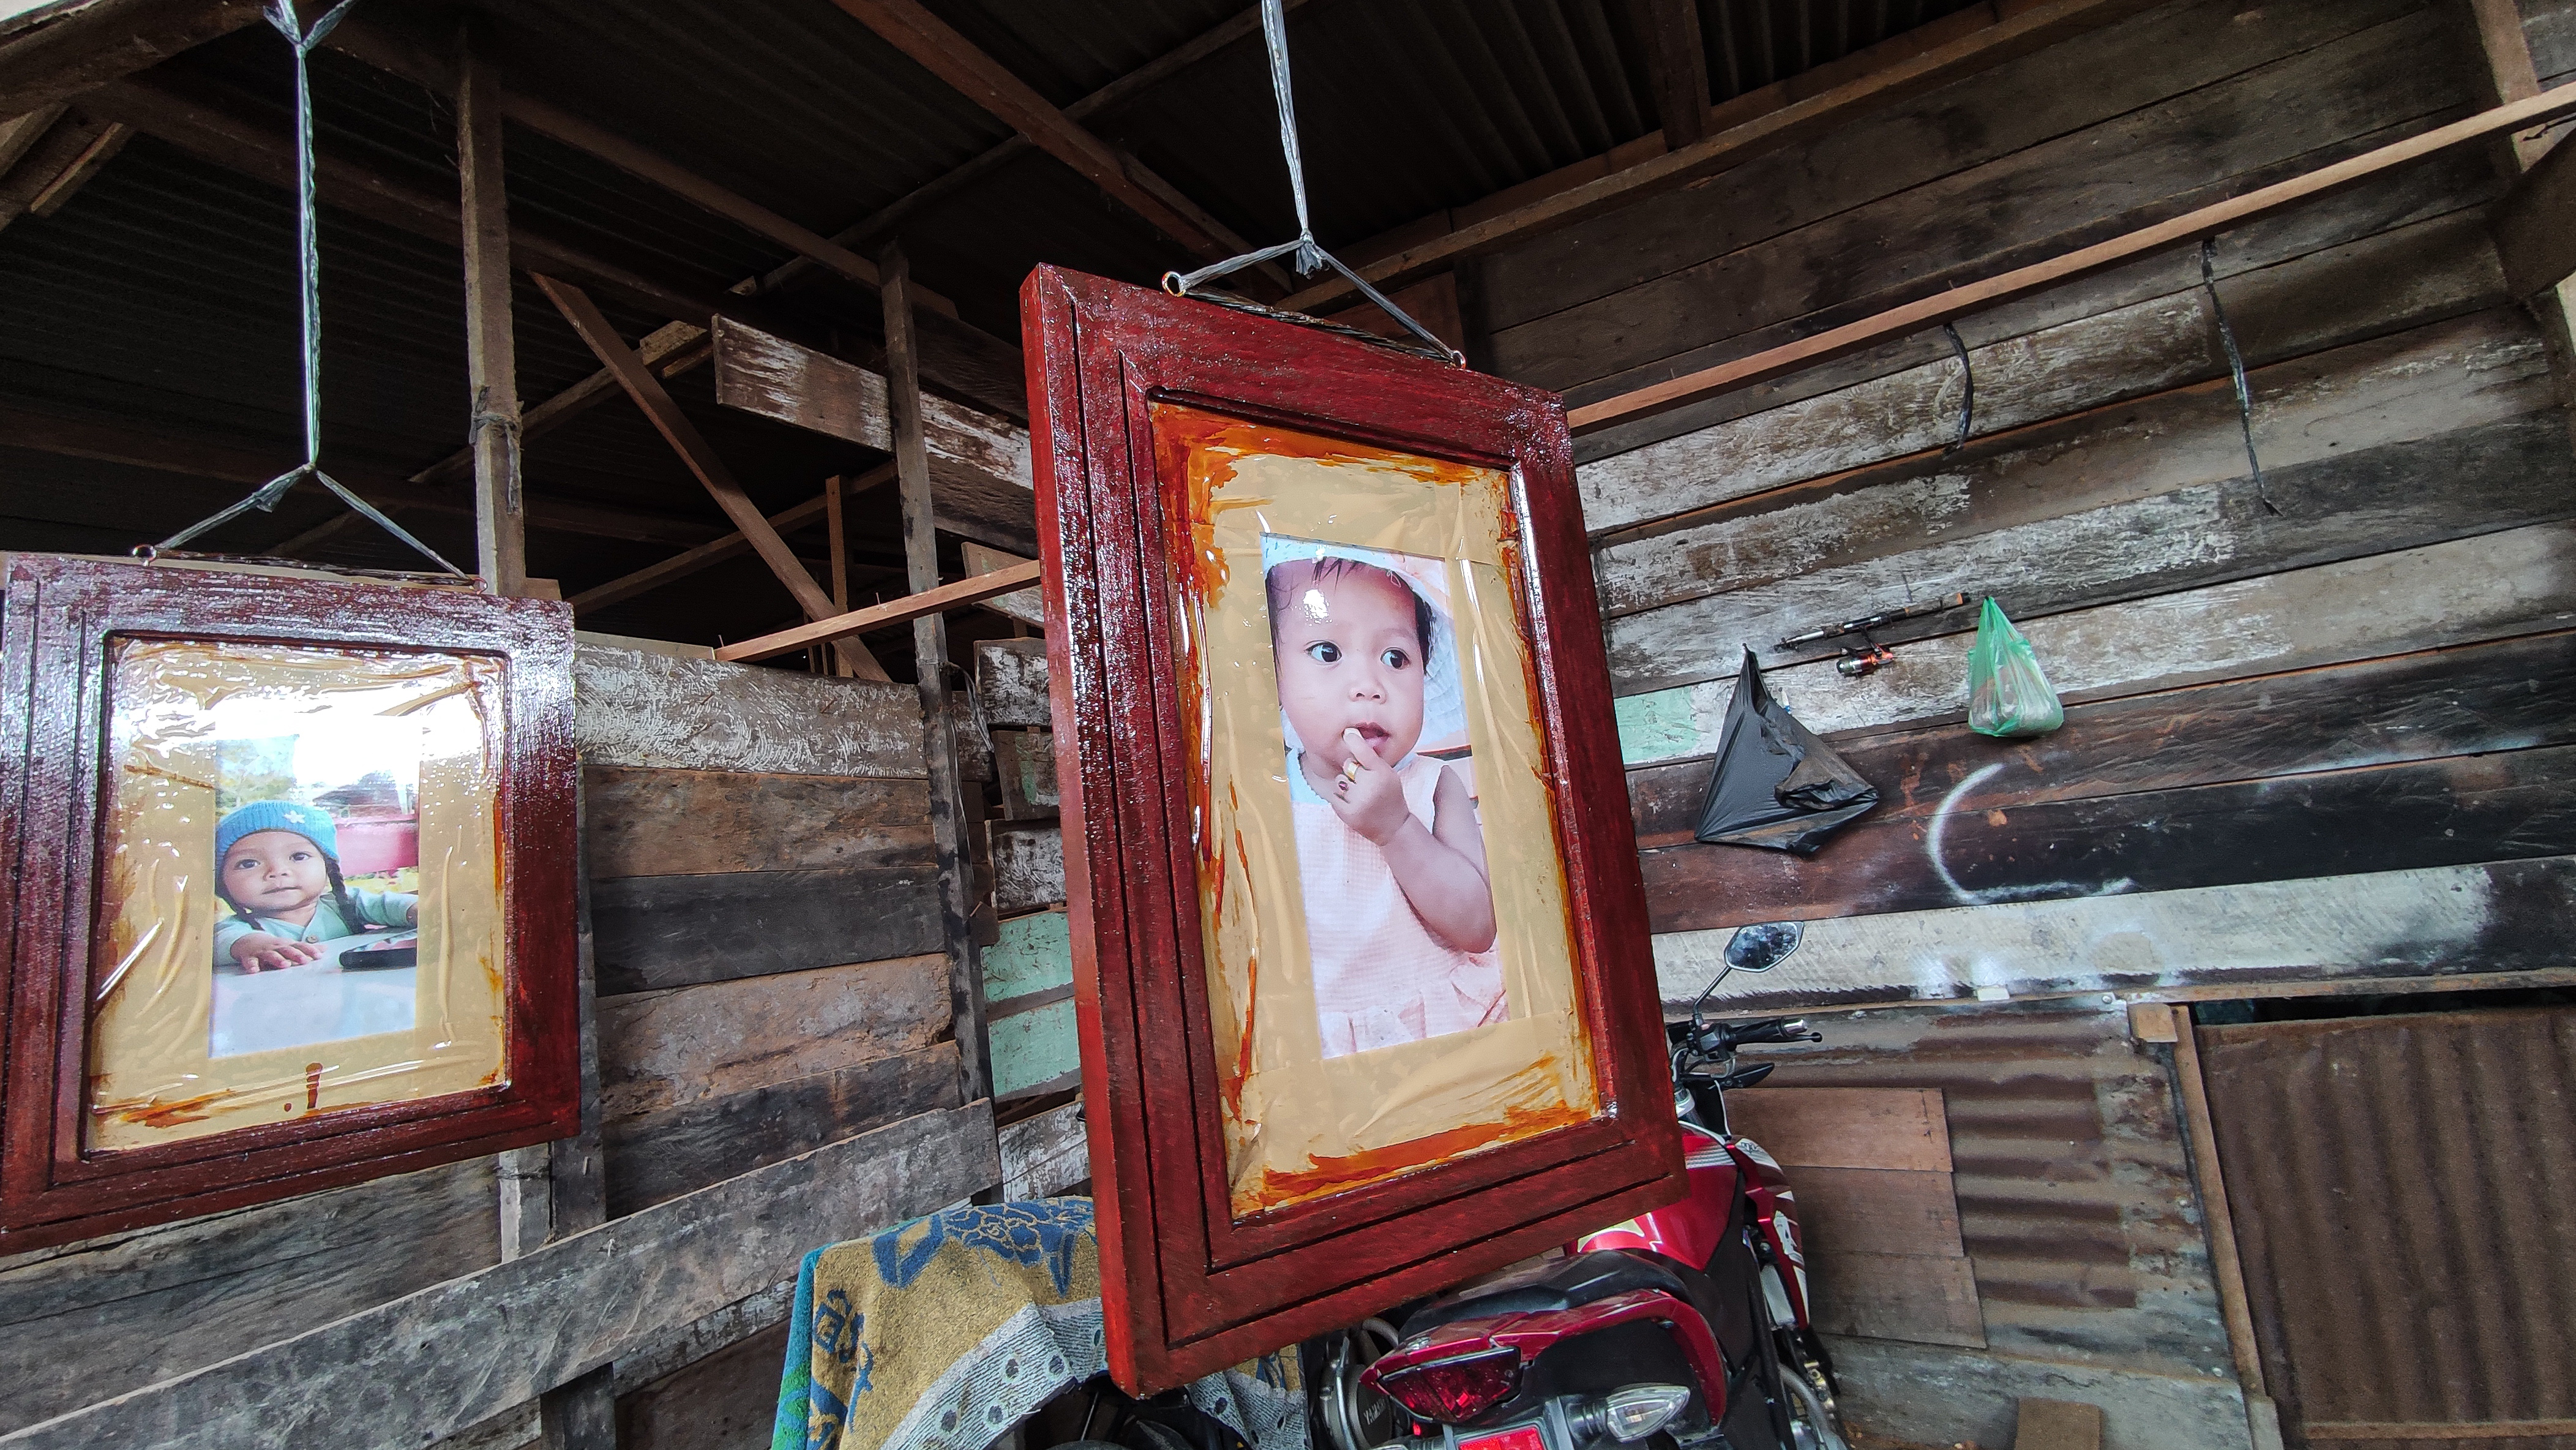
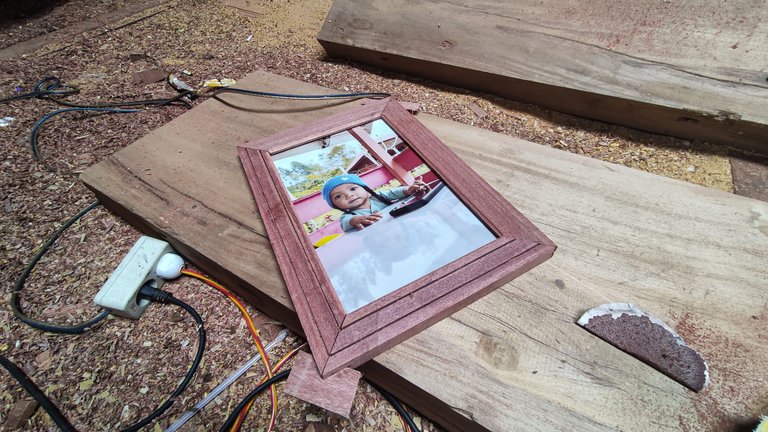
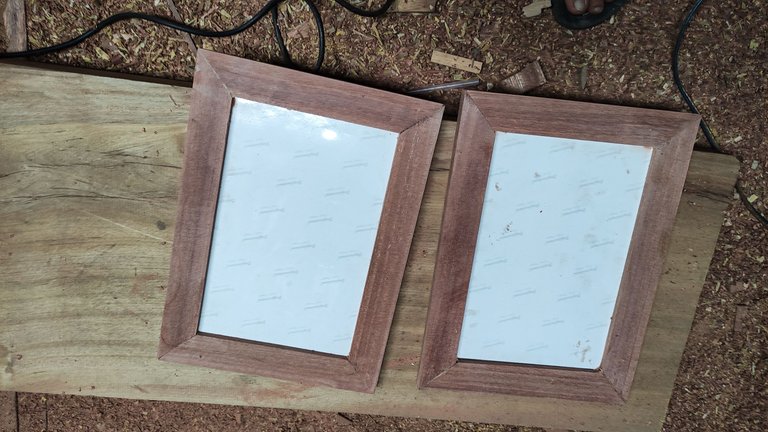
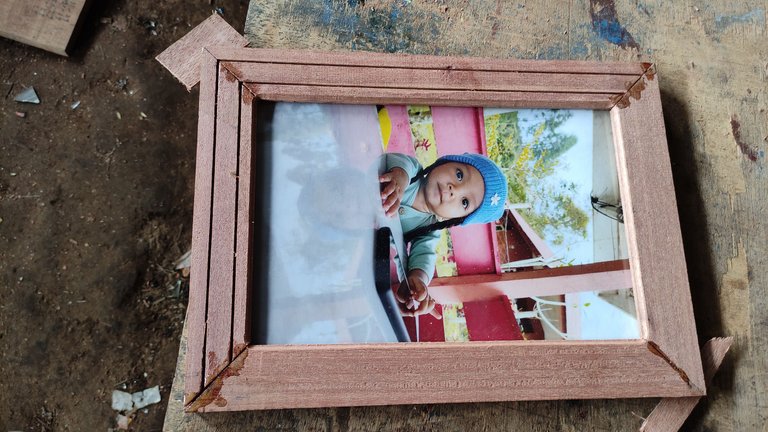
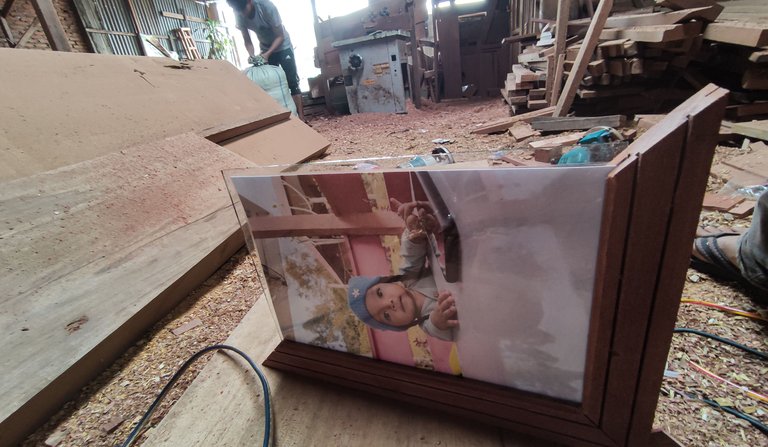
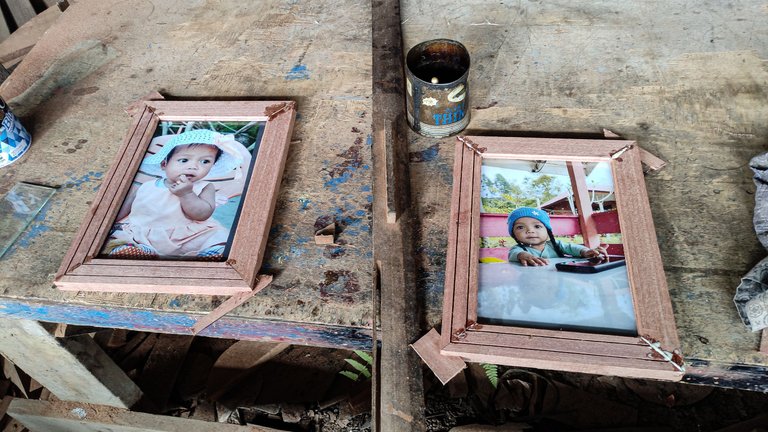
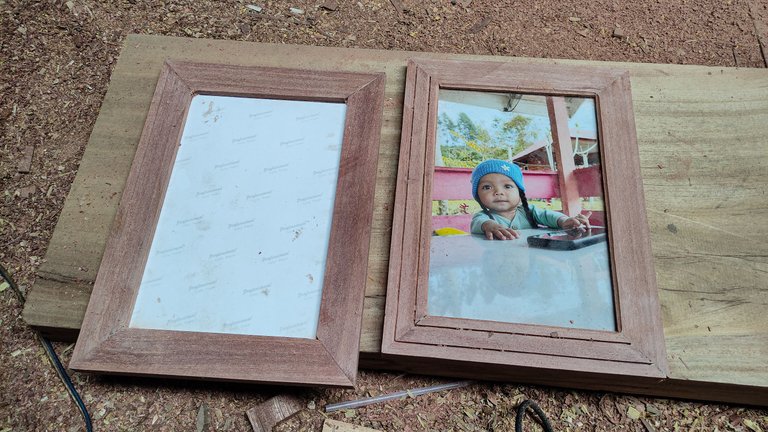
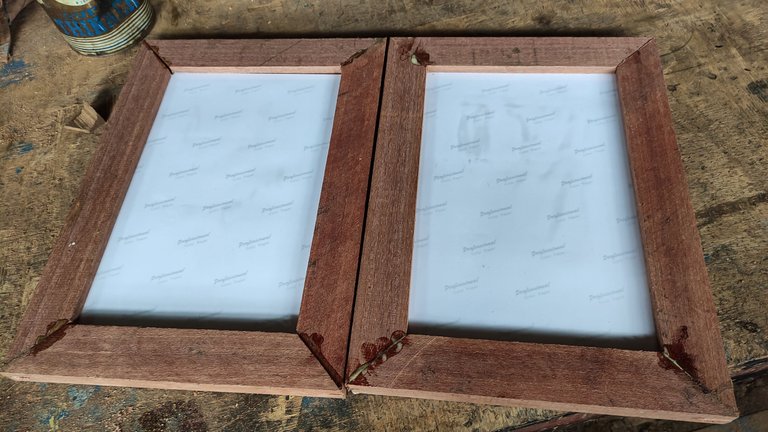

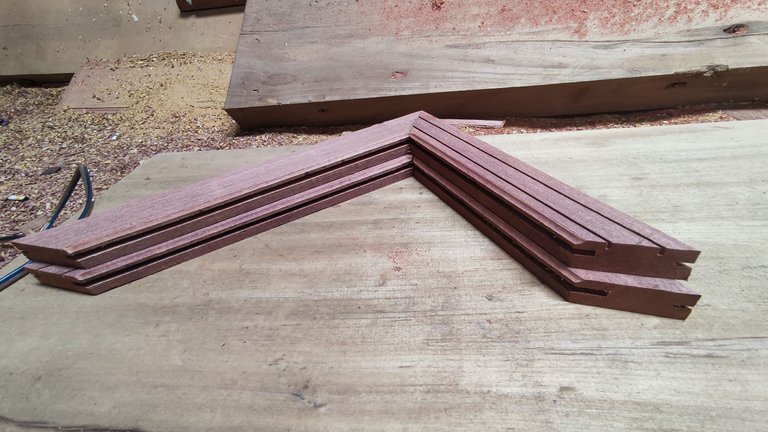
These are two architectural projects + express furniture design that my work furniture last week and I finished these two projects in one day for my own use at Arsyila's birthday at age 1 year.
In the past, when Arsyila was a few months old, I also made a bed for her, which I also published about the process of making it to completion and you can see it here.and you can see it Architectural design-Simple architectural design of my baby crib basket.
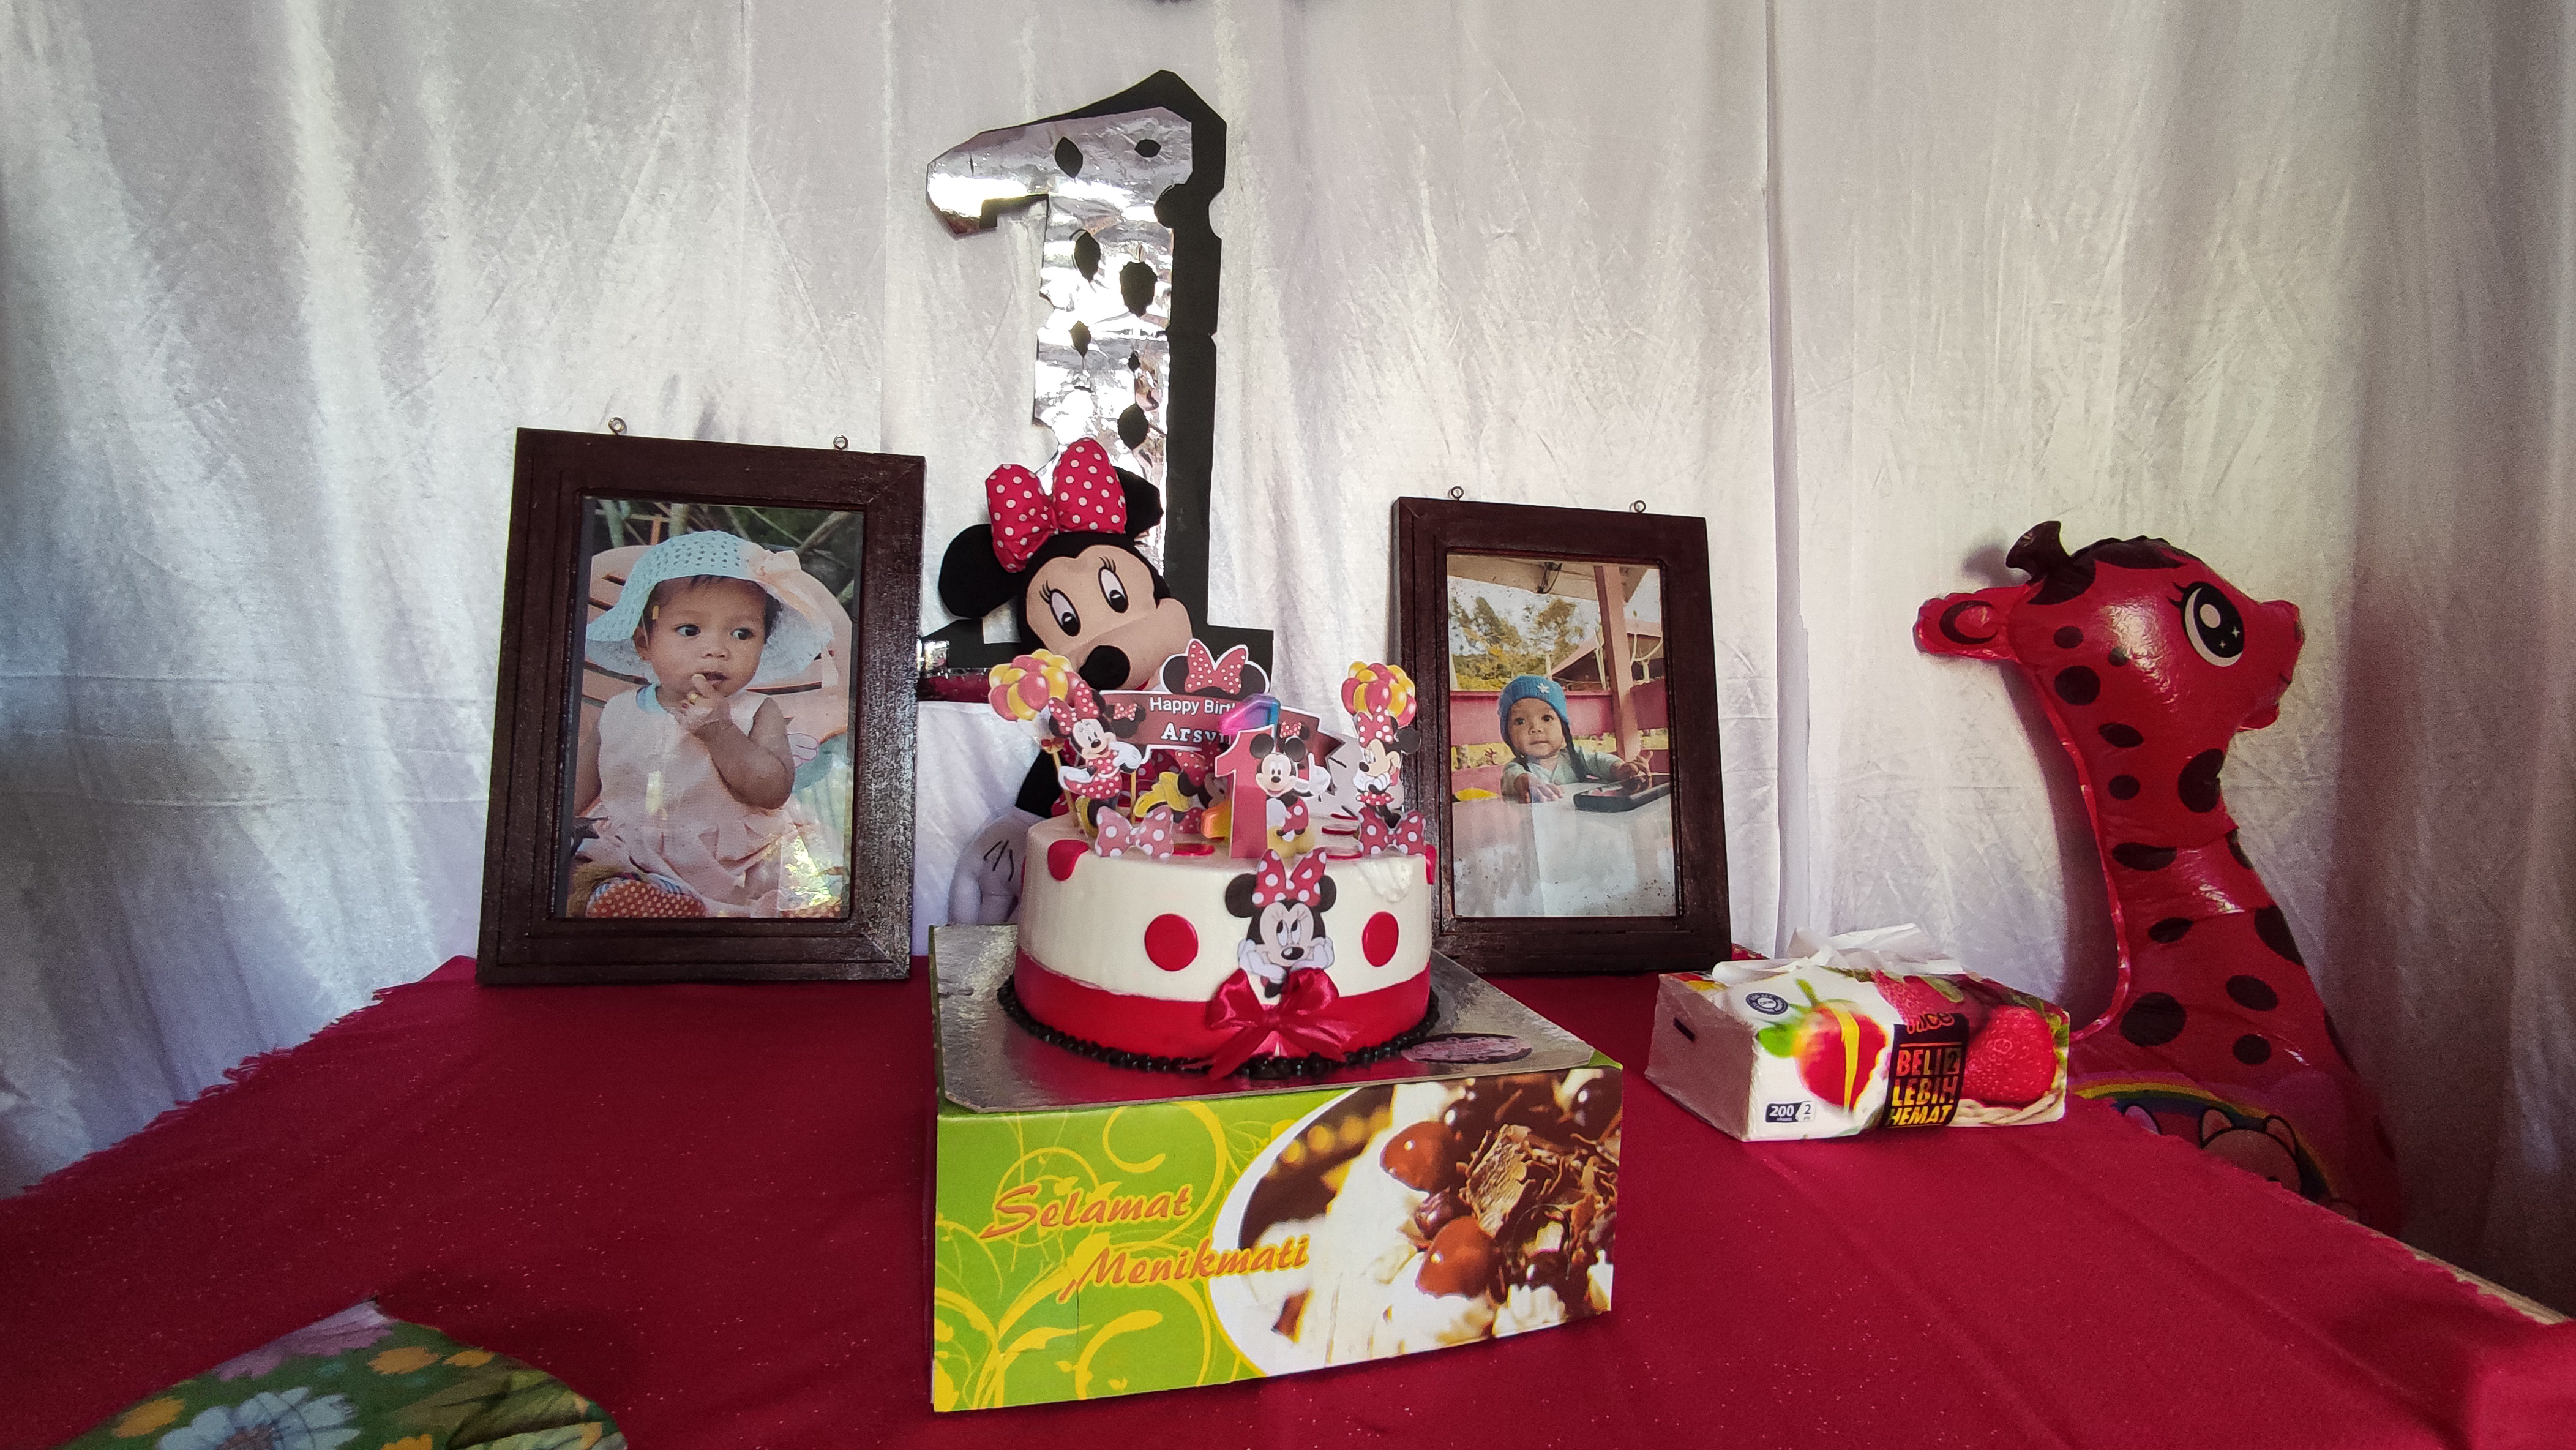
And in the two publications of the architectural+design project this week, for the mini table project, I didn't have time to finish the painting because the time was so short and for 2 units of this frame project I worked on it until the painting process was finished with the express process and this is what the table looks like and the layout of two photo frames on the birthday of Arsyila, my youngest daughter, who is even 1 year old.


1.Architectural design- simple cafe bar table
2.Architectural design - Wooden tray with natural wood color combination/utilization of wood waste
3.Architectural design - Flower vases / utilization of wood waste.
4.Architectural design-Simple architectural design of my baby crib basket.
5.Architectural design-Table simple the combination of natural wood colors and classic table tops
6.Architectural design- Shophouse frame jalousie
7.simple-minimalist-mini-wall-shelf-architectural-design-to-decorate-your-home-room
8.architectural-design-of-the-ventilation-jalousie - part 1
9.architectural-design-of-windows-house -part 1
10.interior-design-architecture-simple-makeup-mirror-frame.
11.architectural-design-simple-minimalist-wooden-window -part 2
12.architectural-design-window-designs-that-are-in-great-demand-by-local-residents

The rewards earned on this comment will go directly to the person sharing the post on Twitter as long as they are registered with @poshtoken. Sign up at https://hiveposh.com.
Hello @deltasteem. How are you? An interesting order indeed to welcome the new month of April! I'm particularly interested in the Japanese Oshin Table you've fabricated. With its foldable legs, it's surely easy to store it essentially anywhere. Certainly, a well-thought space-saving feature. Thank you for showcasing this awesome woodworking project! 😊
hello also @storiesoferne ,,I'm fine here☺ and
how are you here?
hehe maybe if it's not too far away, I will give you 1 oshin table and I think in the future I will try to make an oshin table with a classic design.,
Oh wow! I would definitely love a Japanese Oshin Table as a gift! Now, this would be one of the reasons why I'll be traveling to Indonesia then. 🤣 I look forward to the traditional version of this table in your future posts. All the best! 😊
😊amazing,, I will try to produce it in the future, what if I produce an oshin table with a textured natural wood color combination with a classic design..☺
Such a great project @deltasteem 😎 thanks for sharing!
thanks @littlebee4 and You are welcome, friend :)
You are welcome @deltasteem 😊
Have a wonderful day! ☀️
Impressive craftsmanship as always, good afternoon to you my friend.
Good afternoon my friend and thank you for the warm words, friends :)
You're welcome (^_^)
Congratulations @deltasteem! We're delighted to specially curate your awesome publication and award it RUNNER-UP in Architecture Brew #62. More power!
Thank you for subscribing to Architecture+Design, an OCD incubated community on the Hive blockchain.