Previous Designs: 3D Modelling
Hive Logo | Build-it Community Logo | Gems Community Logo | Natural Medicine Community Logo | Gears | Rubik's Cube | Chain and Lock | Fan Blade | Nut | Bolt and Nut | Soccer Ball | Rhombic Triacontahedron | Icosidodecahedron | Hive Inspired Rims | Hive Inspired Tires | Hivewatchers Logo | Lamp on Desk | Chess Pieces - Pawn | Chess Pieces - Rook | Chess Pieces - Horse | Chess Pieces - Bishop | Chess Pieces - Queen | Chess Pieces - King | Mjolnir | Vibranium Shield
Hello Hivers!
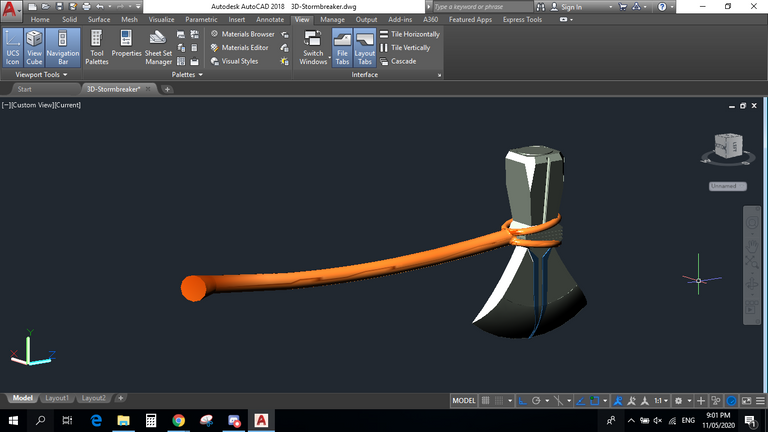
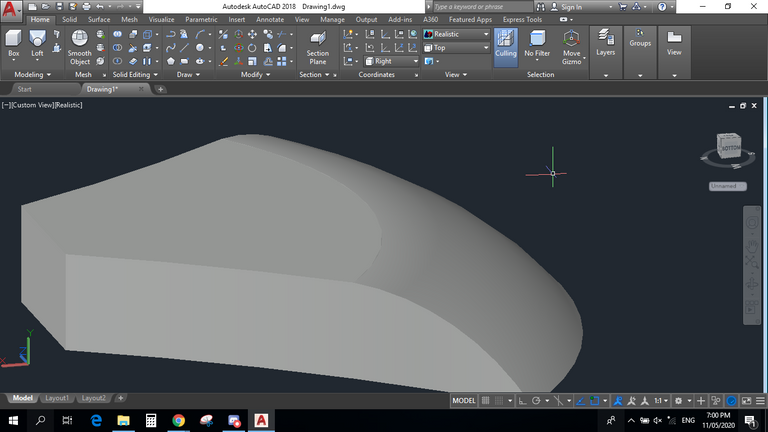
If you haven't seen the Mjolnir design I created last day, check it out on the links listed above. As I mentioned on that post, I said that I was going to share to you the Stormbreaker 3D design after the Mjolnir, and here it is!
This is probably the hardest design I did as I didnt find the best guide of the Stormbreaker or its close look image. I'm not that expert in autocad but I really try my best to produce this design similar to the original one. I did all the possible estimation of its sizes and shapes but I think, it didn't end pretty well. What do you think?
Let's take a look on what I did.
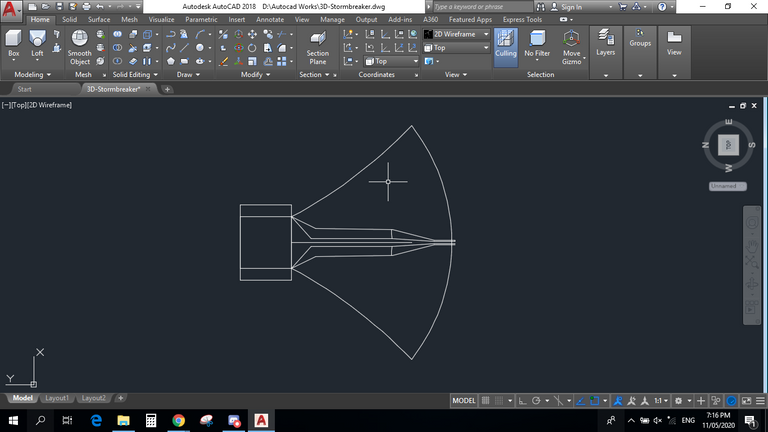
Process:
So for this design,I divided the figure into 7 parts. Yes 7 parts to complete this design. Like I said, I'm not really that expert in this but I always look for ease of designing and that includes into making parts to complete the main output.
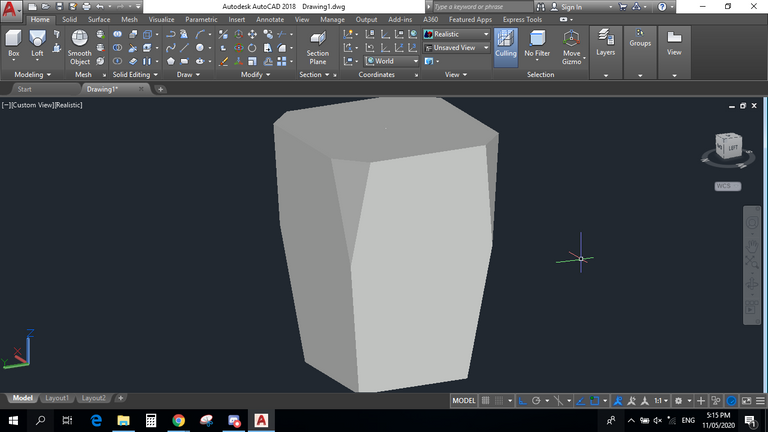
First part is the head of the figure and this is the top view.
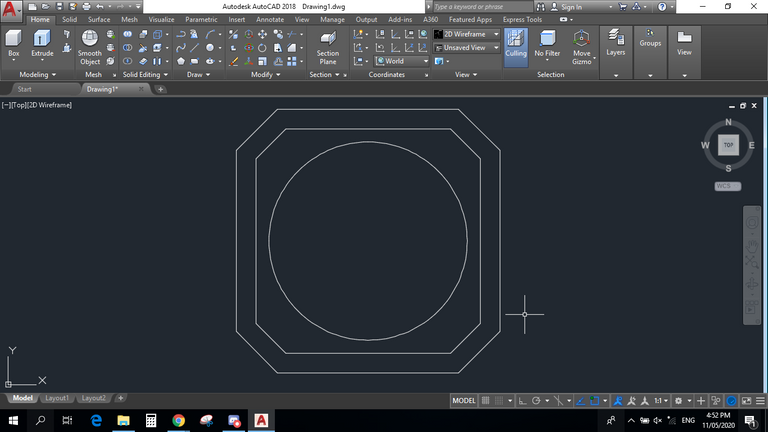
The details are easy to produce. Apply lofting and extrusion of the circle.
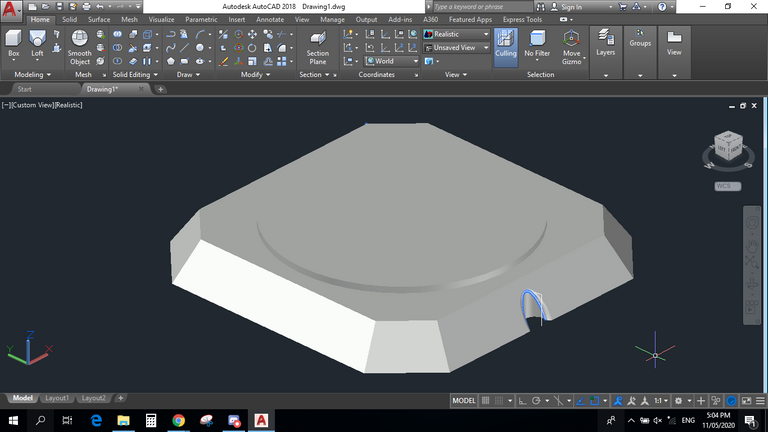
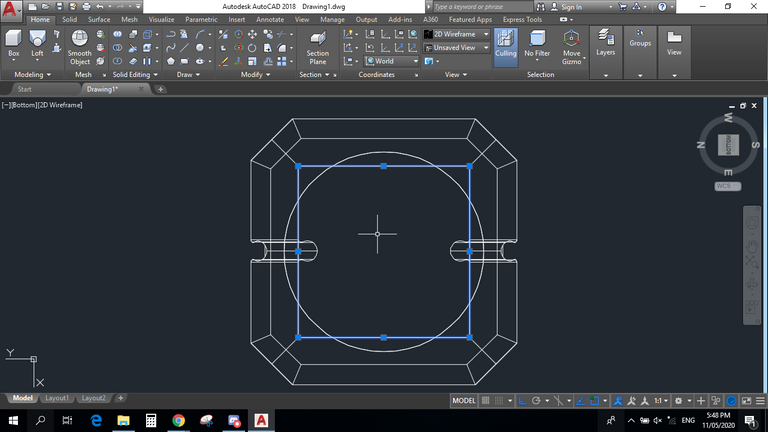
Next is part is the bigger body near the head.

Simply, extrude the formed shape and apply taper tool on its four faces on the lateral side.

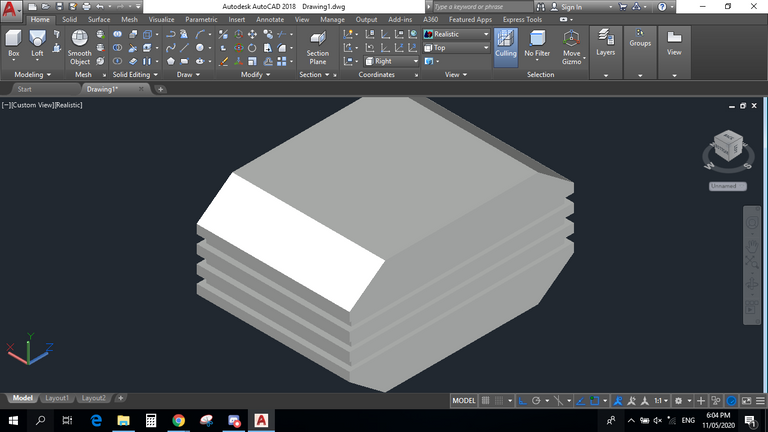
It should be like this.
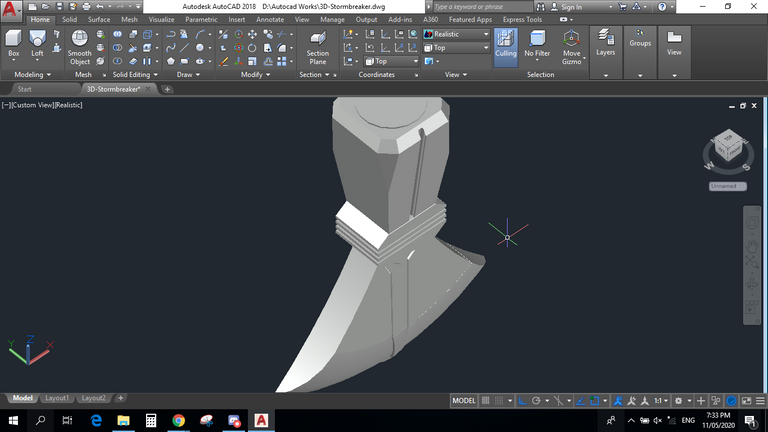
Connect the first figure and second one. Design the additional details needed.

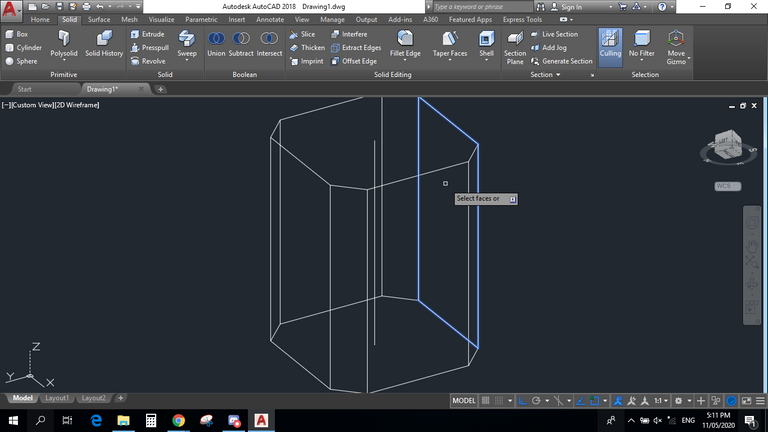
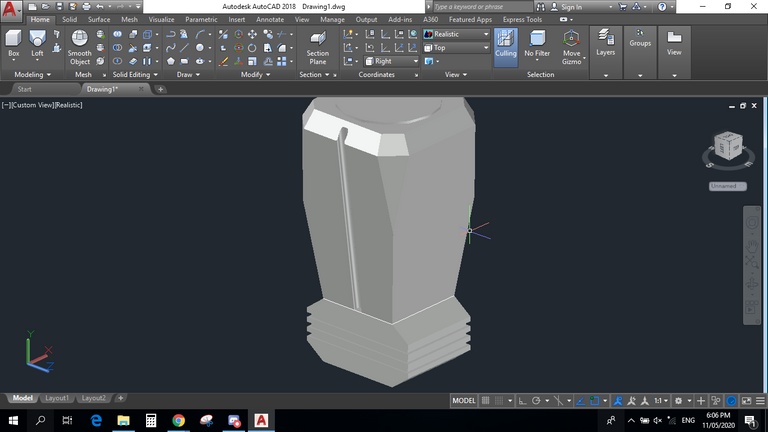
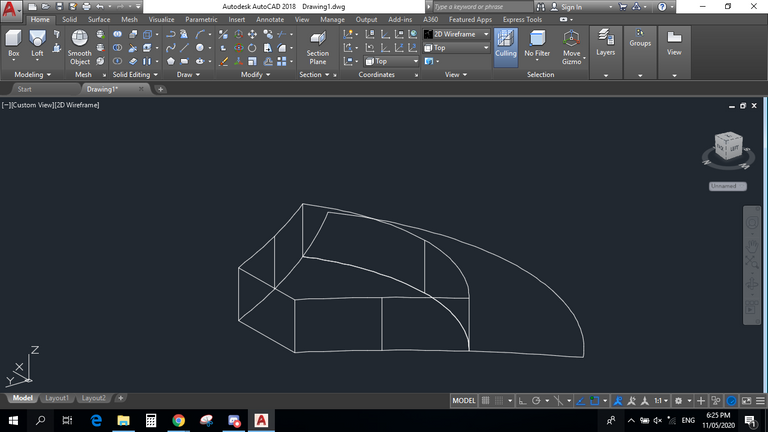
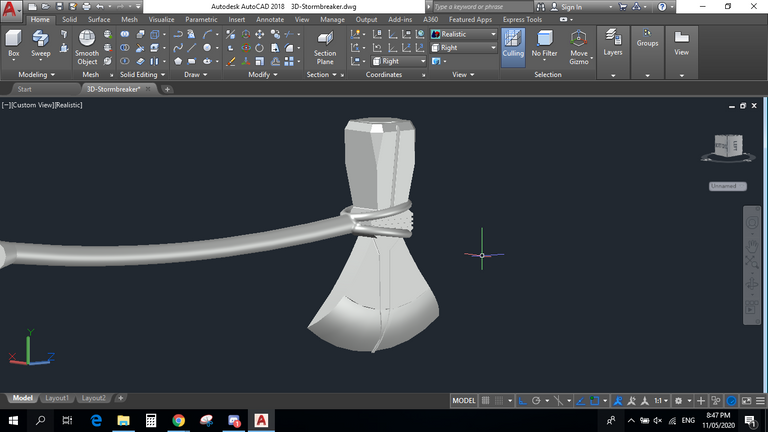
Next is the middle body, connecting the head and sharp edge. Get the measurement of the tapered bigger body as the reference.
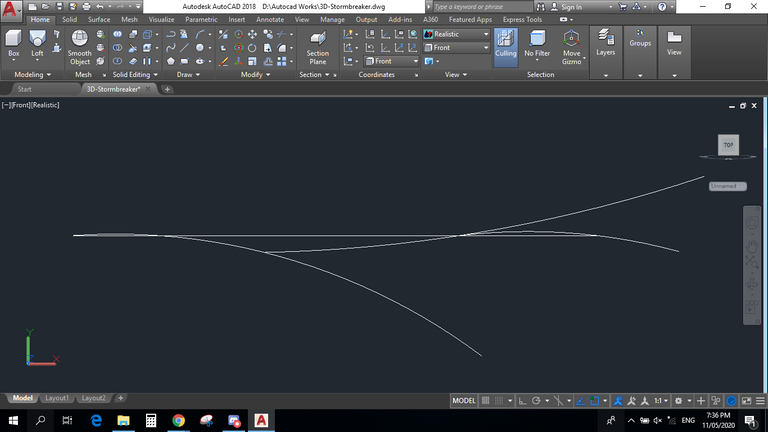
I just made my own design for this figure. The image I made as a guide is not clear to observe the shape and orientation of the figure.
Connect it to the main figure.
Next is making the sharp edge of the Stormbreaker.
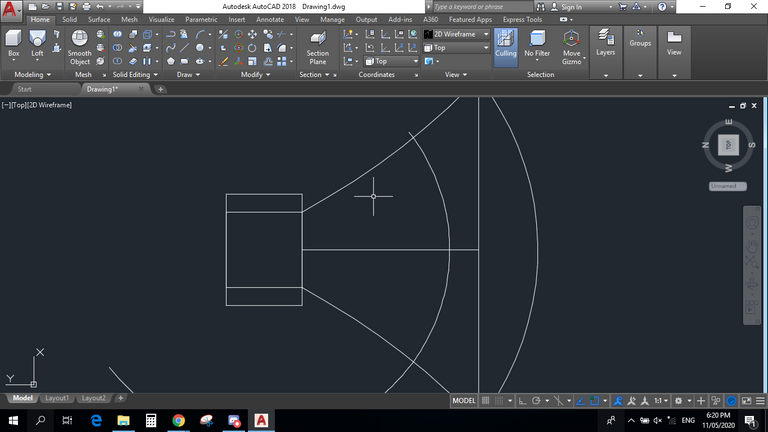
I created two parts for this
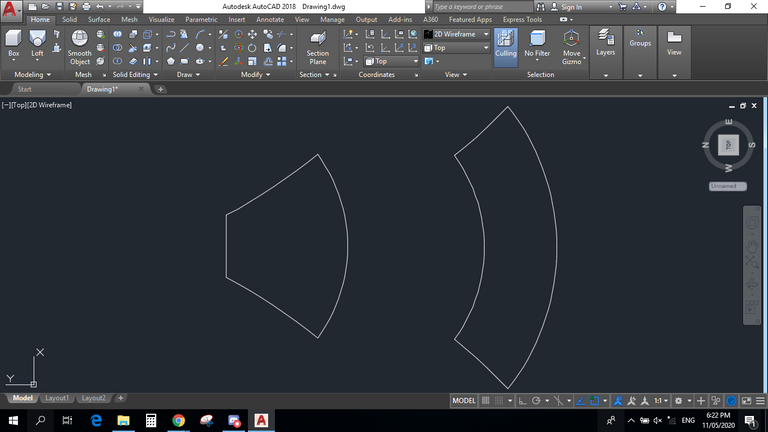
I extruded the first part then on the second part, I made a 3D plane having the same shape of a sharp edge axe and applied sweep tool.
Choose the outer line as the path of sweeping.
The resulting image will be like this.
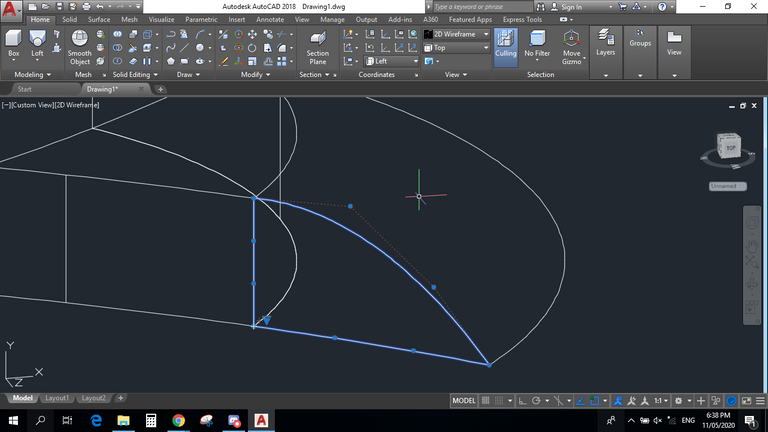
For the details, I just went by my own observation of the reference image. Add those details to the sharp figure.
Combine the parts.
Now this part is for creating the handle. The handle of the original figure is quite complicated so what I did is only have its shape closely similar to the original one.
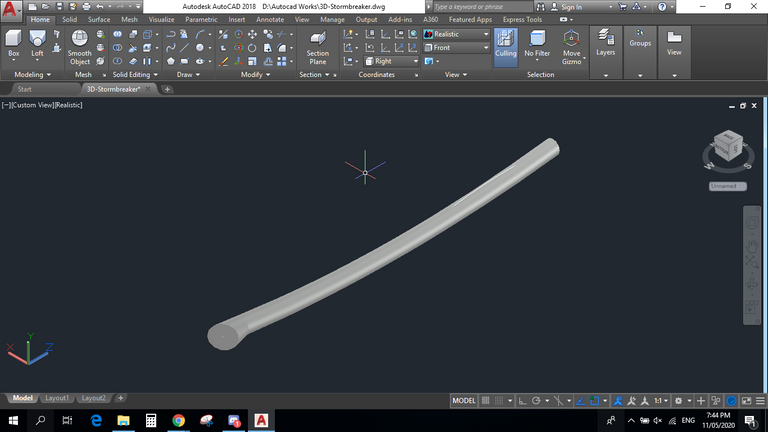
Also, I made the last part for the holder, the figure that holds the middle of the subject and is connected to the handle.
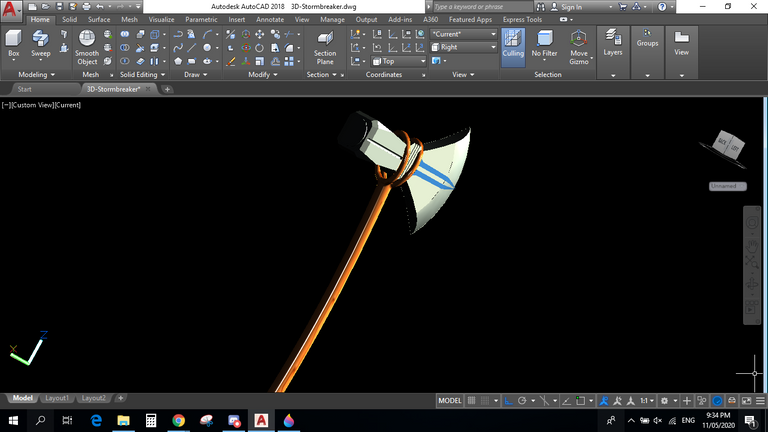
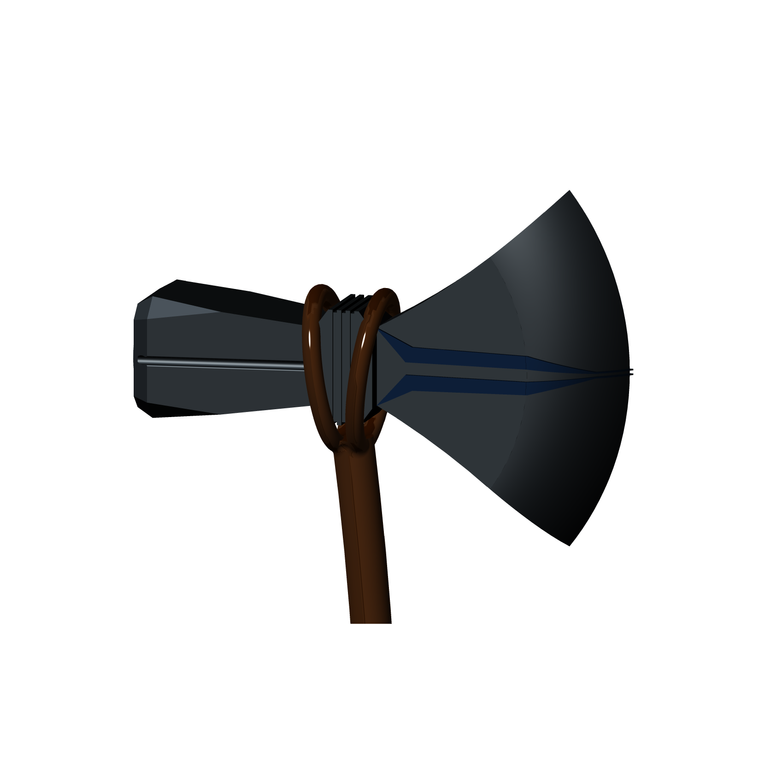
Now the final design. Yep, maybe not the best remodeled design but I happy with the result. I believe there's always room for improvement though. :D
Thank you for dropping by. Stay tuned for more 3D Designs.
"best of time"
So posh