![]()
How are you, friends of architectural design, lately I've been a little busy with activities in the field of work, namely dismantling the work shop building and rebuilding it in a different location in the local area.
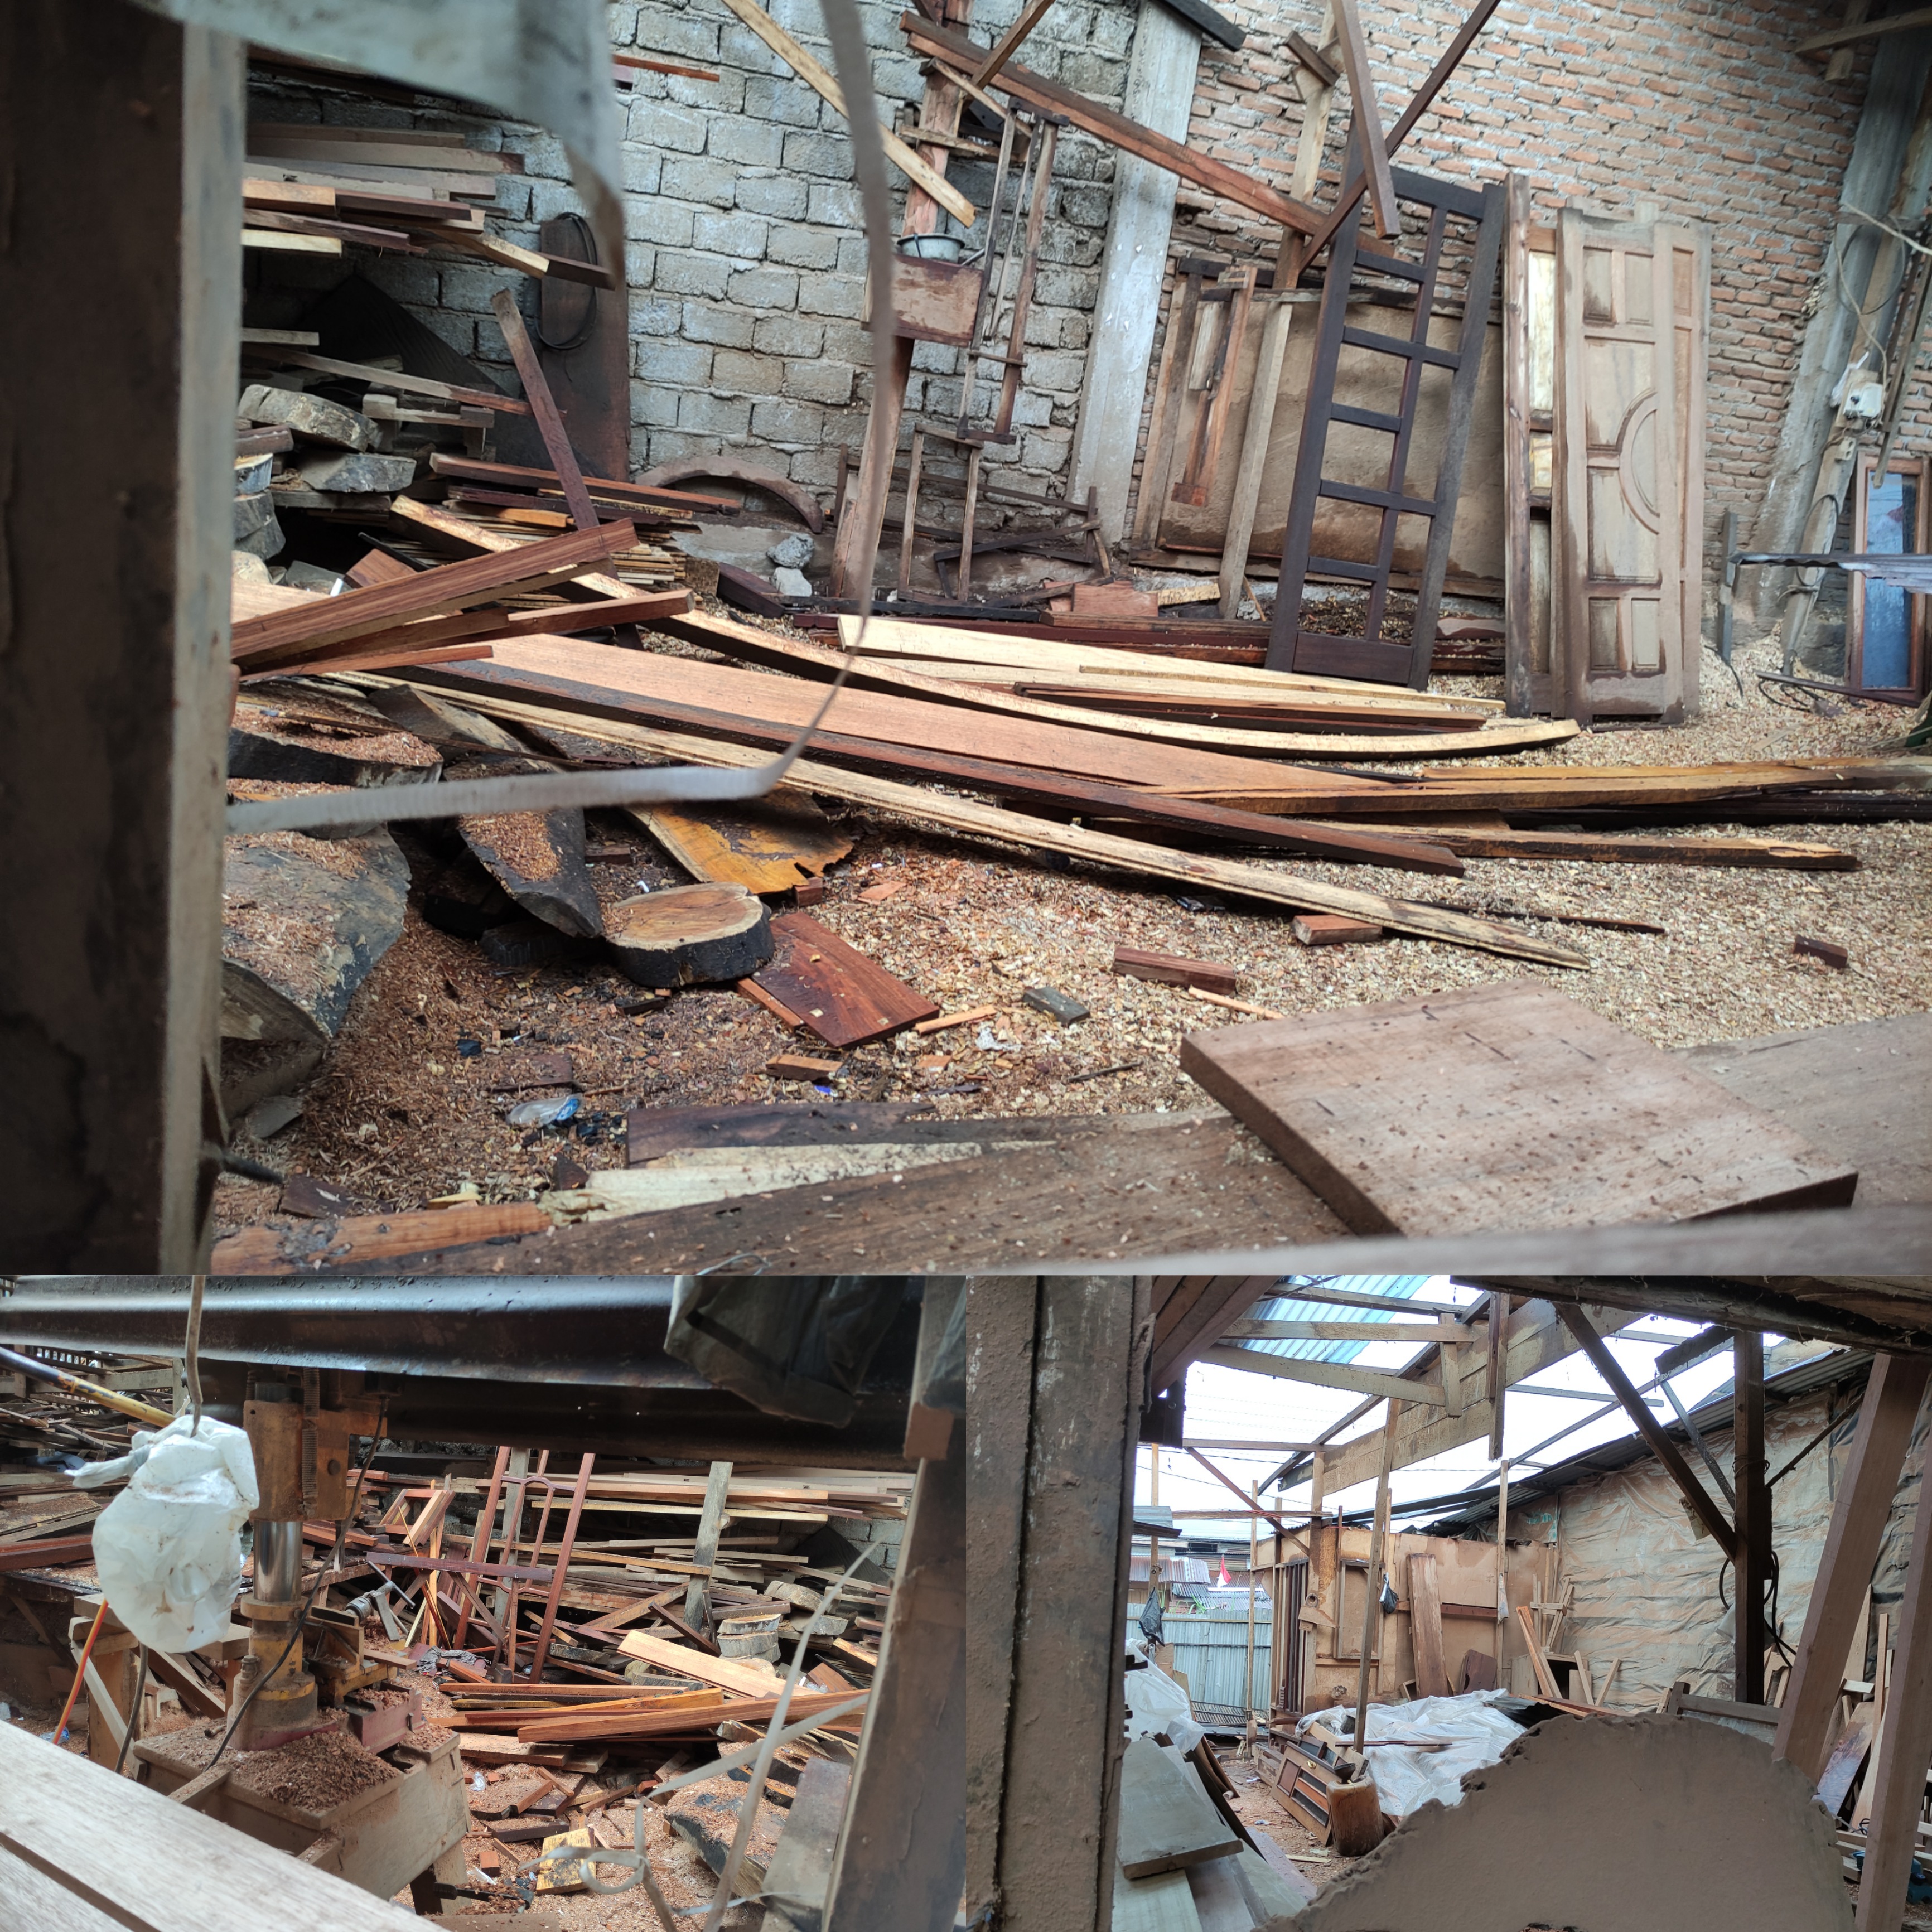
In a chaotic work situation, as one of the furniture craftsmen at CV, several orders piled up, I enthusiastically continued to work on my project in a messy work situation.
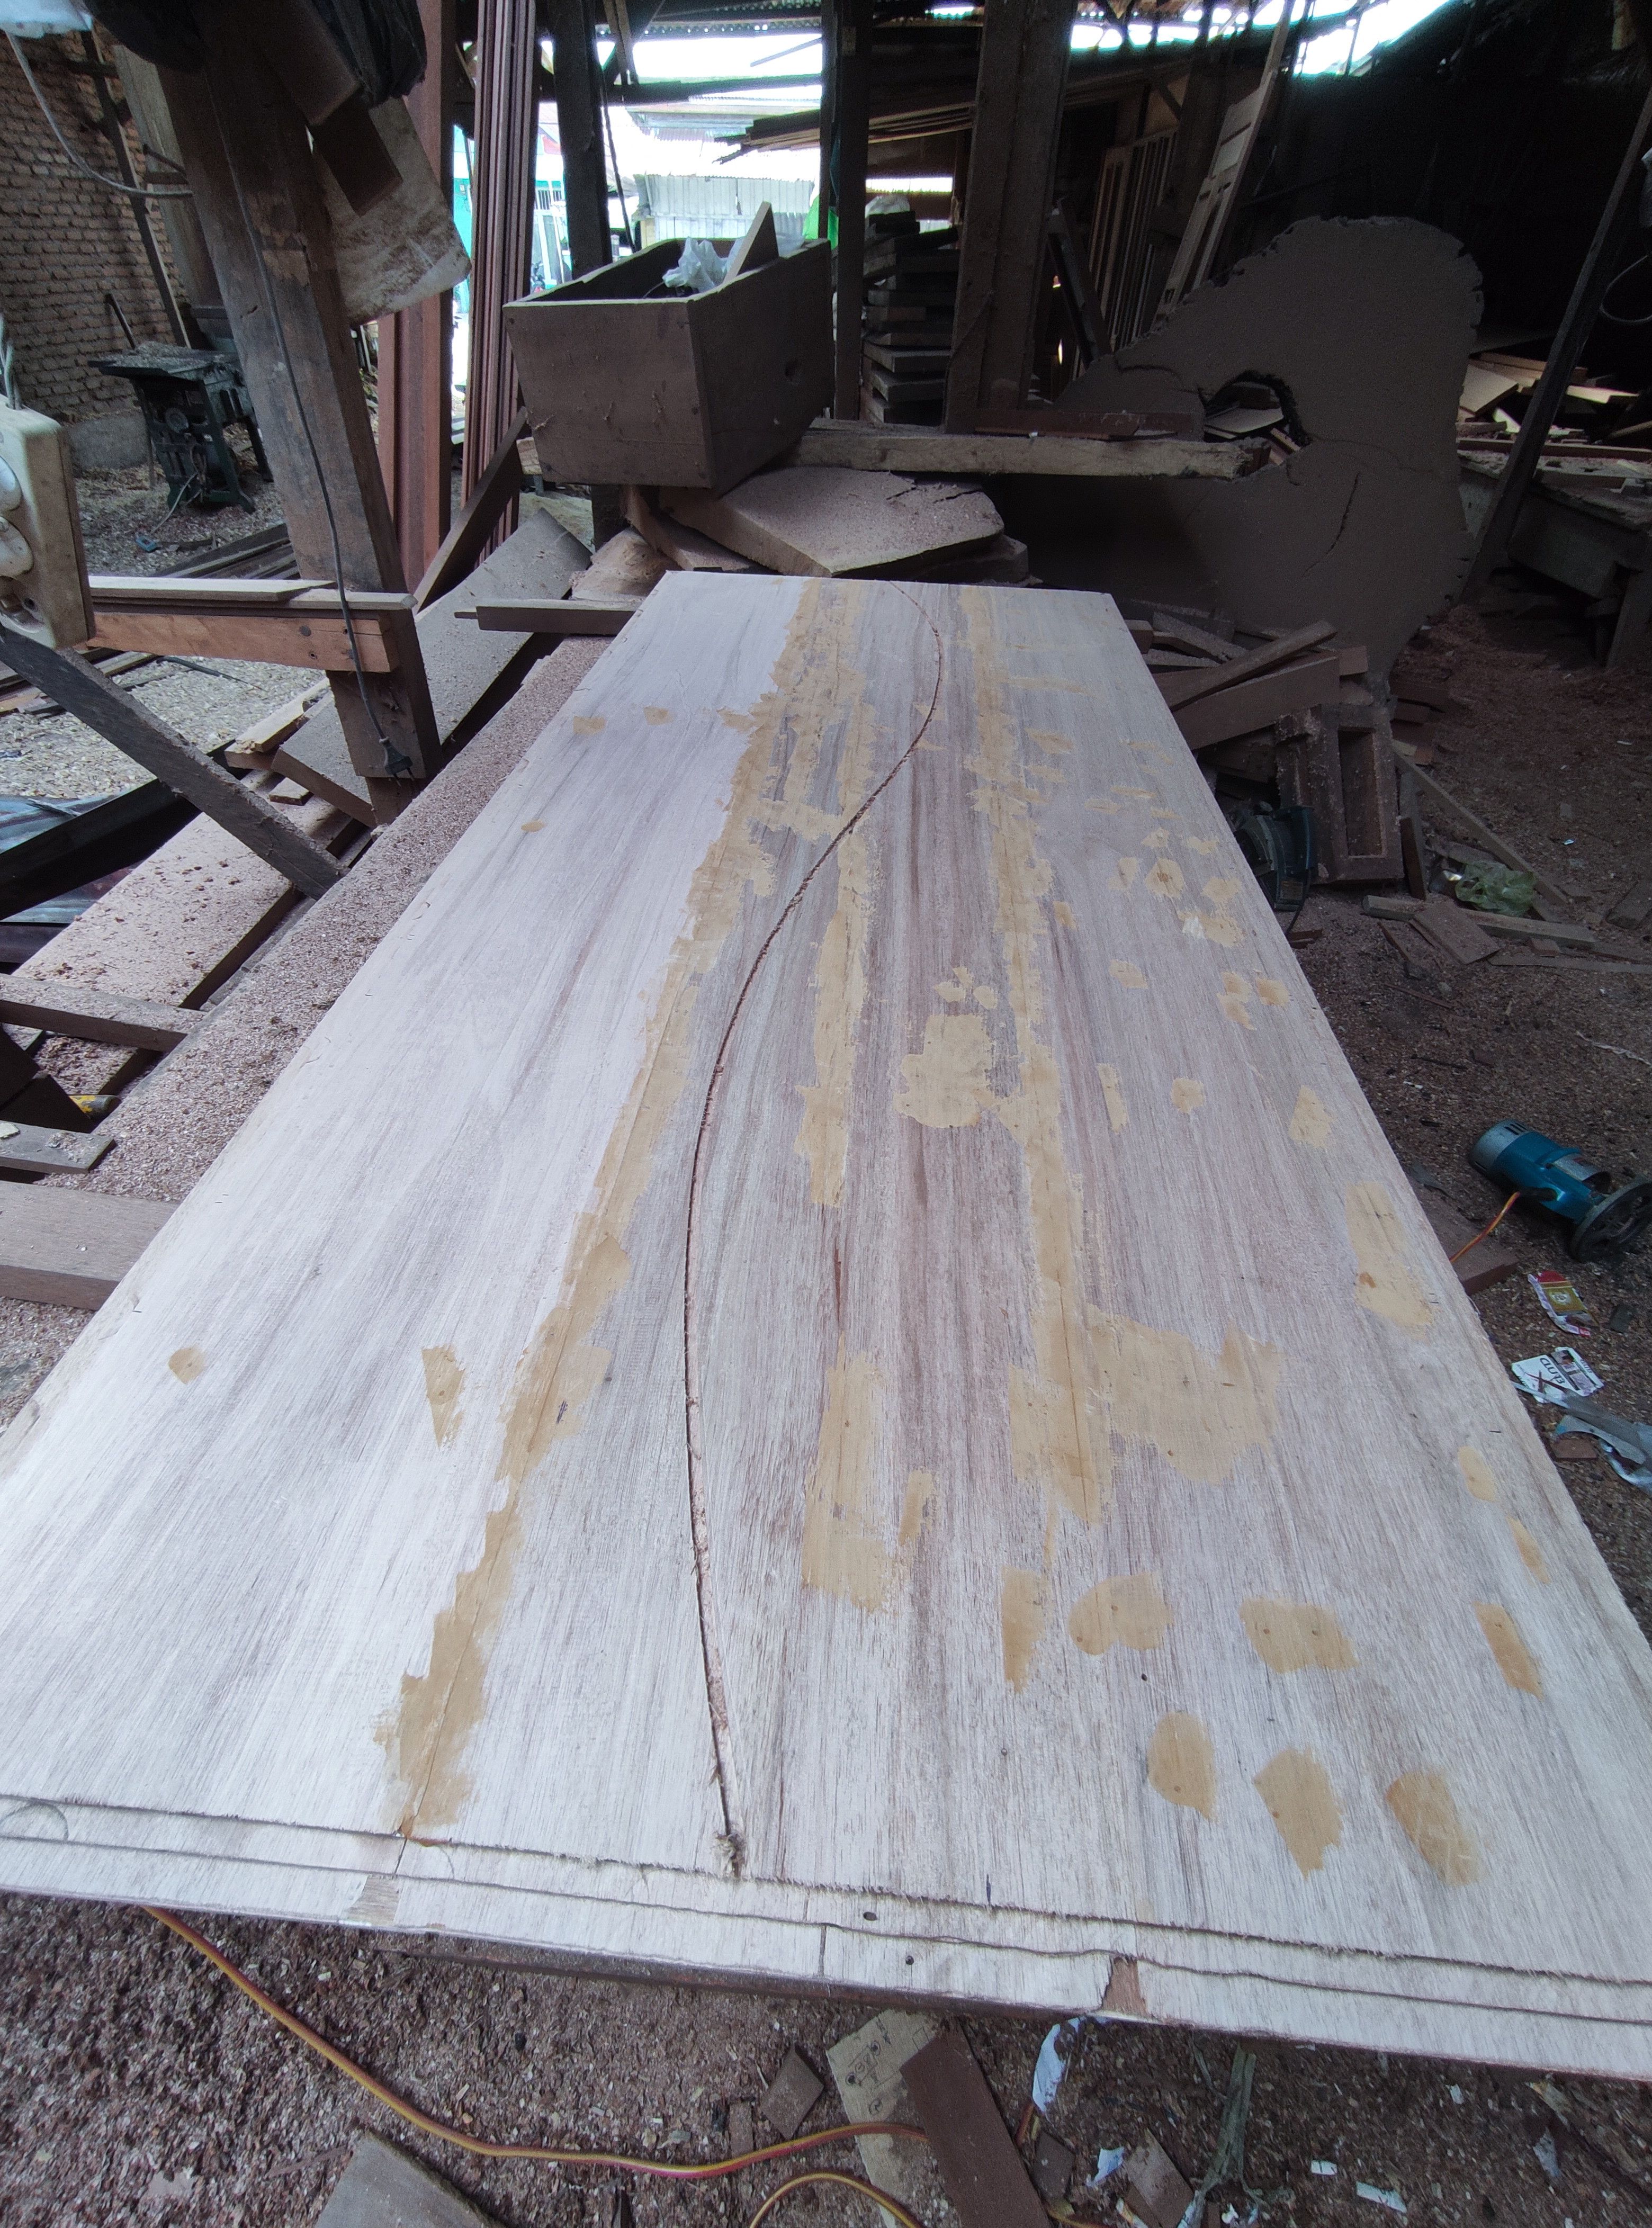
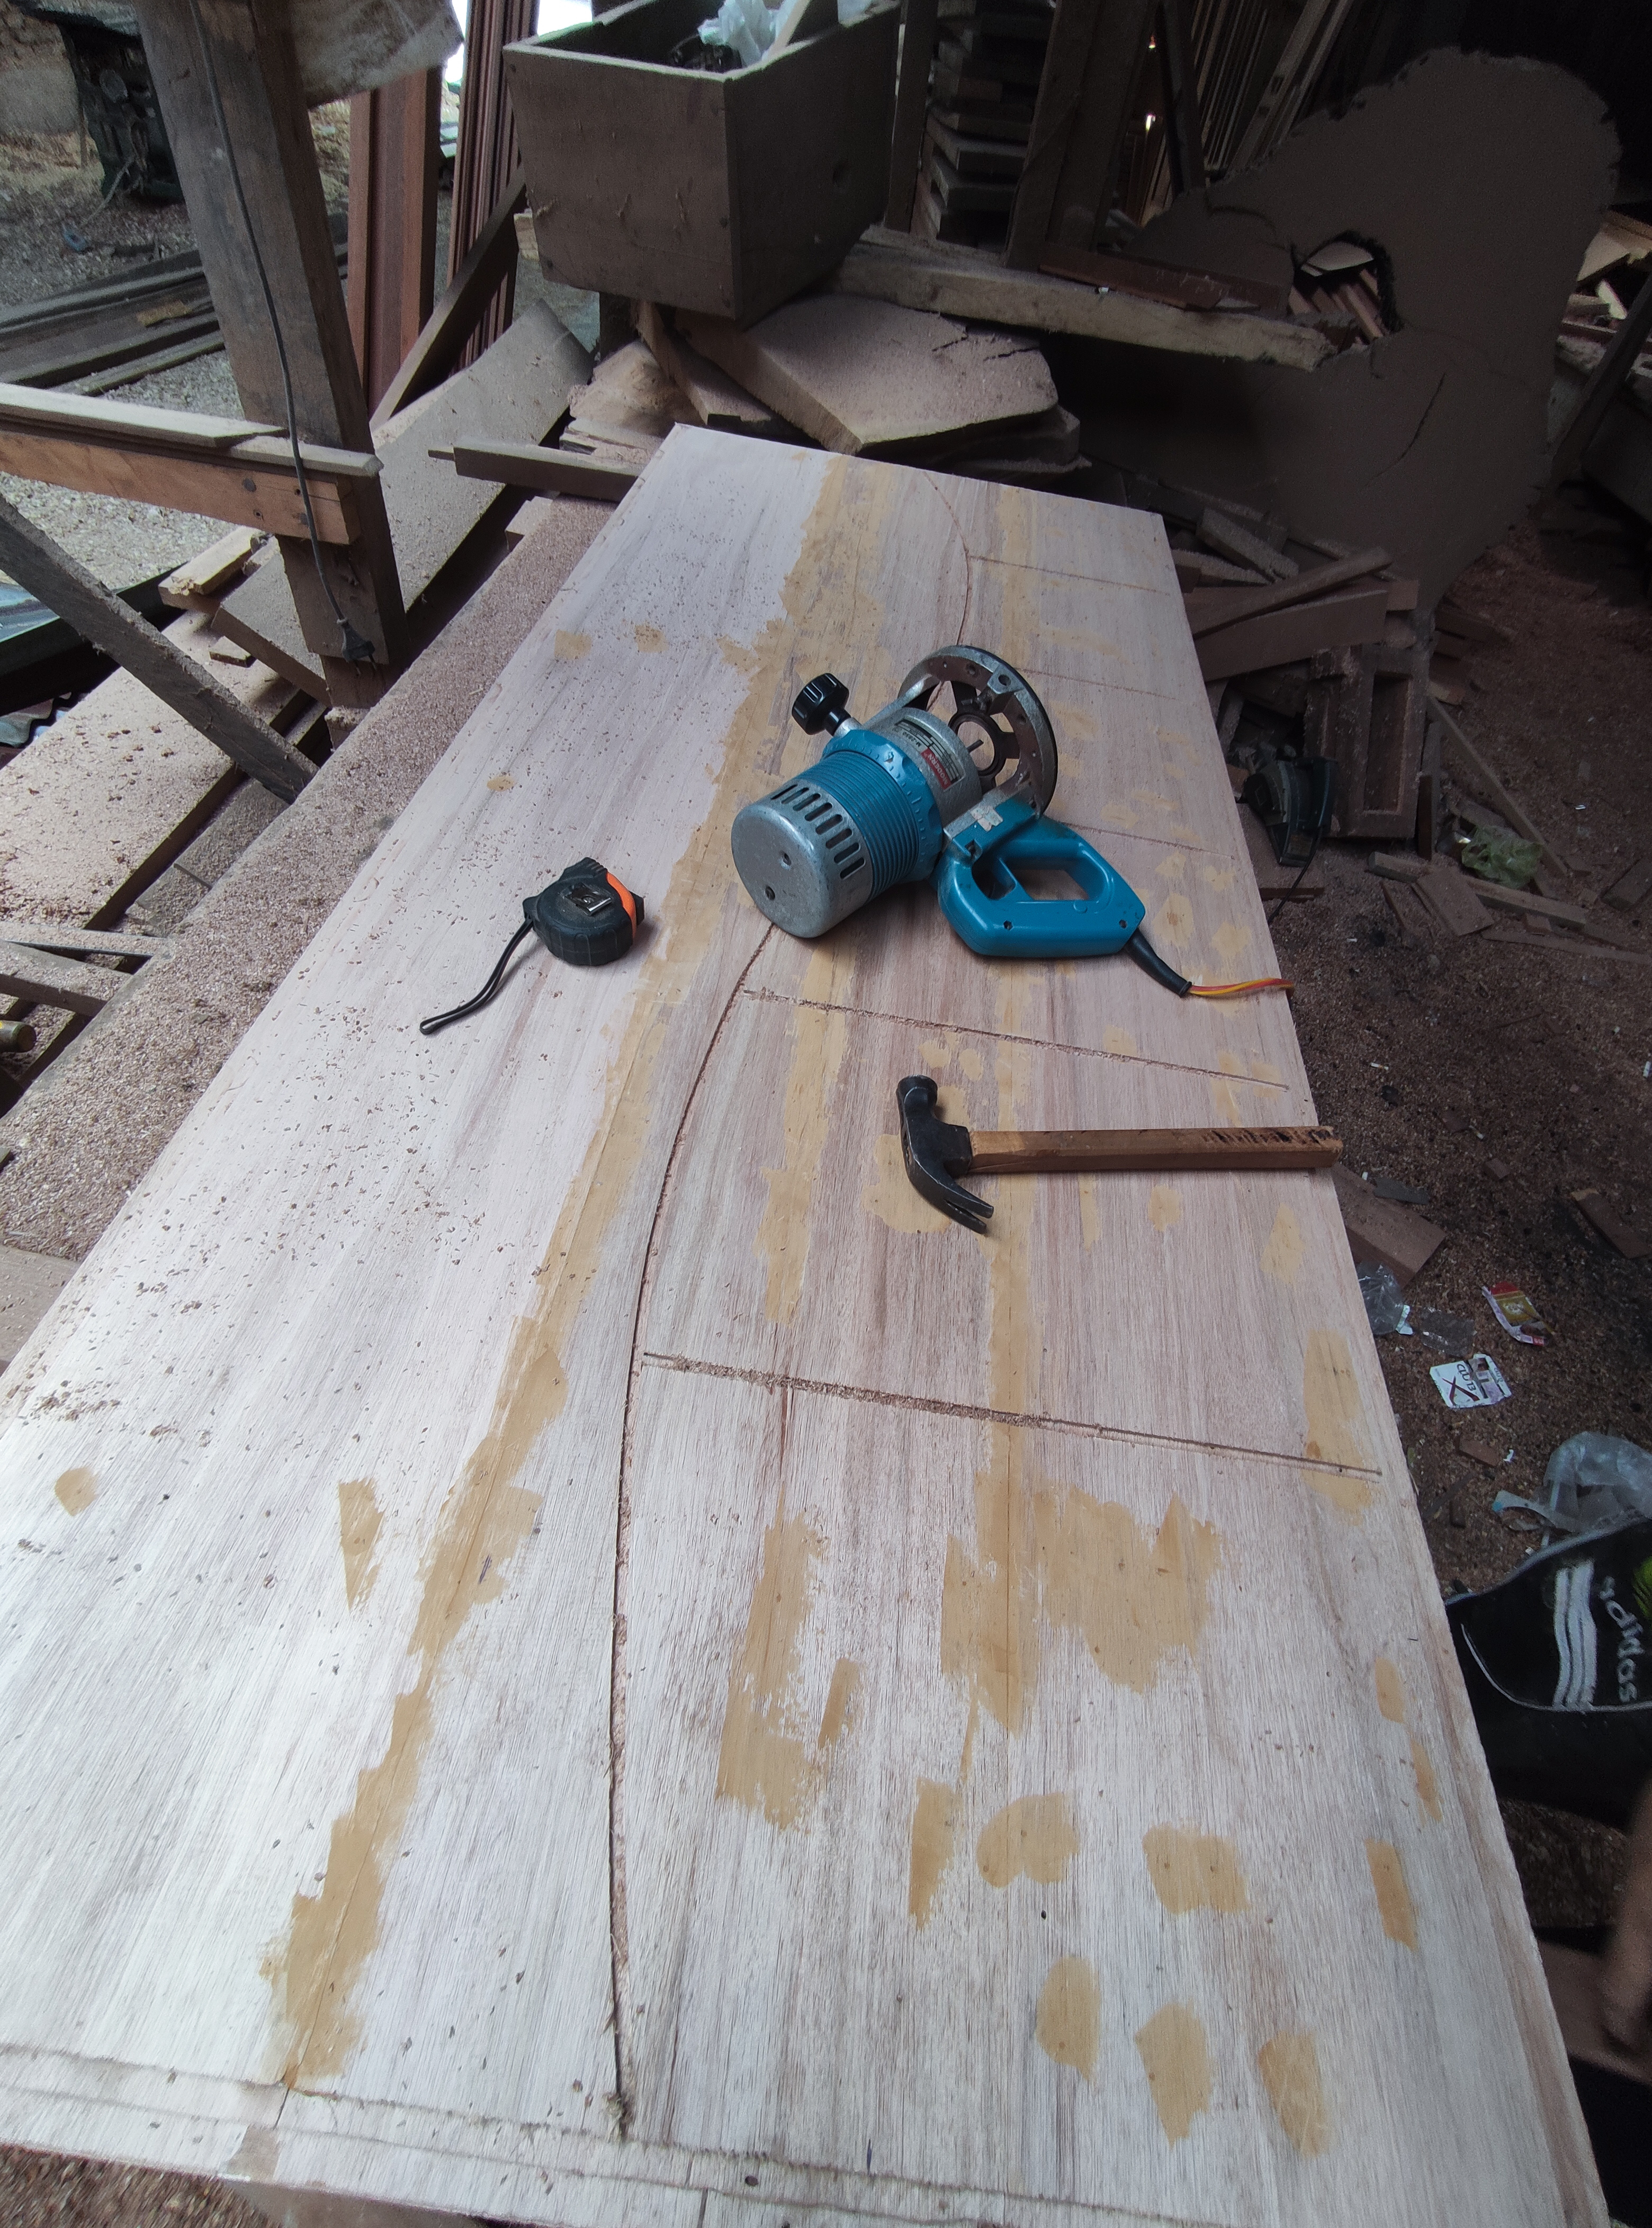
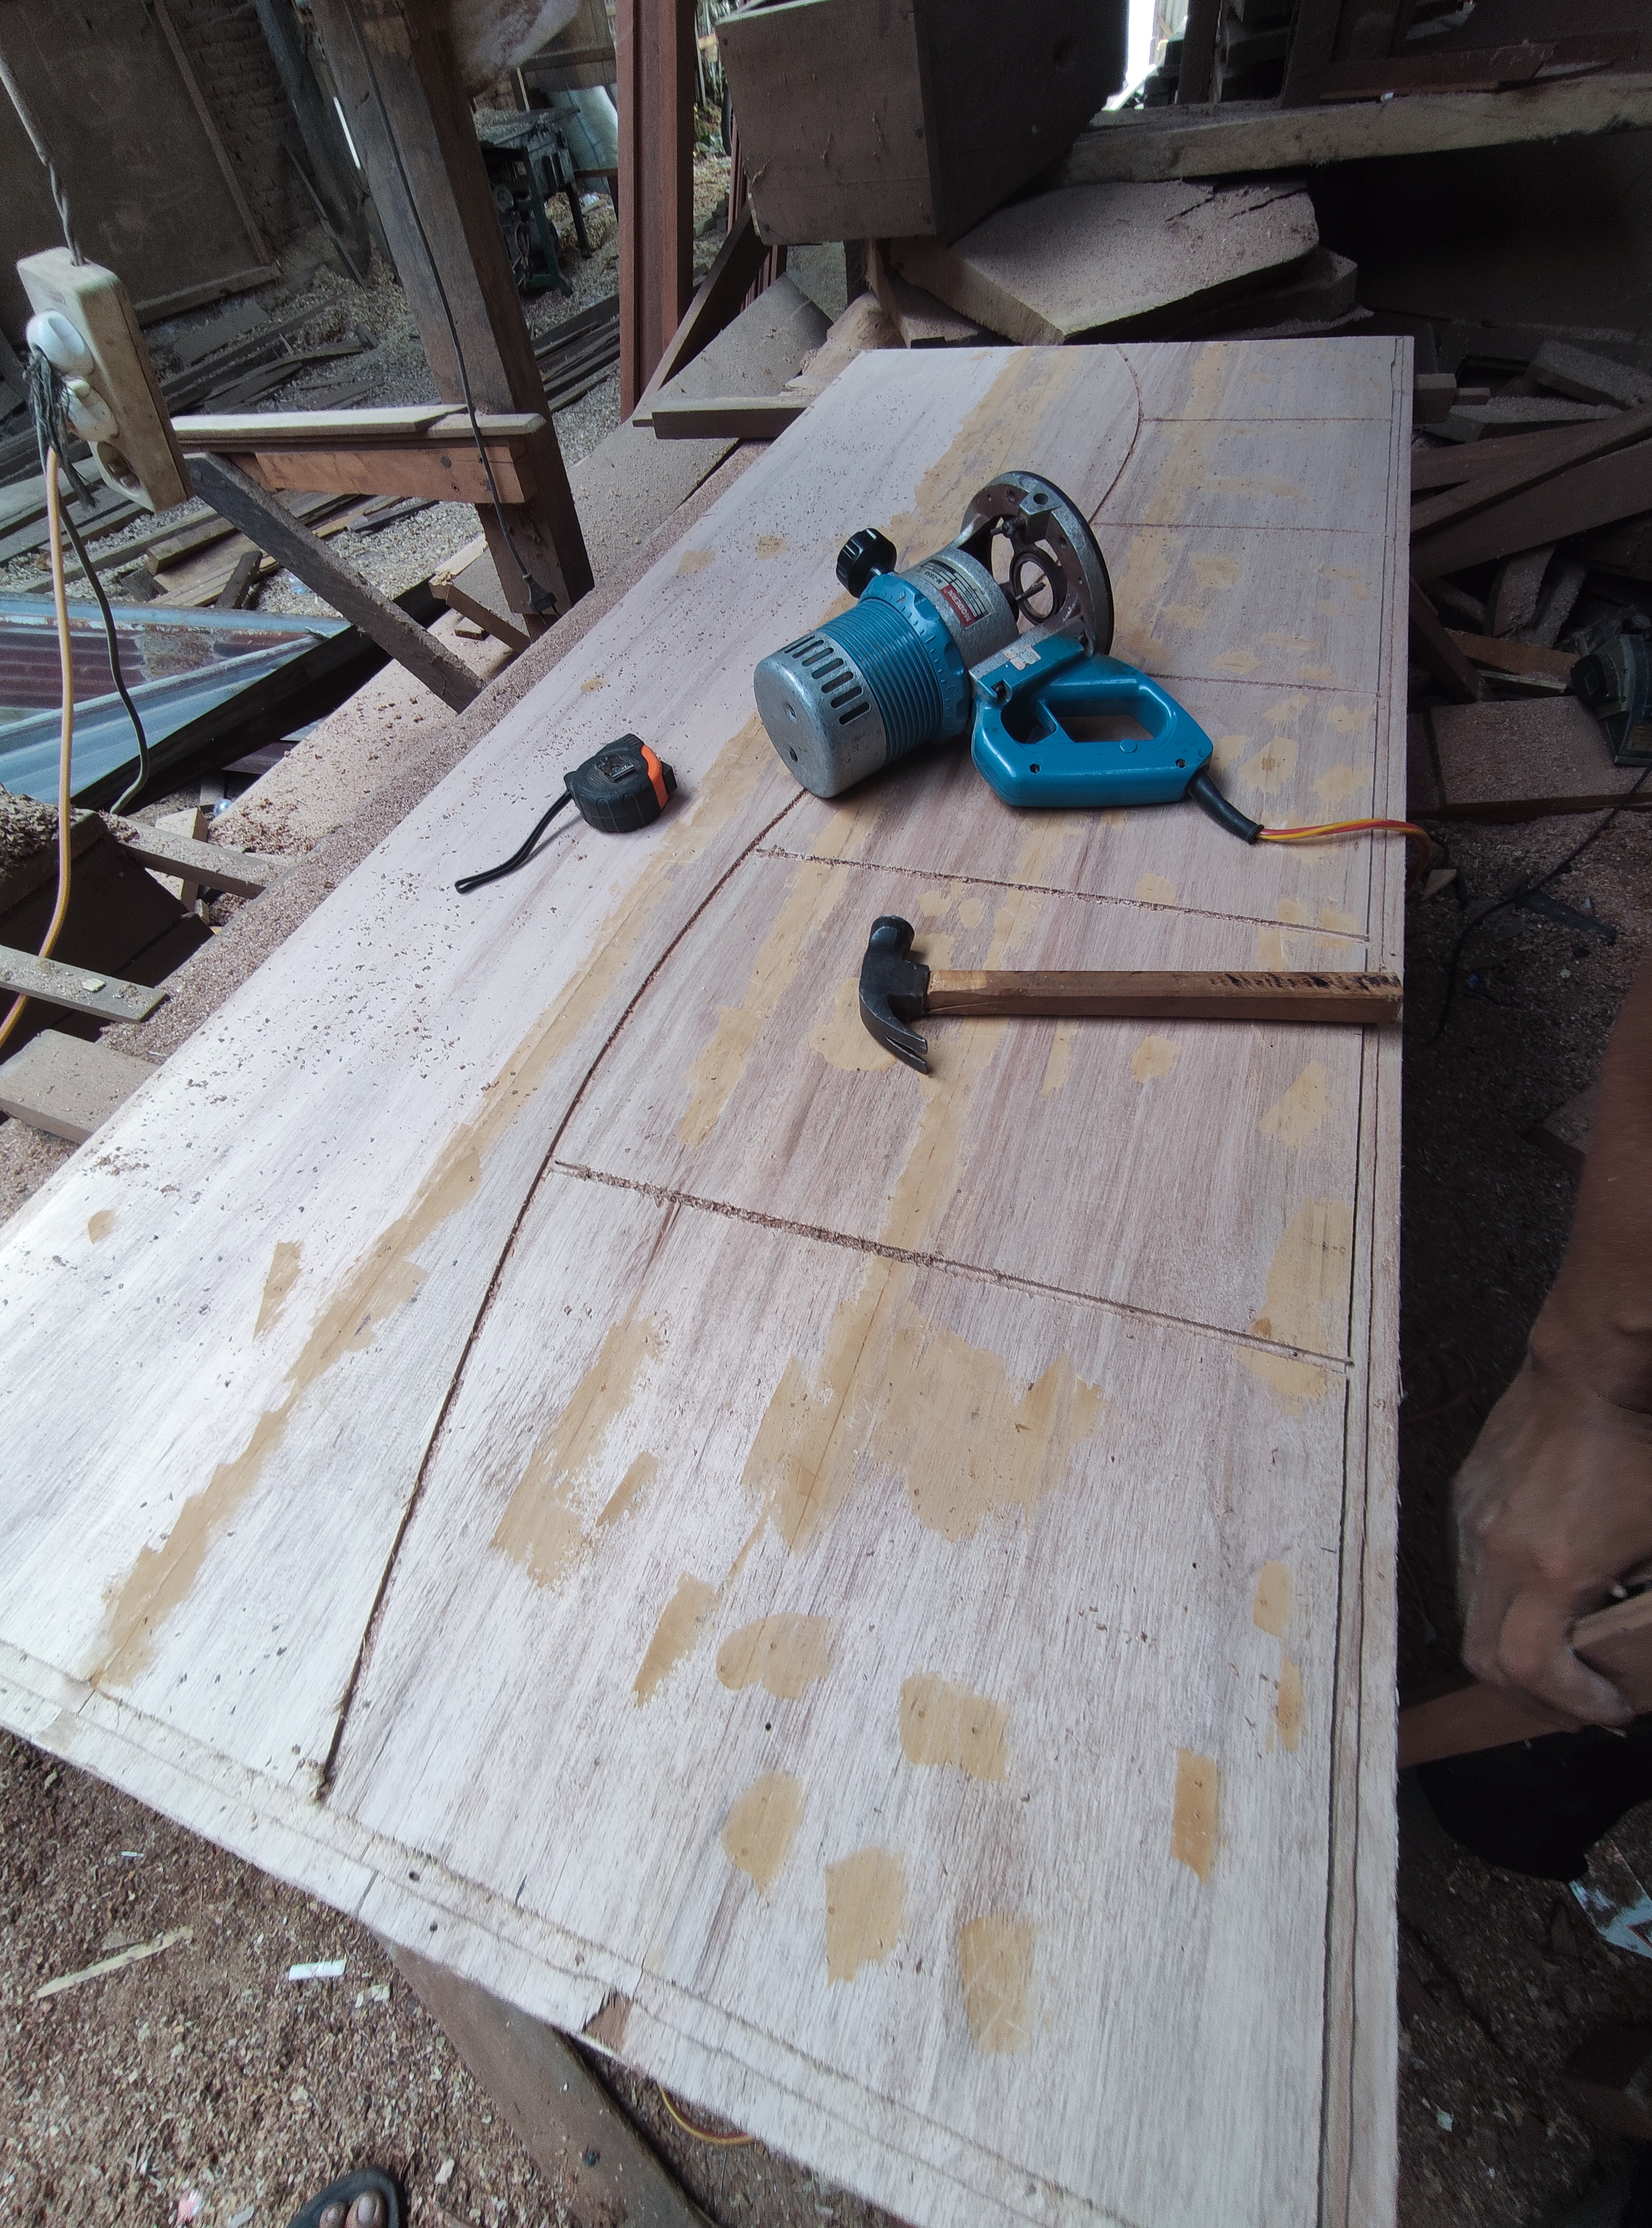
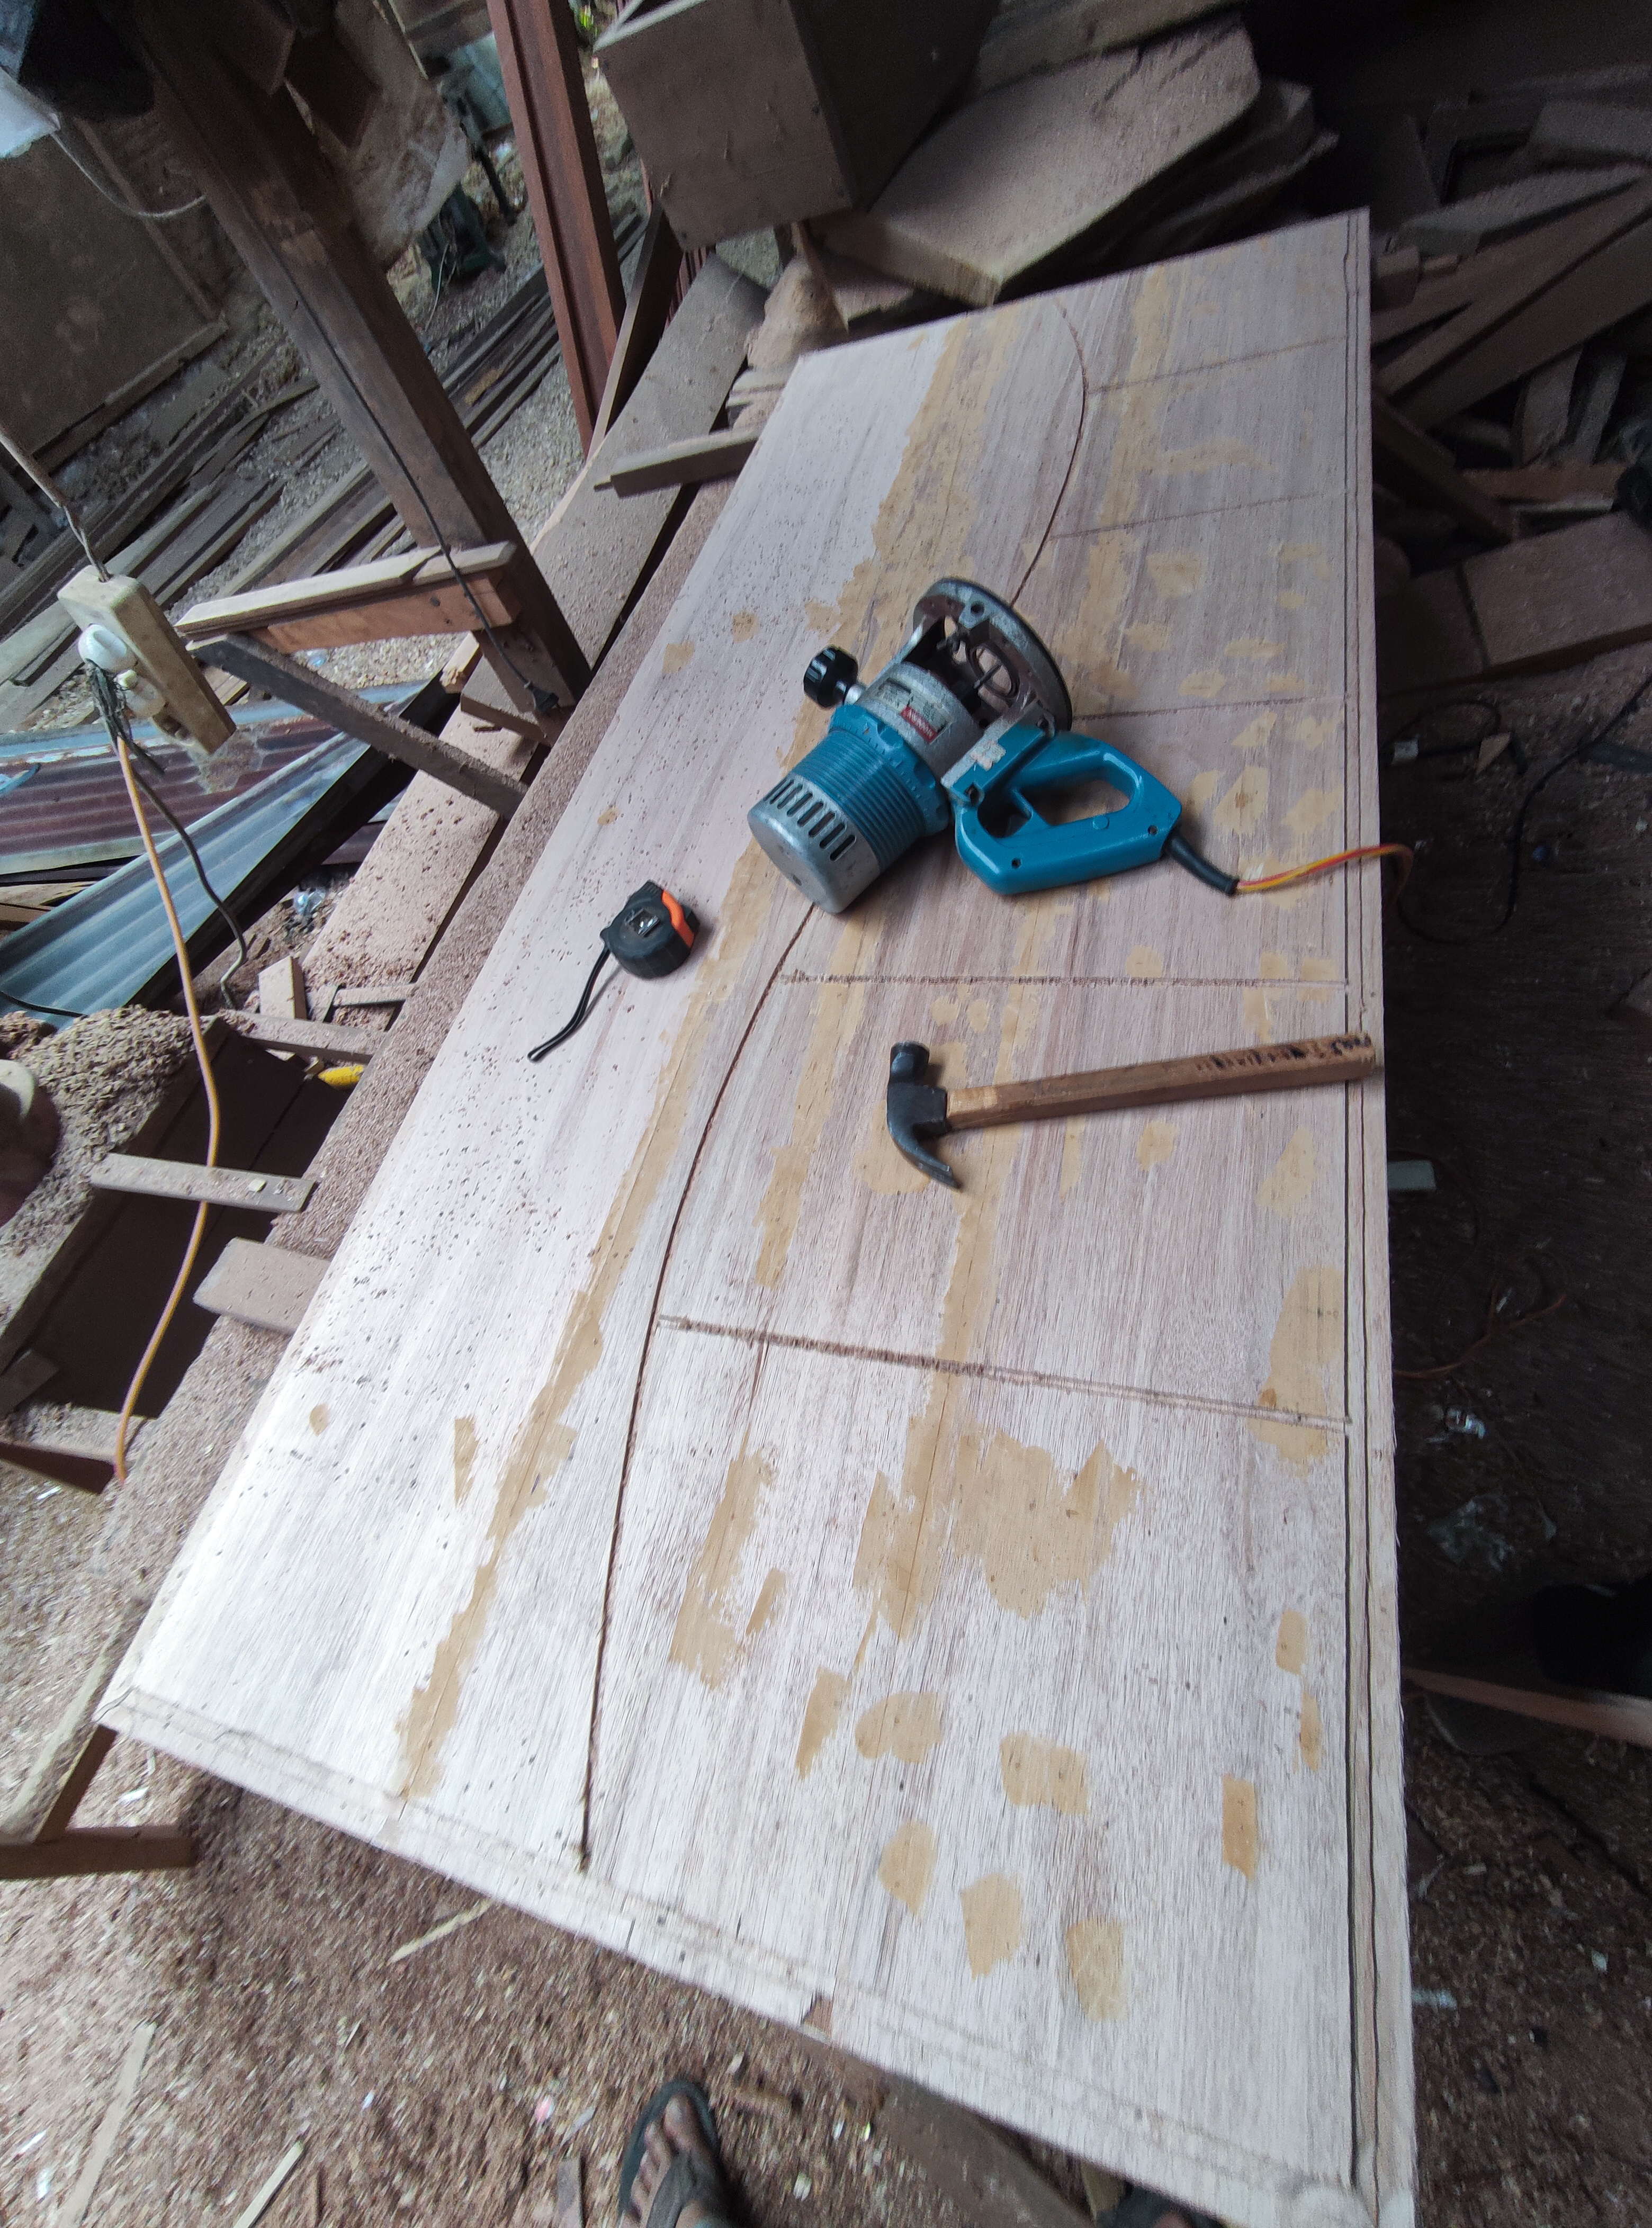
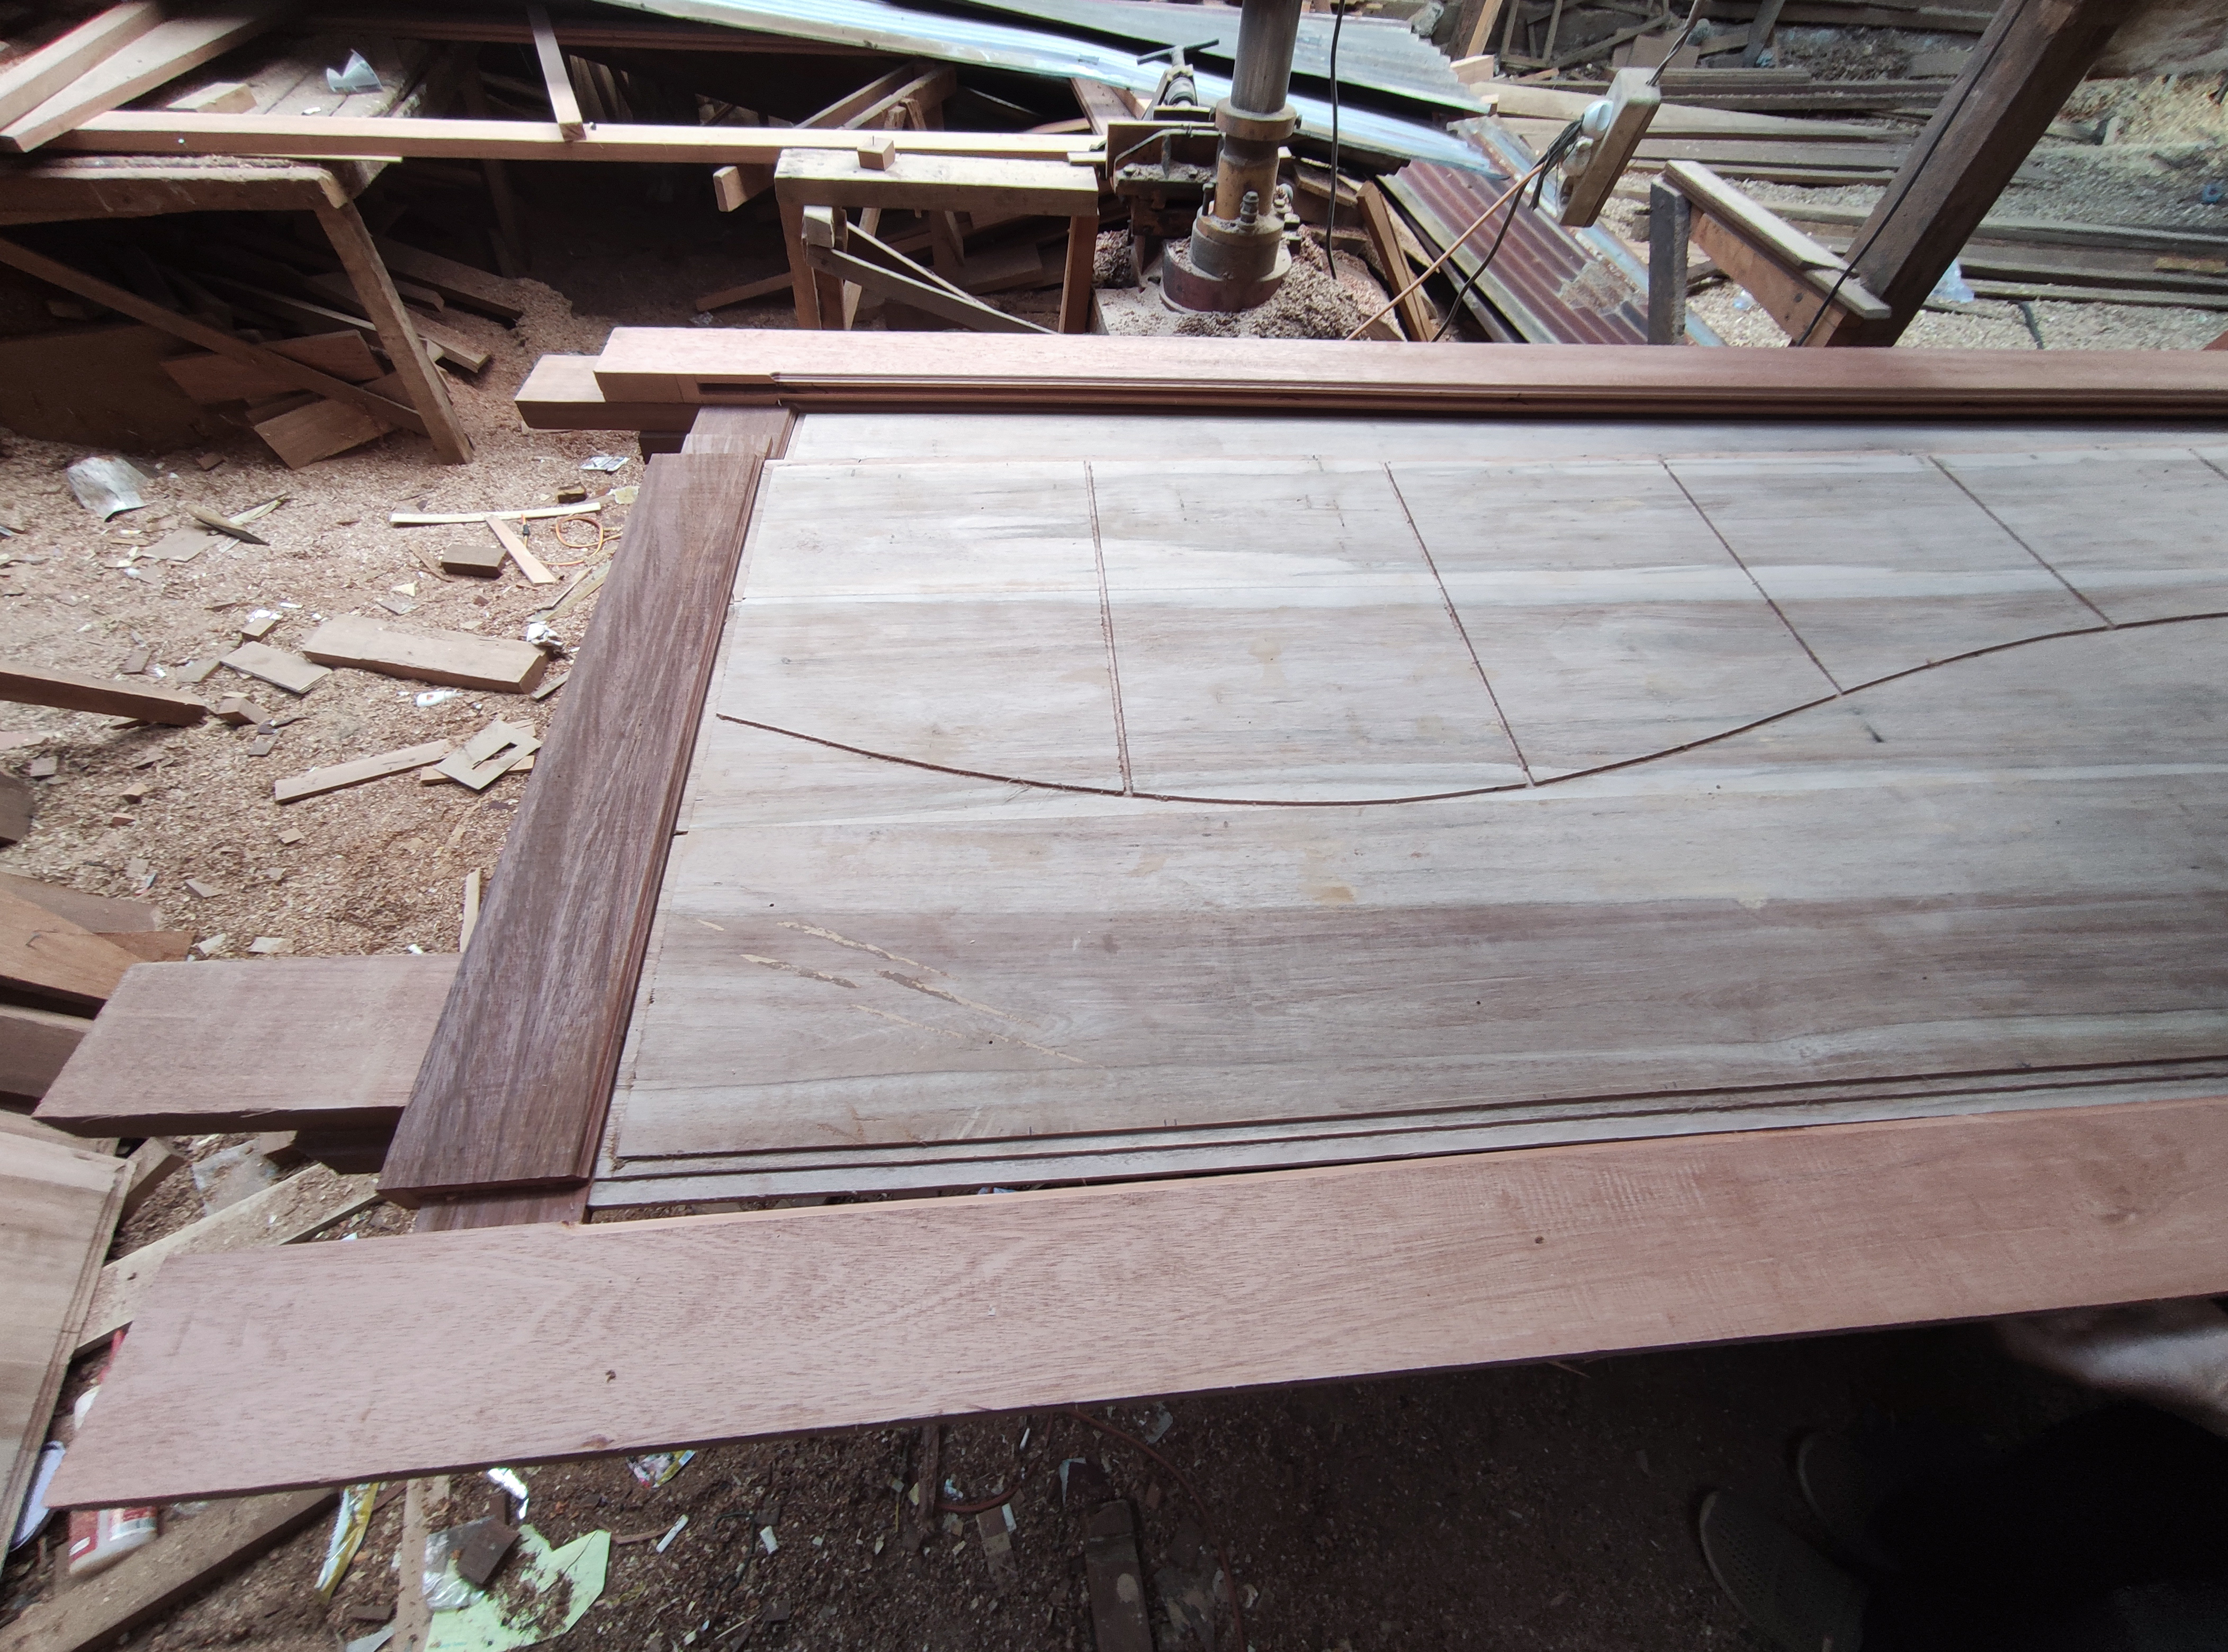
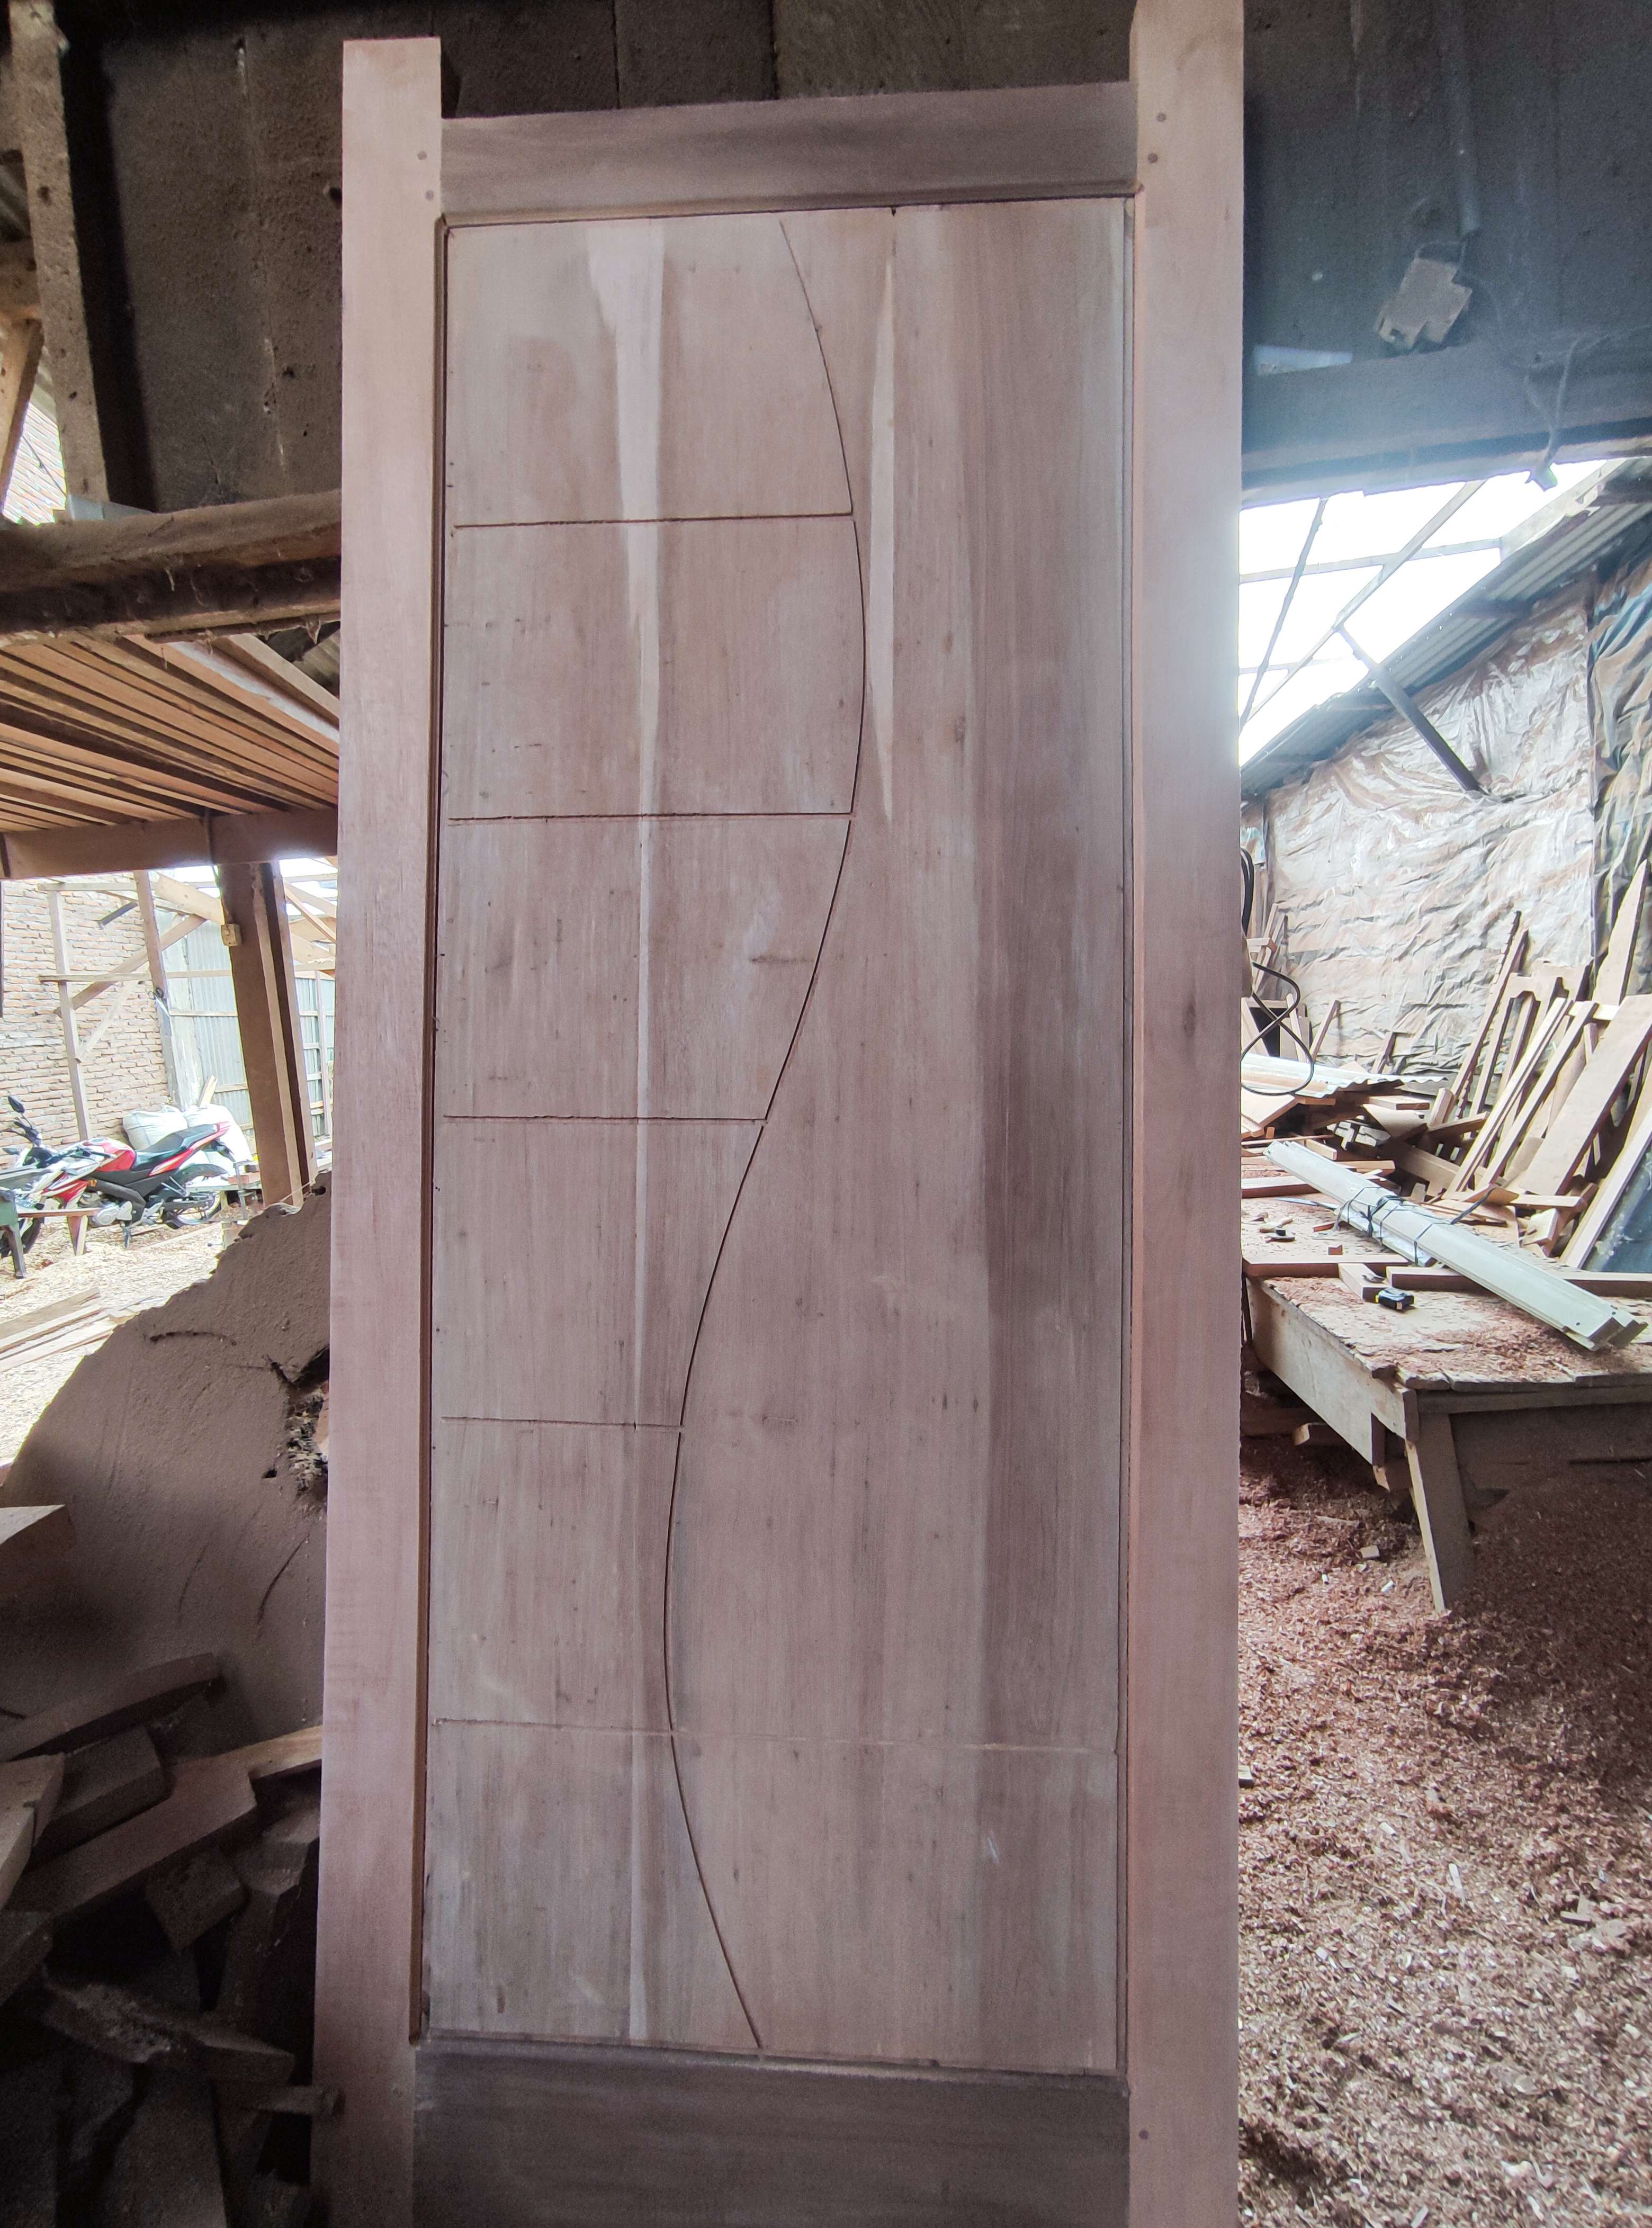
In the last few days I just got a package of house door orders with a modern minimalist design which is one of the orders of the local community and the order is an order that I have to prepare at least 4 working days,with a door design like the following.
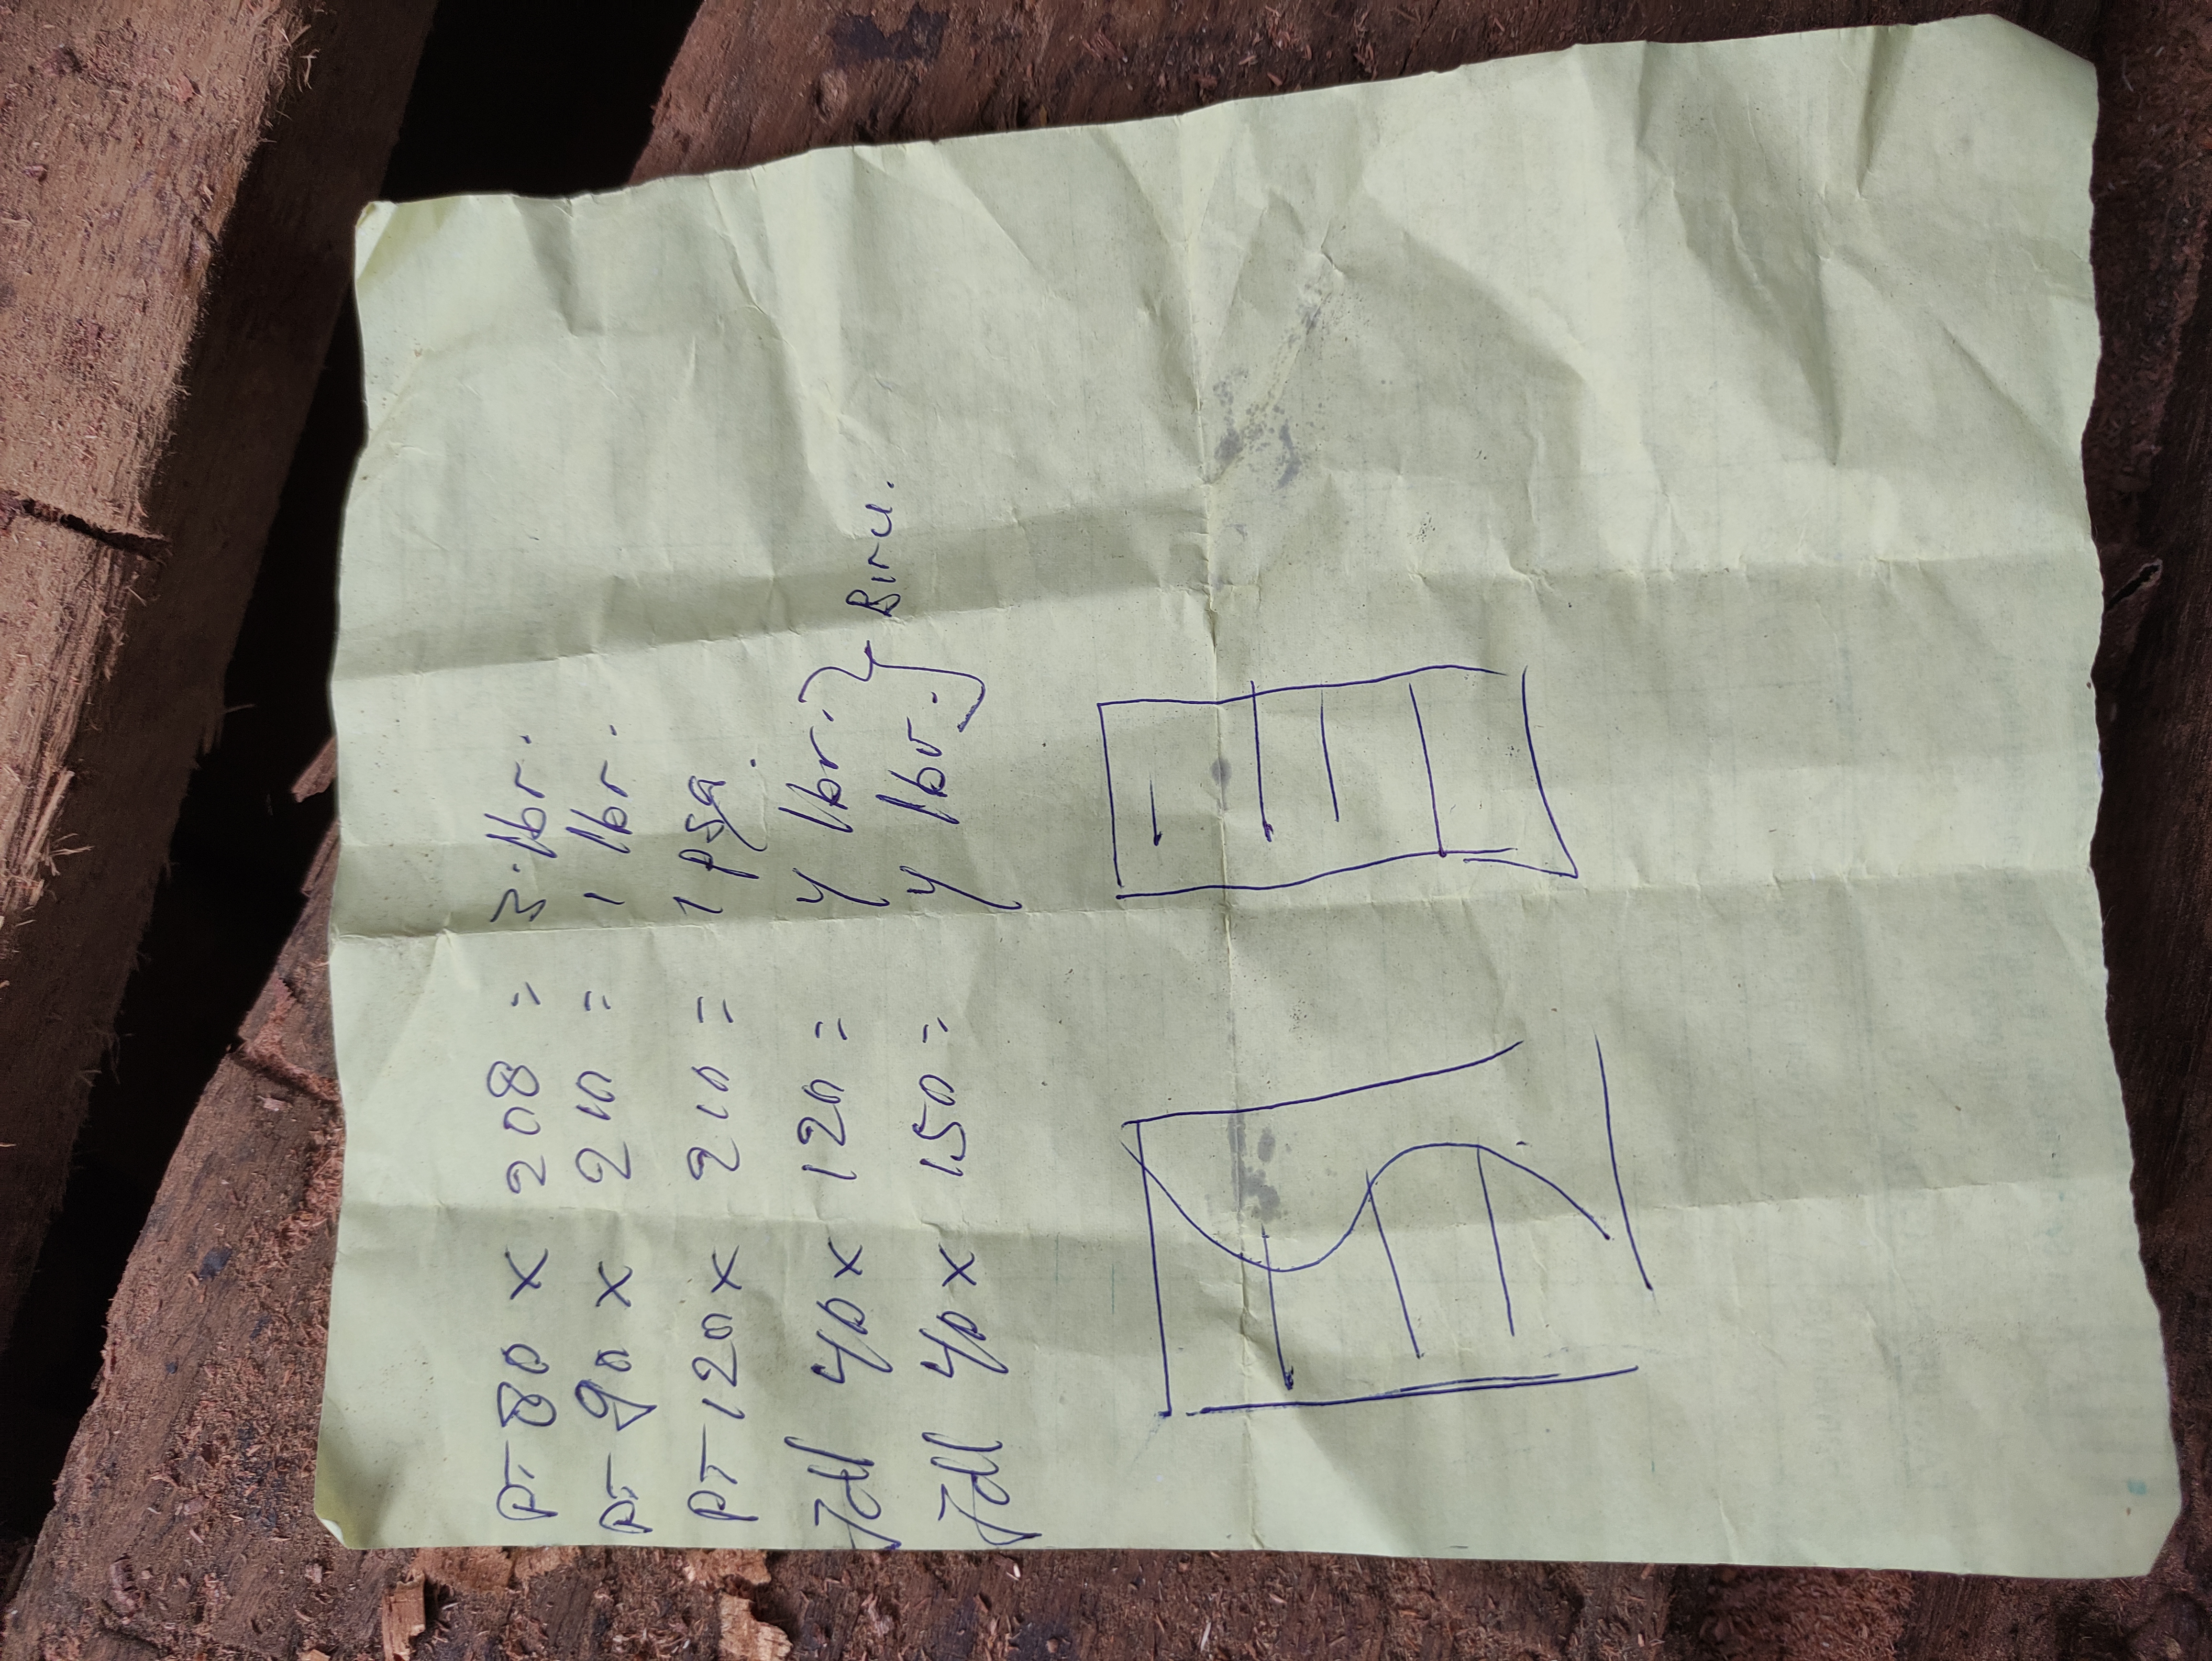
In the picture, it can be seen that the door has a size that looks different and for the size of the window that is written the sheet of paper has been completed by my colleague a few days ago and for the size of the door and the number of doors that must be completed are as follows.
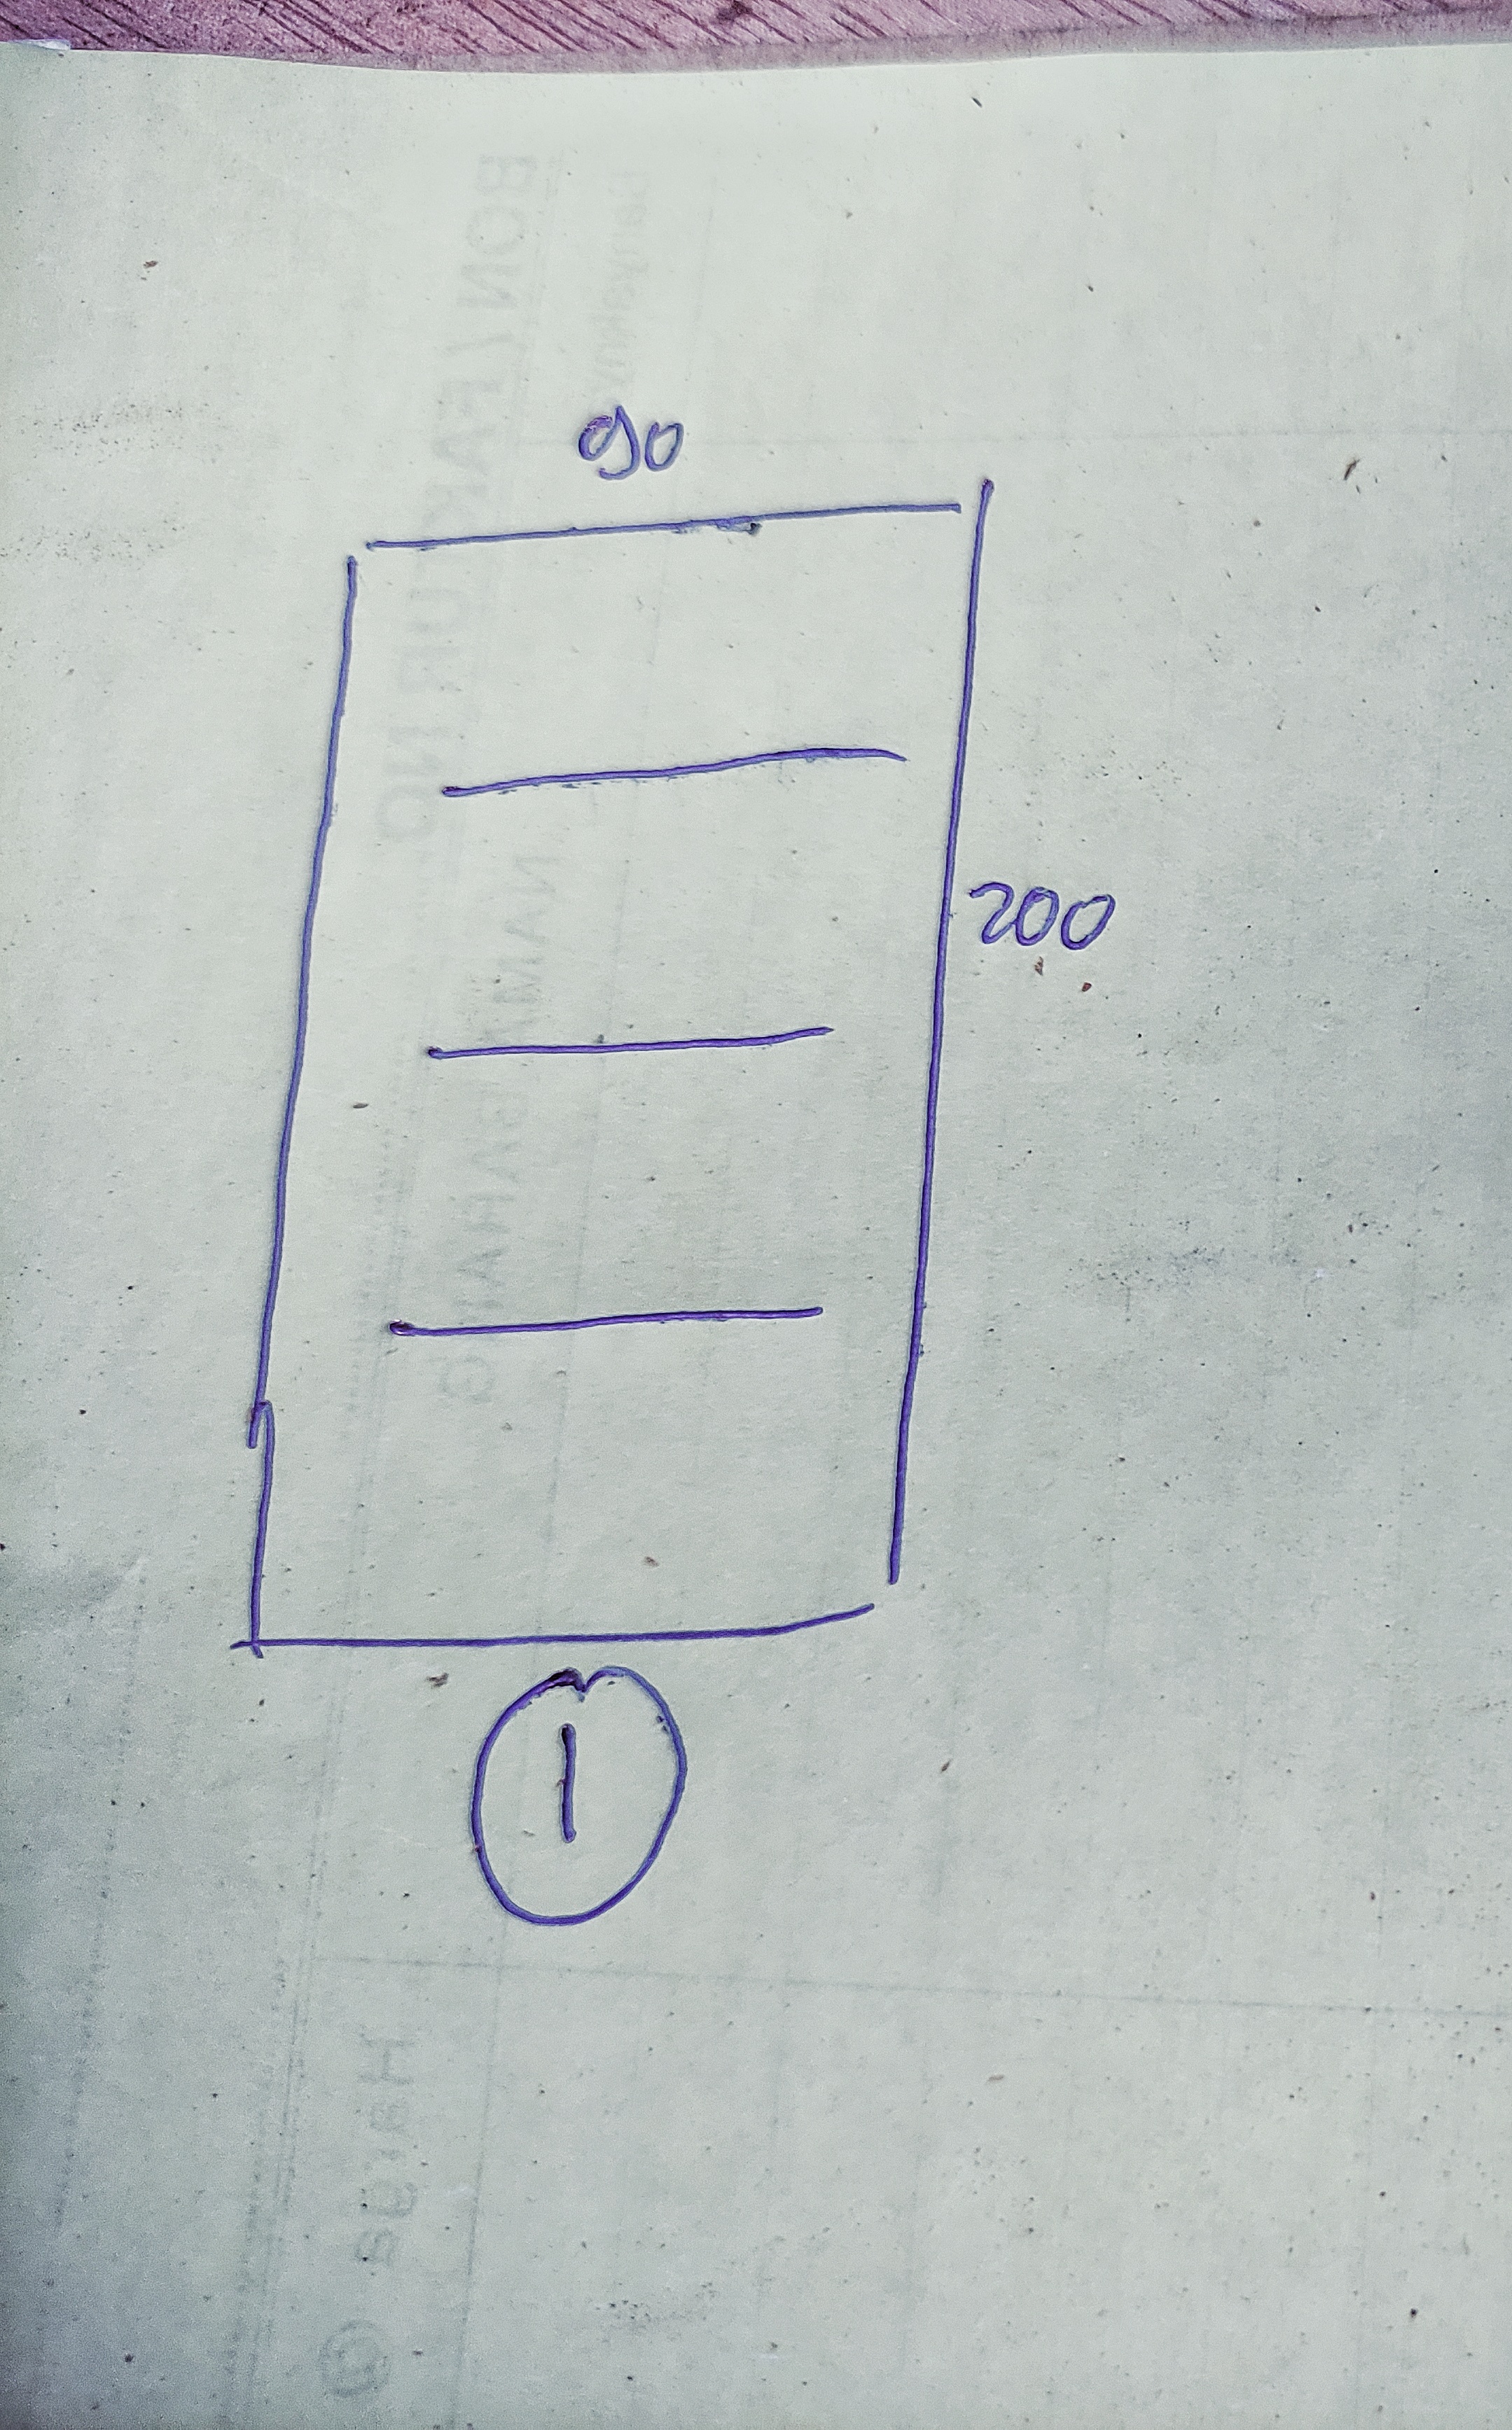
- The door measures 90 cm wide X 210 cm high and
- The door measures 90cm wide X 200cm high.
From the size of the door given by my customer, it has a different height with a slightly different design.
The CV where I work has several employees and in the midst of the gradual demolition of the building, I continue to complete the process of making the door order in the midst of working conditions with scattered logs.
And today I would like to invite you to witness the stages of the architectural process of designing that door of the house with two different designs to the finishing stage.
In our area, in general, local people are more interested in ordering orders for doors, windows, frames and other types of household furniture. They are more interested in ordering orders made from meranti wood, which is a type two wood with prices that vary and are relatively cheap.

![]()
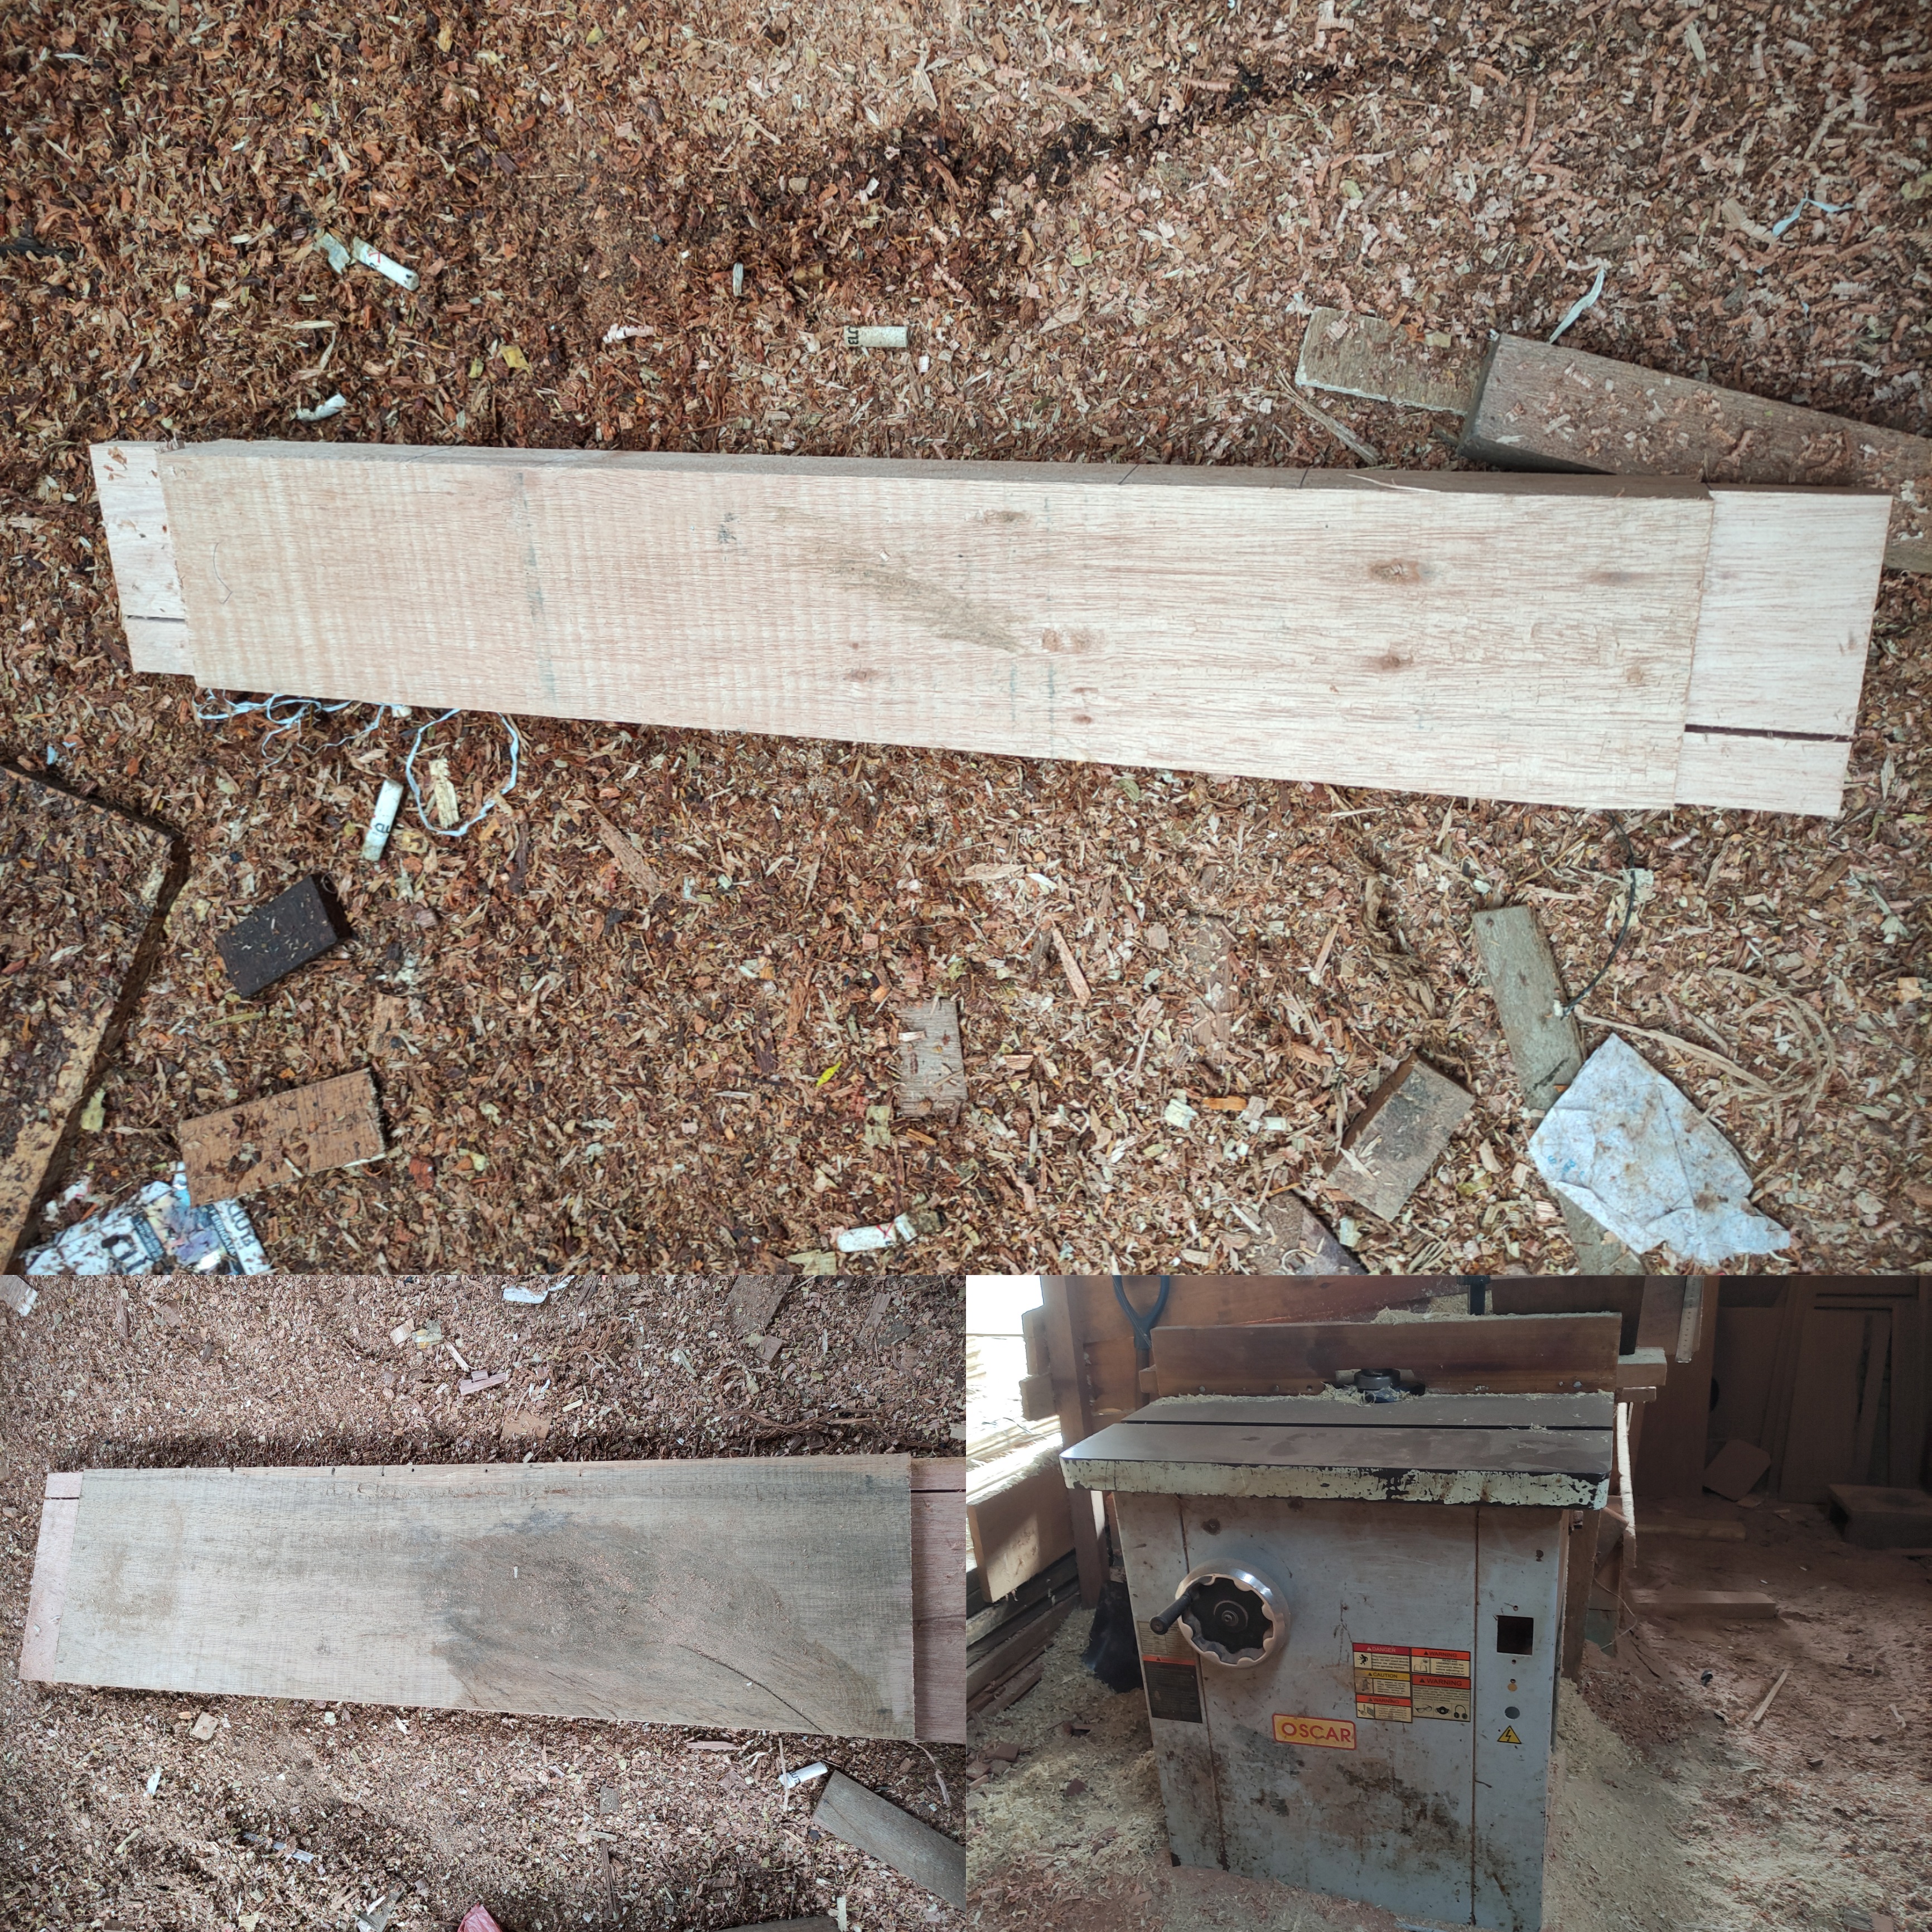
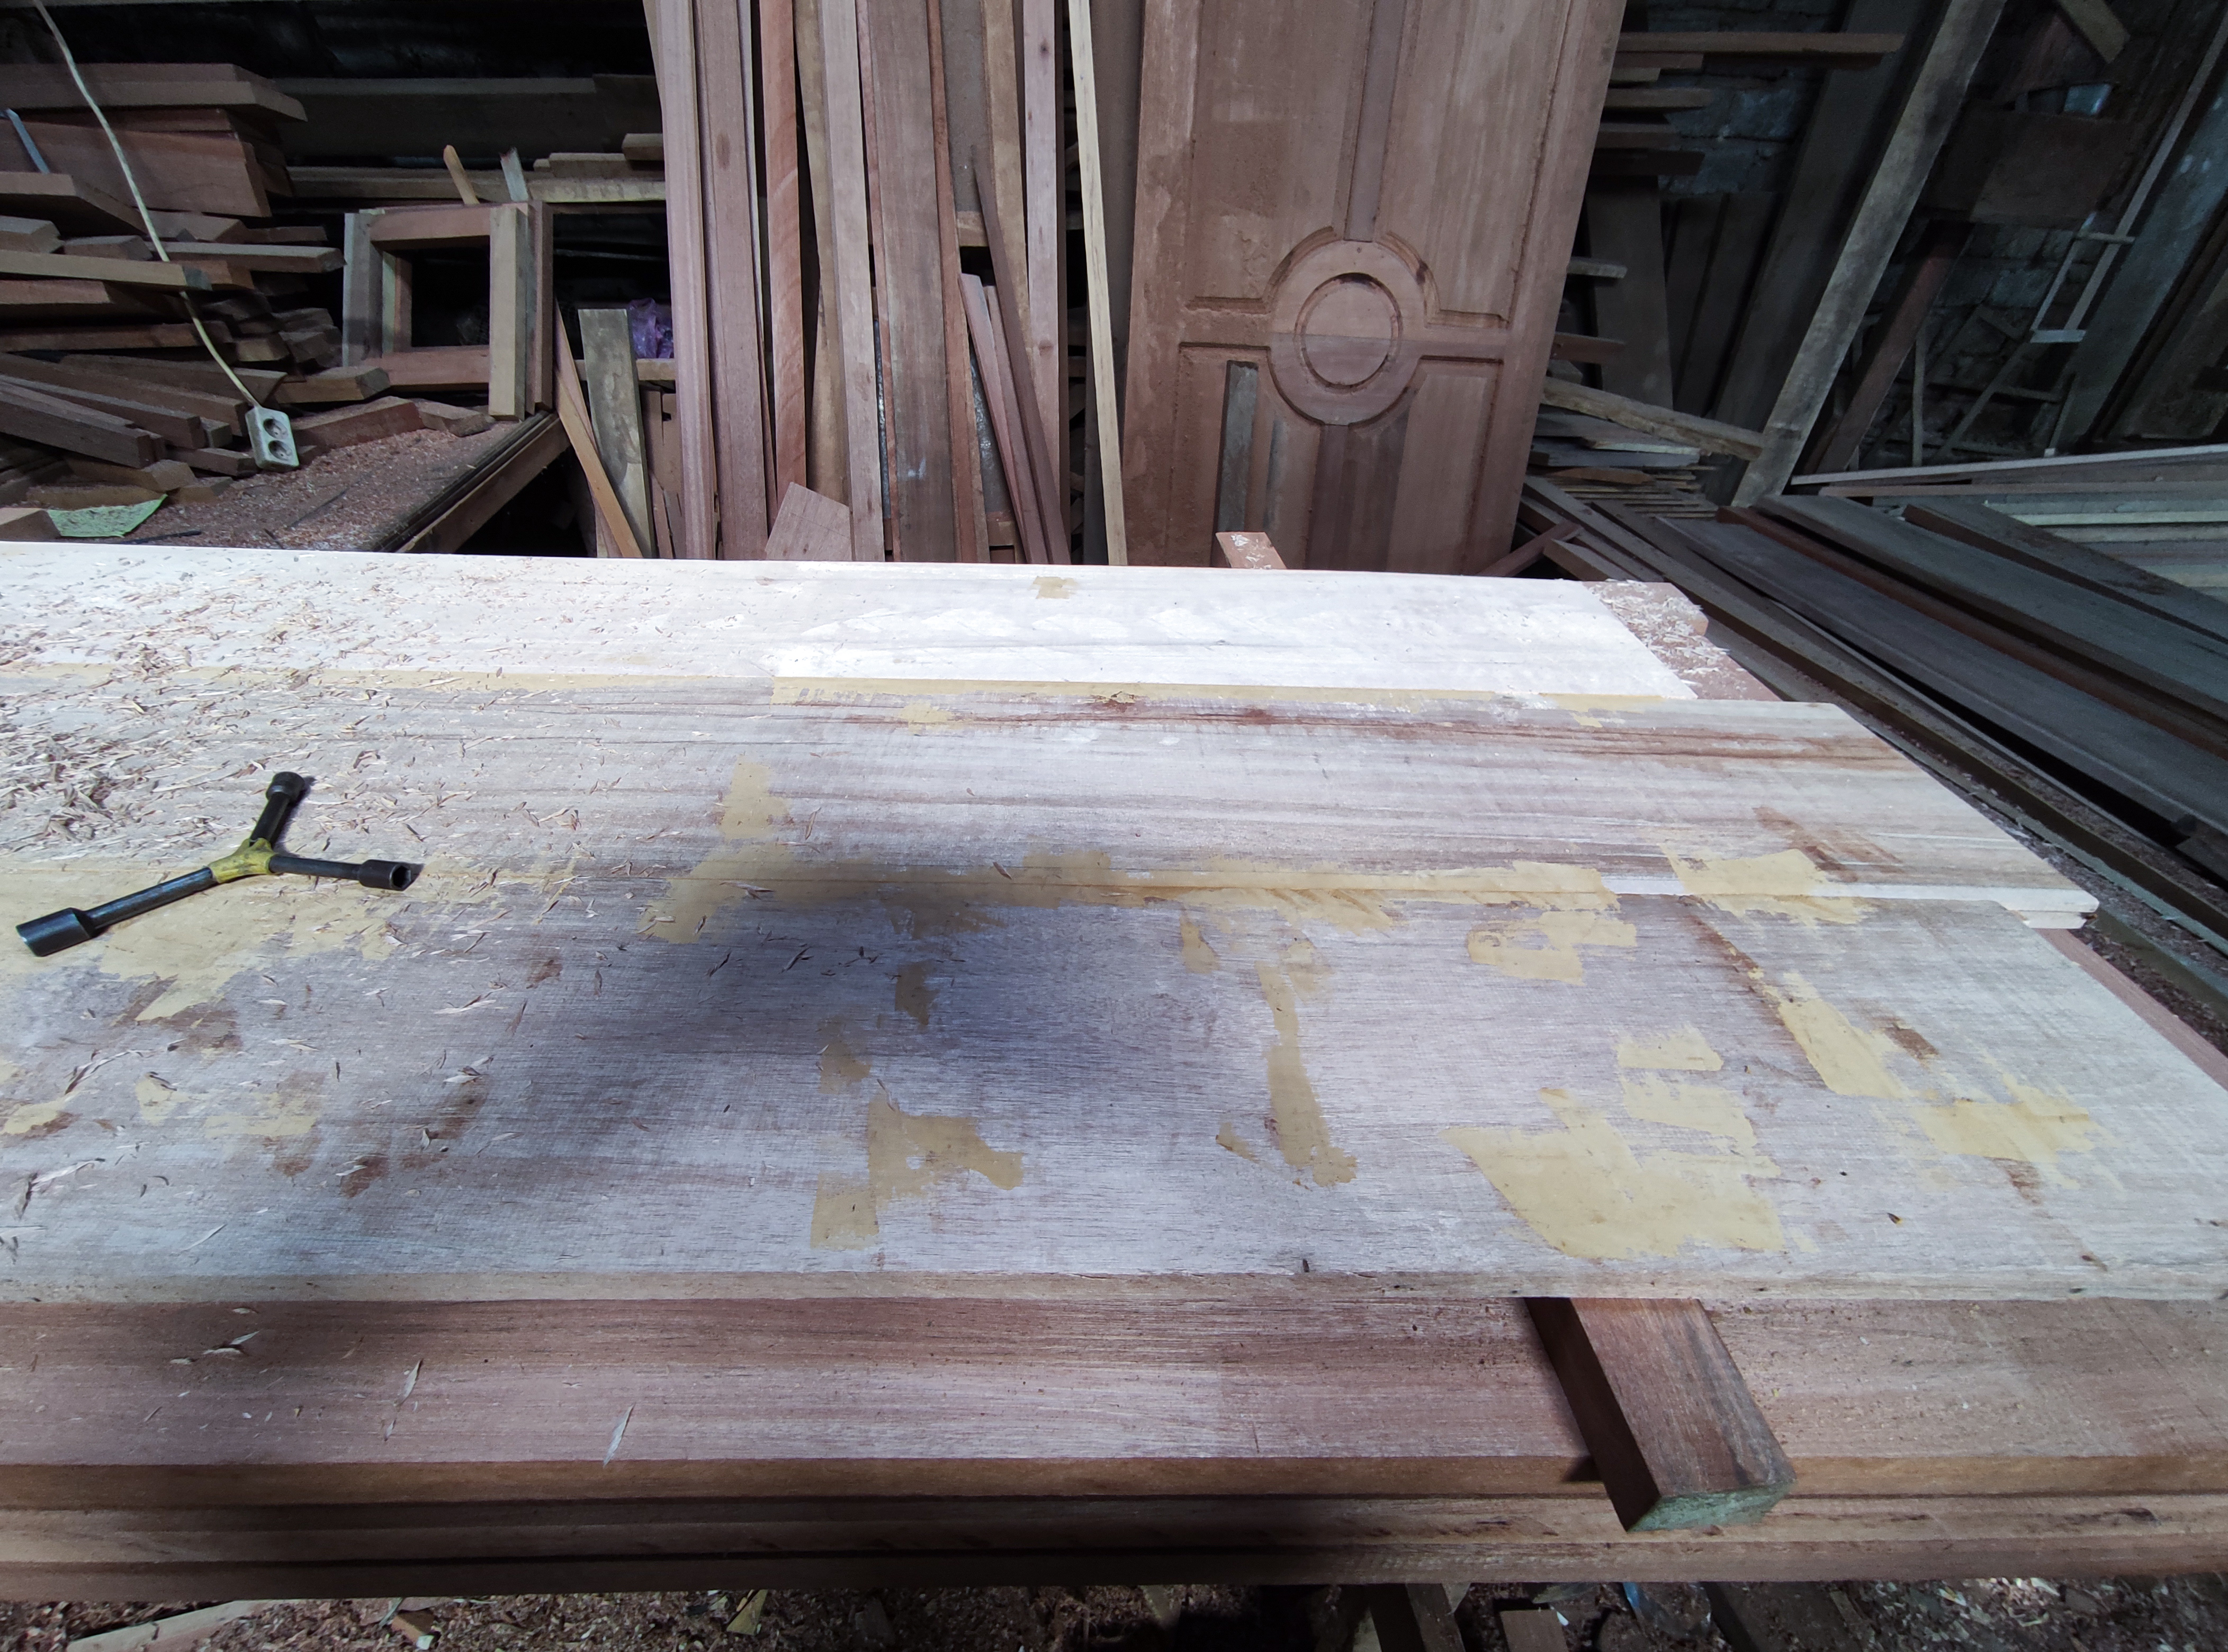
And for the door orders, my customers use meranti wood for their orders and to complete that project the sizes of materials and equipment that I use are as follows.
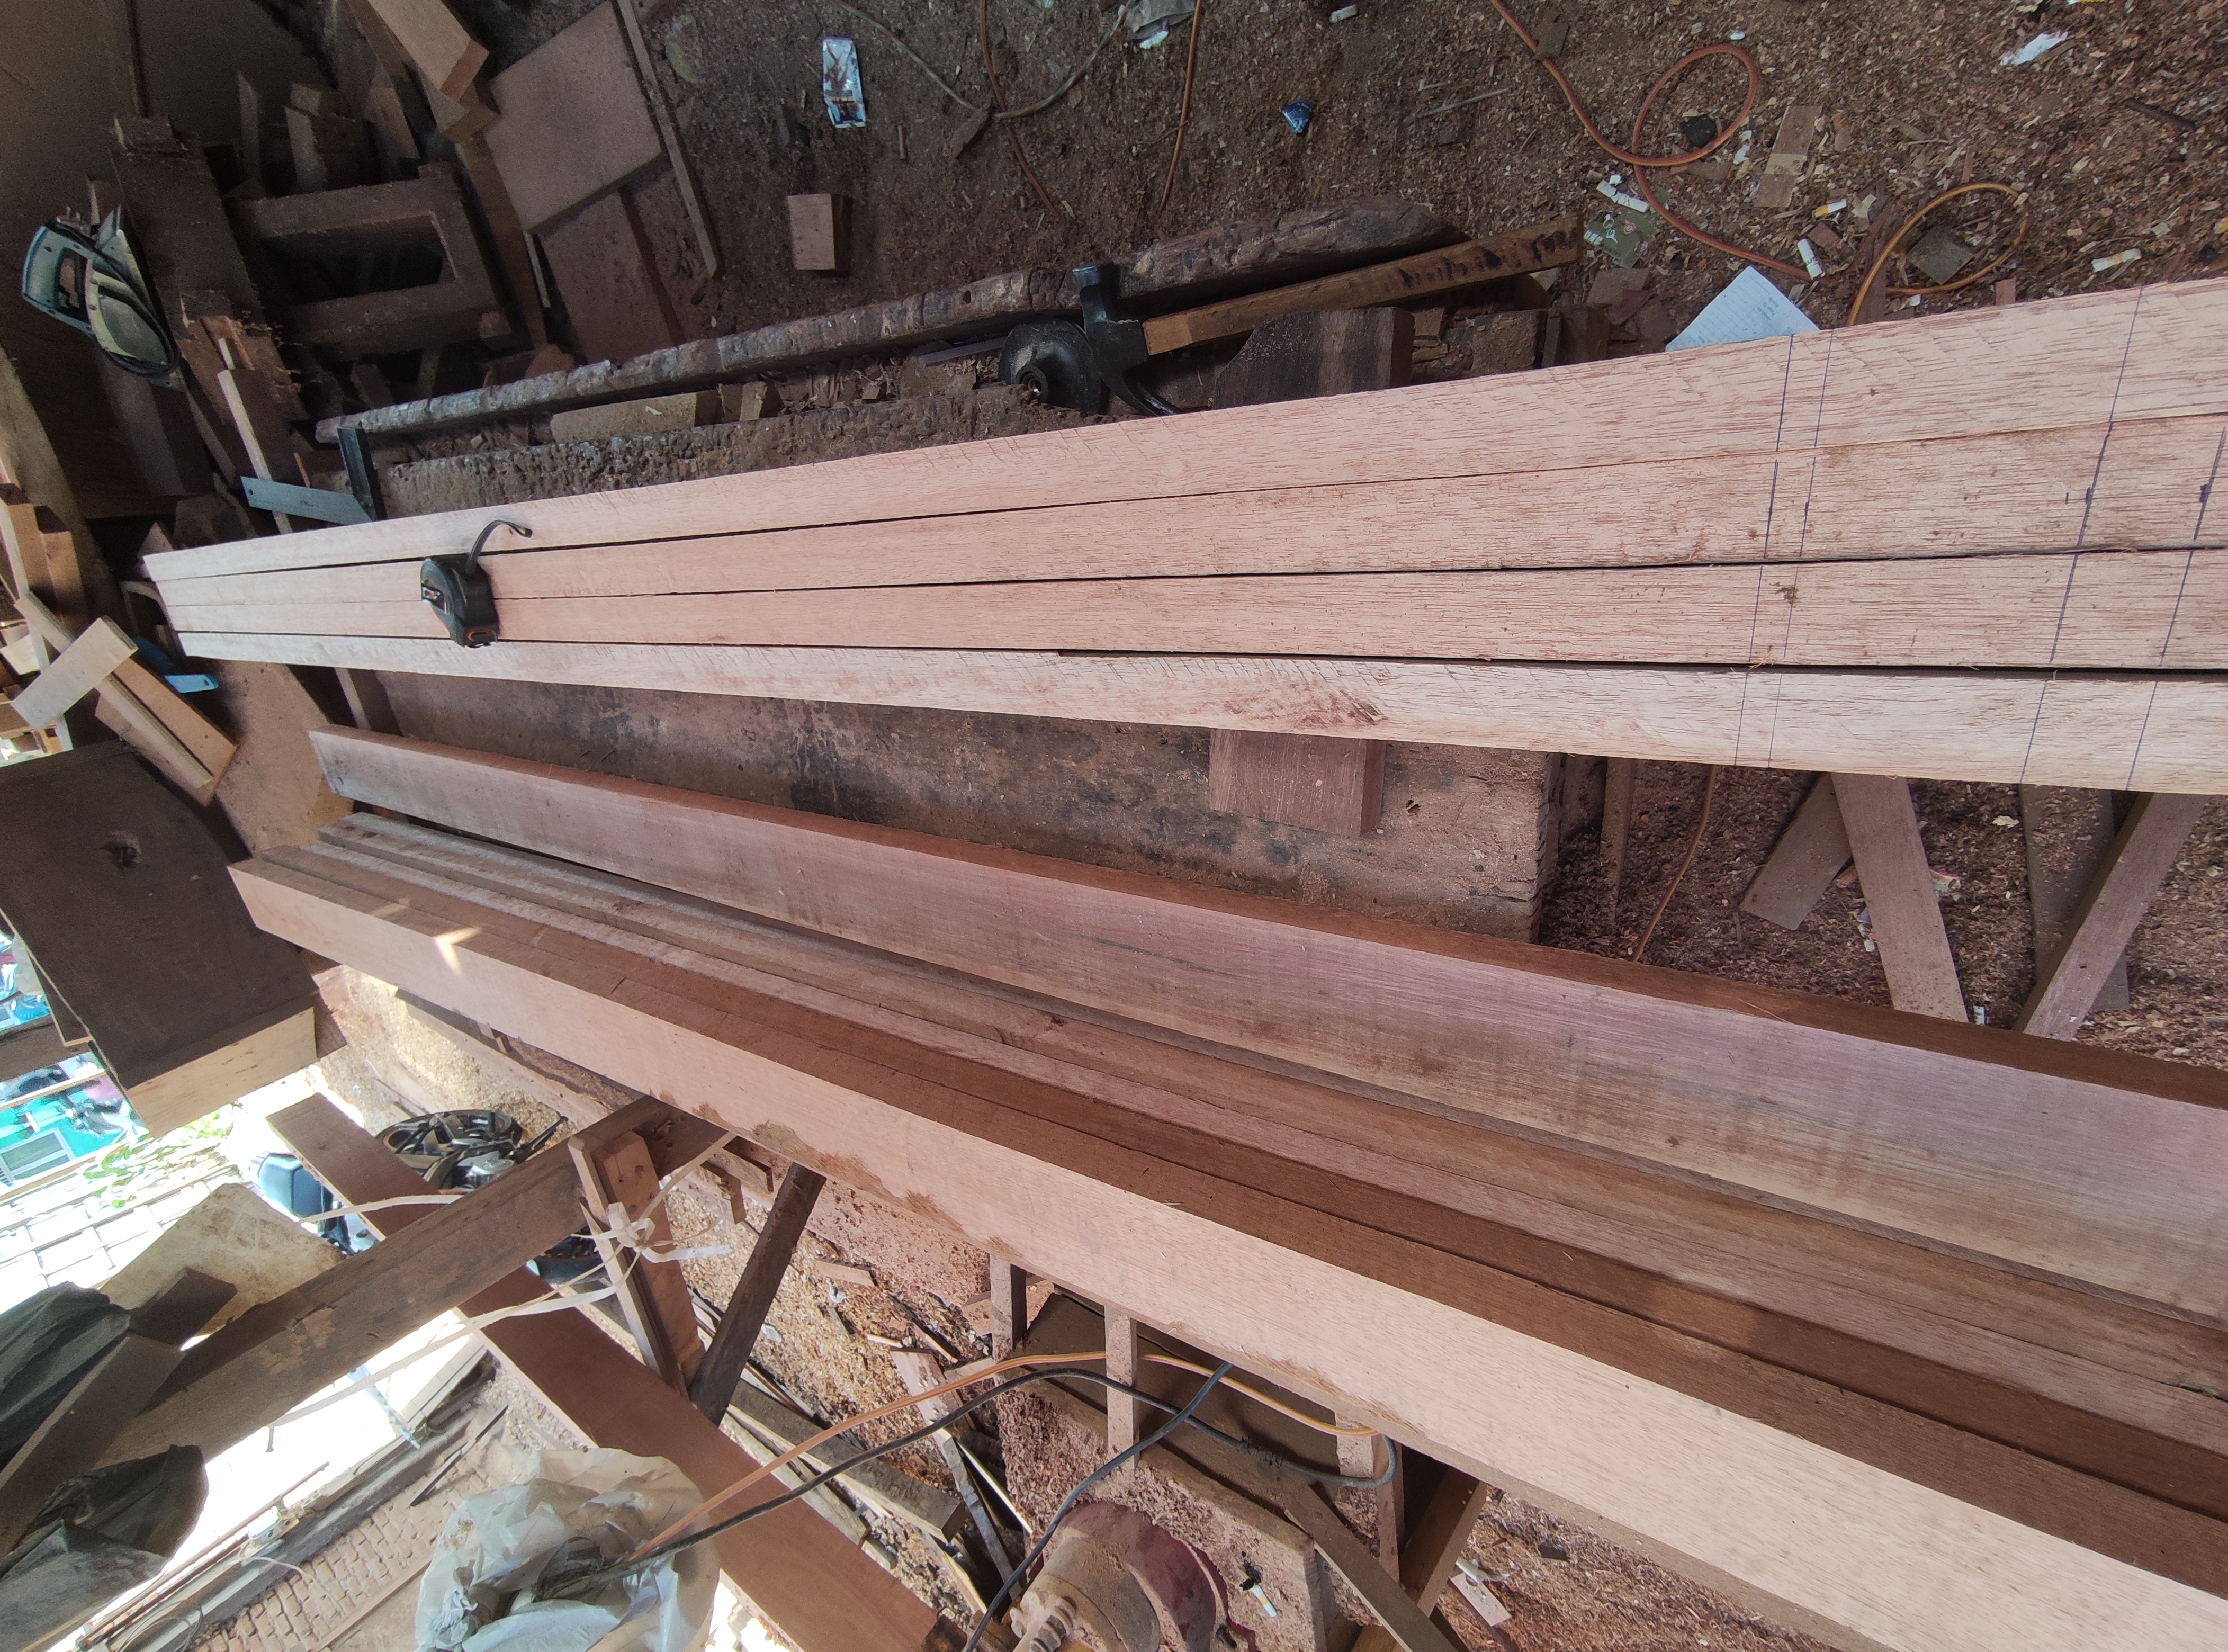
•Meranti wood that has been trimmed ....for the main frame, the left and right of the post and the upper bulkhead, the width of the door which is the main series measuring wide 10.5cm X 3.5 cm thick and the bottom door width of 20cm .
•Wood cutting machine to cut all wood materials for door materials.
•Shaving machine to flatten the entire surface of the series connection and make leaf comb carvings.*
•Hand drill(to make holes in the wood when installing the pegs) and sit drill(to make holes in the bulkhead of the top and bottom of the dors).
•Meter and hammer
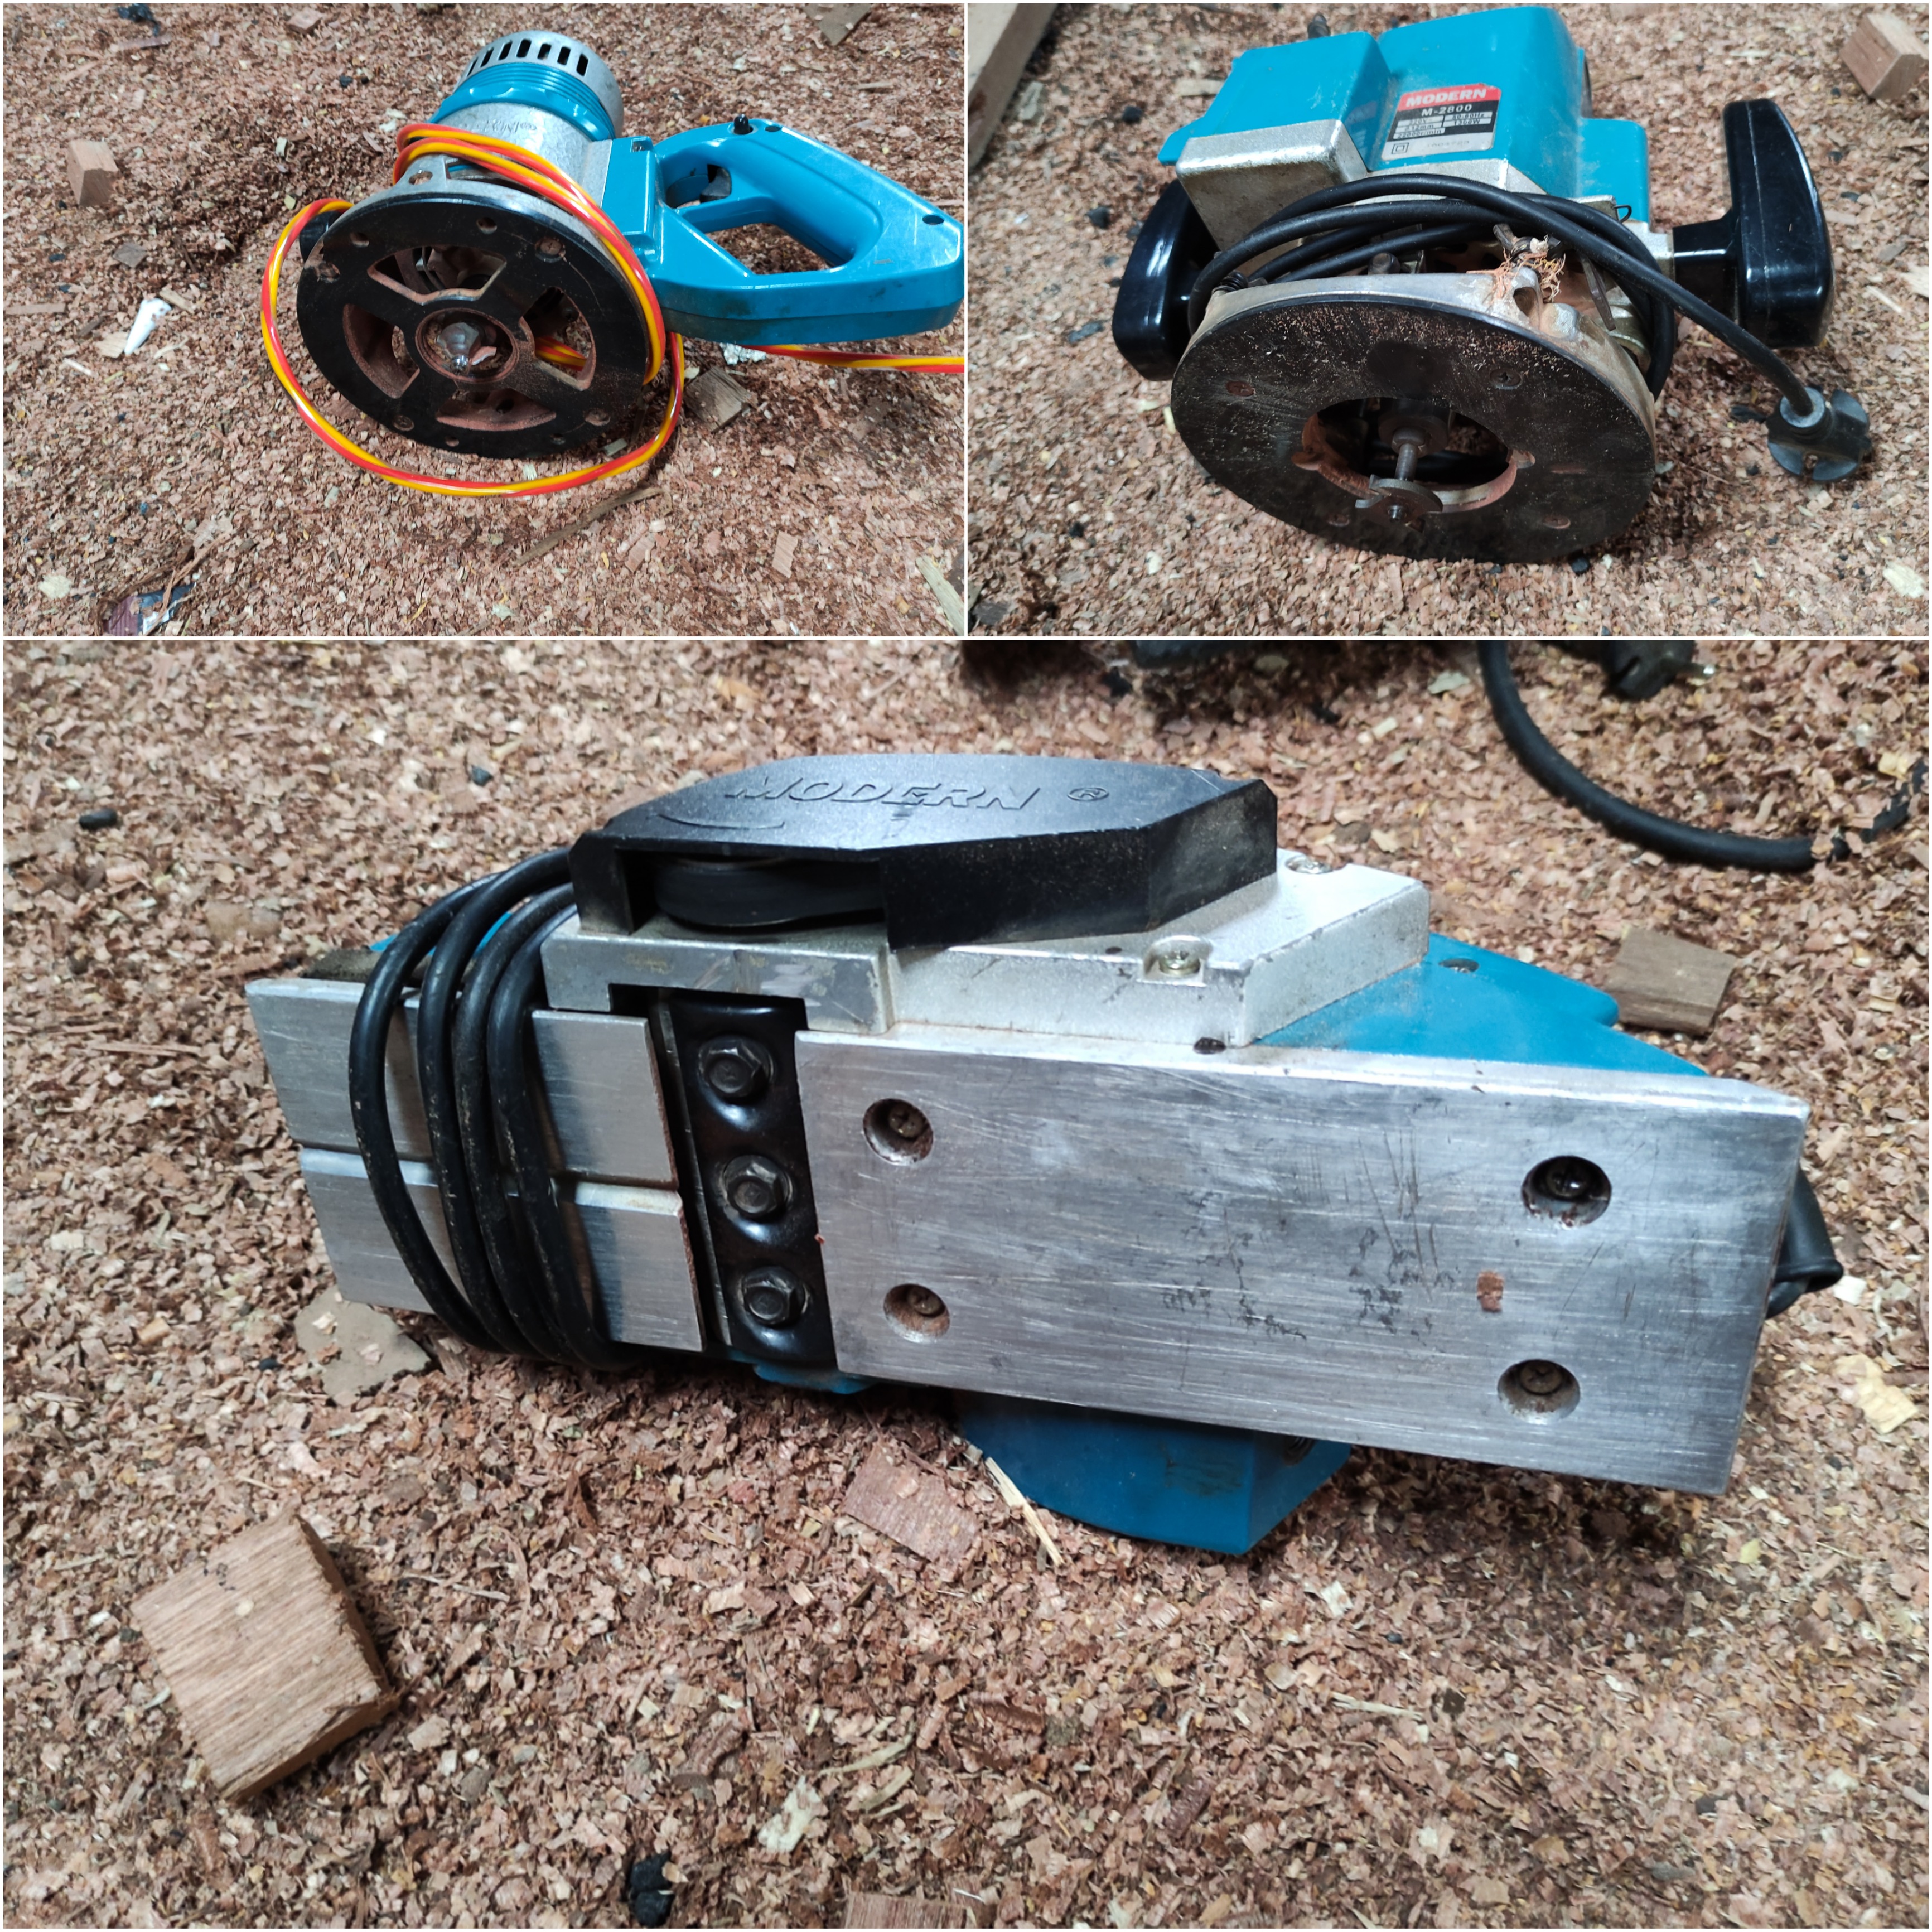
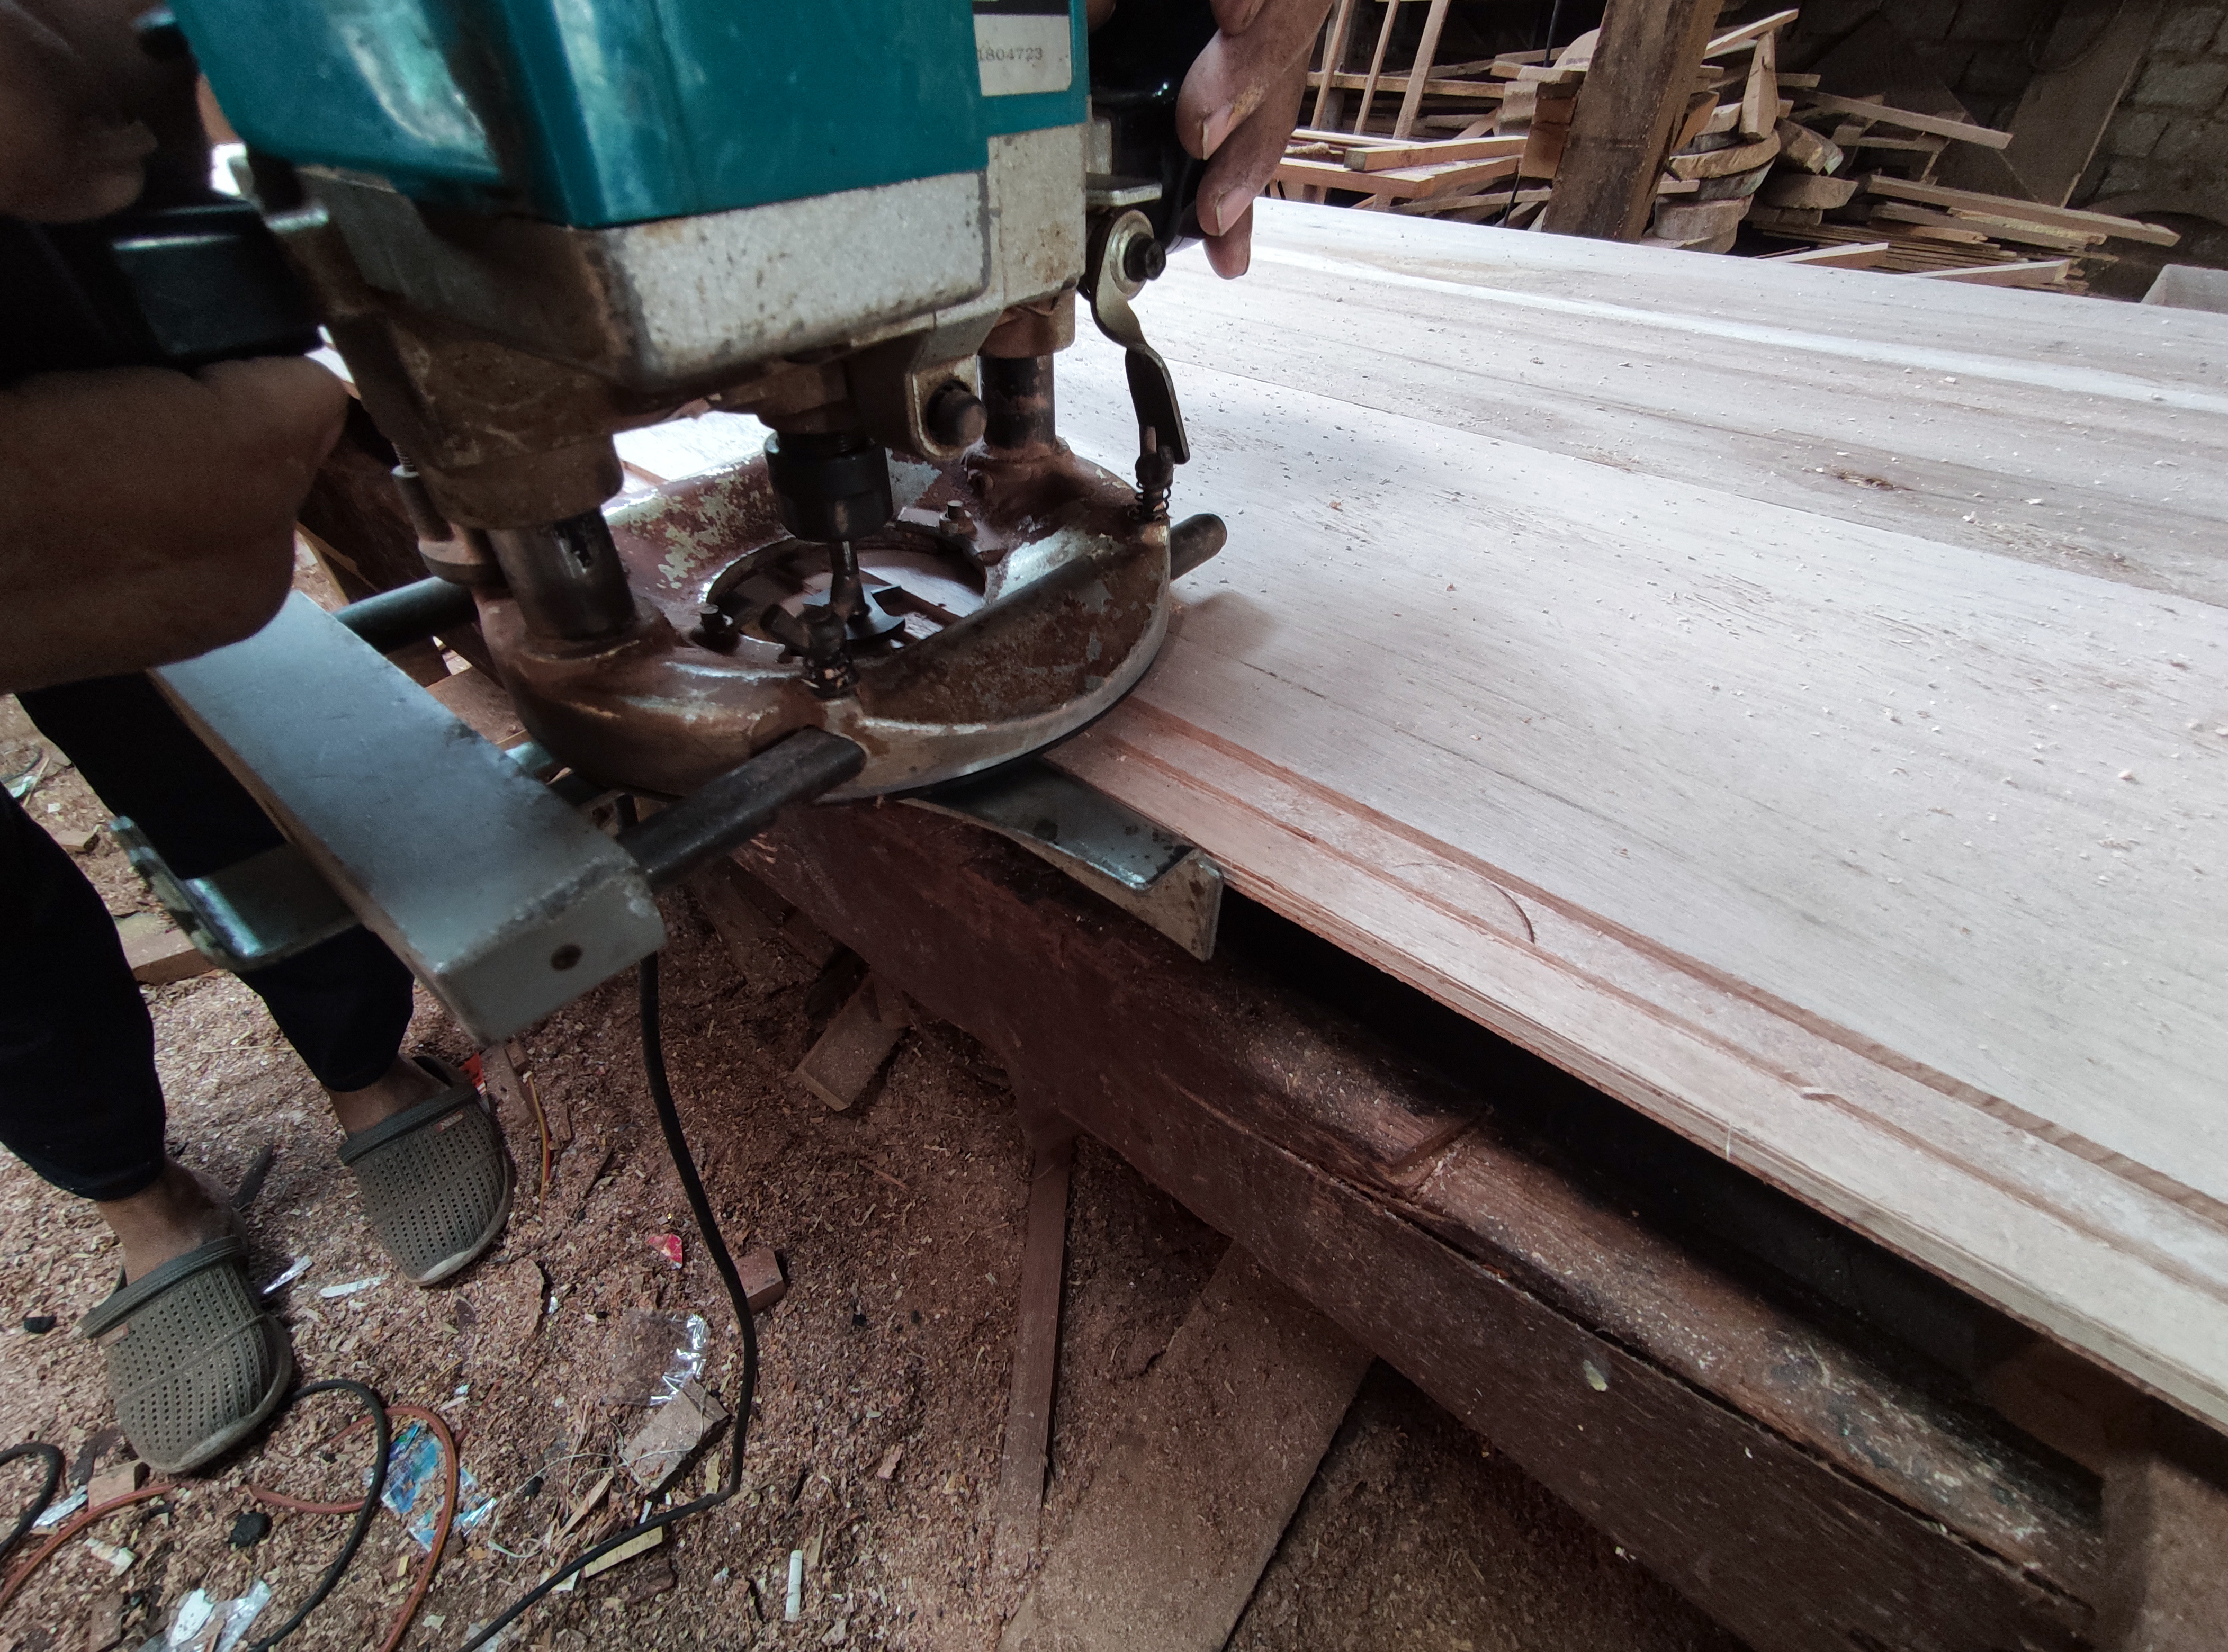
•Router machine(for making flowers on the inside corners of doors and making leaf holder holes of doors).
•Meter (measuring instrument)and elbow.
•Smoothing machine .
•Panel machine (to make nipple pegs on frame sets) and for door leaf flower panels and.
•Manual iron press to the door series during the process of installing the pegs.
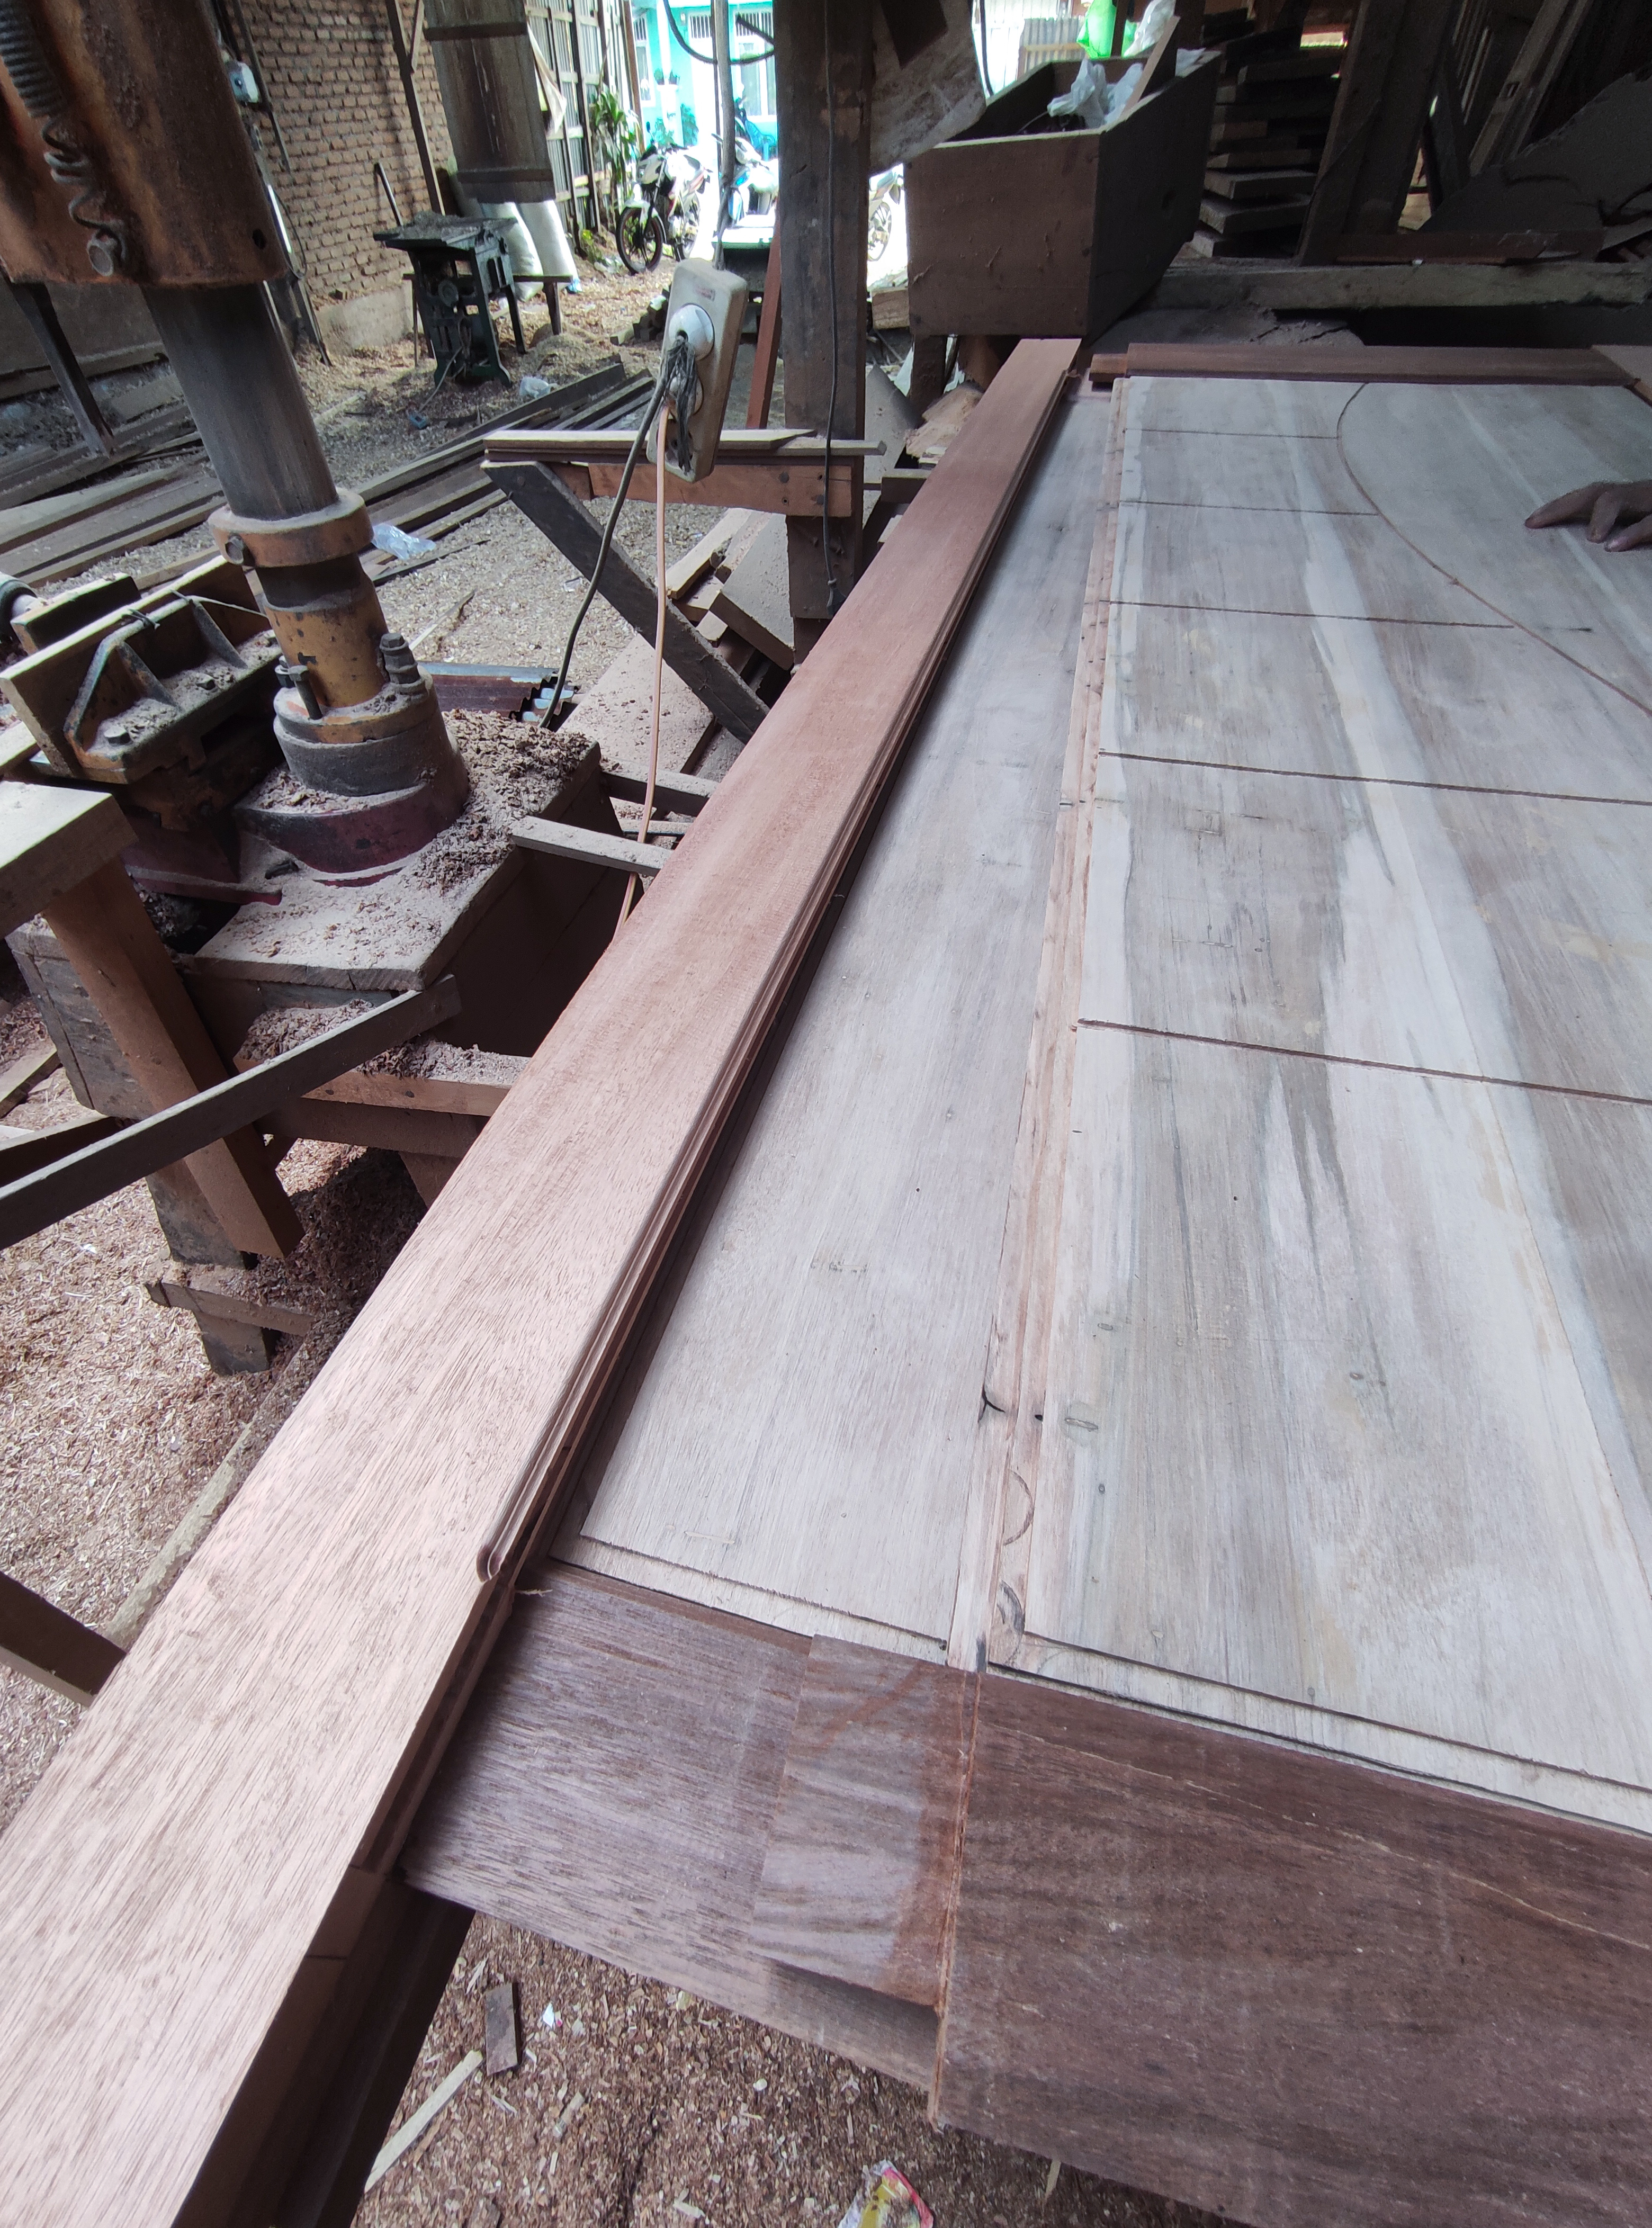
After all the materials are available, now we enter the main process, namely the preparation of a series of left-right door poles.
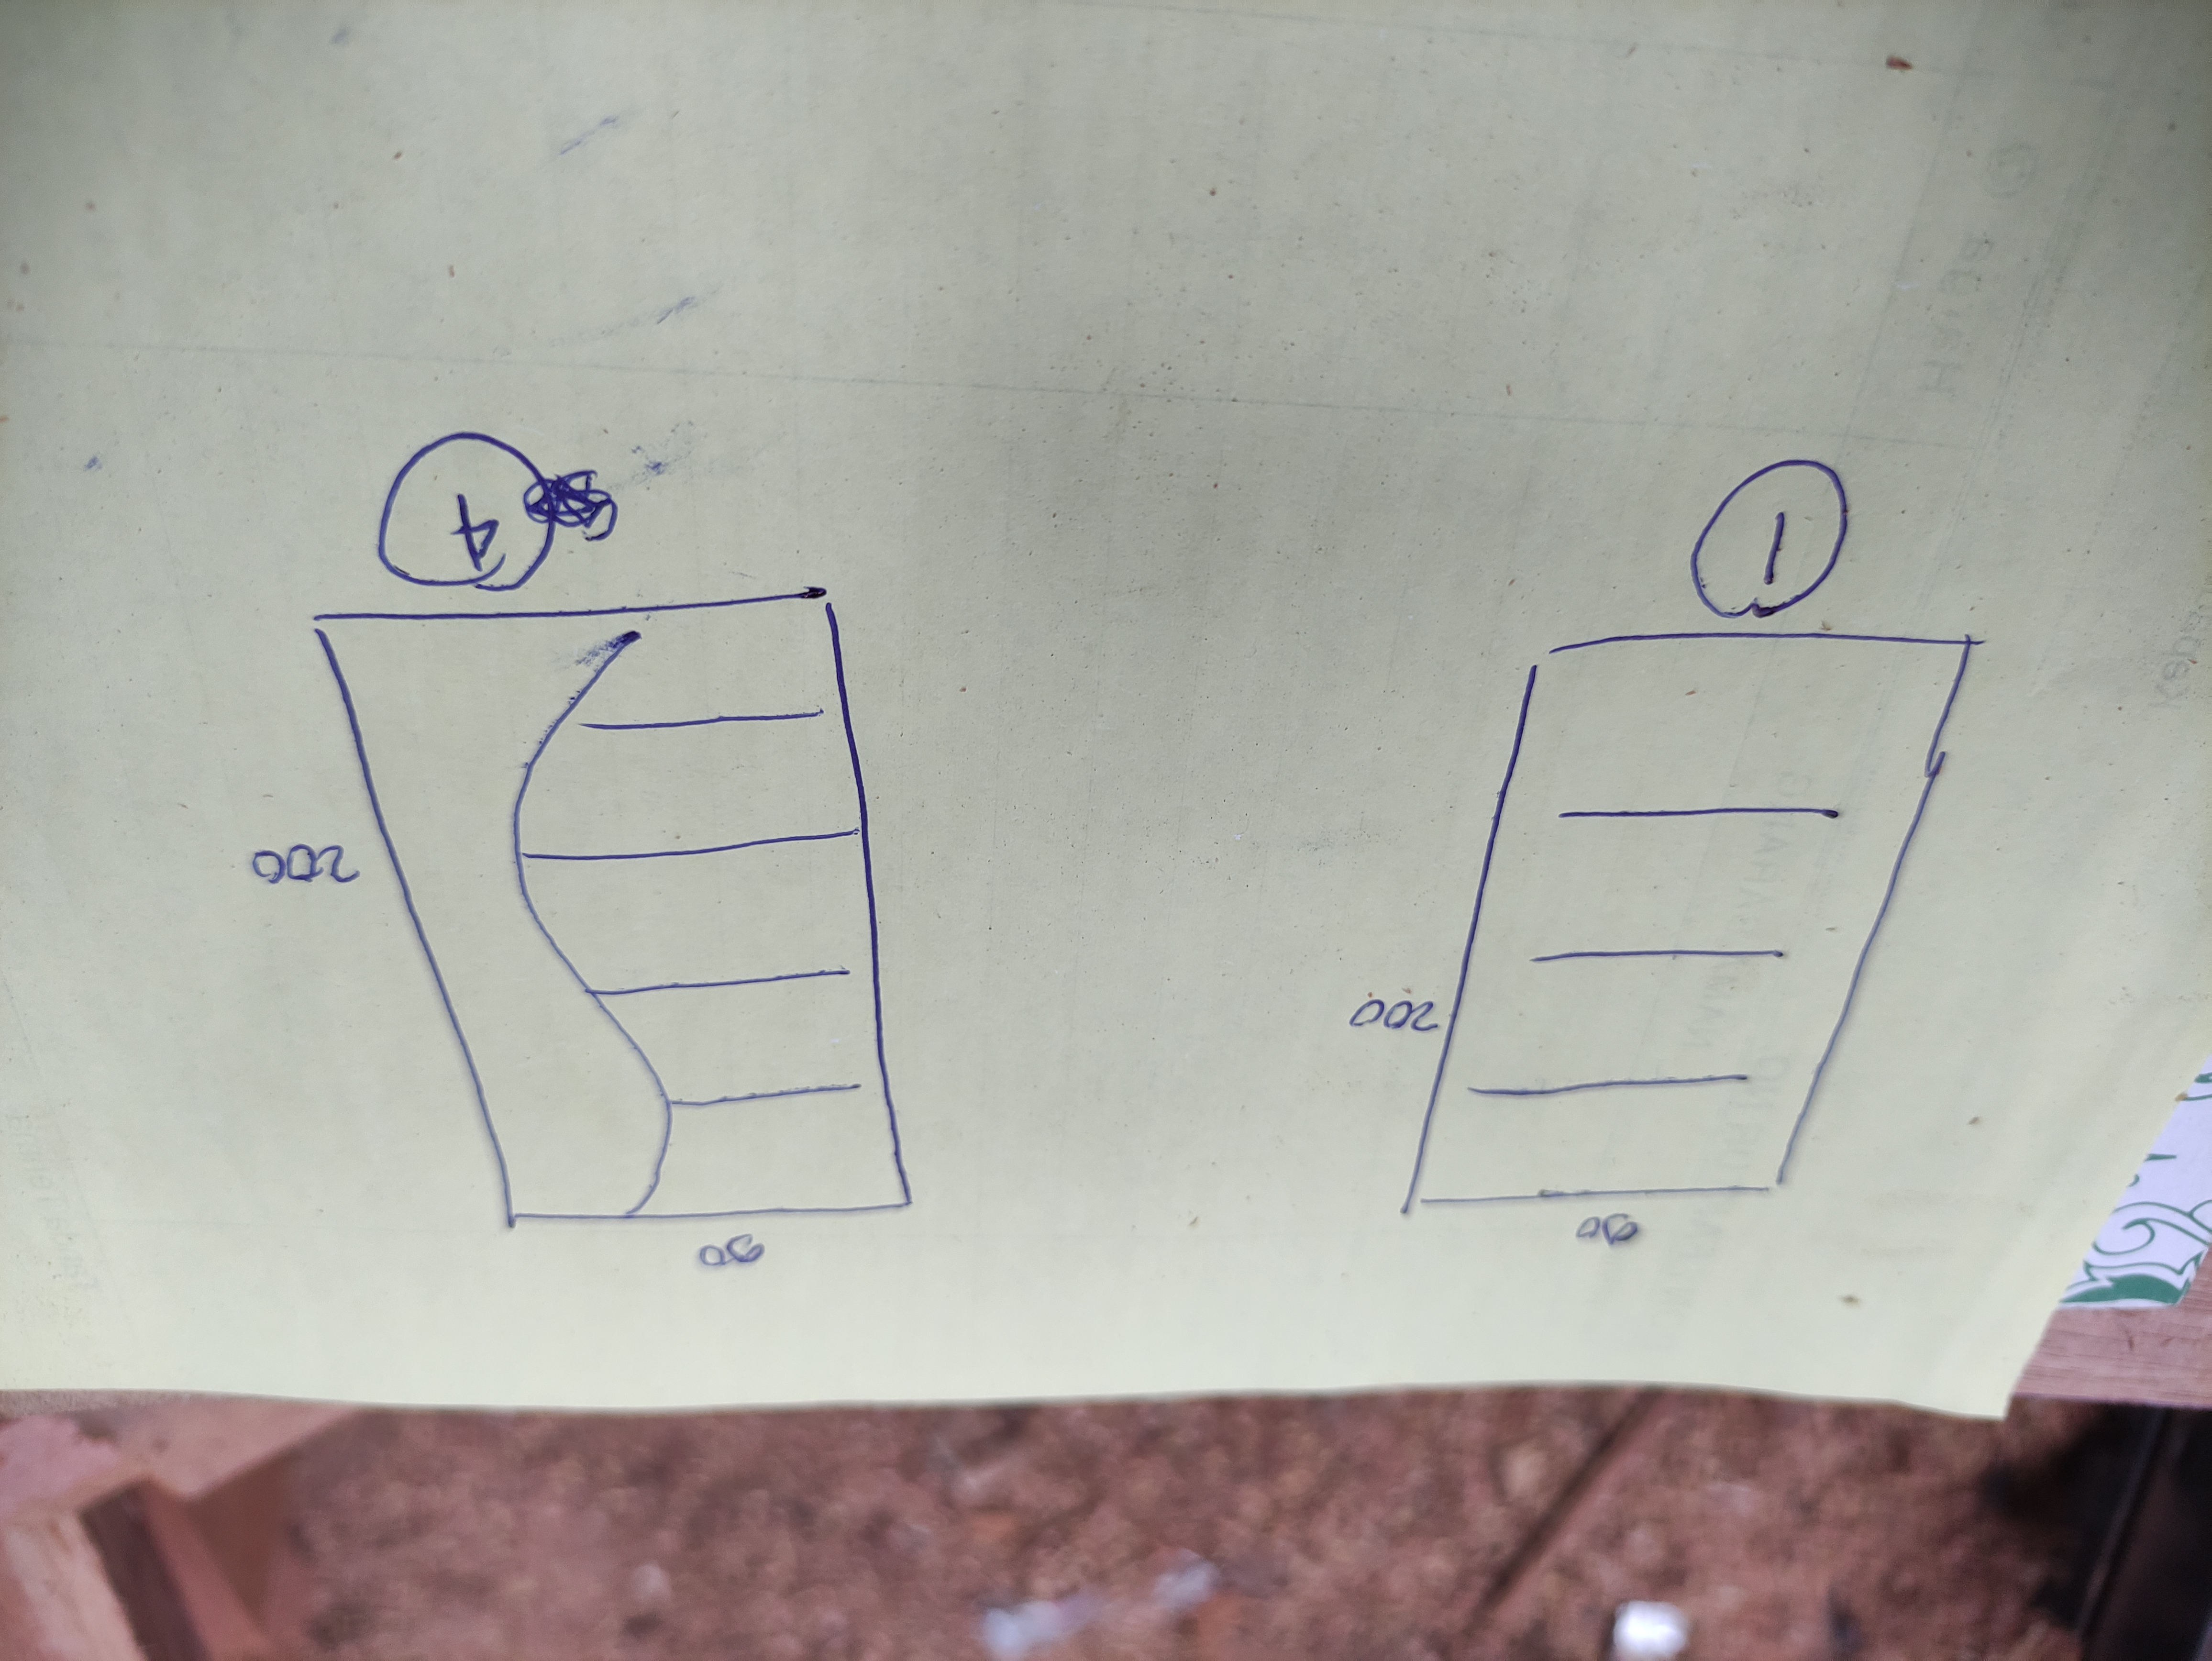
The door has two different sizes with different designs, namely 4 door units (90x210) and 1 door unit with a door size of 90cm wide x 200 cm high and in the process of making this door we work on a peg connection system which is of course the same as other manufacturing processes with different stages of the process.
![]()
In total, all the main posts for the door are 10 rods consisting of 5 doors that are ready for me to drill the line, sit the door width connection pegs and and after the main pillar preparation process is complete then I continue the process of making the door width connection bulkhead consisting of two different bulkhead width sizes.

![]()
For the size of the main bulkhead for the upper frame of the door, we provide wood that has the same width as the width of the main pillar, which is 10.5 cm and the length of the wood for the bulkhead after I hinted is 77cm which consists of the nipples of the 4cm connection pegs left and right of the bulkhead and and for the bulkhead under the door we provide a bulkhead with a width of 20cm wood and a thickness of 3.5 cm so that the door has strong durability.
And after the circuit preparation process is complete, now I continue the process of drilling the door width bulkhead peg holder on the main pole of the door circuit material and I do the drilling process using a seated electric drill.

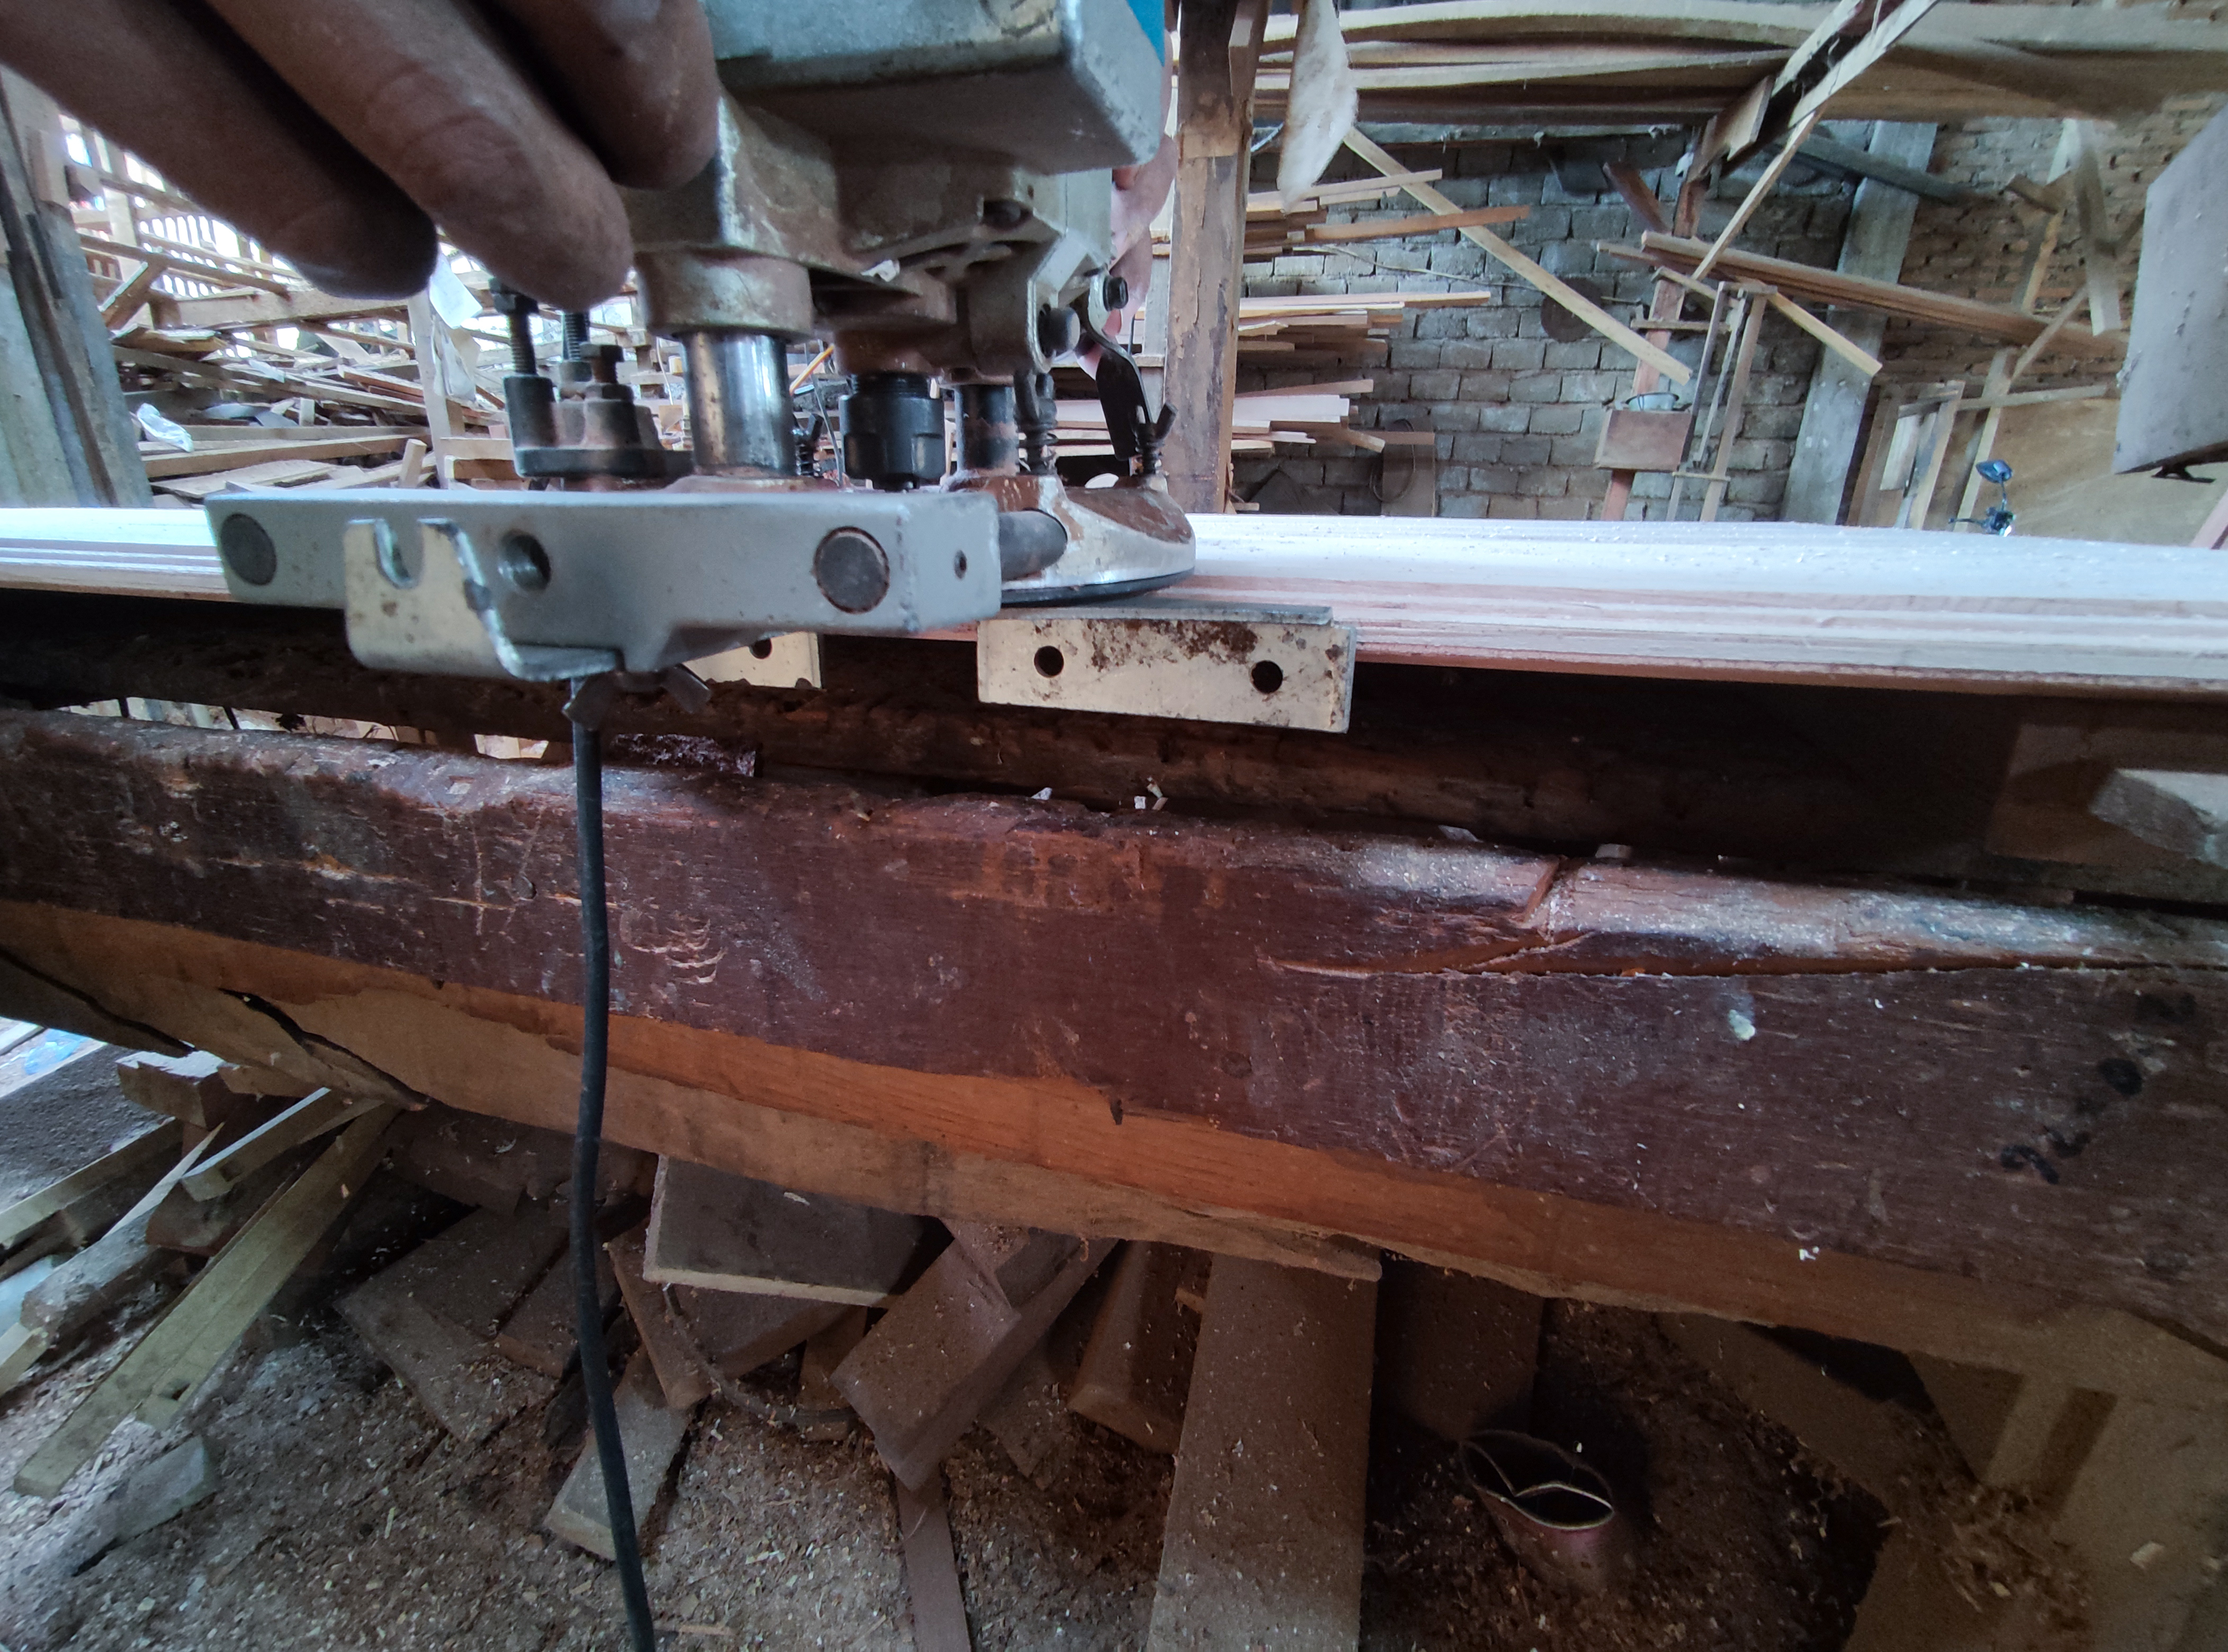
And after the drilling process of all the bulkheads is complete then I continue the process of making the nipples using the panel machine.
And after the process of making the peg nipple is complete then I continue the process of unifying the circuit until the process of planning using a shaver machine, and after the planting is complete I continue the process of giving flowers on the inner surface of the door and scraping the door leaf holder on the series using a router machine.
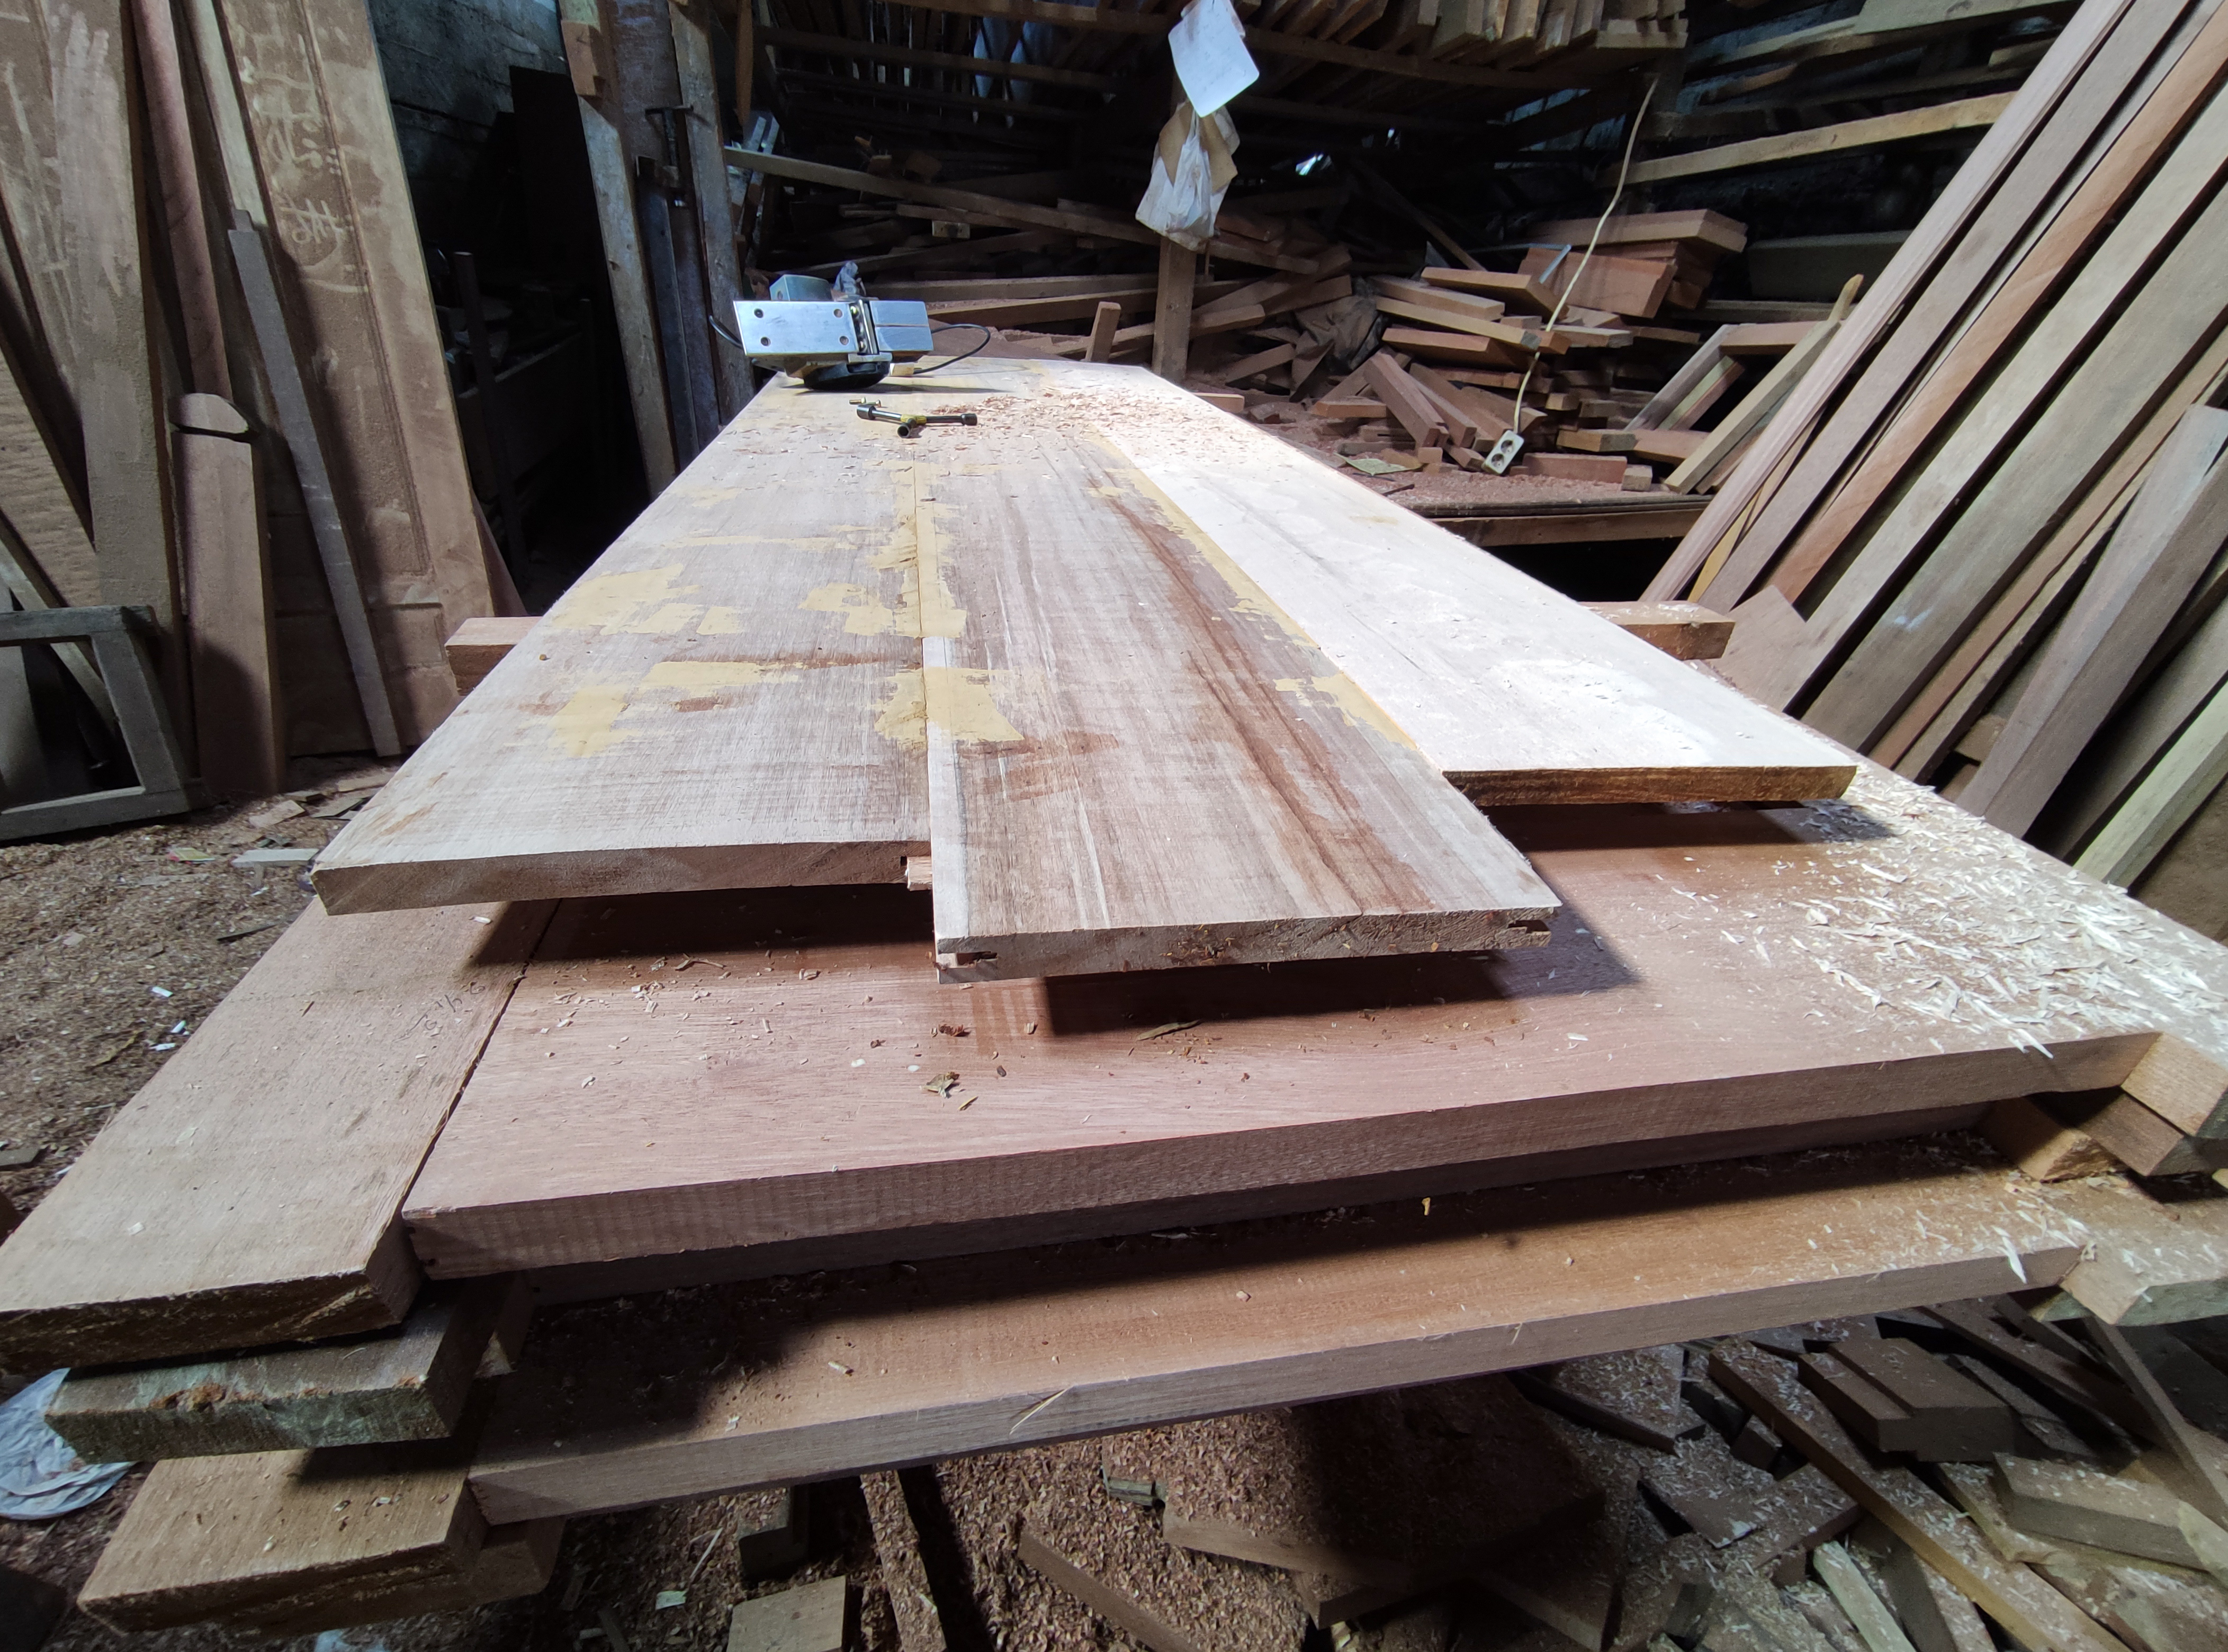
And after the process of preparing the series of doors is complete, this is the result of the circuit of the five doors that I have arranged in one line.

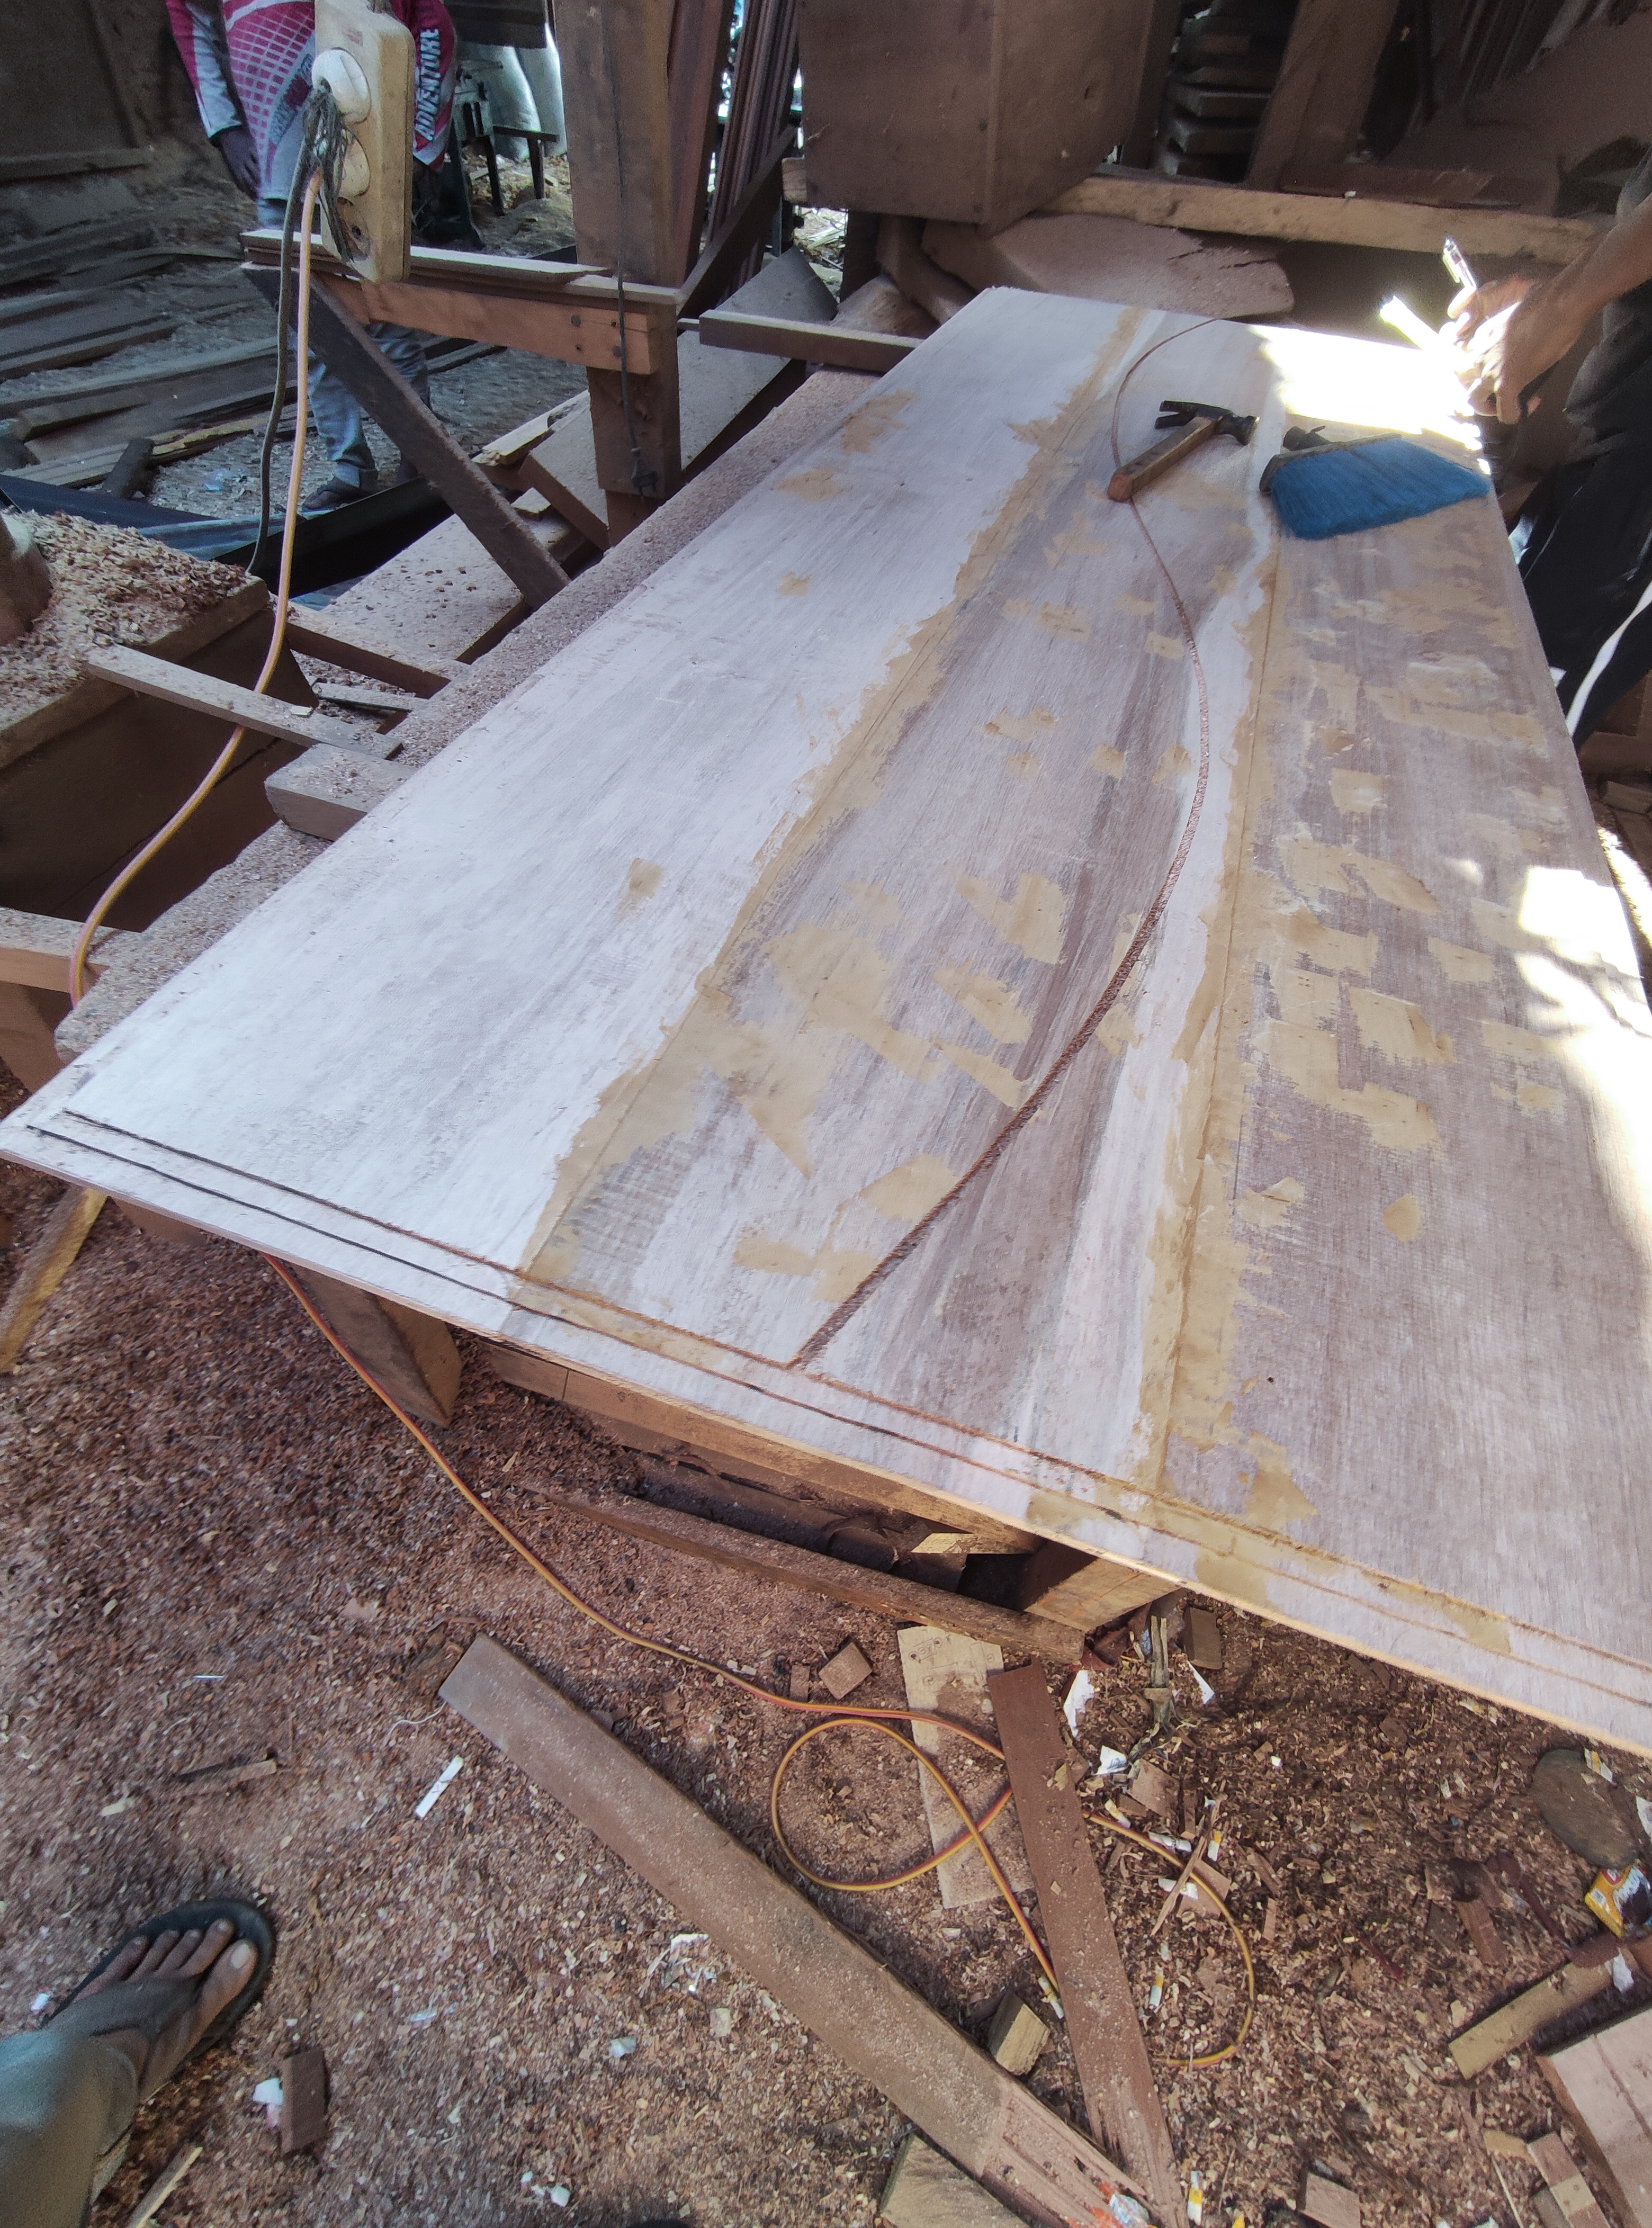
And the next stage is the preparation of the door leaf and the door has the same width and 1 door unit has a different leaf length, namely for 4 door units measuring 90cm X 210cm, the size of the door leaf is 61cm wide consisting of 1cm left and right nipples, the leaf height for the 4 door units is 181.5 cm, while for 1 door unit measuring 90cm x 200 cm has the same leaf width and has a different height of 171.5 cm.
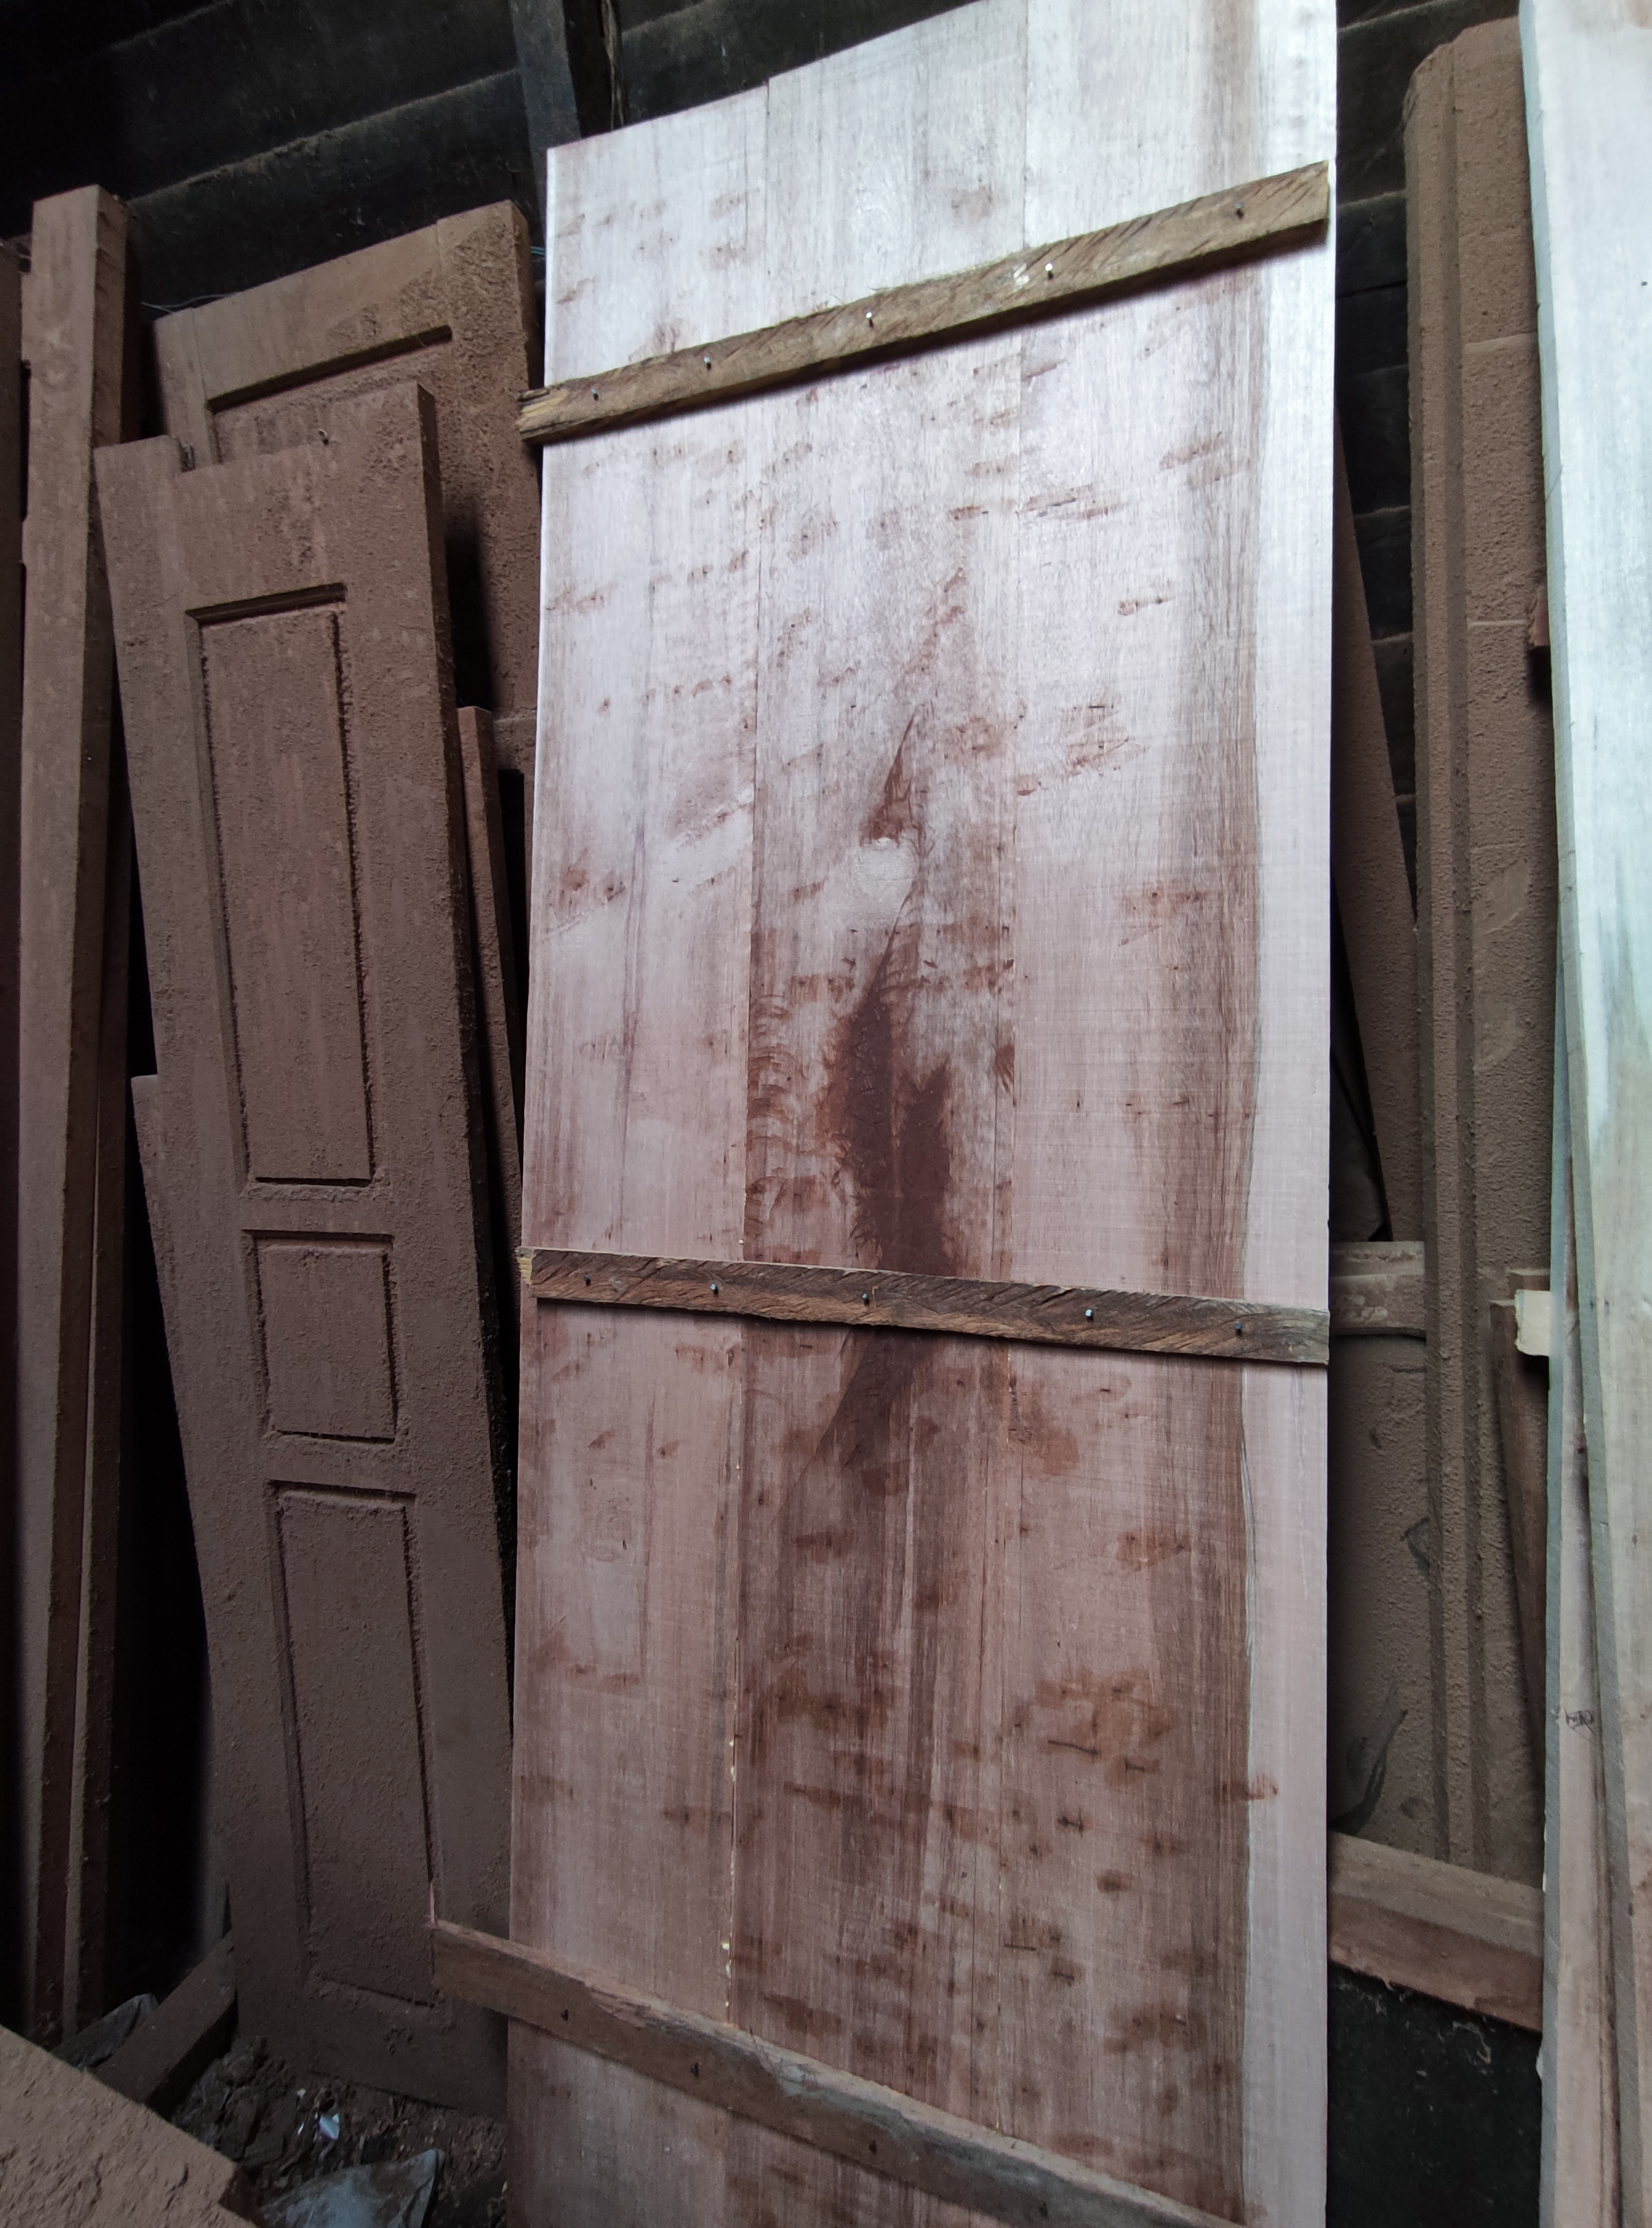
To complete the process of making the leaf for the door, here we use a board with a width of 25cm and of course we have to connect as many as 3 boards to one unit of that door.
And the connection process, we use pegs and glue so that the board connection is really strong and the process of making the peg holder uses a router machine on the entire surface of the board and we continue the process of planting the pegs with the help of glue in the middle of the surface of the board connection.
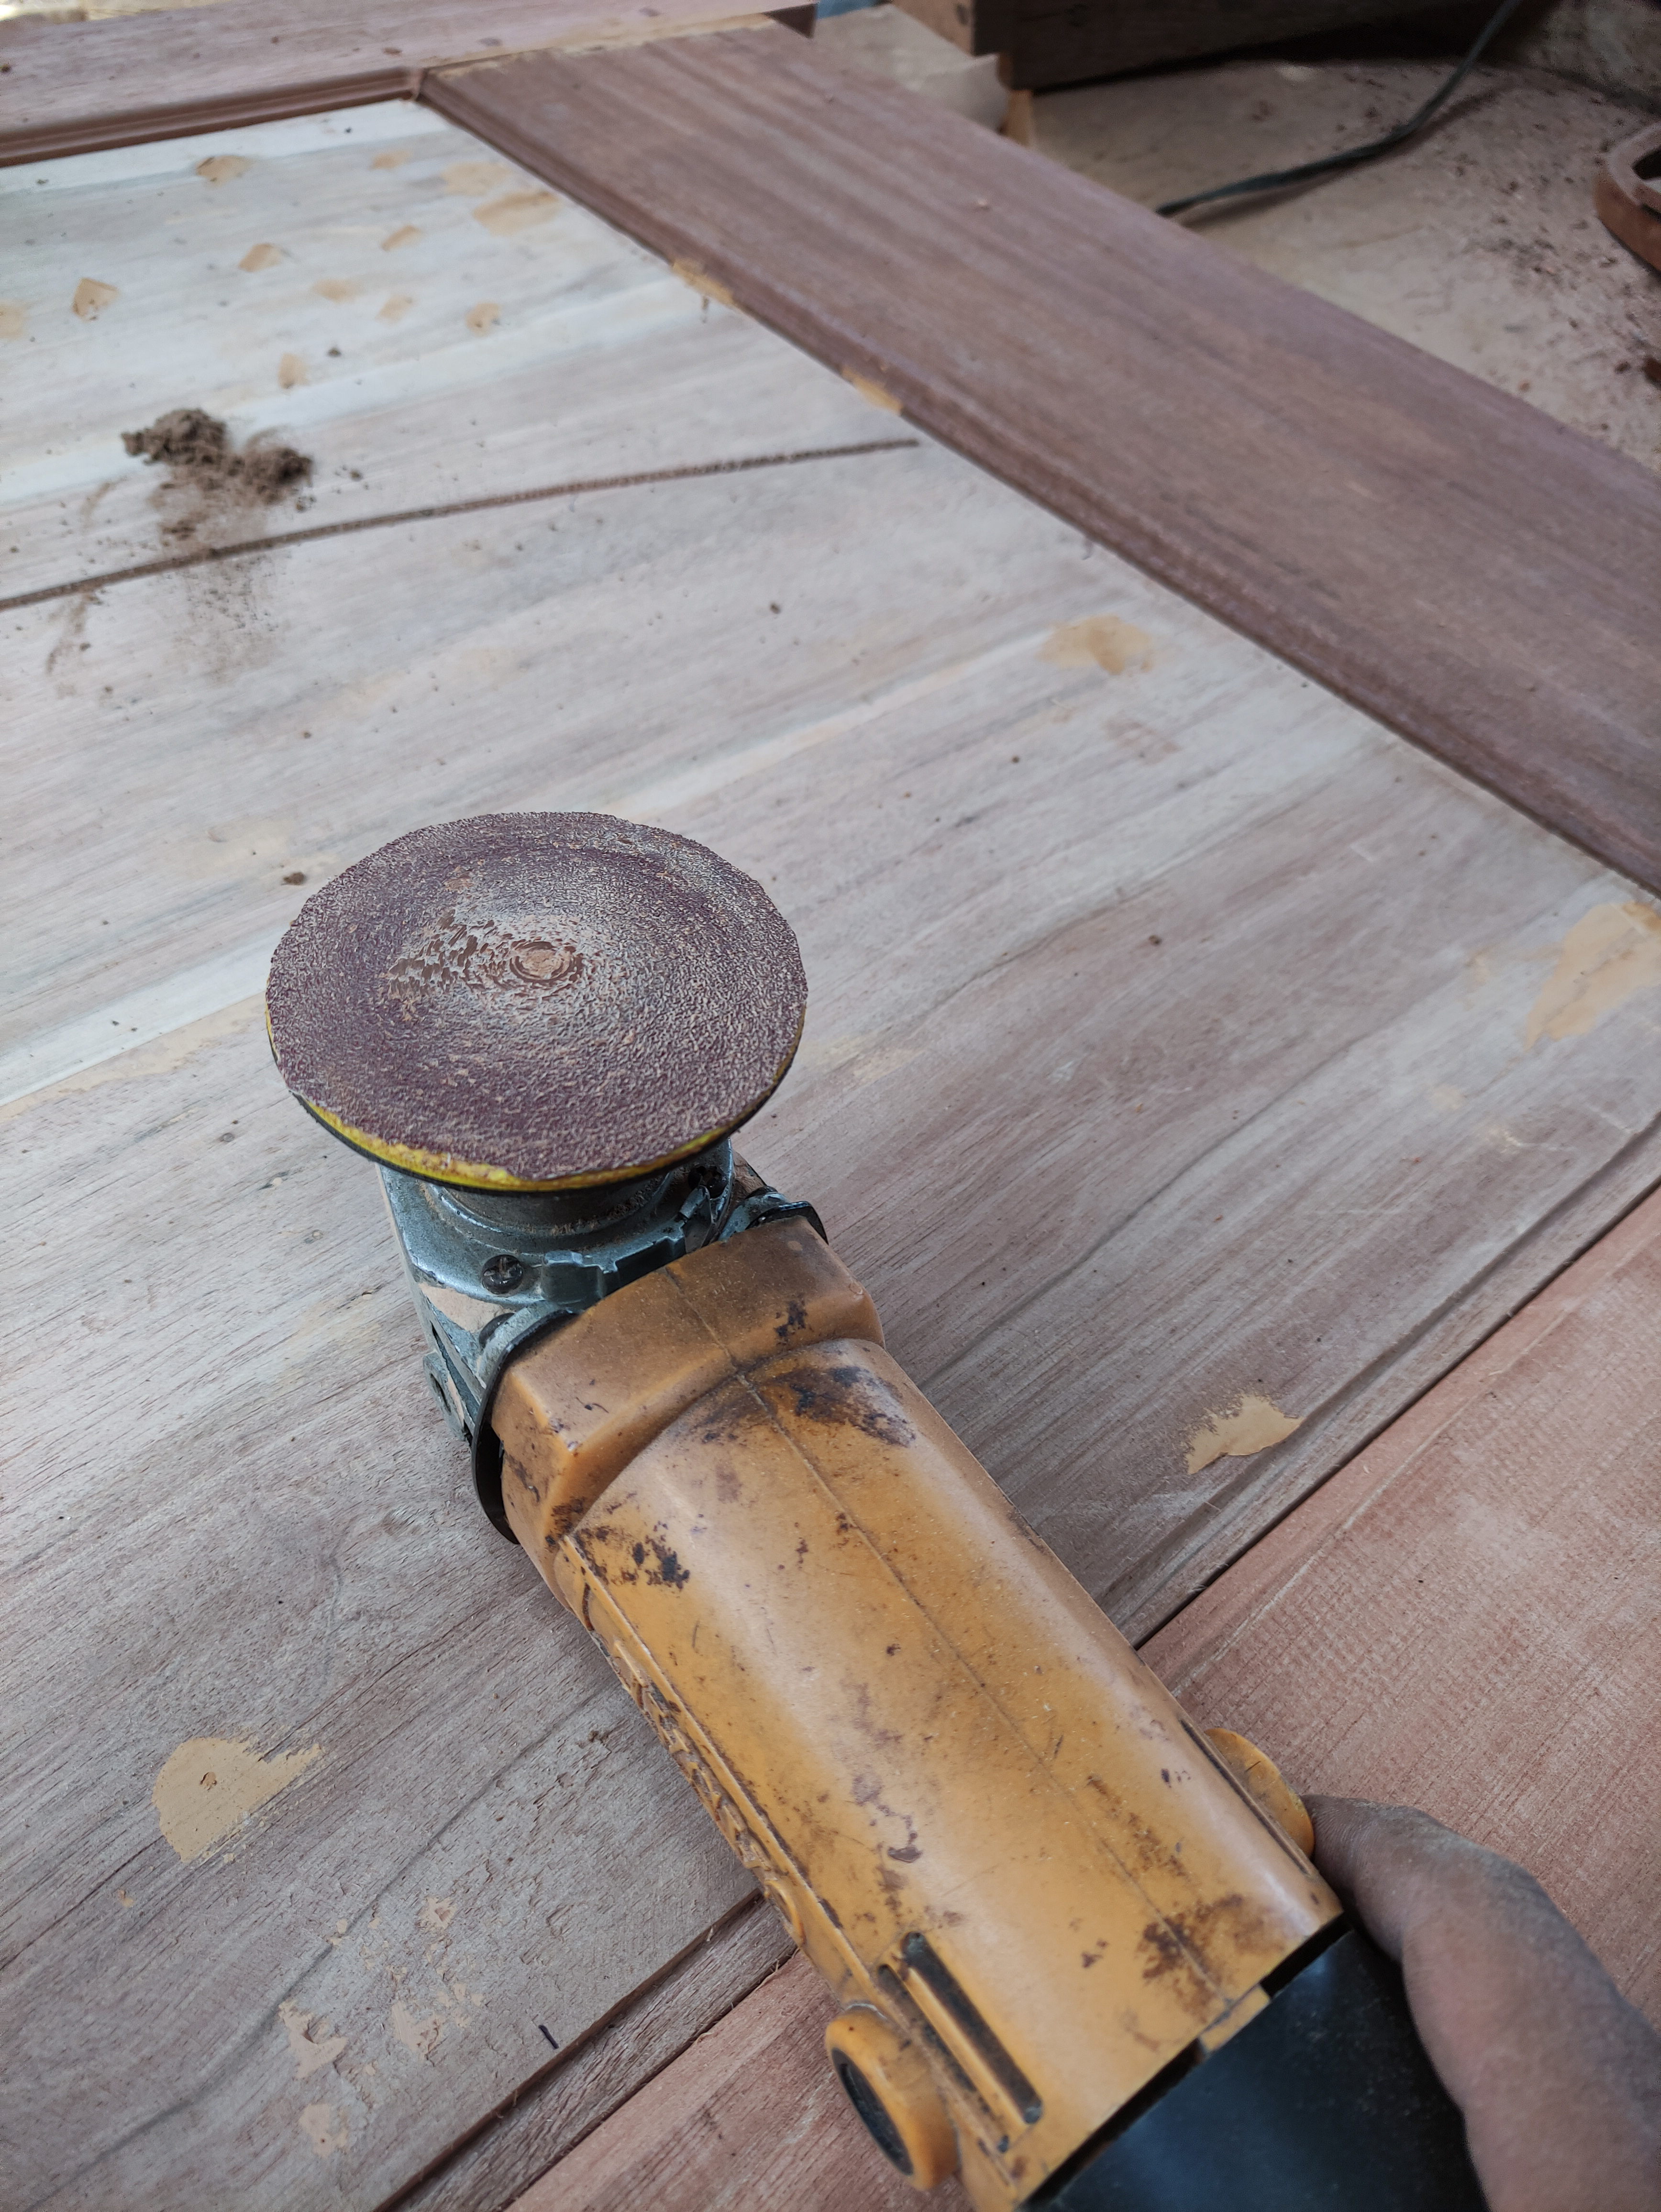
And after the connection process is complete, I continue the process of smoothing the connection surface using a planer and I continue with dumpul all the small holes on the surface of the board that termites work on and after that I continue the process of locking the connection using wood and let the glue dry for 1/2 day.
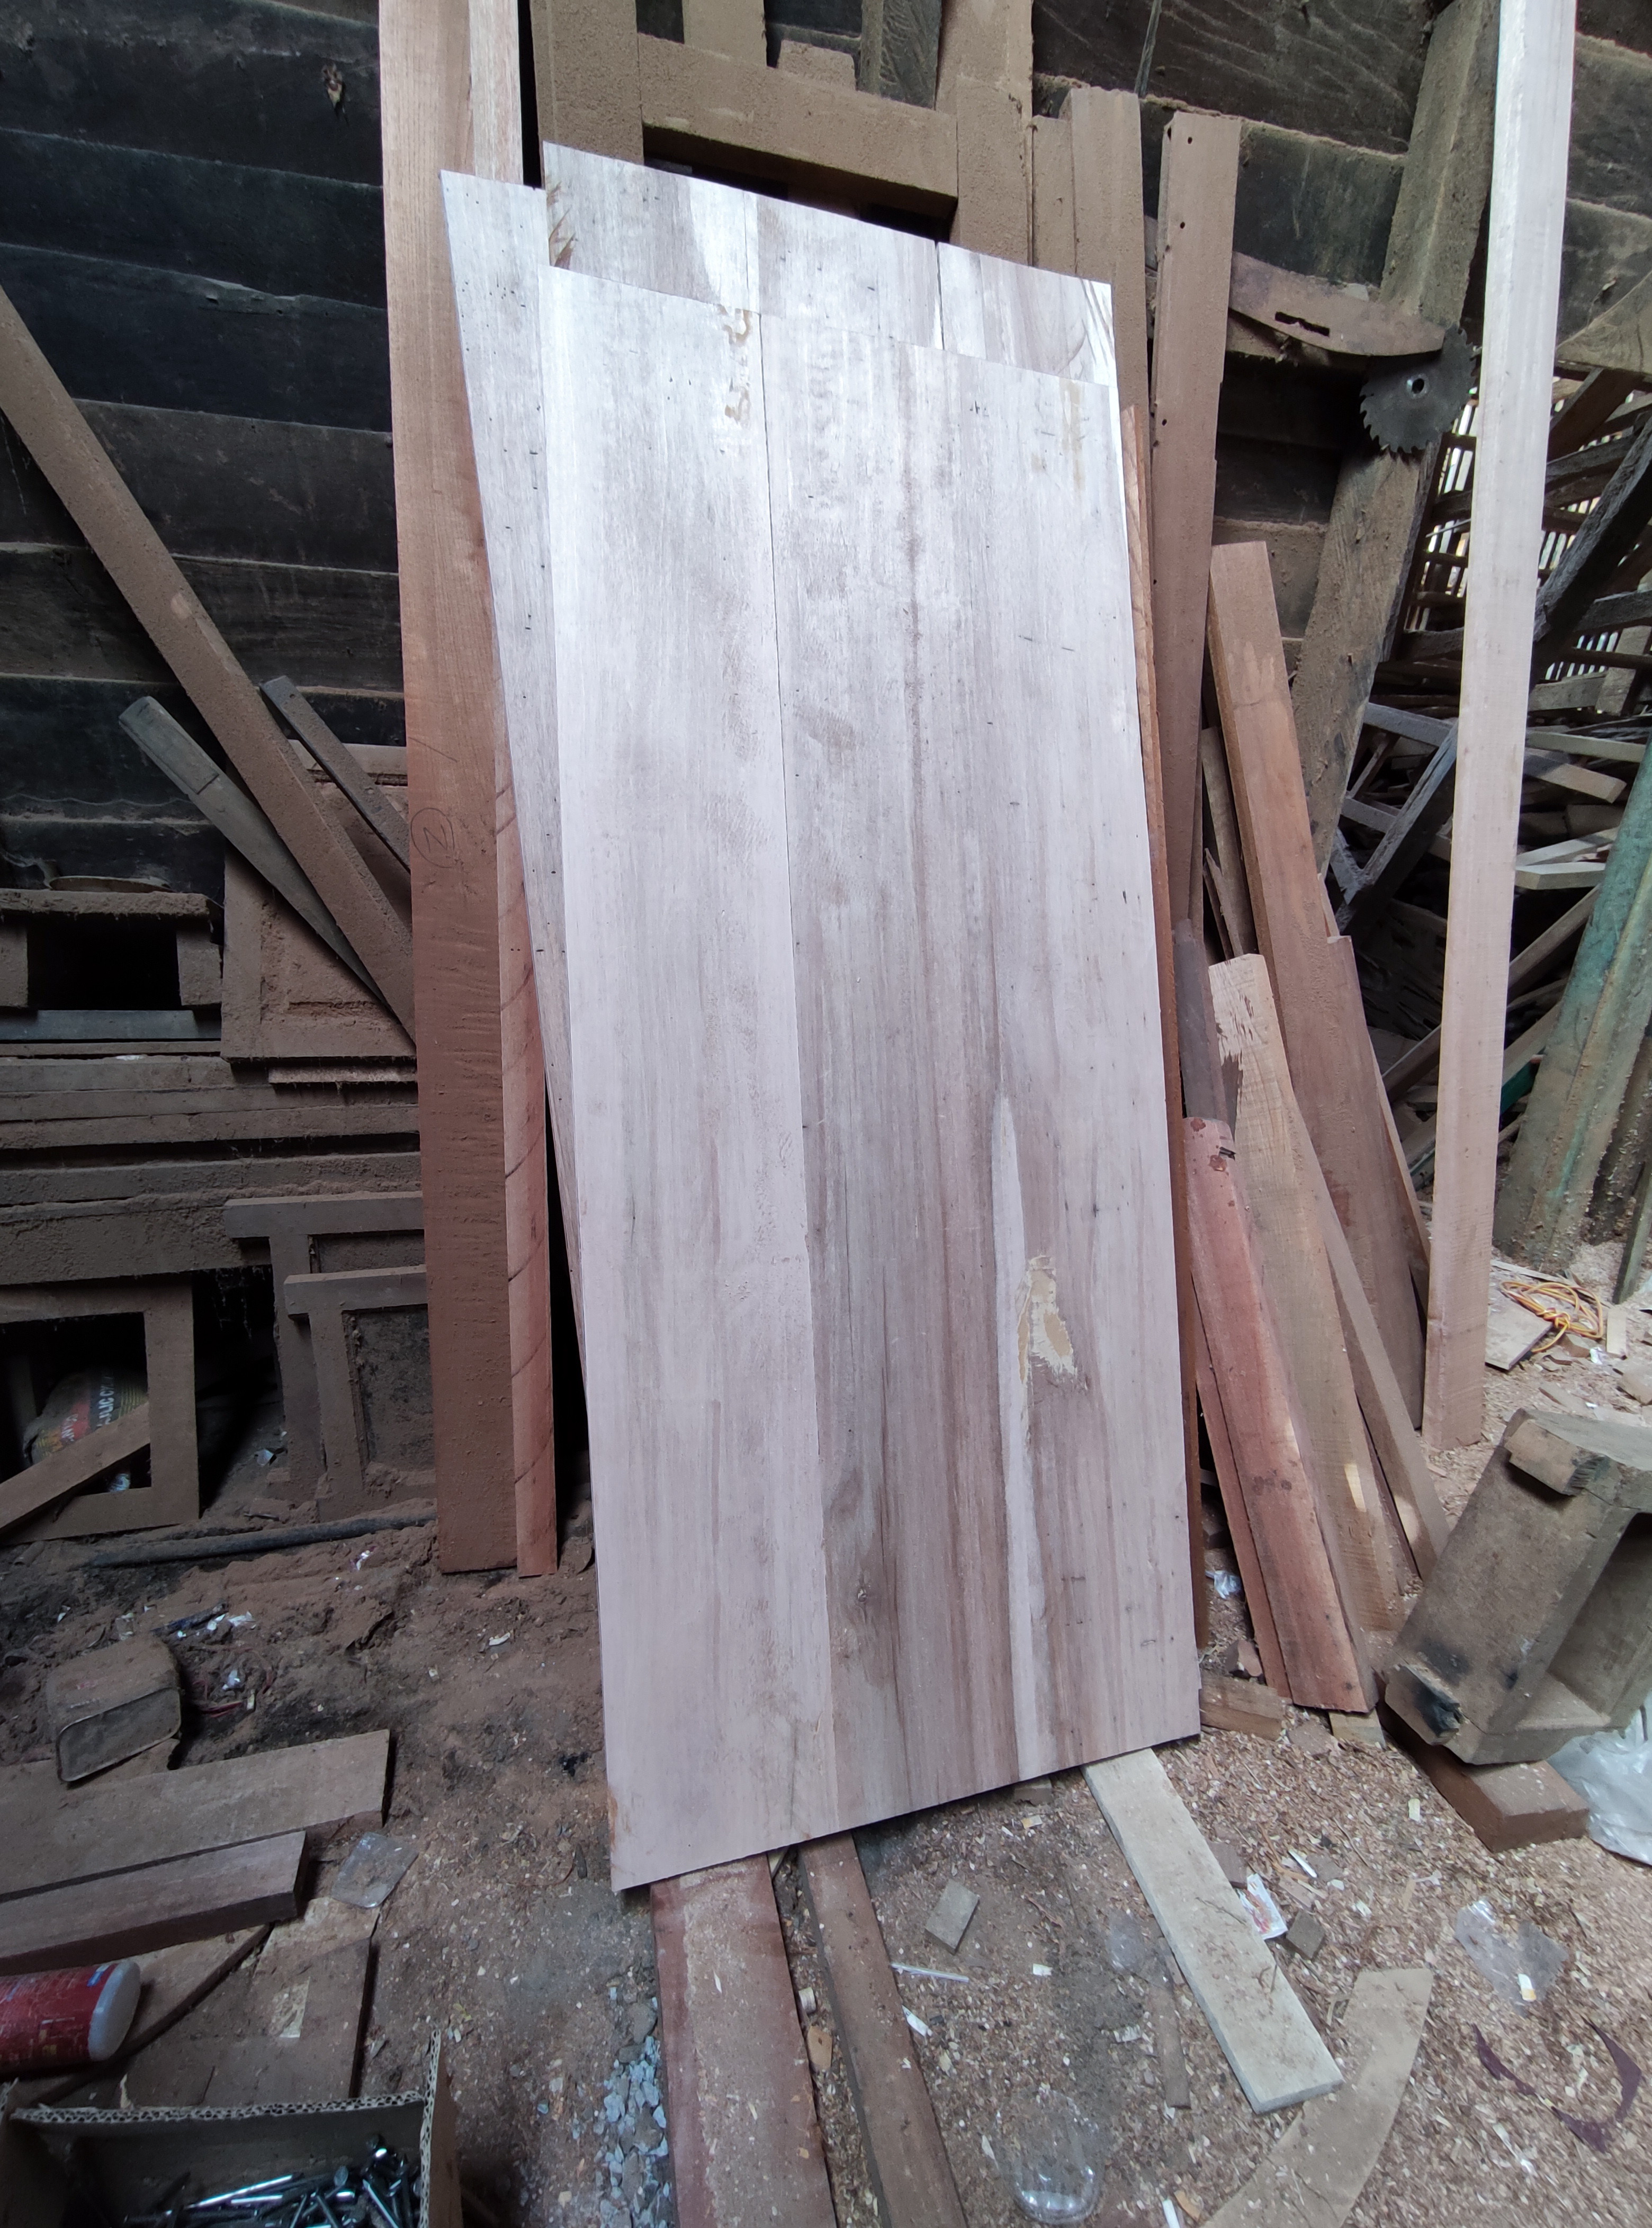
and after I make sure the glue is completely dry, then I continue the process of cutting the sheet size and the length of the door leaf followed by a process of sanding the surface of the entire door leaf and after the main stage process is complete the door leaf material will look like this.
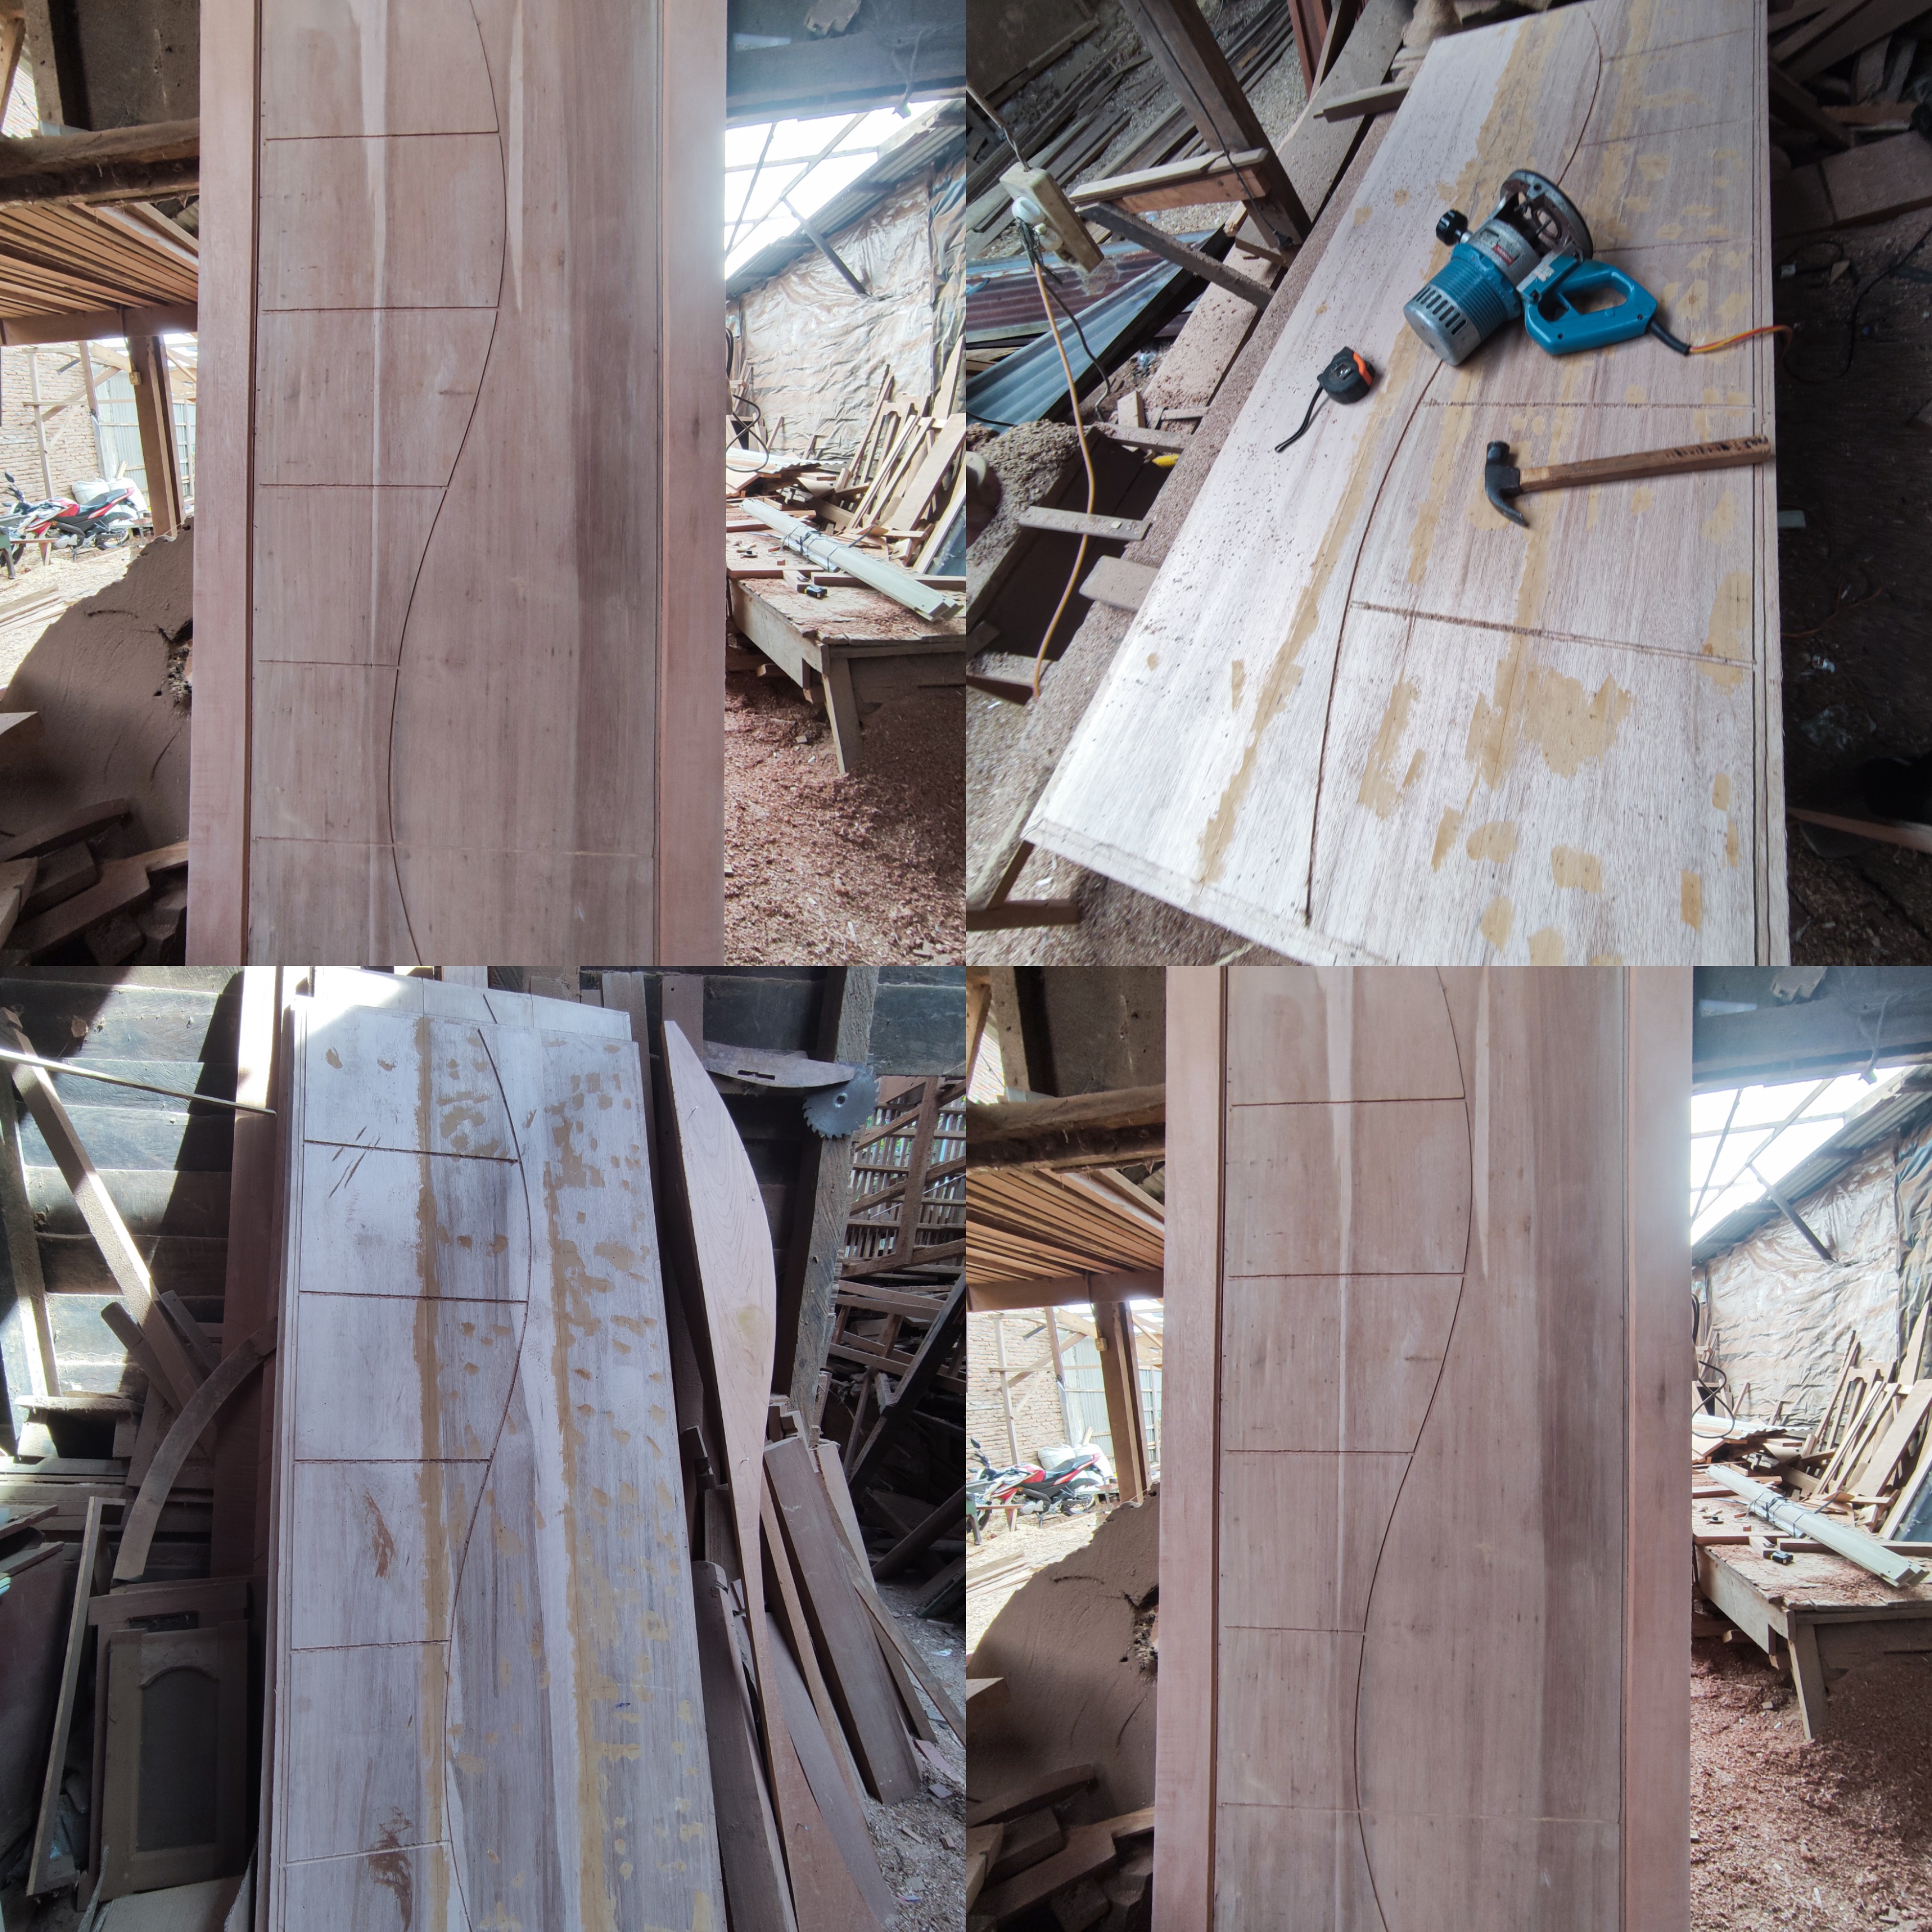
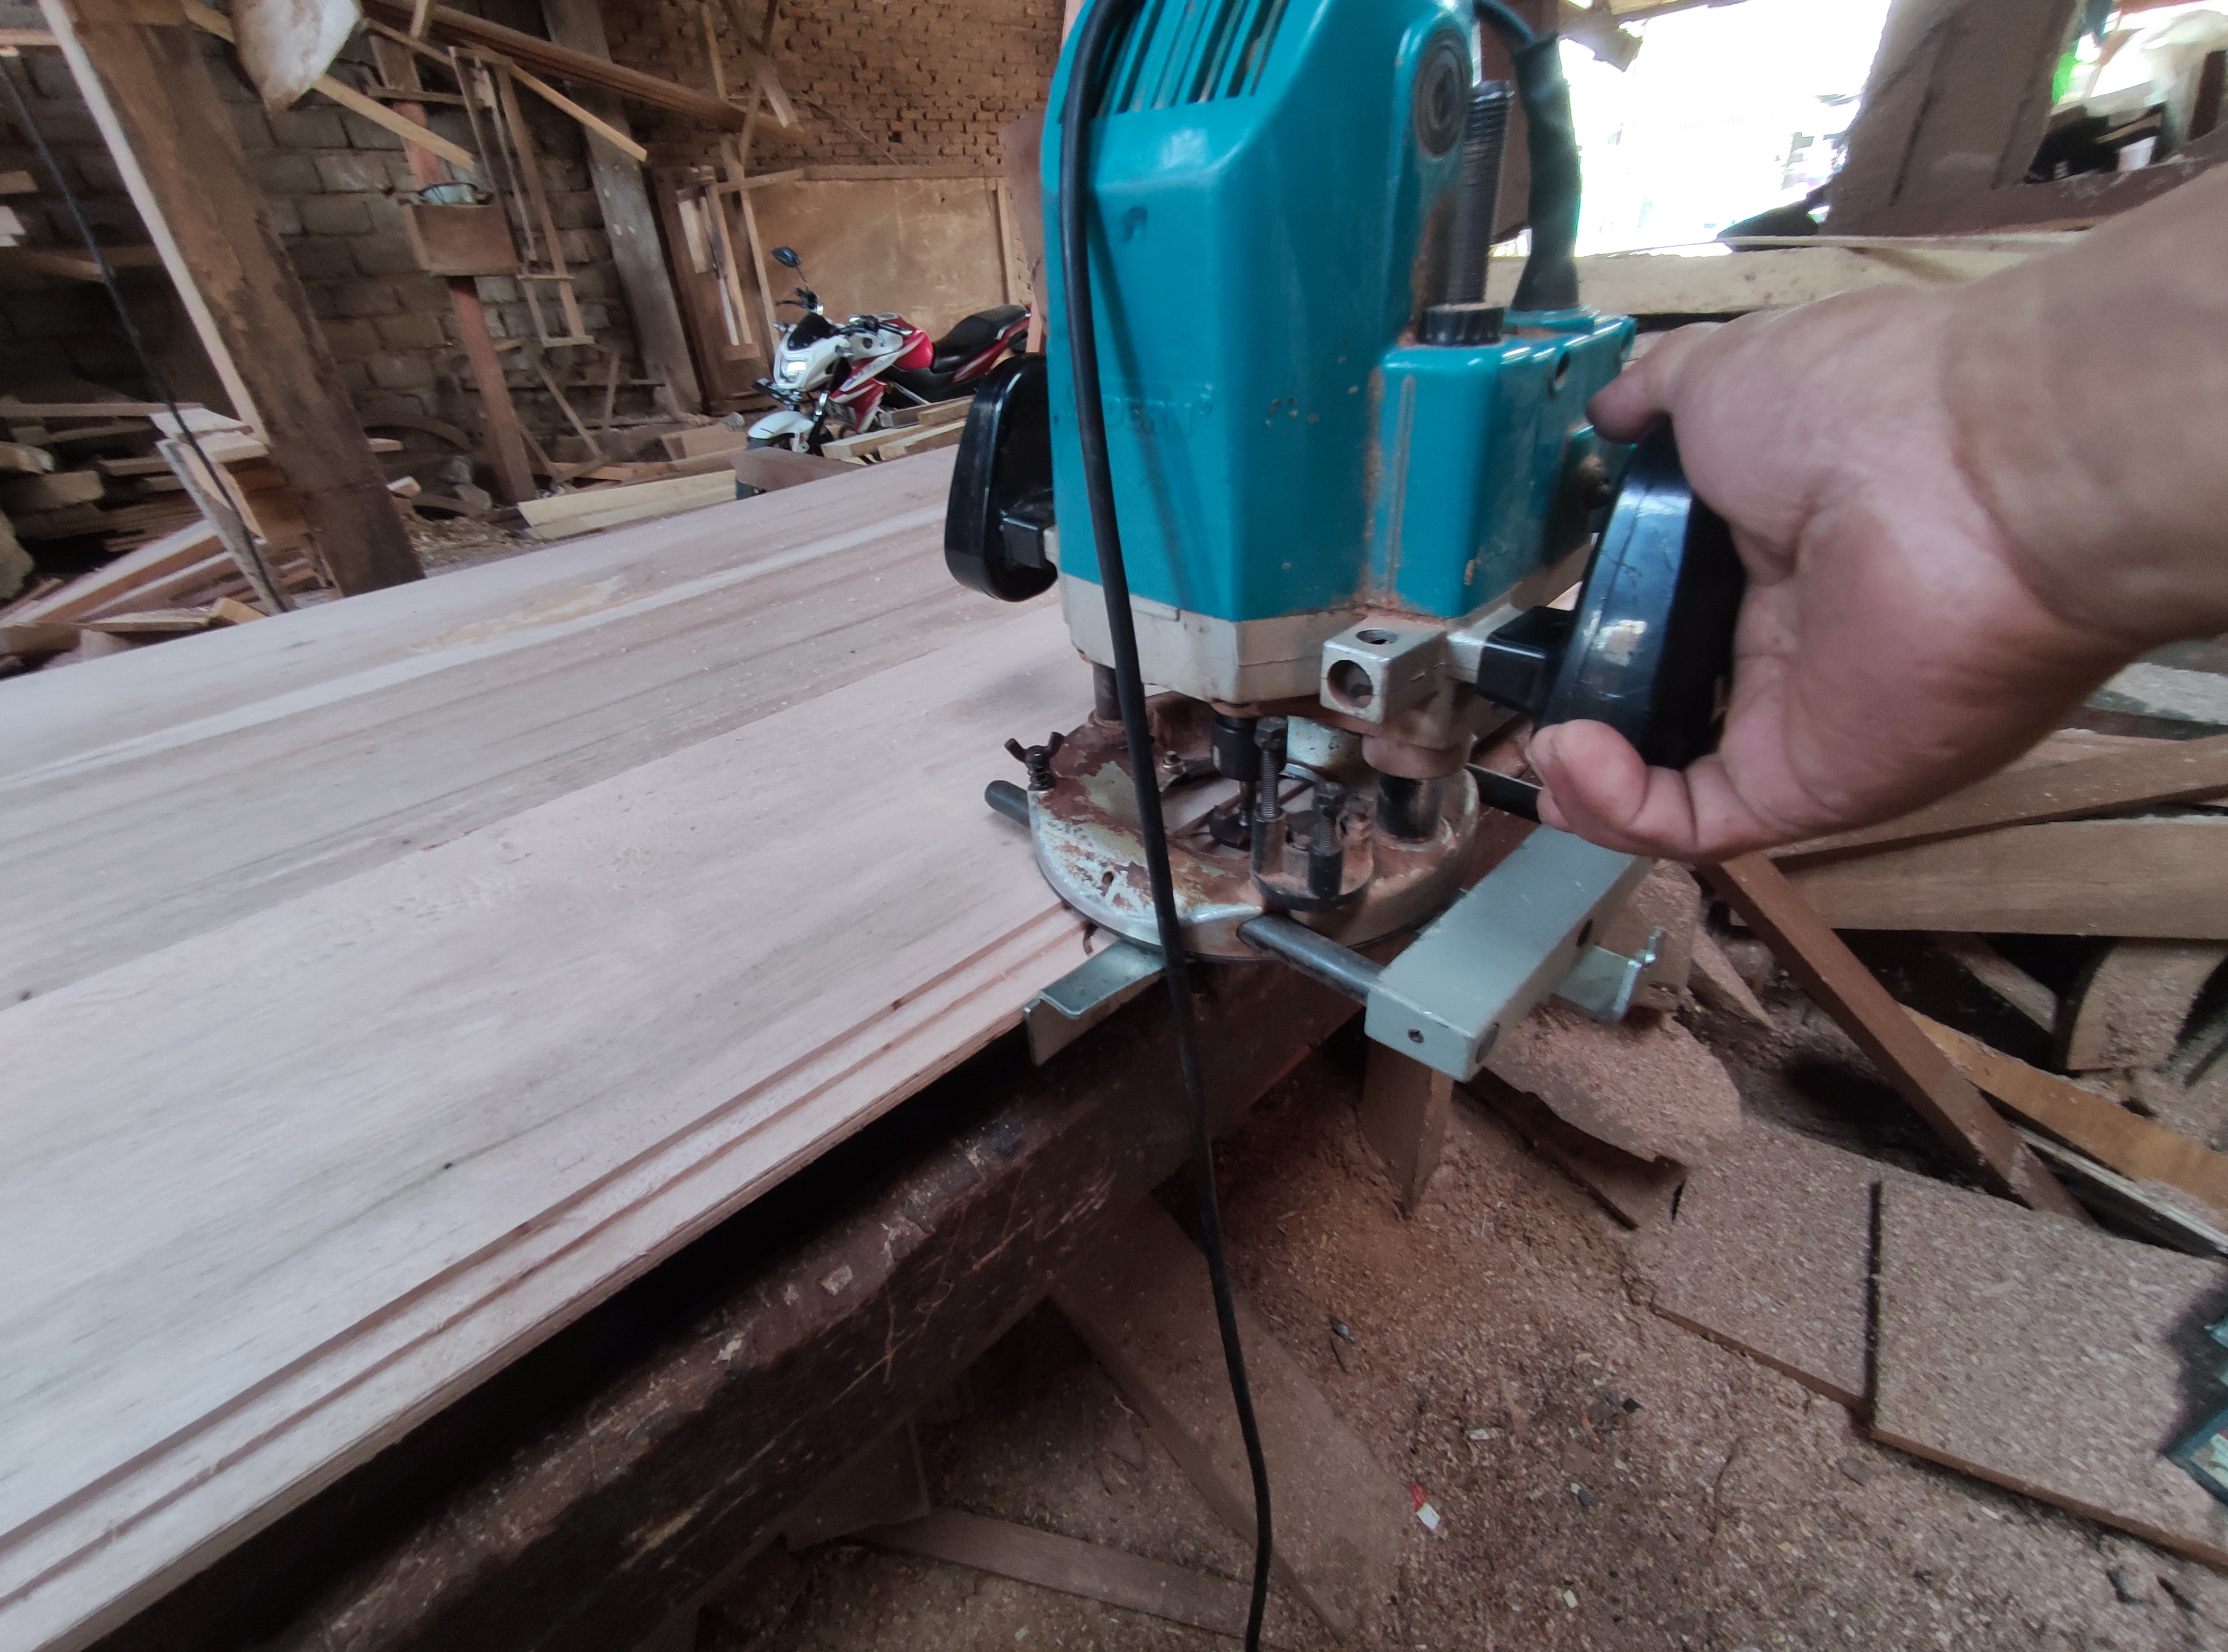
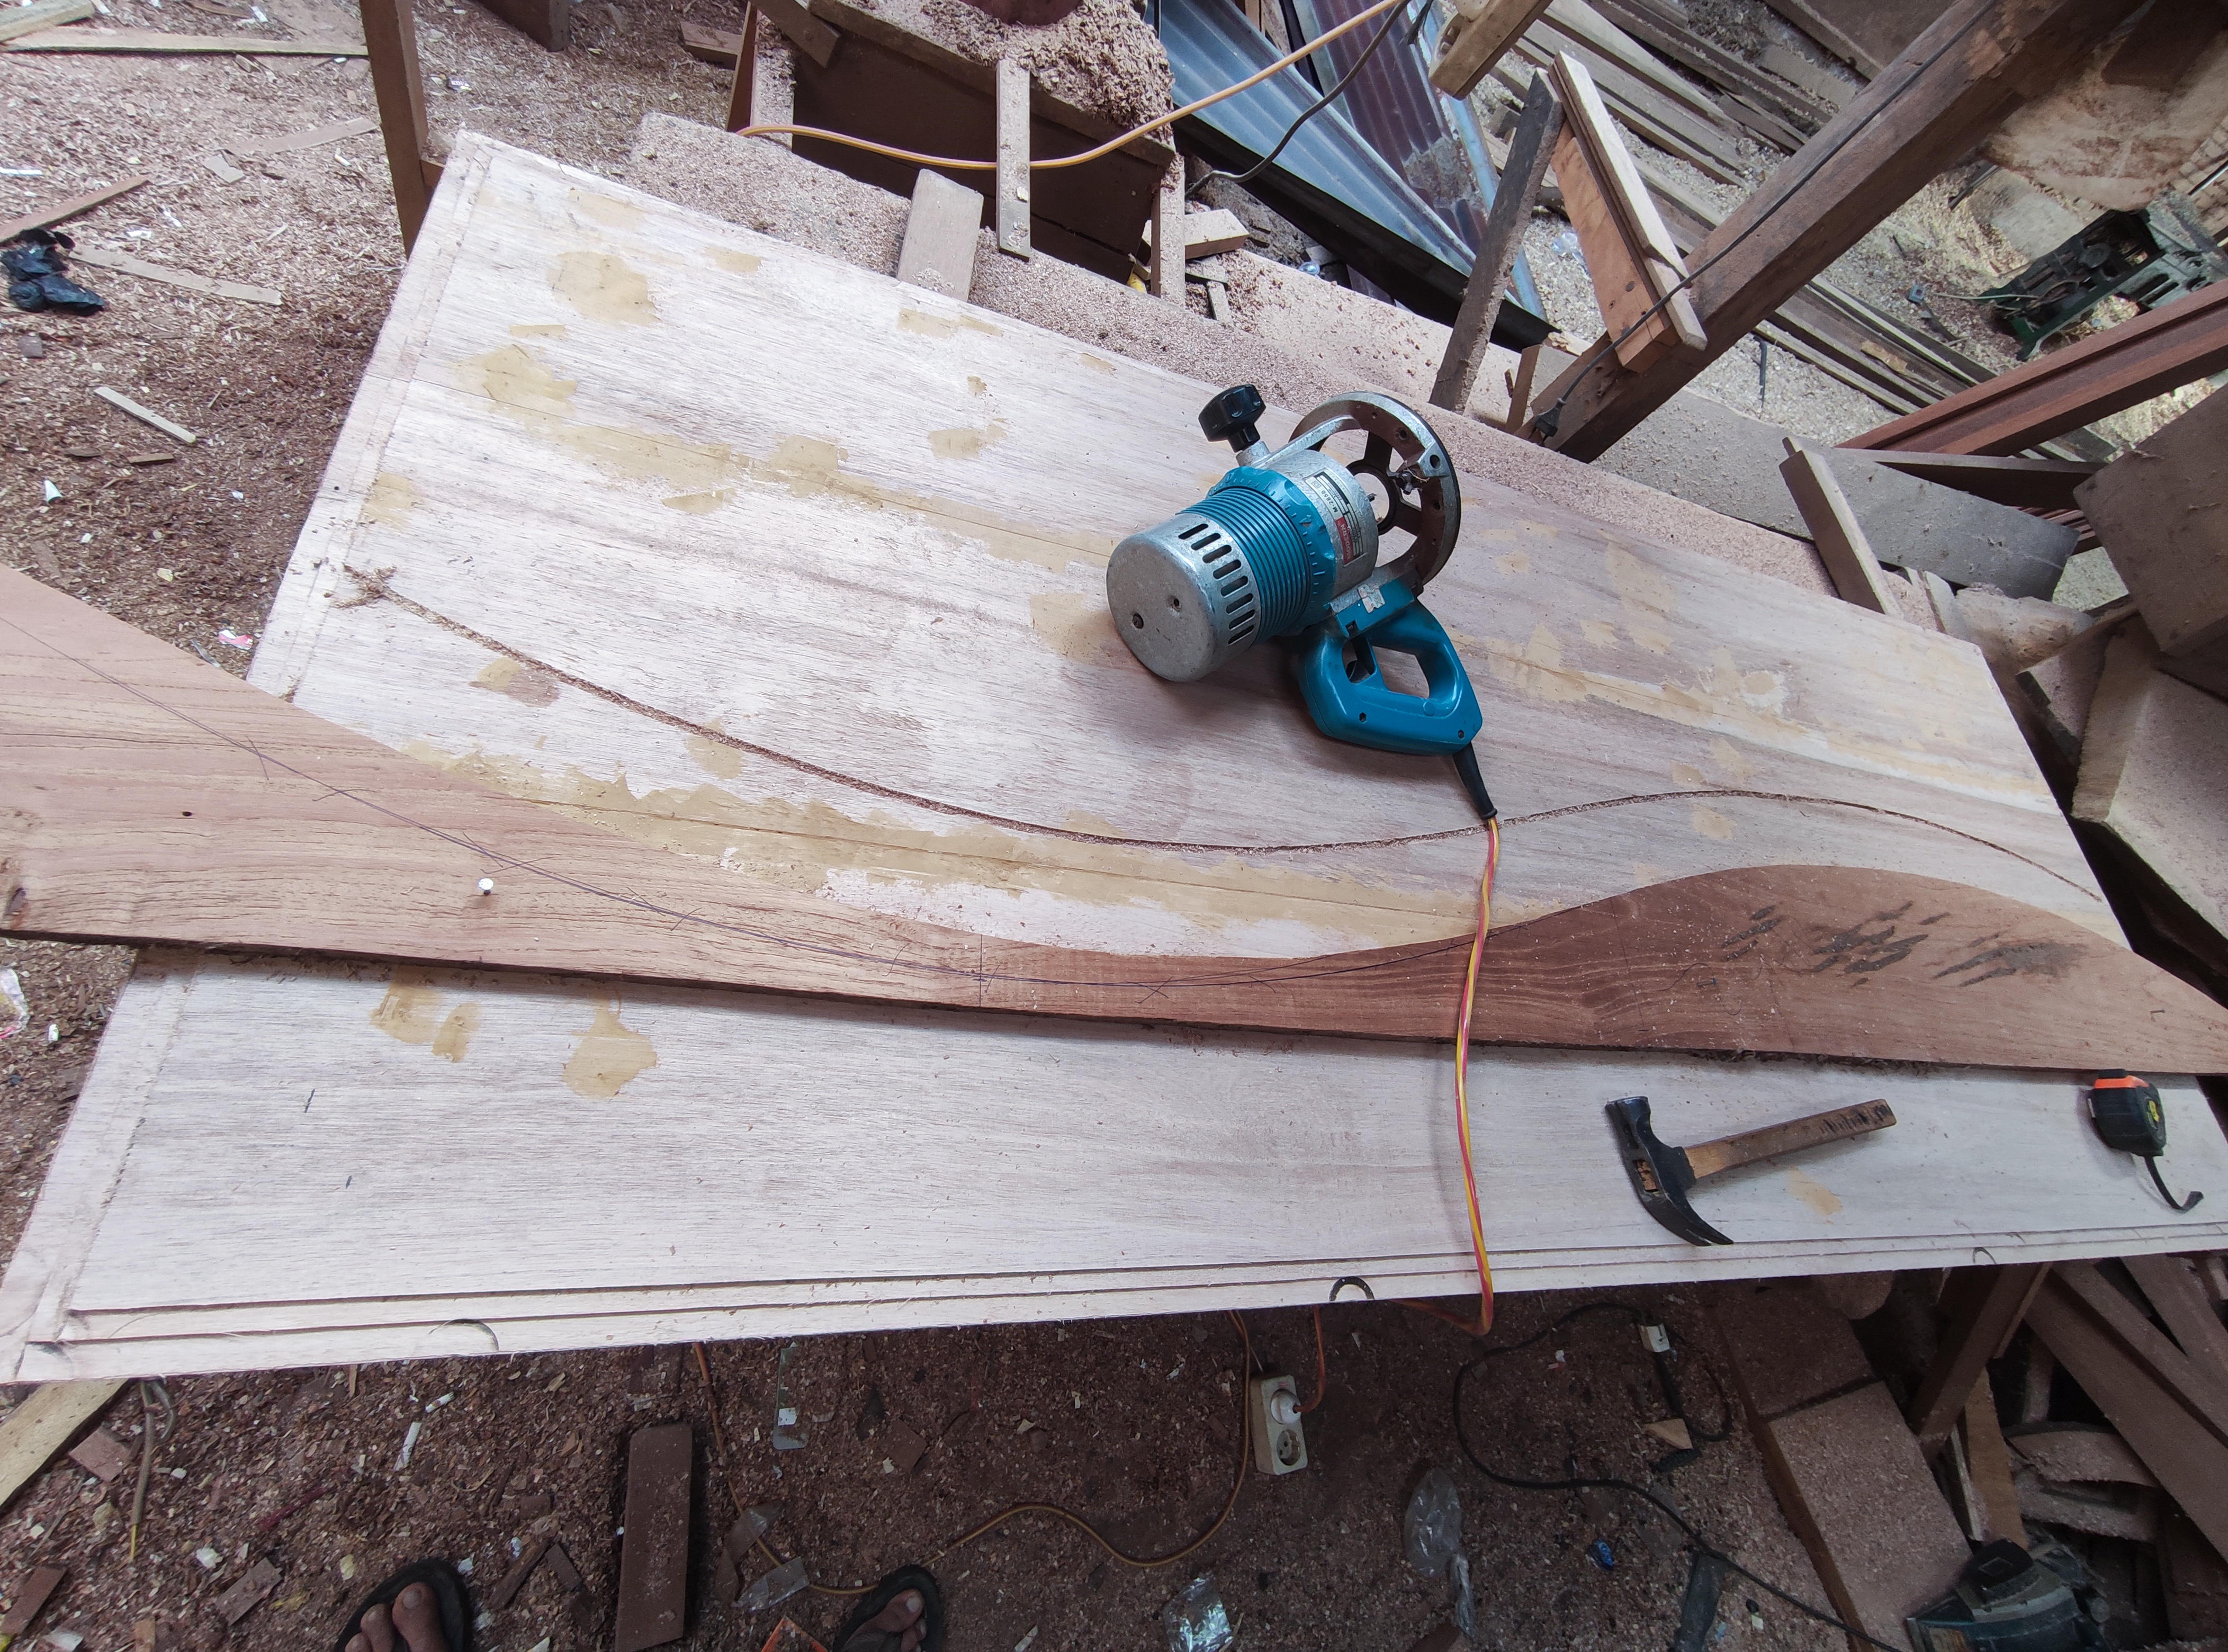
And after that process is complete, now I continue the process of making the nipple on the door leaf by using a router machine in the form of two levels in several stages of repetition and the process continues as shown in the pictures below until it is finished.
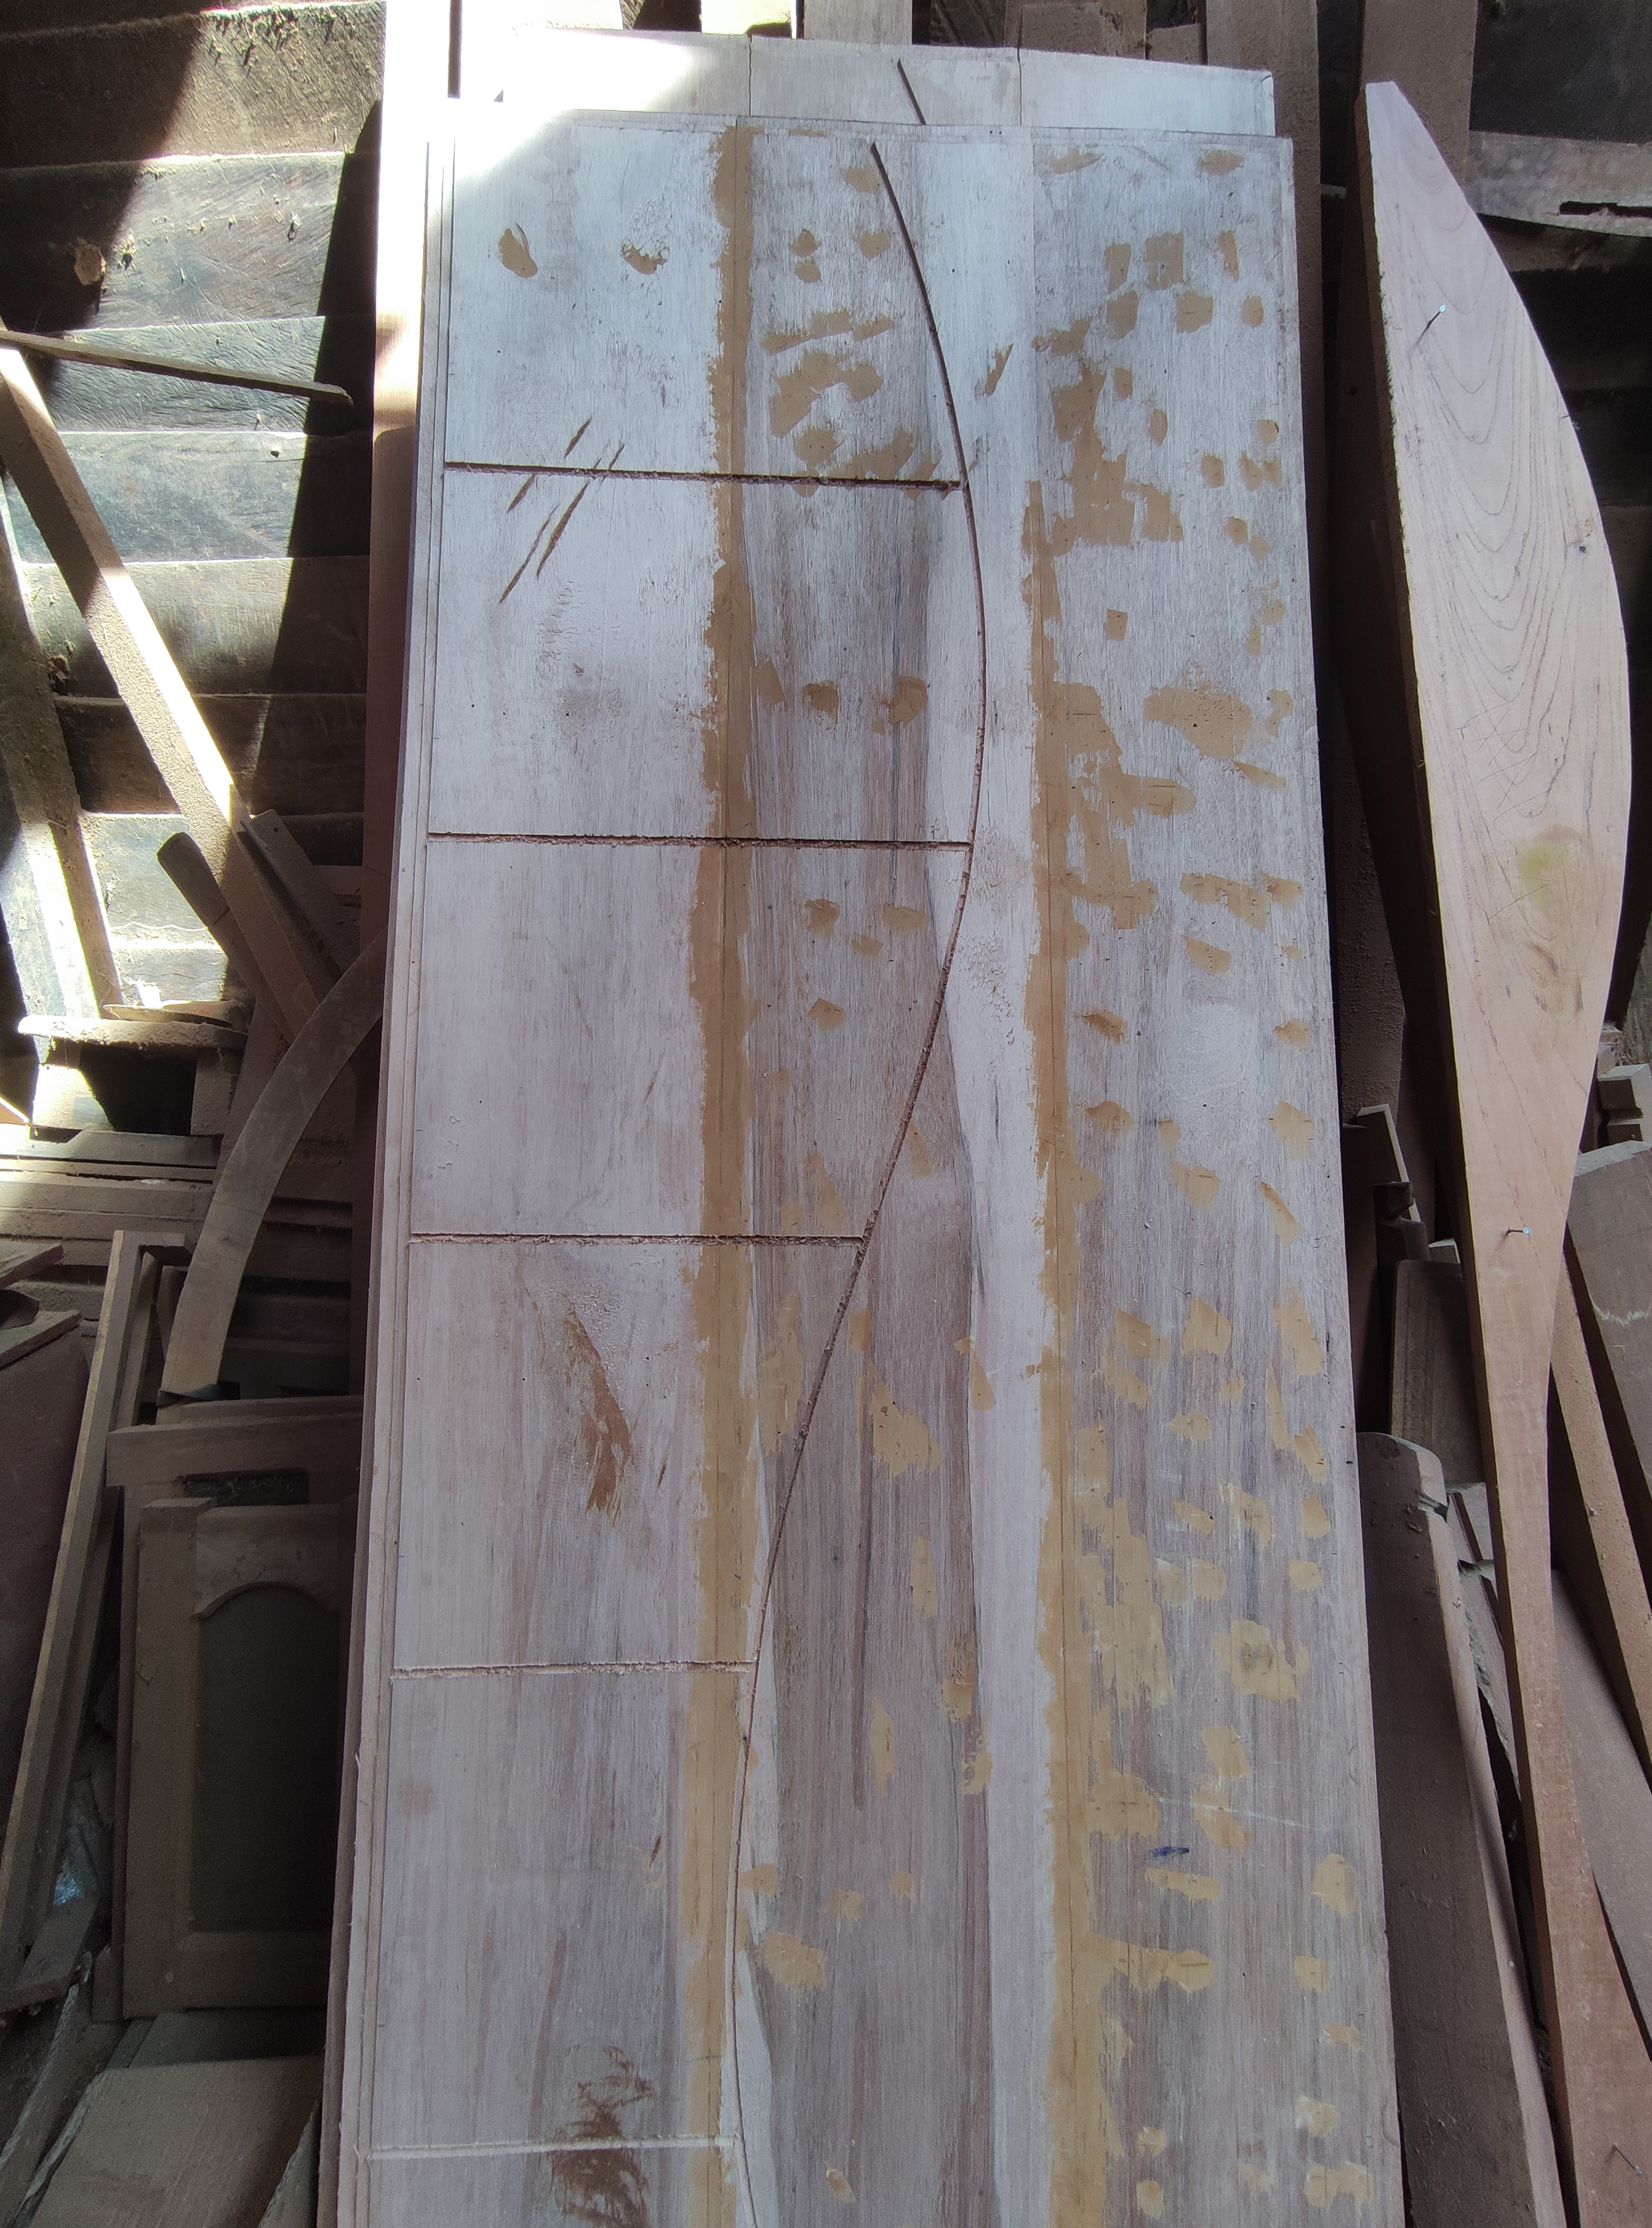
And this is the shape of the surface of the door leaf around it before the nipple-making process using a router machine.
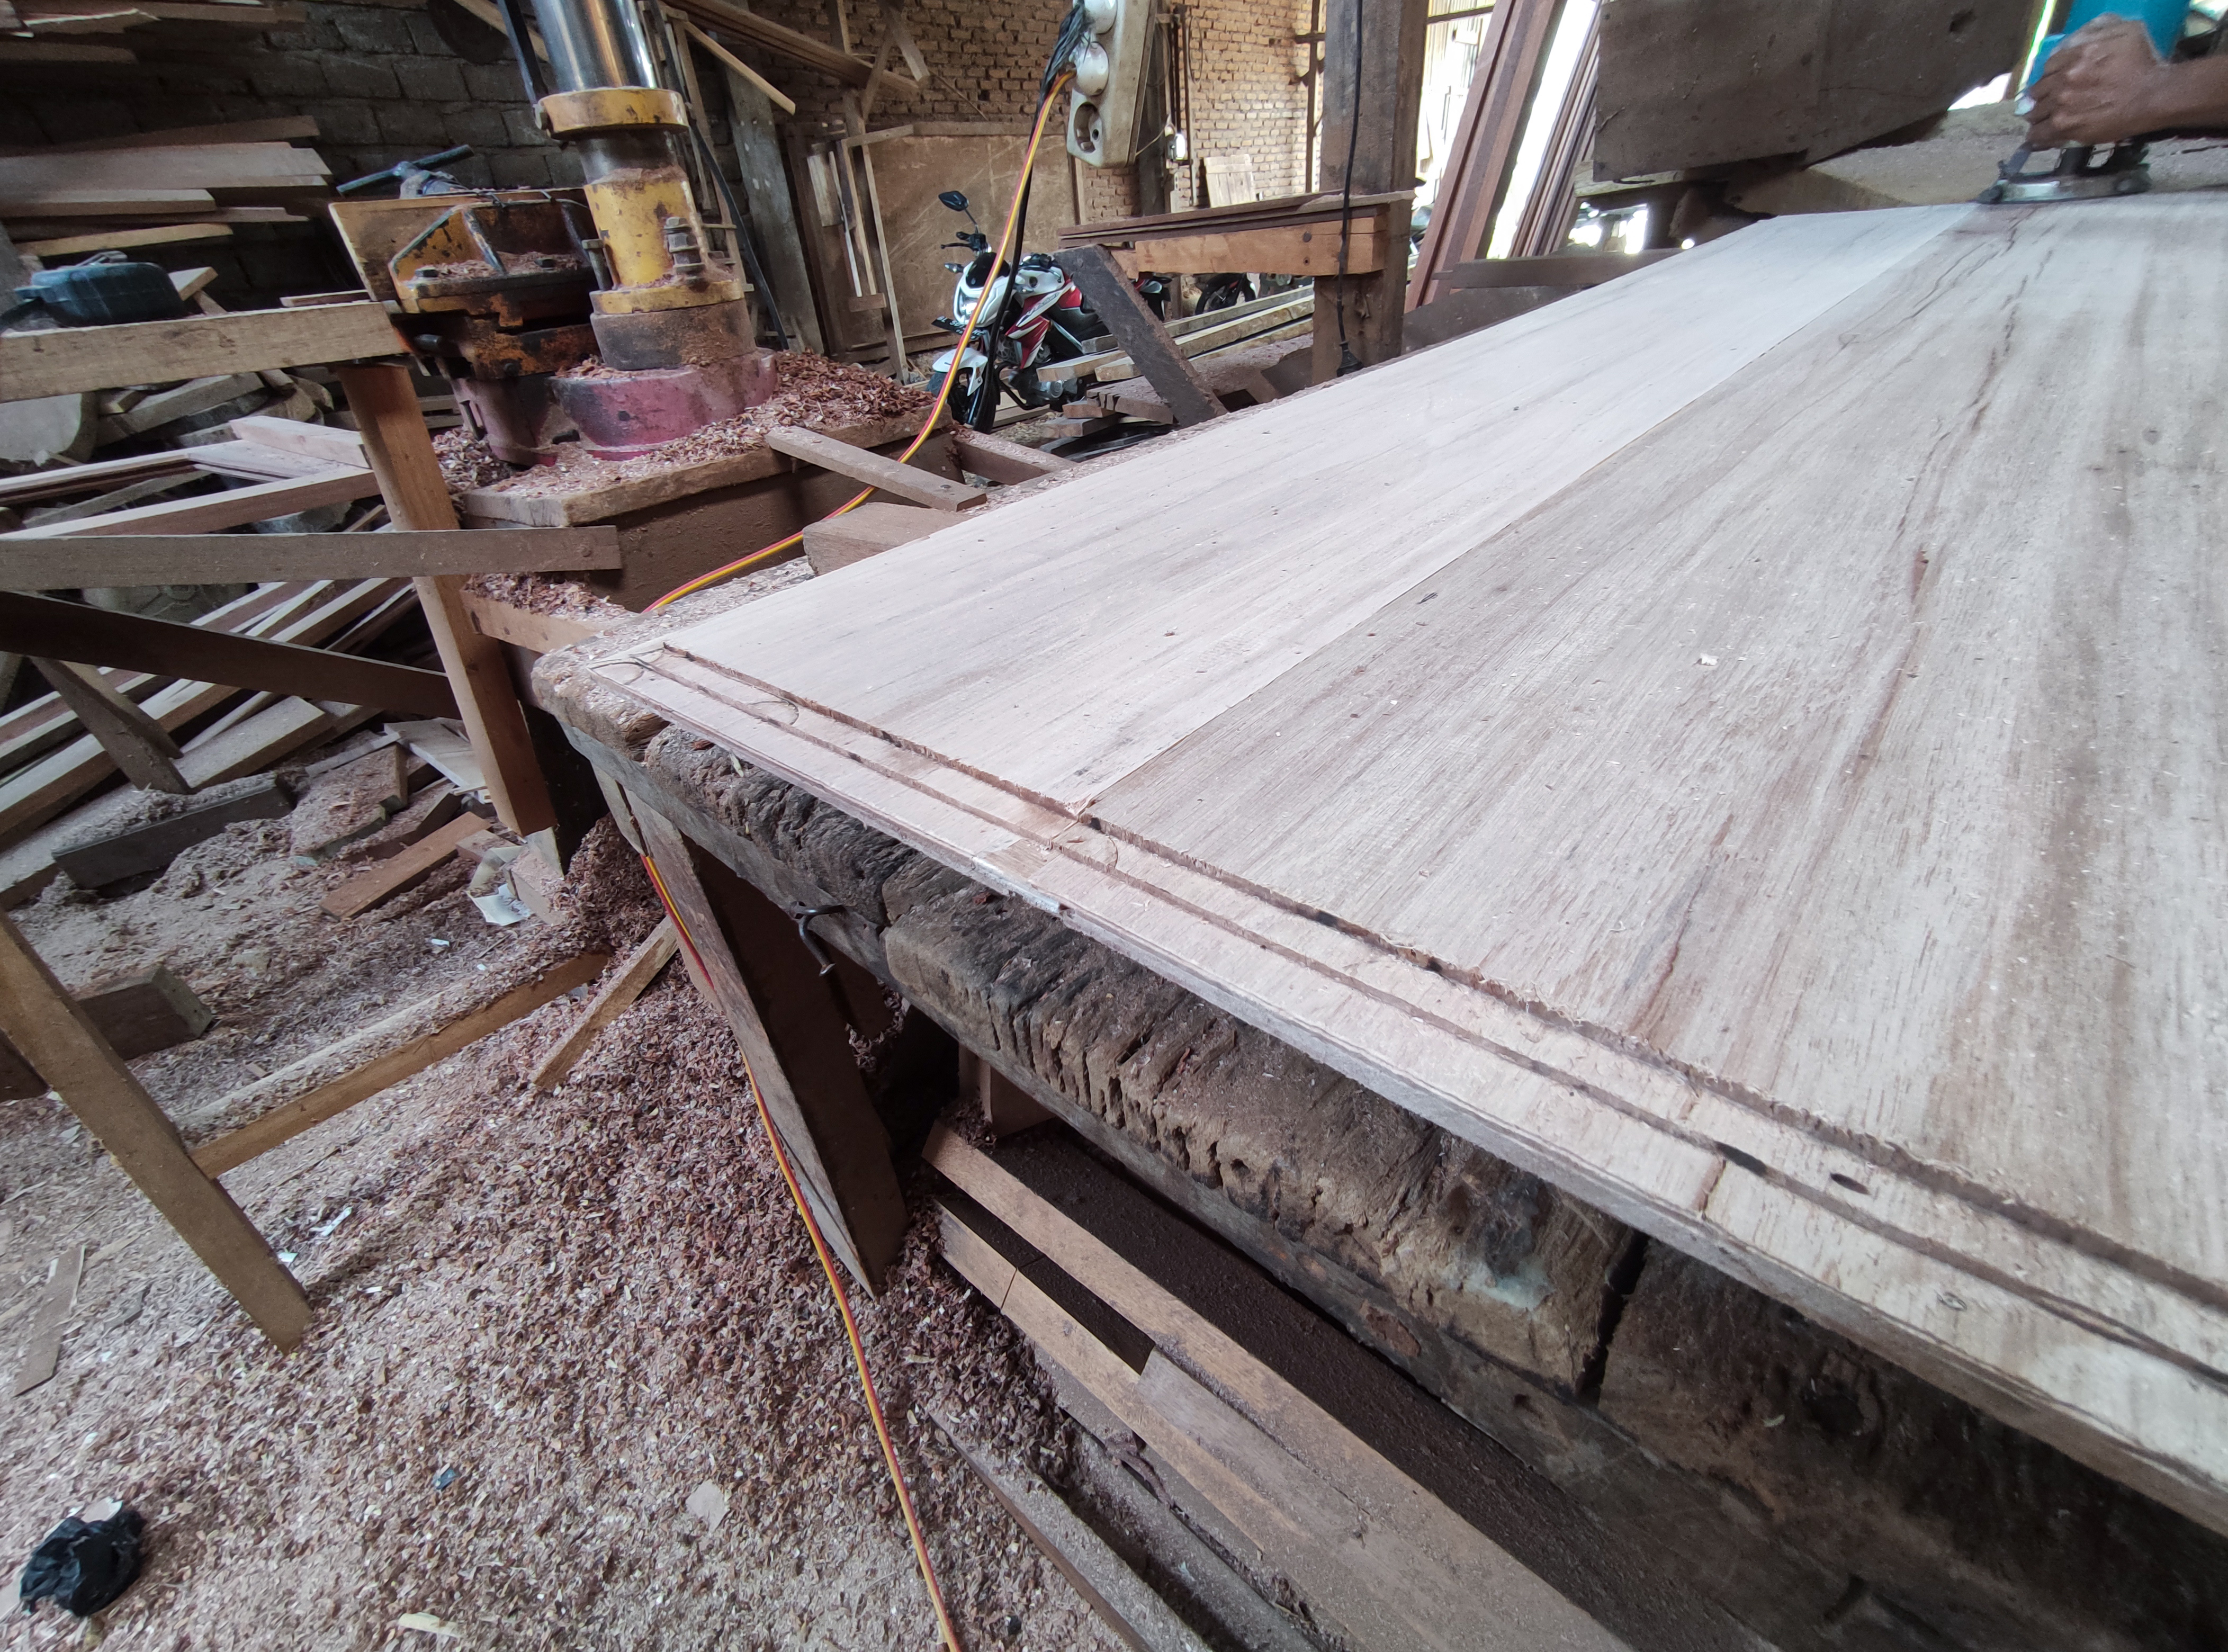
And this is the result of the door leaf peg nipple that I have finished working on which consists of two levels and the first level is the retaining peg nipple in the series and the second level is the door design ribbon line.

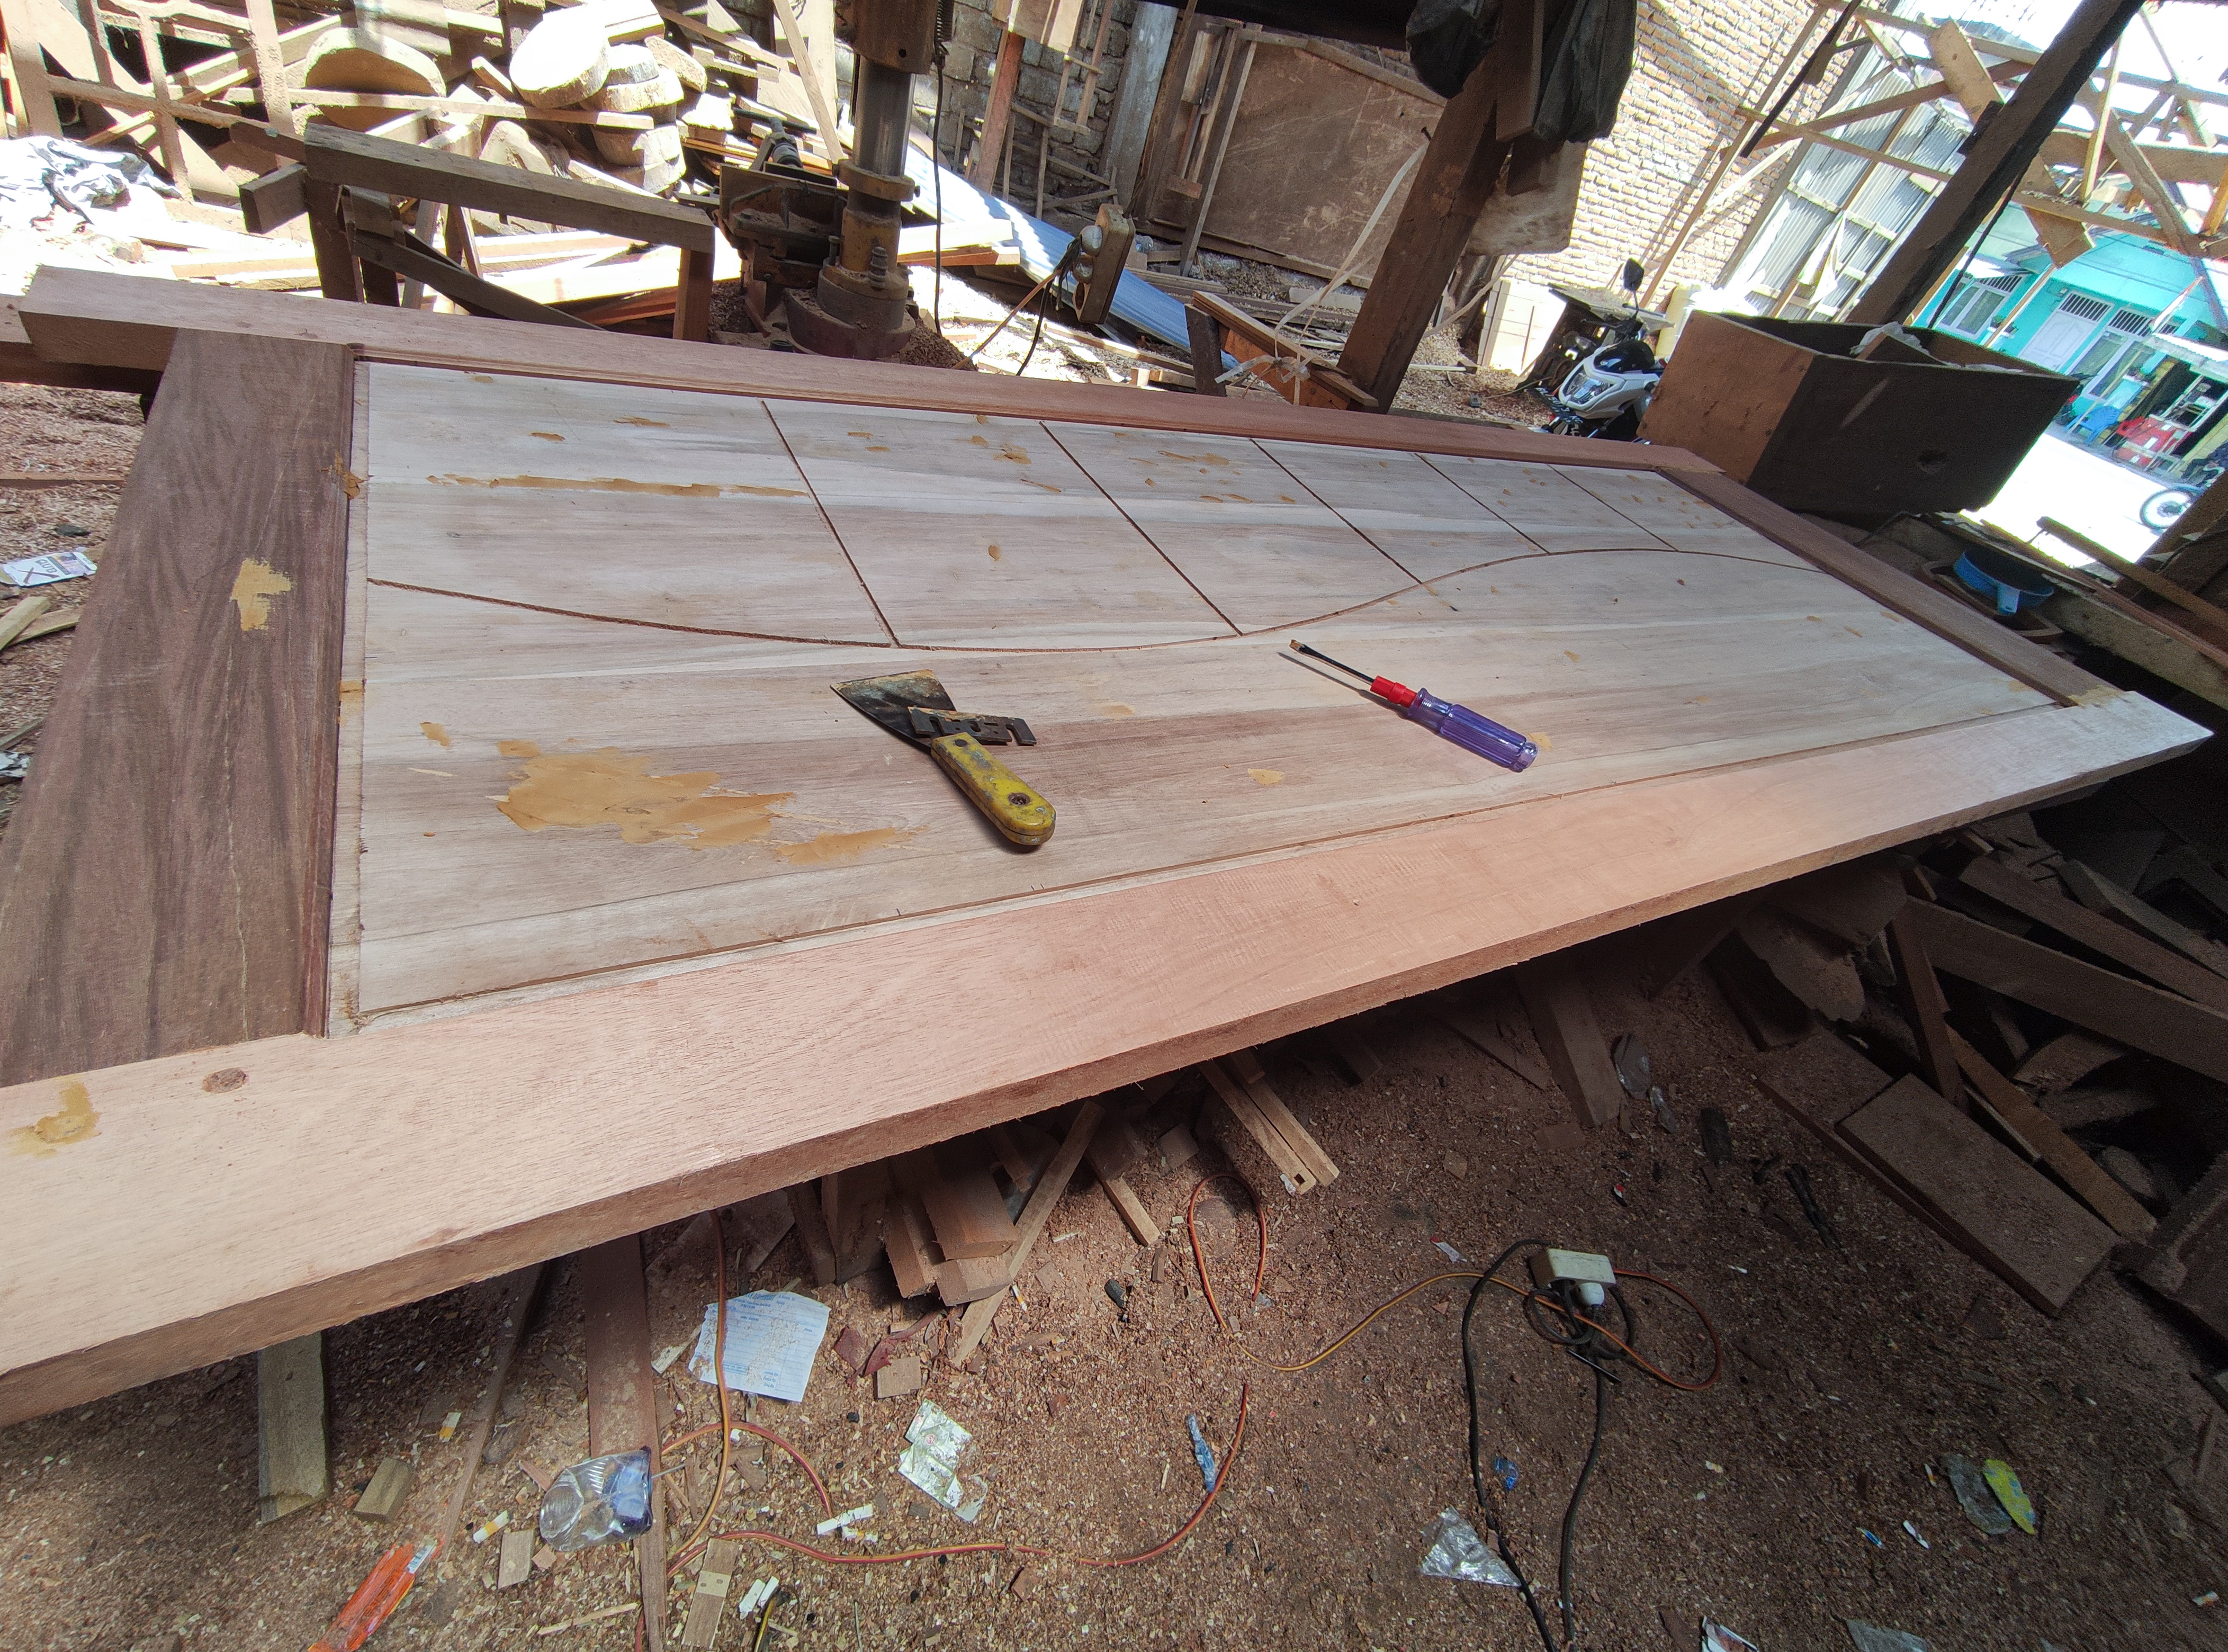
And for the next stage is the process of making ribbons on the front and back surfaces of the door by using a router machine and to make the ribbon using a router machine, I use a board mall for the raouter drive line manually.
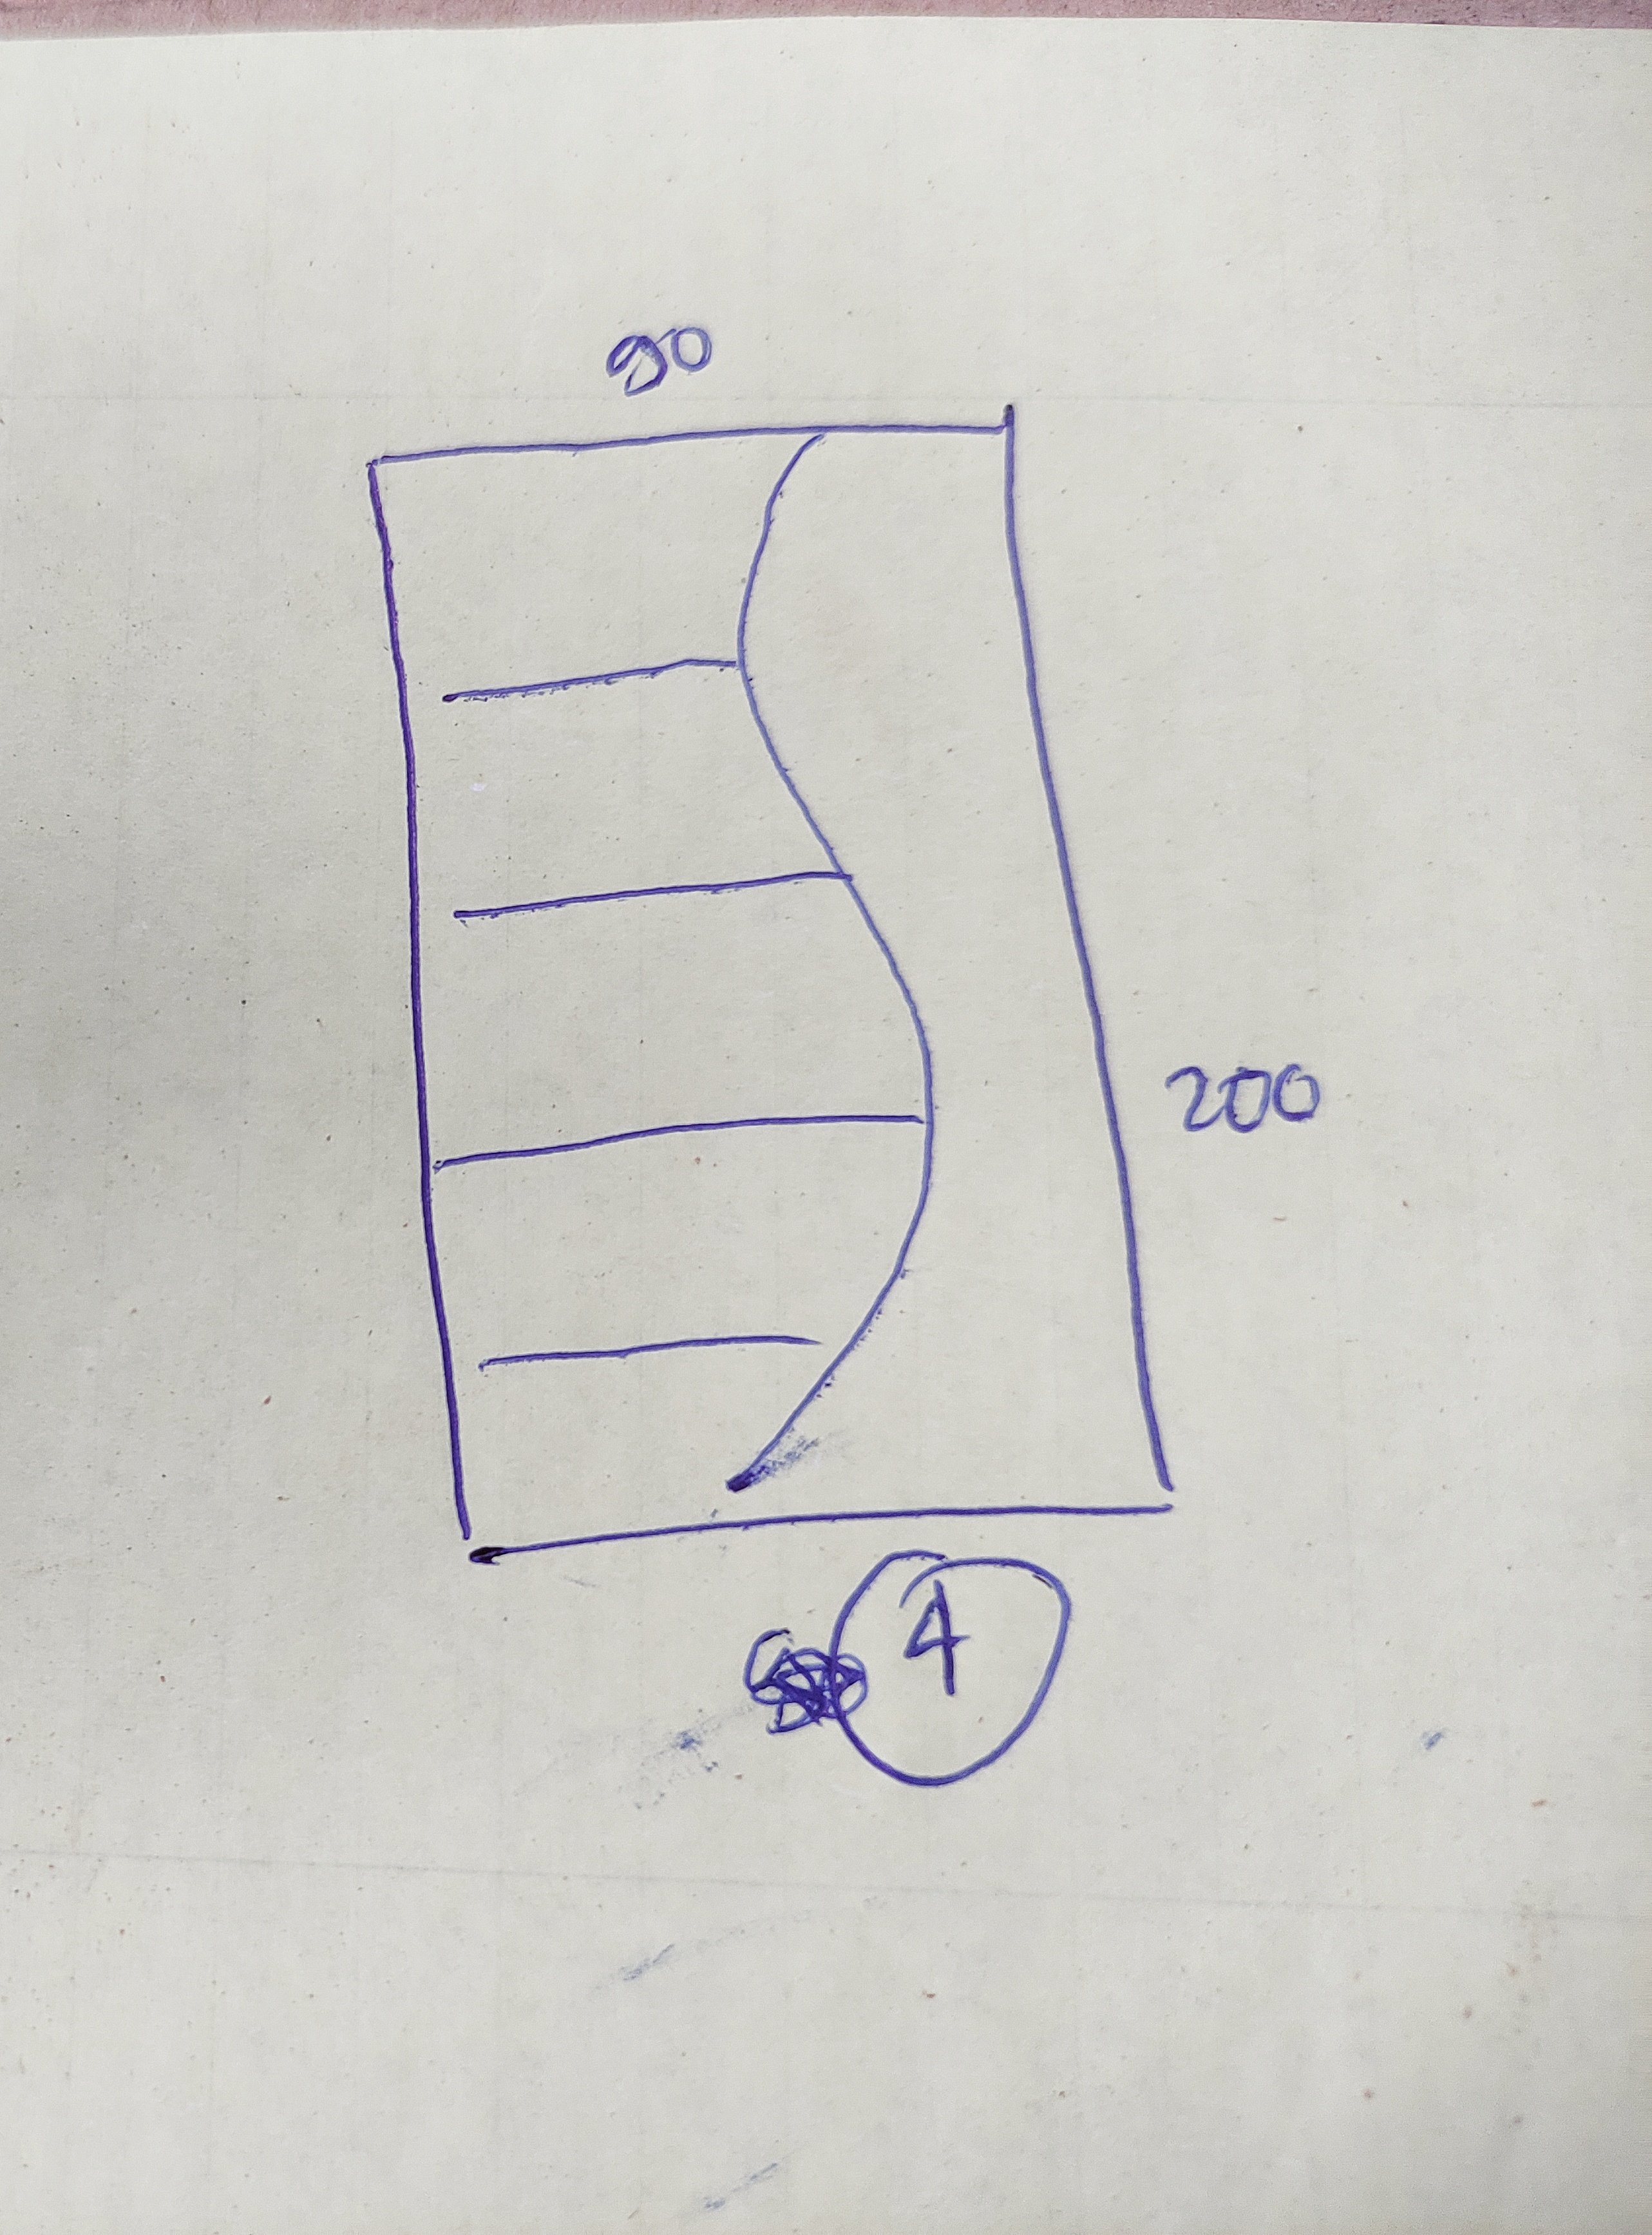
The main line of the main ribbon on the door picture provided by my customer forms a hollow that resembles (S) so I have to make a router movement mall using a board with a hollow shape that resembles the letter (S)and after that I continue the process.

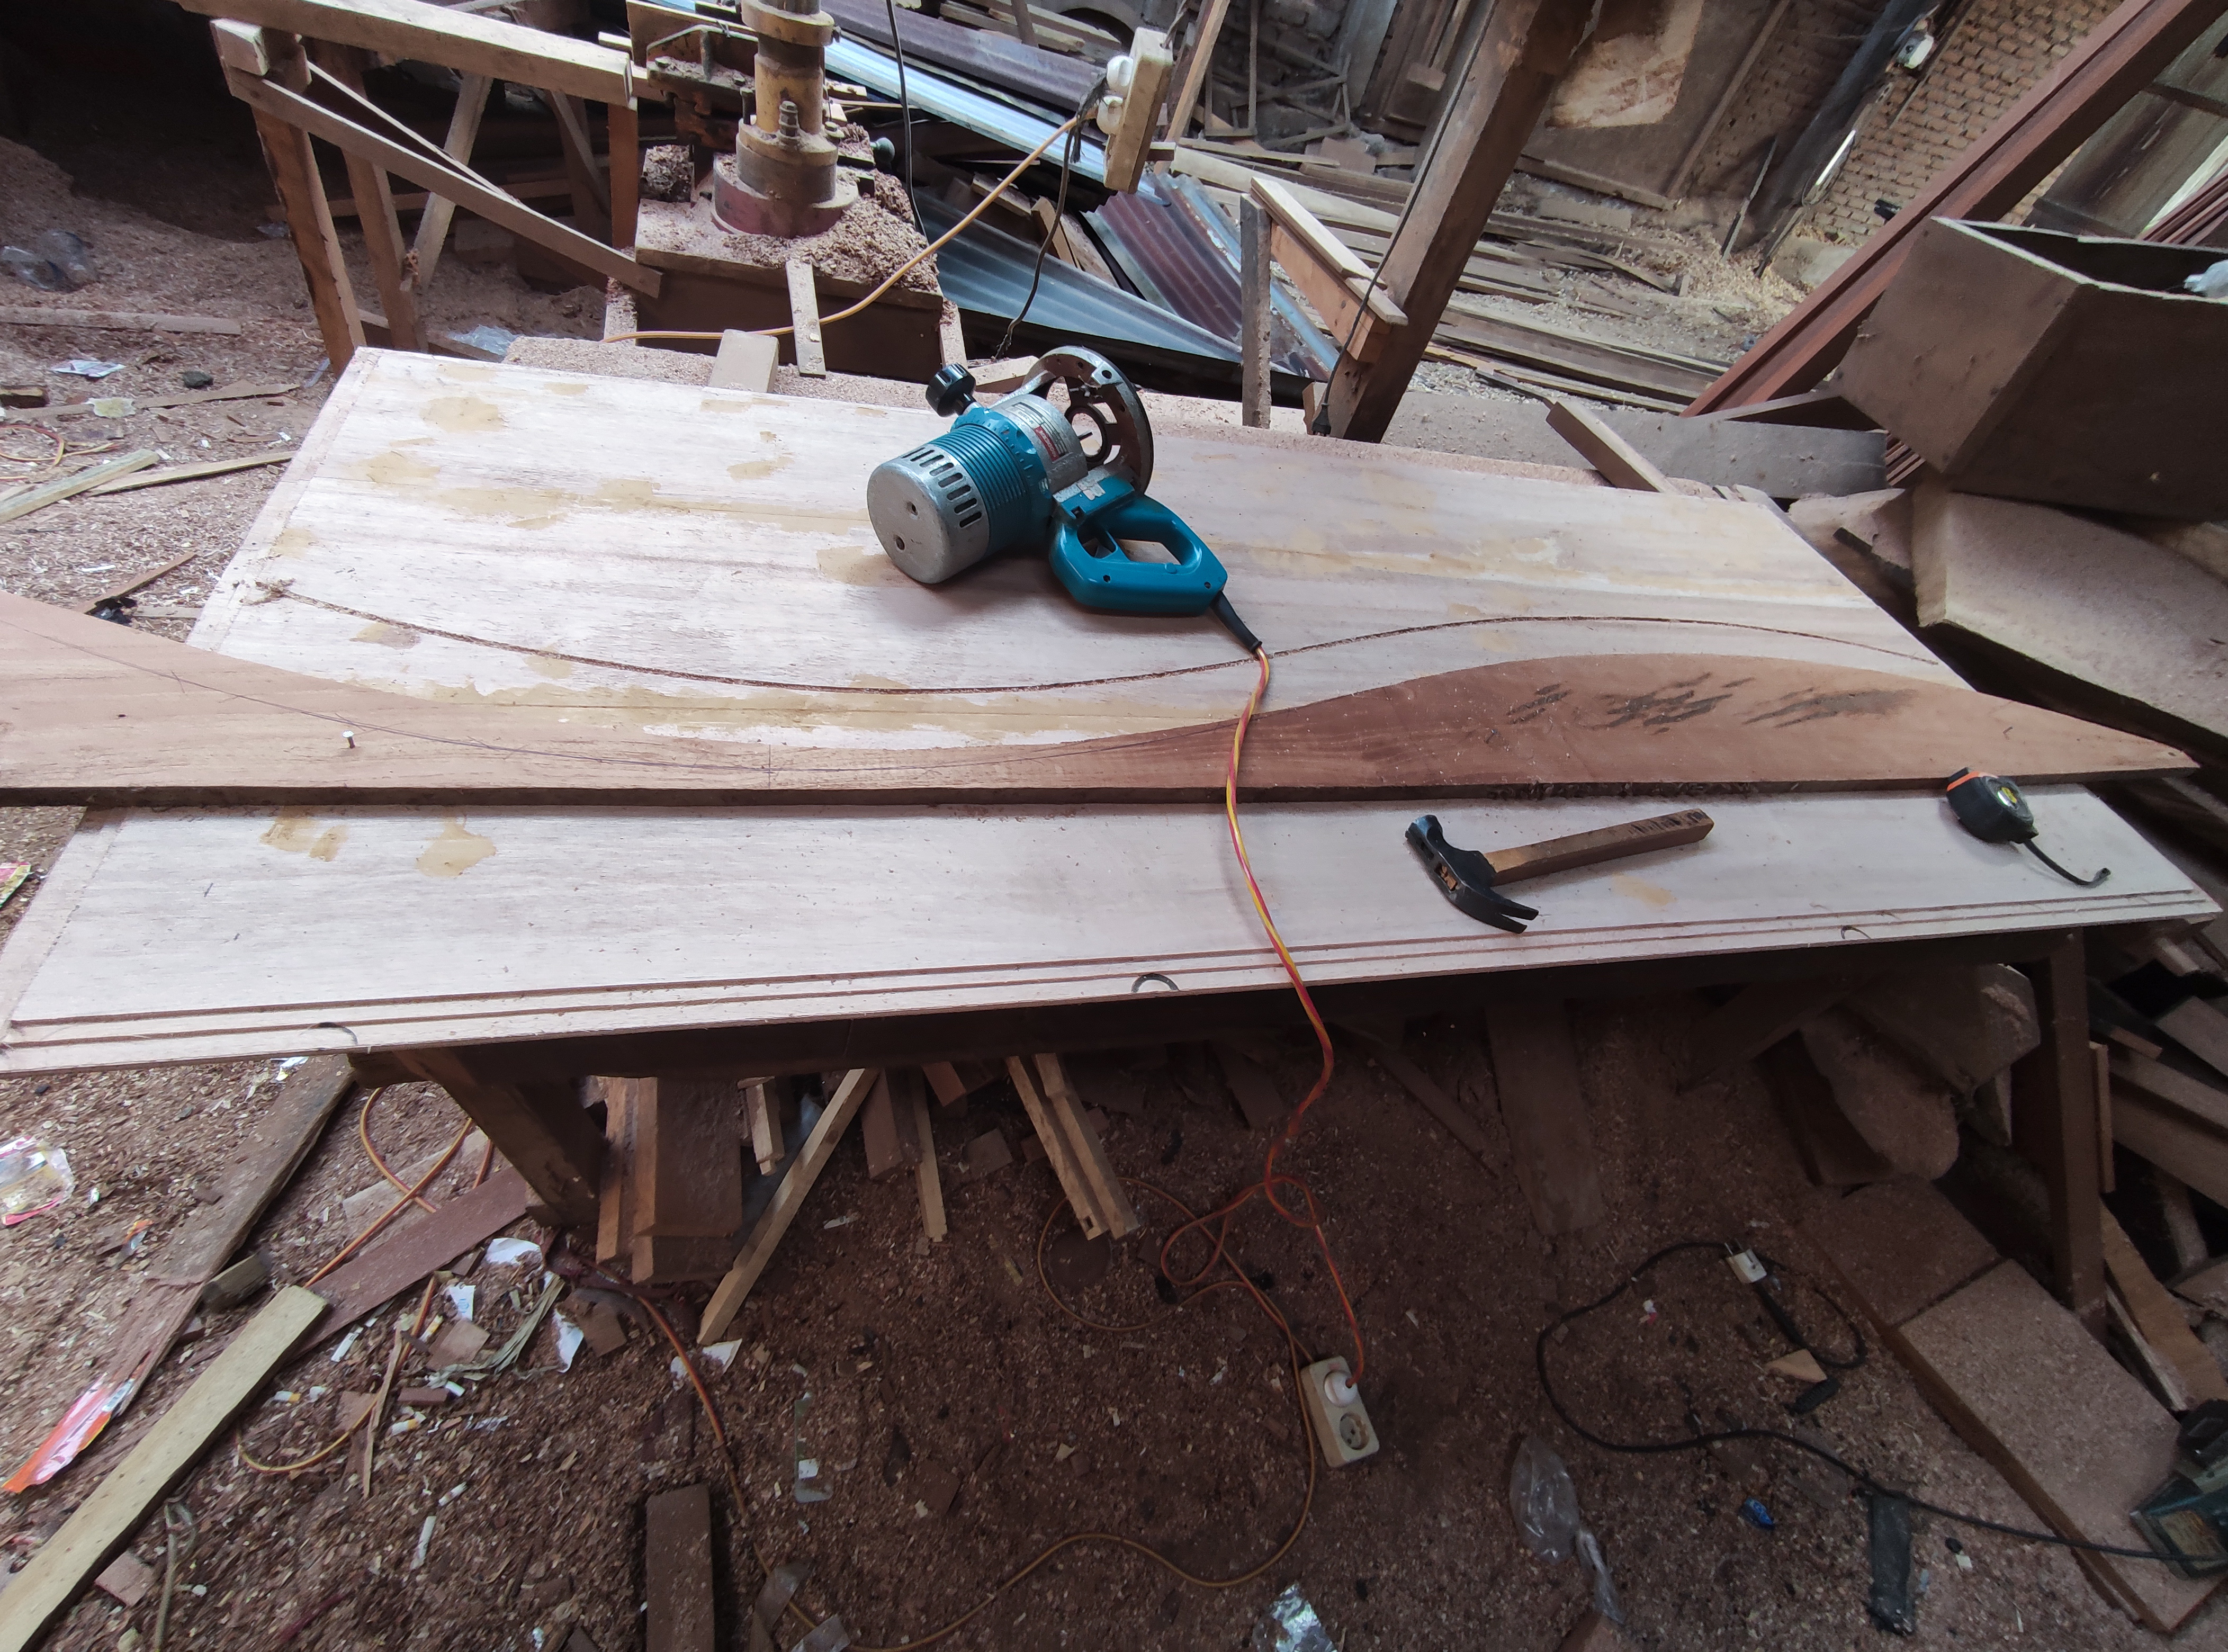
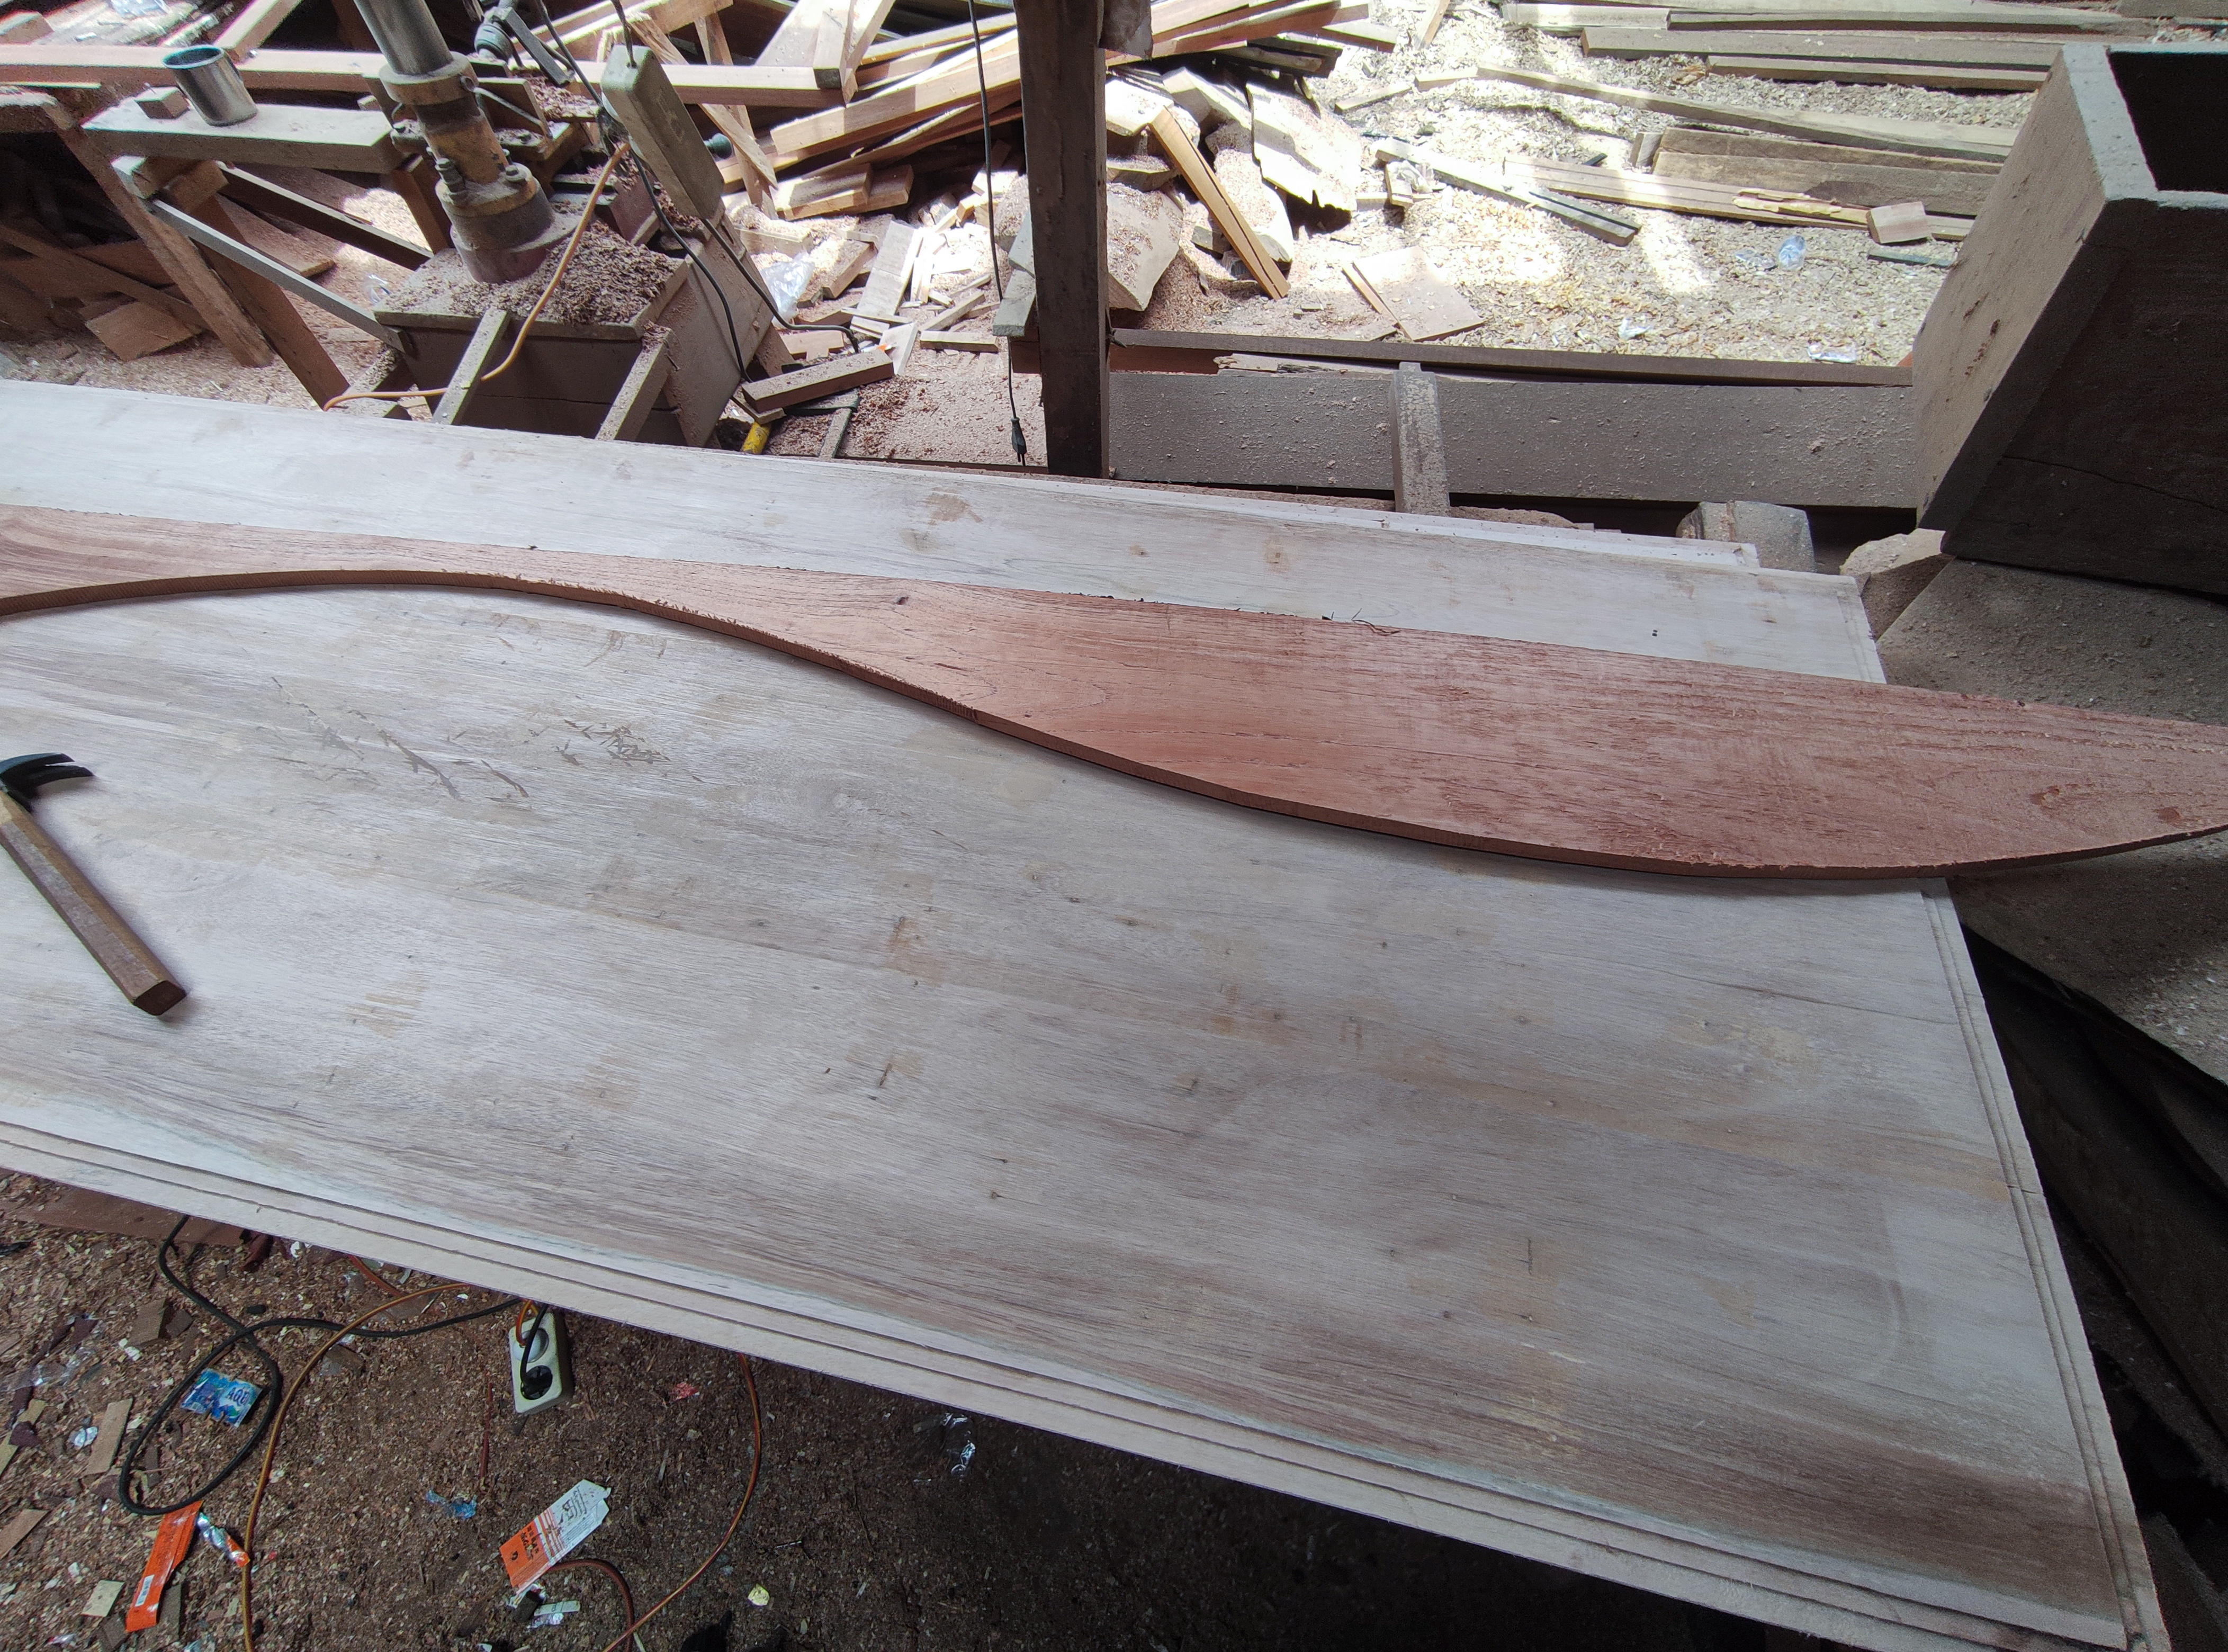

And this is the result of the main ribbon line from that door leaf sheet.
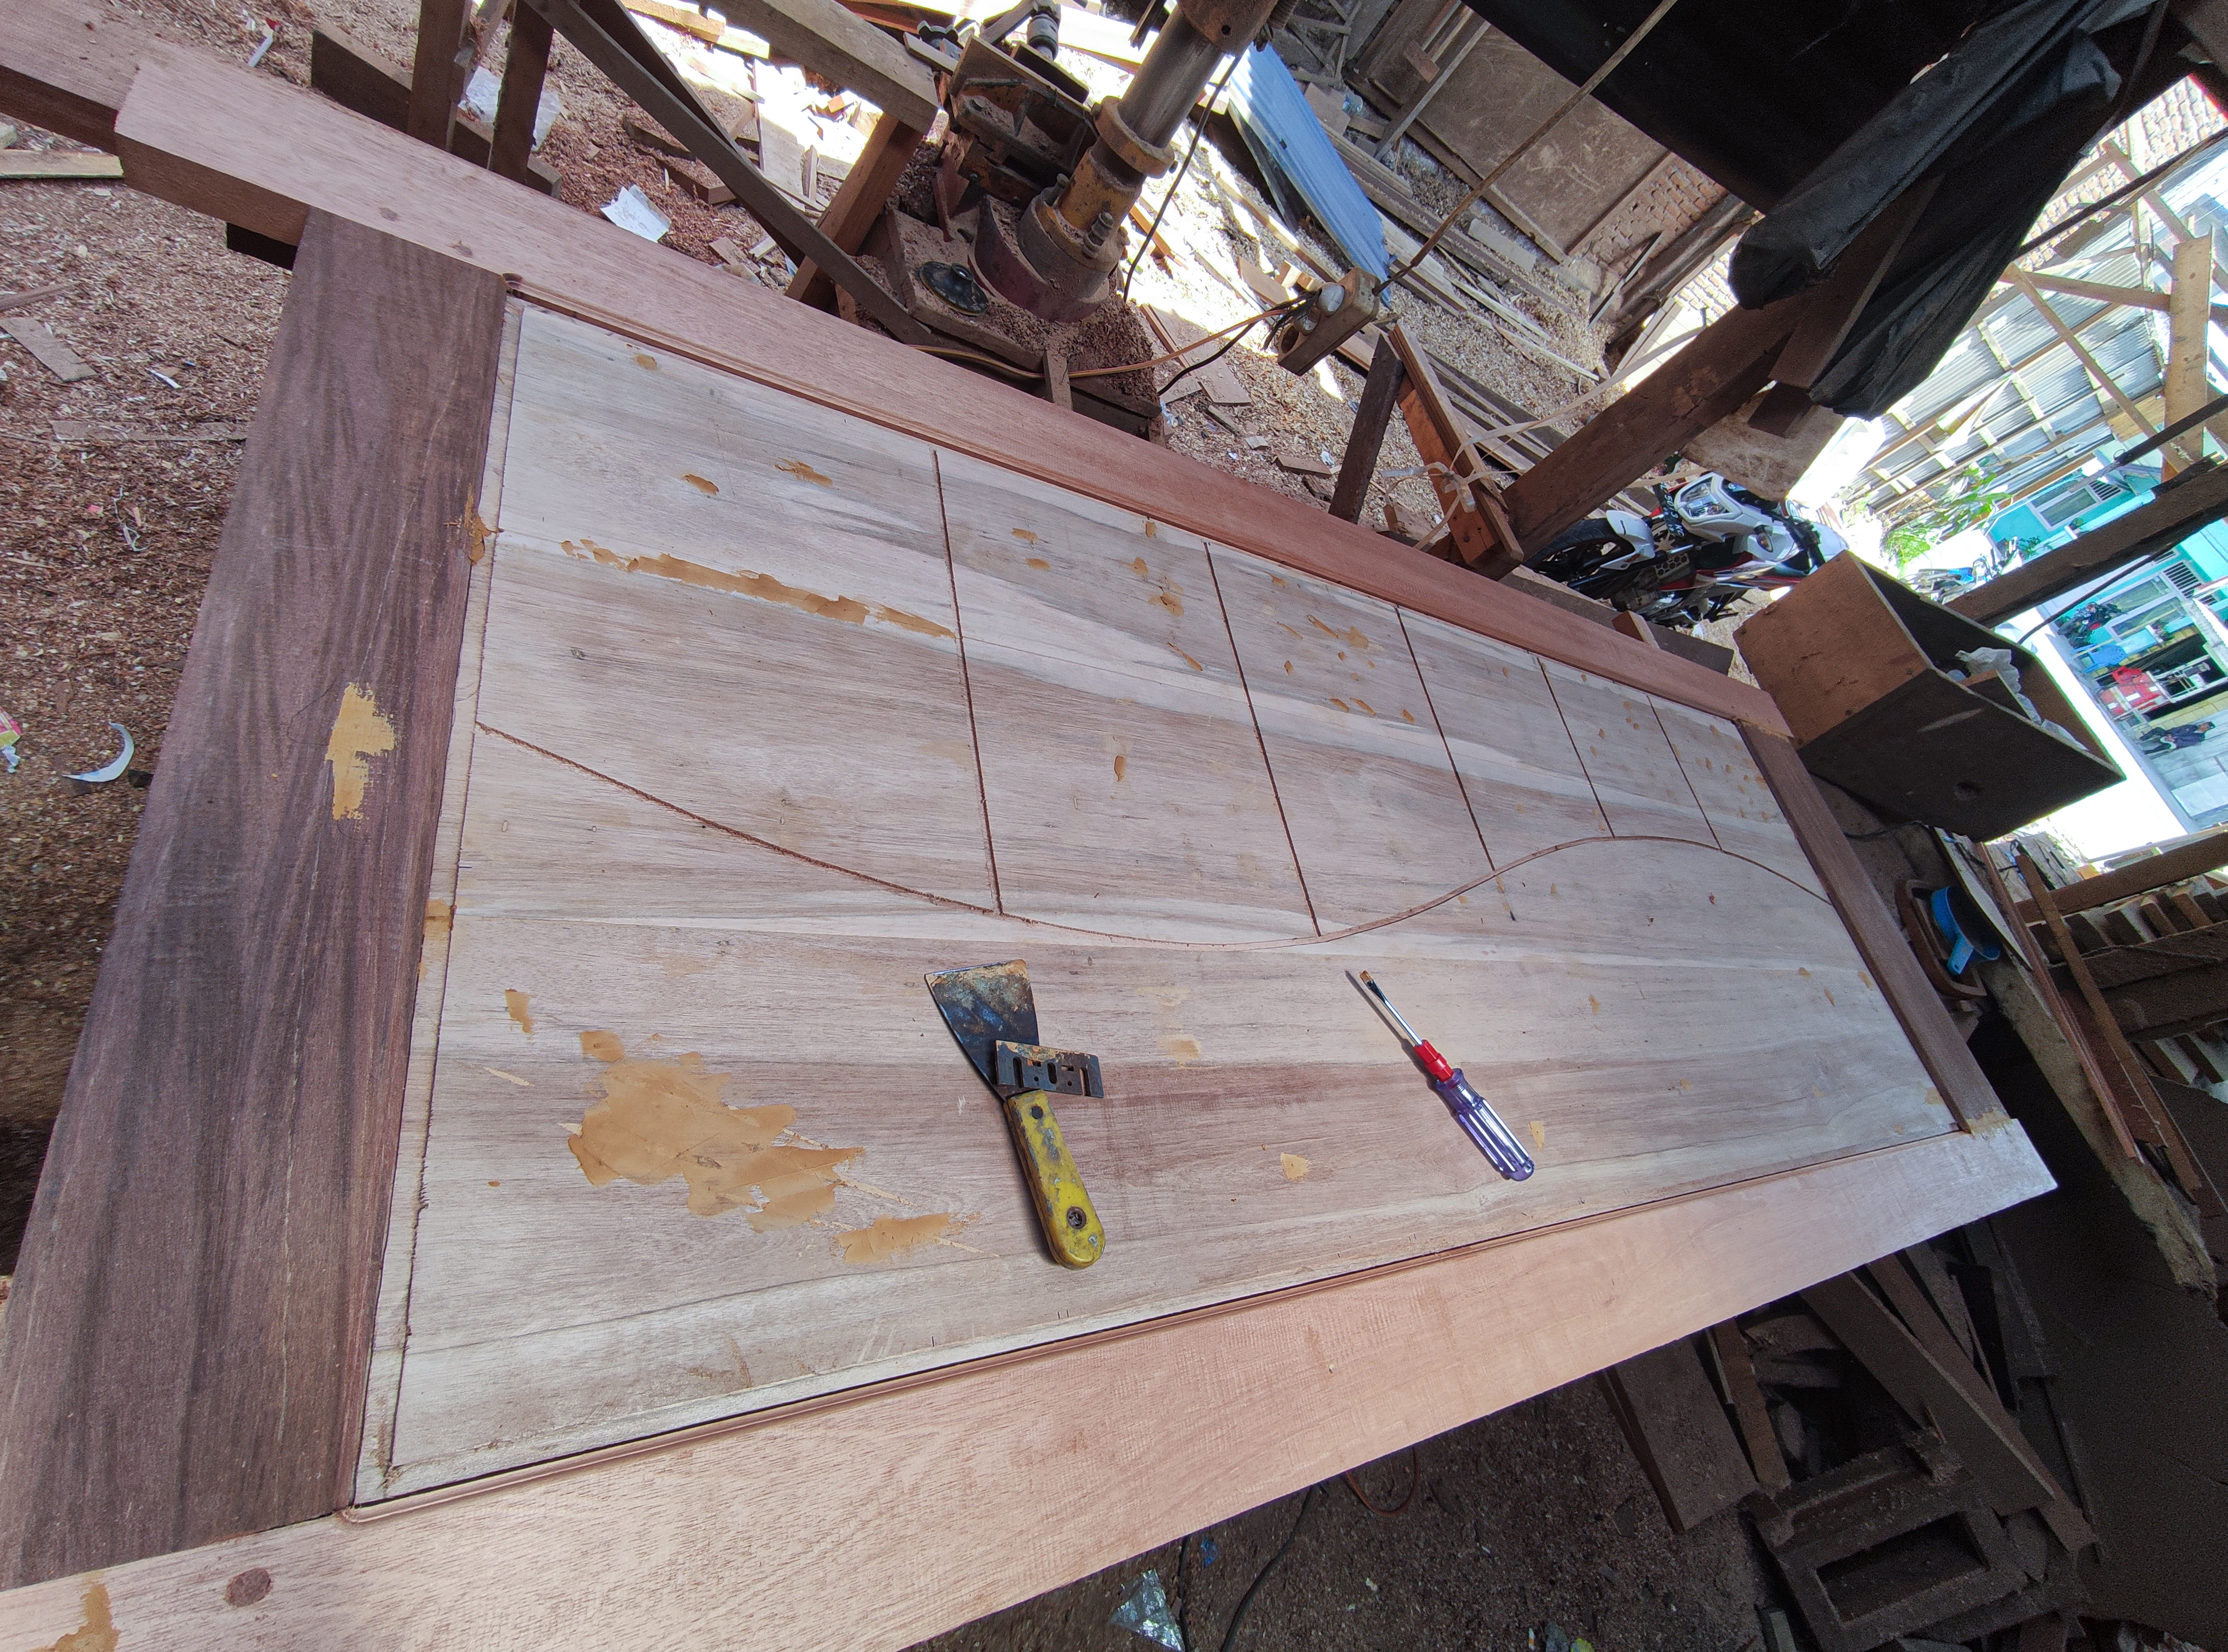
After I finished working on the main ribbon line, then I measured for the ribbon line holder in the door leaf arrangement pattern and continued to make the ribbon line using the router machine along with the mall mix.
And after all the process of making the ribbon line on the sheet of that door leaf board, the result will look like this,before installation on the main circuit of the door.

And for 4 door units measuring 90cm X 210 cm, I finished working on it and for 1 door unit measuring 90 cm x 200 cm with a design drawing.
For the shape of the leaf sheet design, it is slightly different from the texture of the stretched ribbon line pattern and to finish making the ribbon line on the leaf sheet, I also use the same way of working, namely by using a router machine and a board mall for manual movement of the router machine.
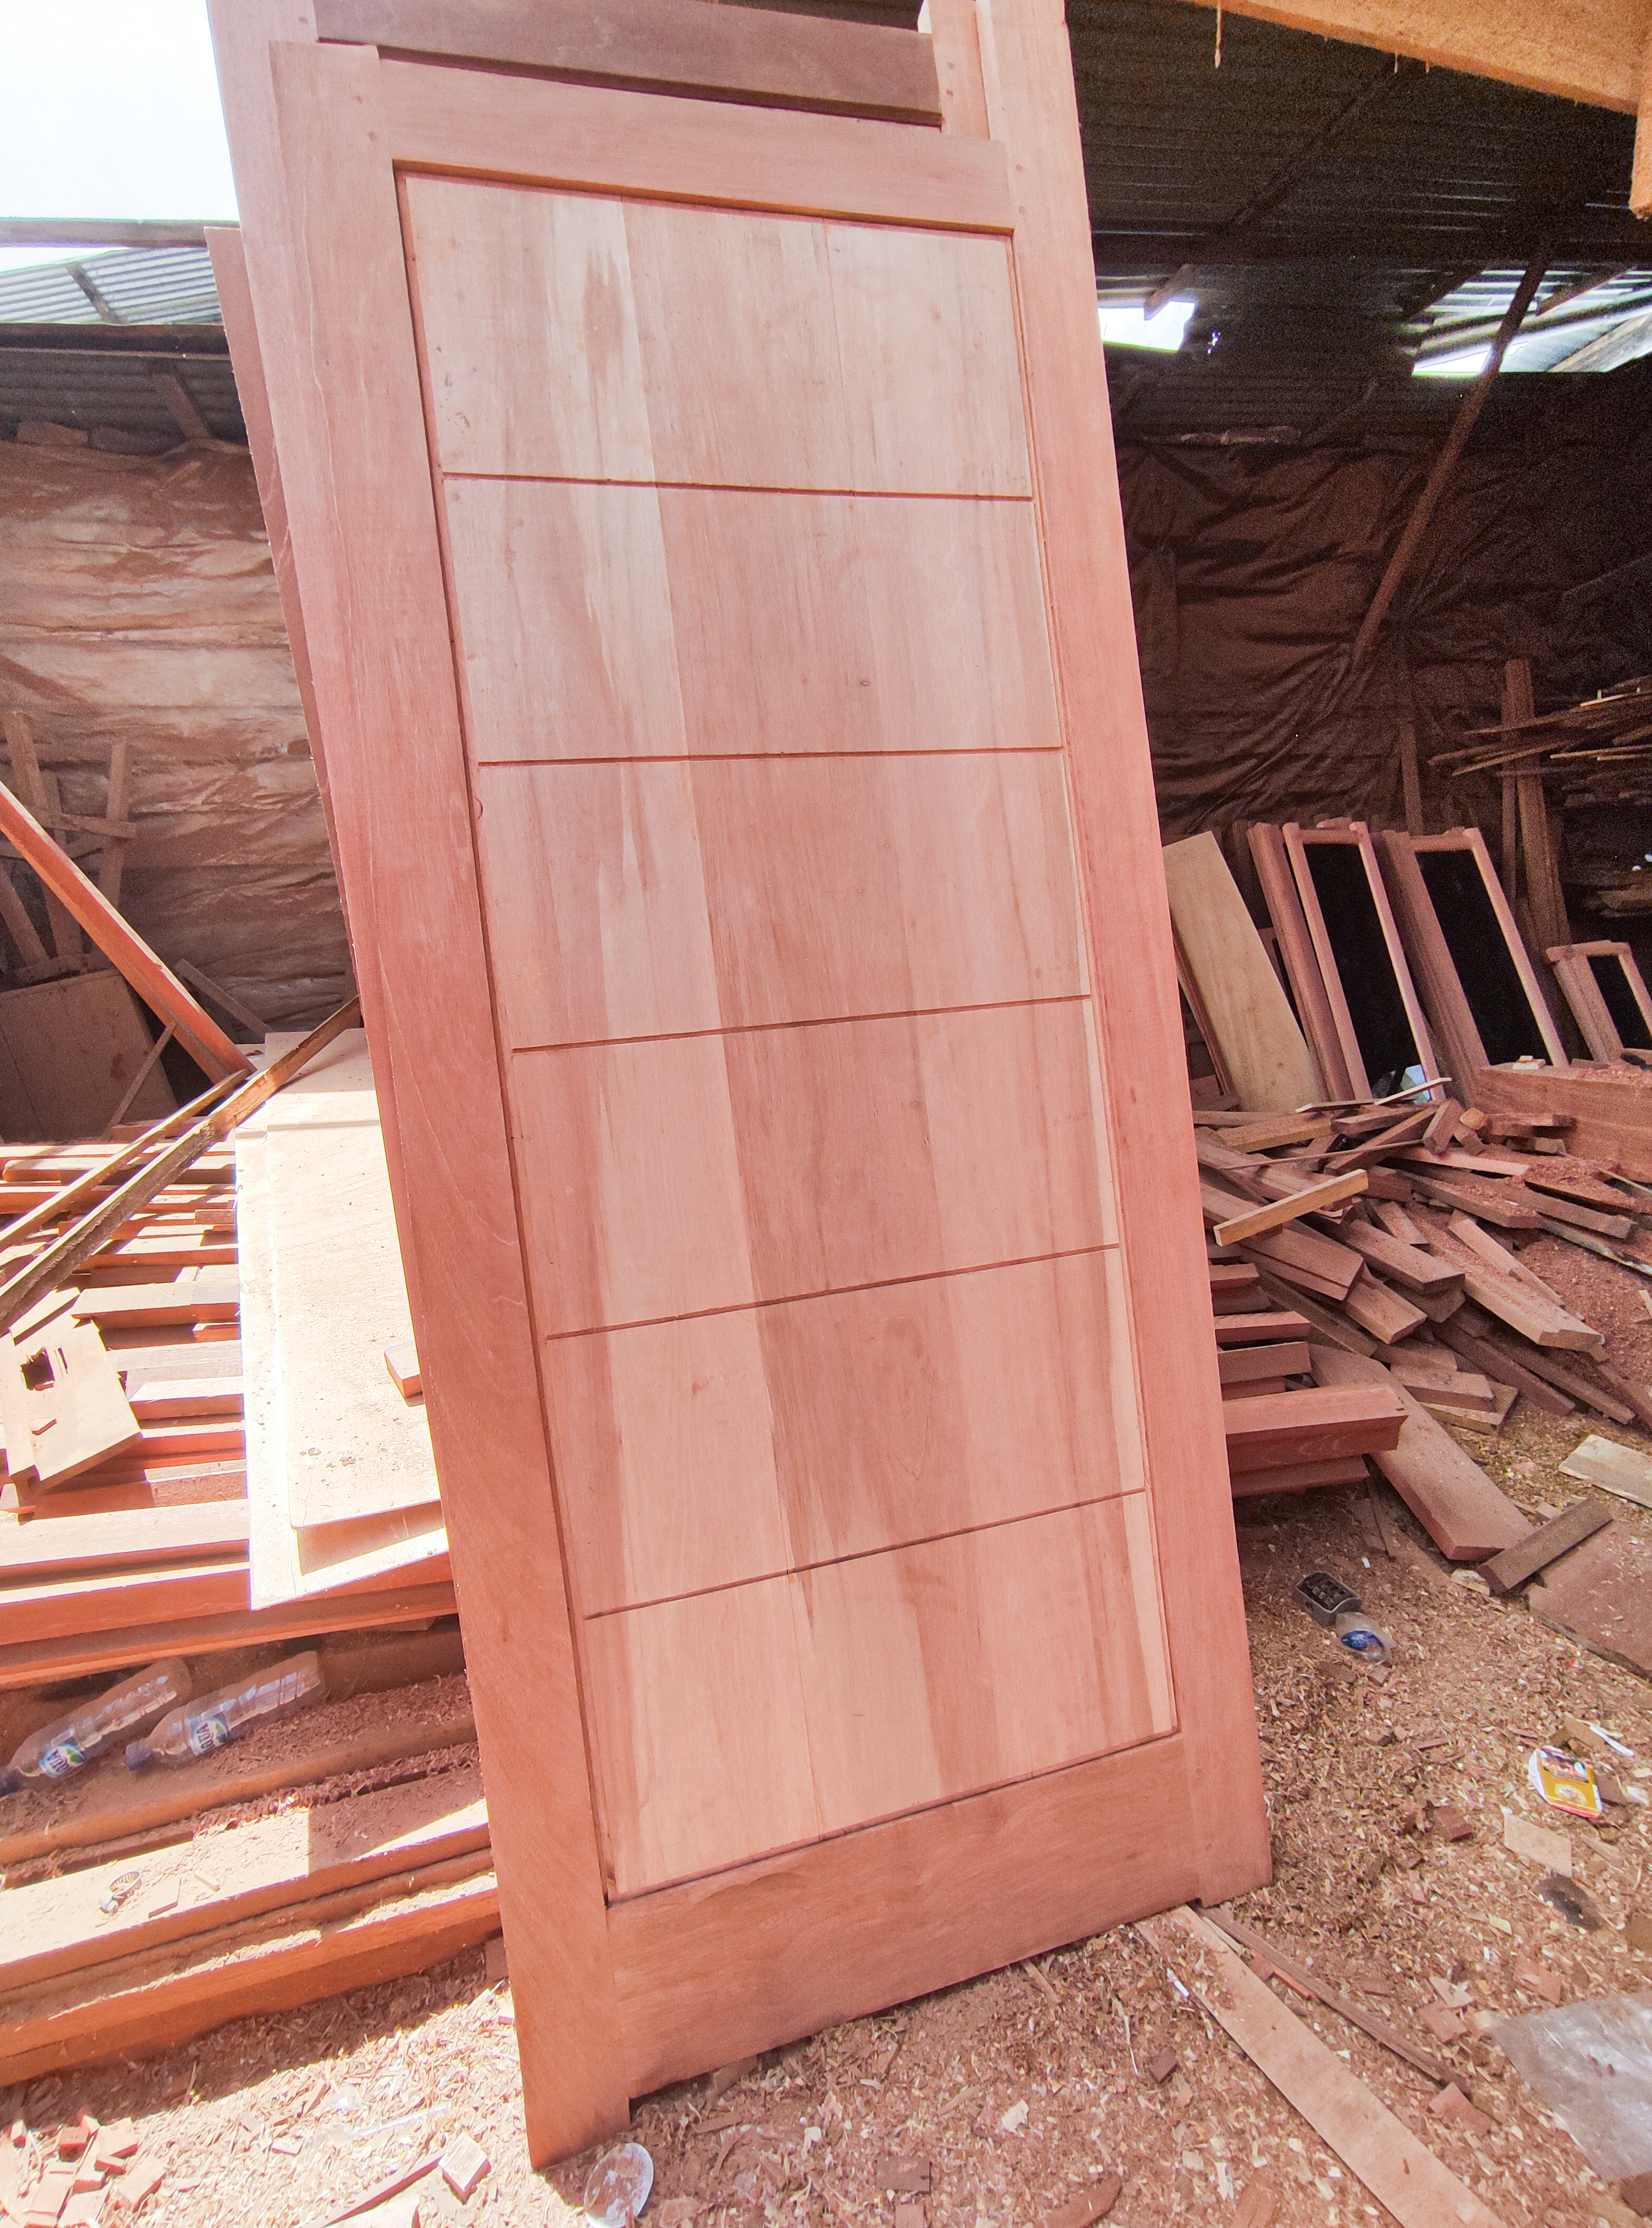
And next is the process of installing the door leaf on the main frame.
The installation process is the same as the door leaf installation process in my previous publication, namely by disassembling the entire set of circuits and combining them together with the door leaf sheet.

And after the installation of the entire door leaf is complete, I continue with pressing and locking the door joint pegs which are also the same as the pressing system that I shared in some of my previous publications and after that I continue the sanding process repeatedly gradually until the surface of the wood is really smooth.
Now I have finished ordering a door belonging to a local community with a design image provided by the owner of the order and this is how the door looks like.

And for this publication I didn't have time to take so many pictures because my job site was being evicted which of course is filled with wooden blocks that are not neat and disheveled so the process of opening the door to take pictures is a little difficult and see you in my next episode of furniture design architecture.

All of these pictures when i was working on that window and jalousie project ,all images were taken using a smartphone camera and on #hive blockchain I was in 3 publications namely macrophotography, music and architectural design, if you want to enjoy my previous architectural design my works, please visit the post link below.
1.Architectural design- simple cafe bar table
2.Architectural design - Wooden tray with natural wood color combination/utilization of wood waste
3.Architectural design - Flower vases / utilization of wood waste.
4.Architectural design-Simple architectural design of my baby crib basket.
5.Architectural design-Table simple the combination of natural wood colors and classic table tops
6.Architectural design- Shophouse frame jalousie
7.simple-minimalist-mini-wall-shelf-architectural-design-to-decorate-your-home-room
8.architectural-design-of-the-ventilation-jalousie - part 1
9.architectural-design-of-windows-house -part 1
10.interior-design-architecture-simple-makeup-mirror-frame.
11.architectural-design-simple-minimalist-wooden-window -part 2
12.architectural-design-window-designs-that-are-in-great-demand-by-local-residents
13.architectural-design-of-a-mini-table-and-a-simple-photo-frame
14.architecturaldesign-of-glass-windows-and-jalousies - house
15.Architecture + door design of local people's houses.
16.Furniture design architecture || Making multiplex doors for motorcycle workshops.
17.Architecture+furniture design || Simple comb design house door.
18.Architecture + furniture design || A pair of doors home belonging to local residents.
20.Architecture + Design || Double-faced house door part ll.
21.Architecture + design || Making window for villagers' houses.
22.Architecture+furniture design || Two-faced house door part III
23.Architecture+furniture design || Multiplex door
![]()
The rewards earned on this comment will go directly to the people( @deltasteem ) sharing the post on Twitter as long as they are registered with @poshtoken. Sign up at https://hiveposh.com.
I love this type of door model, I don't know if it is the curve of the line that goes in complete harmony with the straight lines of the door. It's a lovely door design
thank you @ginethchira2301 now in my area for the construction of concrete houses, many local people are starting to be interested in this minimalist door design :)
Well, they are very beautiful, I hope they order from you
Hey there! One of your older posts got nominated to my latest upvote giveaway but I can see this one is even more undervalued so I´m supporting this one instead. Very nice job btw, your skills are impressive and you also put a lot effort into this post so that you could share the process of the creation step by step with us. Thank you!
Keep up the good work, greetings from Prague! :)
thanks @phortun have appreciated my publications and this is my daily work and profession :)
You have an amazing job then :)
Thank you for sharing this amazing post on HIVE!
Your content got selected by our fellow curator @priyanarc & you just received a little thank you via an upvote from our non-profit curation initiative!
You will be featured in one of our recurring curation compilations and on our pinterest boards! Both are aiming to offer you a stage to widen your audience within and outside of the DIY scene of hive.
Join the official DIYHub community on HIVE and show us more of your amazing work and feel free to connect with us and other DIYers via our discord server: https://discord.gg/mY5uCfQ !
If you want to support our goal to motivate other DIY/art/music/homesteading/... creators just delegate to us and earn 100% of your curation rewards!
Stay creative & hive on!
Meranti wood is often used for making doors. success always bro. good job bro
thanks bro;)